

Page 1
Corporate Headquarters: 1080 North 11th Street, San Jose, CA 95112 Phone: (408) 292-2214 Fax: (408) 292-2733
www.etorque.com
Mountz, Inc
ISO 9001 (2000) company
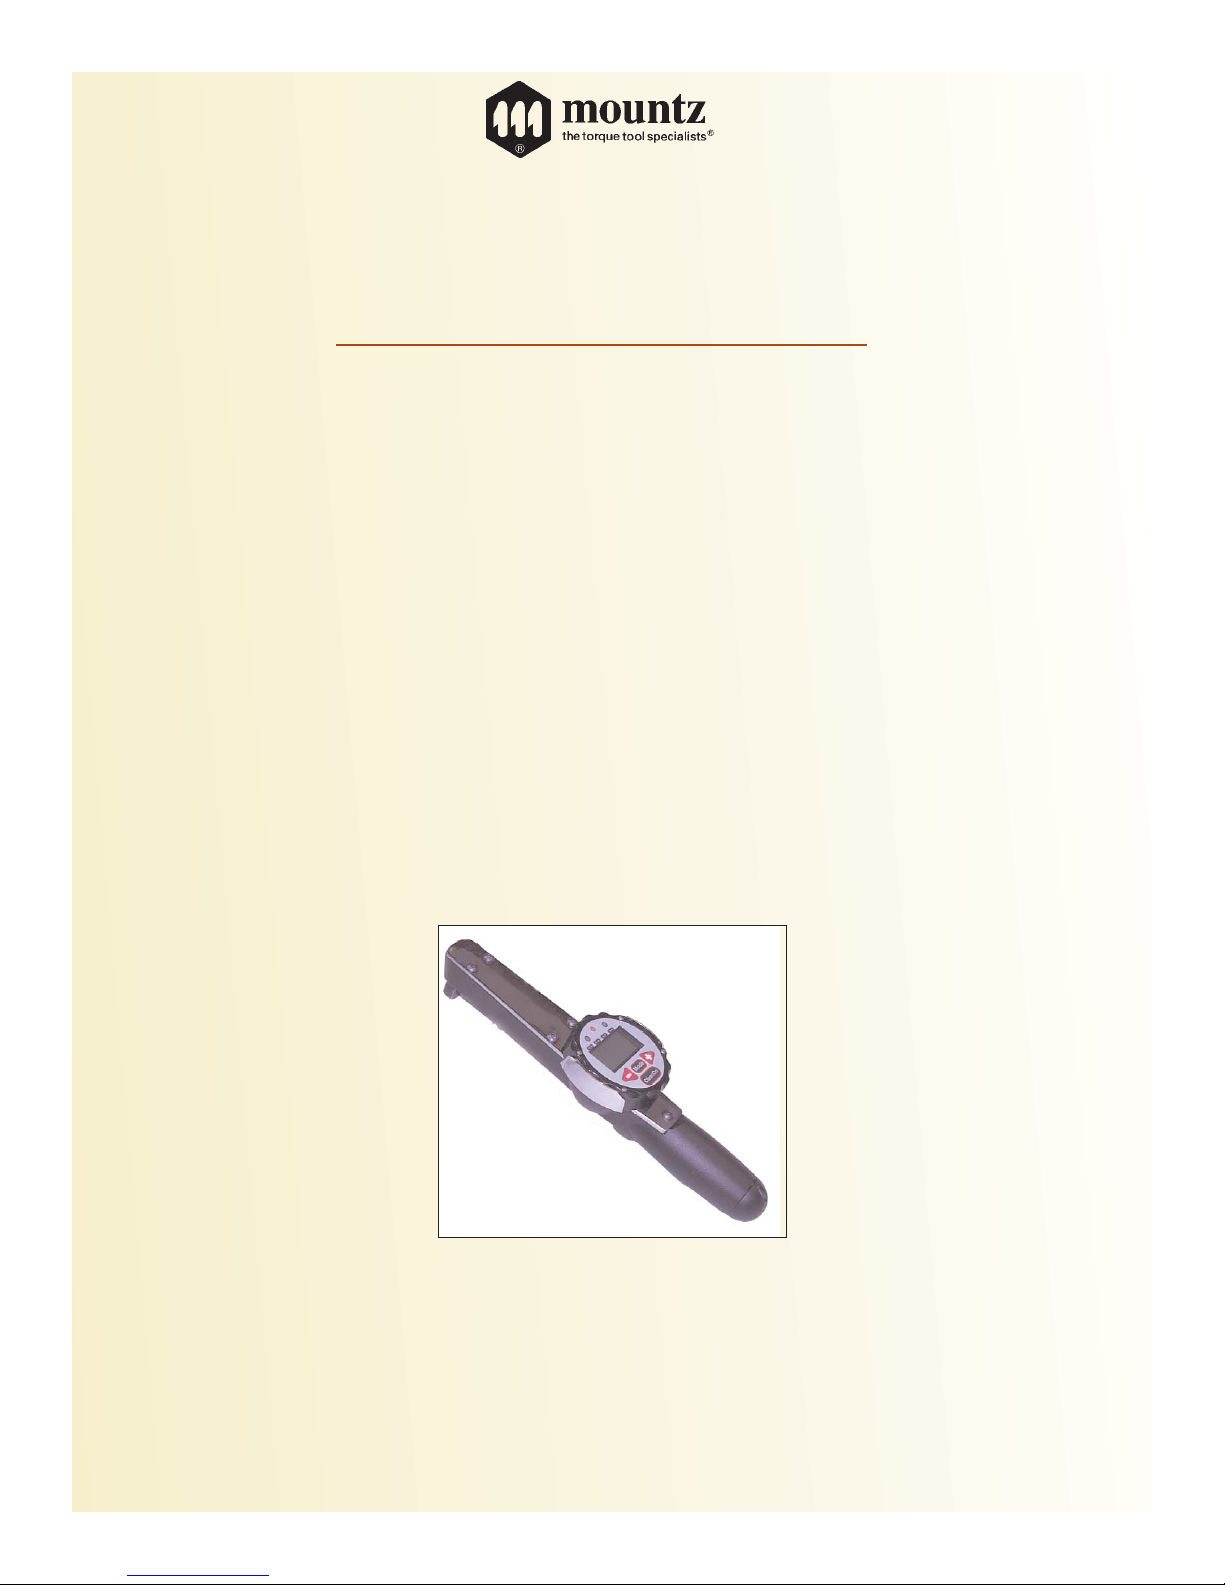
EDTW
EDTW
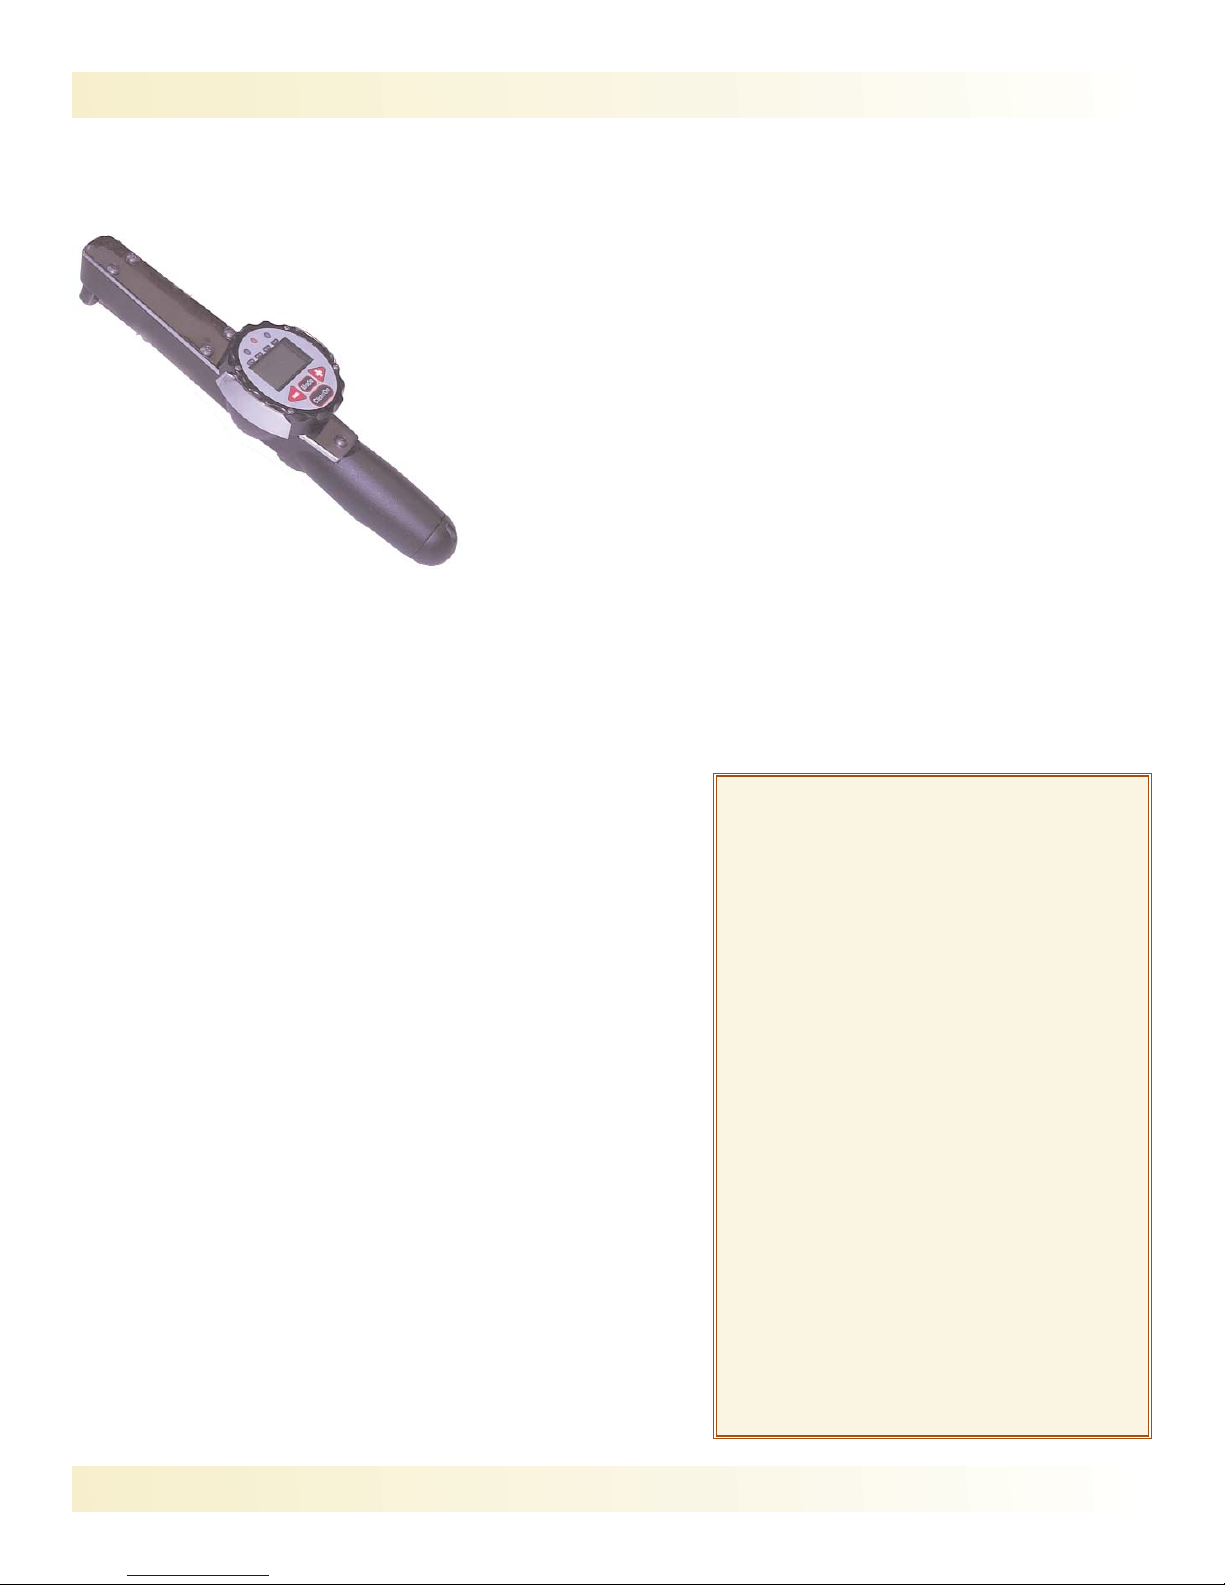
Electronic Dial Wrench
Operating Instructions
Page 2
EDTW Operation instructions Page 1
Mountz Inc. www.etorque.com
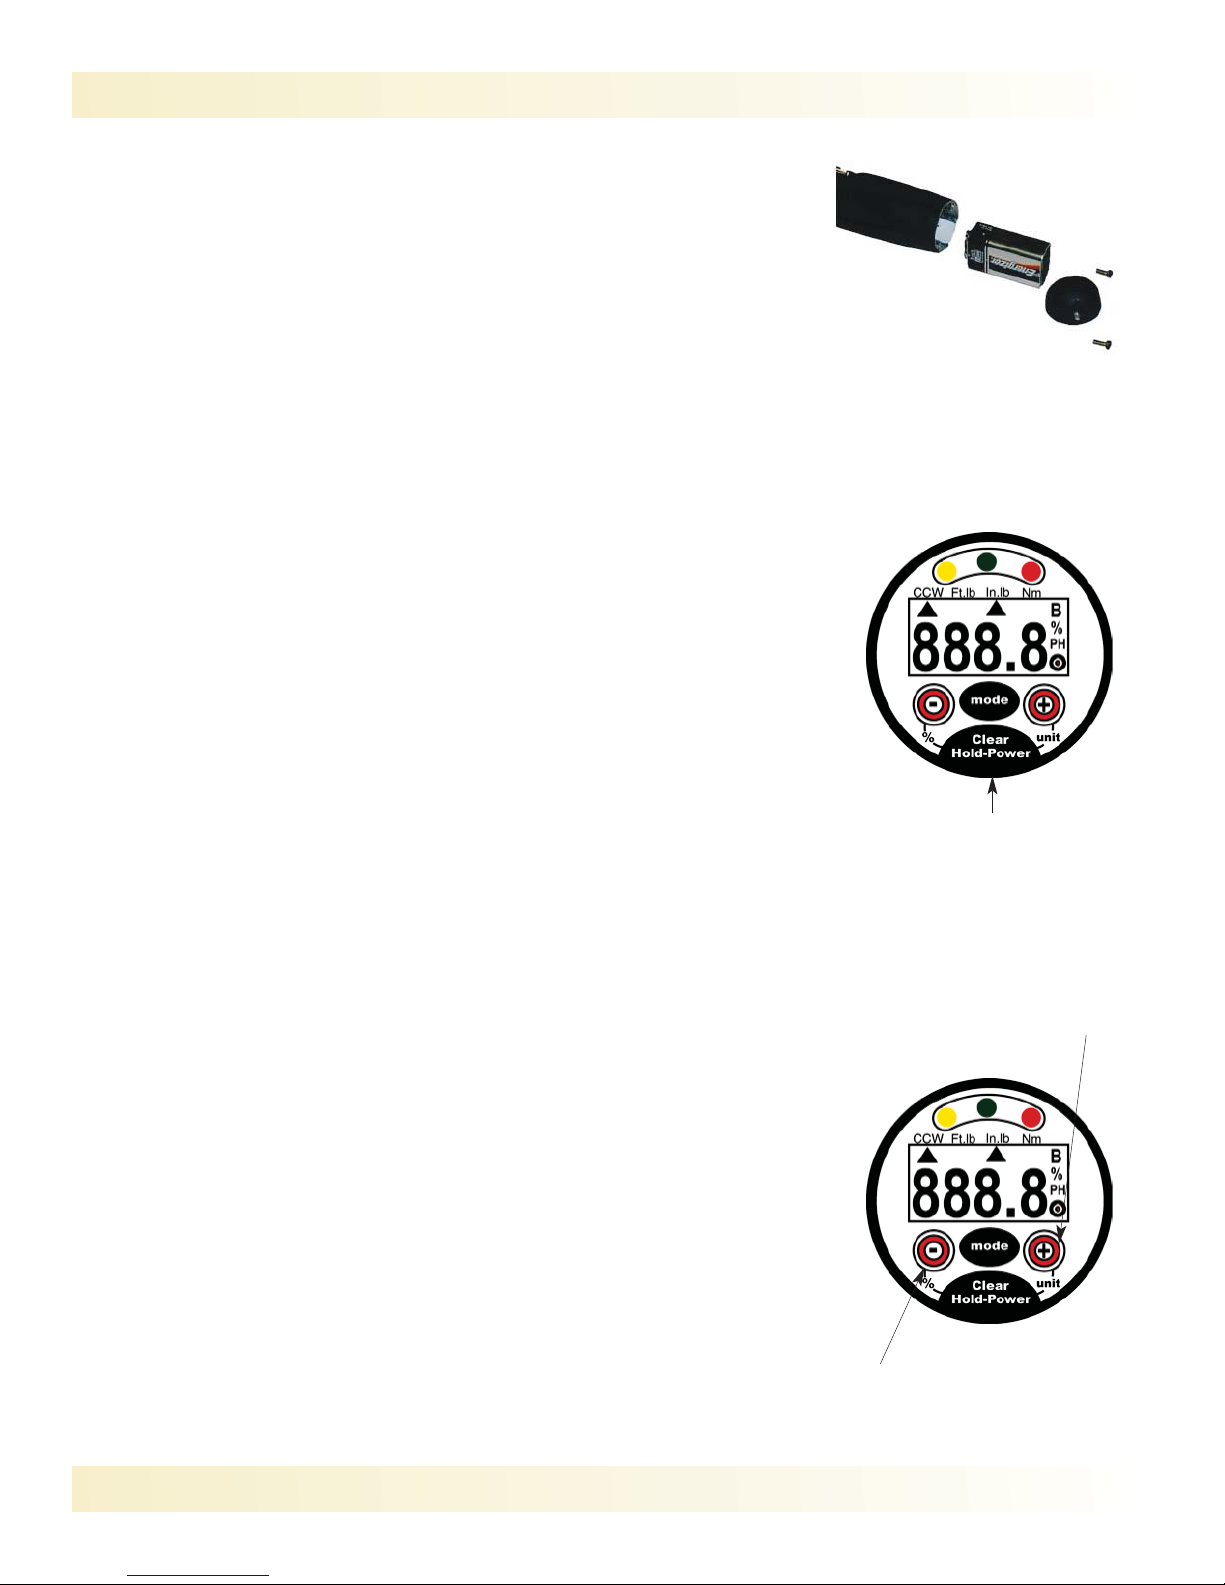
Install Batteries
1. Install high quality 9 volt battery in handle of wrenches 50 ft.lb. and below.
Install in case on 100 ft.lb. and above. Remove screw(s) to expose battery.
Do not overtighten screws
Notes: When batteries are low a “BATT” icon will light. When batteries are
critically low the wrench will not turn on.
Battery life depends on battery quality and the amount the lights and buzzer are
used (target torque). Use a high quality lithium battery for longest life. It is OK to
use externally rechargeable batteries.
Keep the end cap threads clean and dry for a good contact.
Power On
1. Press and hold the “Power” button to turn the wrench on.
Notes: If you do not use the wrench for 3 minutes the wrench will automatically
shut off.
Do not apply torque to the drive when you power up.
If the wrench comes on and then shuts off immediately the batteries are
probably low.
All previously stored settings (units, target value, target %) are stored even when
the power is off and the batteries are out of the wrench.
View/Change the Pre-set Torque Value:
1. Press either Target - or + key once to see the current target value without
making any changes. The target will show for 3 seconds.
2. Press and hold the Target - button to lower the current target value. Press
and hold the Target + button to increase the current target value. The
longer you press and hold the target key the faster the display will change.
When you apply torque with a target set:
As you get close to the target torque value you will see a yellow light
warning you that you are approaching the target value.
When you are within 2% of the target value you will see a green light and
hear a buzzer. Stop pulling!
When you go over 2% of the target value you will see a red light and hear
an intermittent buzzer. Too much torque!
Press and hold the “Power”
button to turn the wrench on.
Press & hold Target - to
decrease pre-set torque.
Press & hold Target + to
increase pre-set torque.
Page 3
EDTW Operation instructions Page 2
Mountz Inc. www.etorque.com
Changing Units:
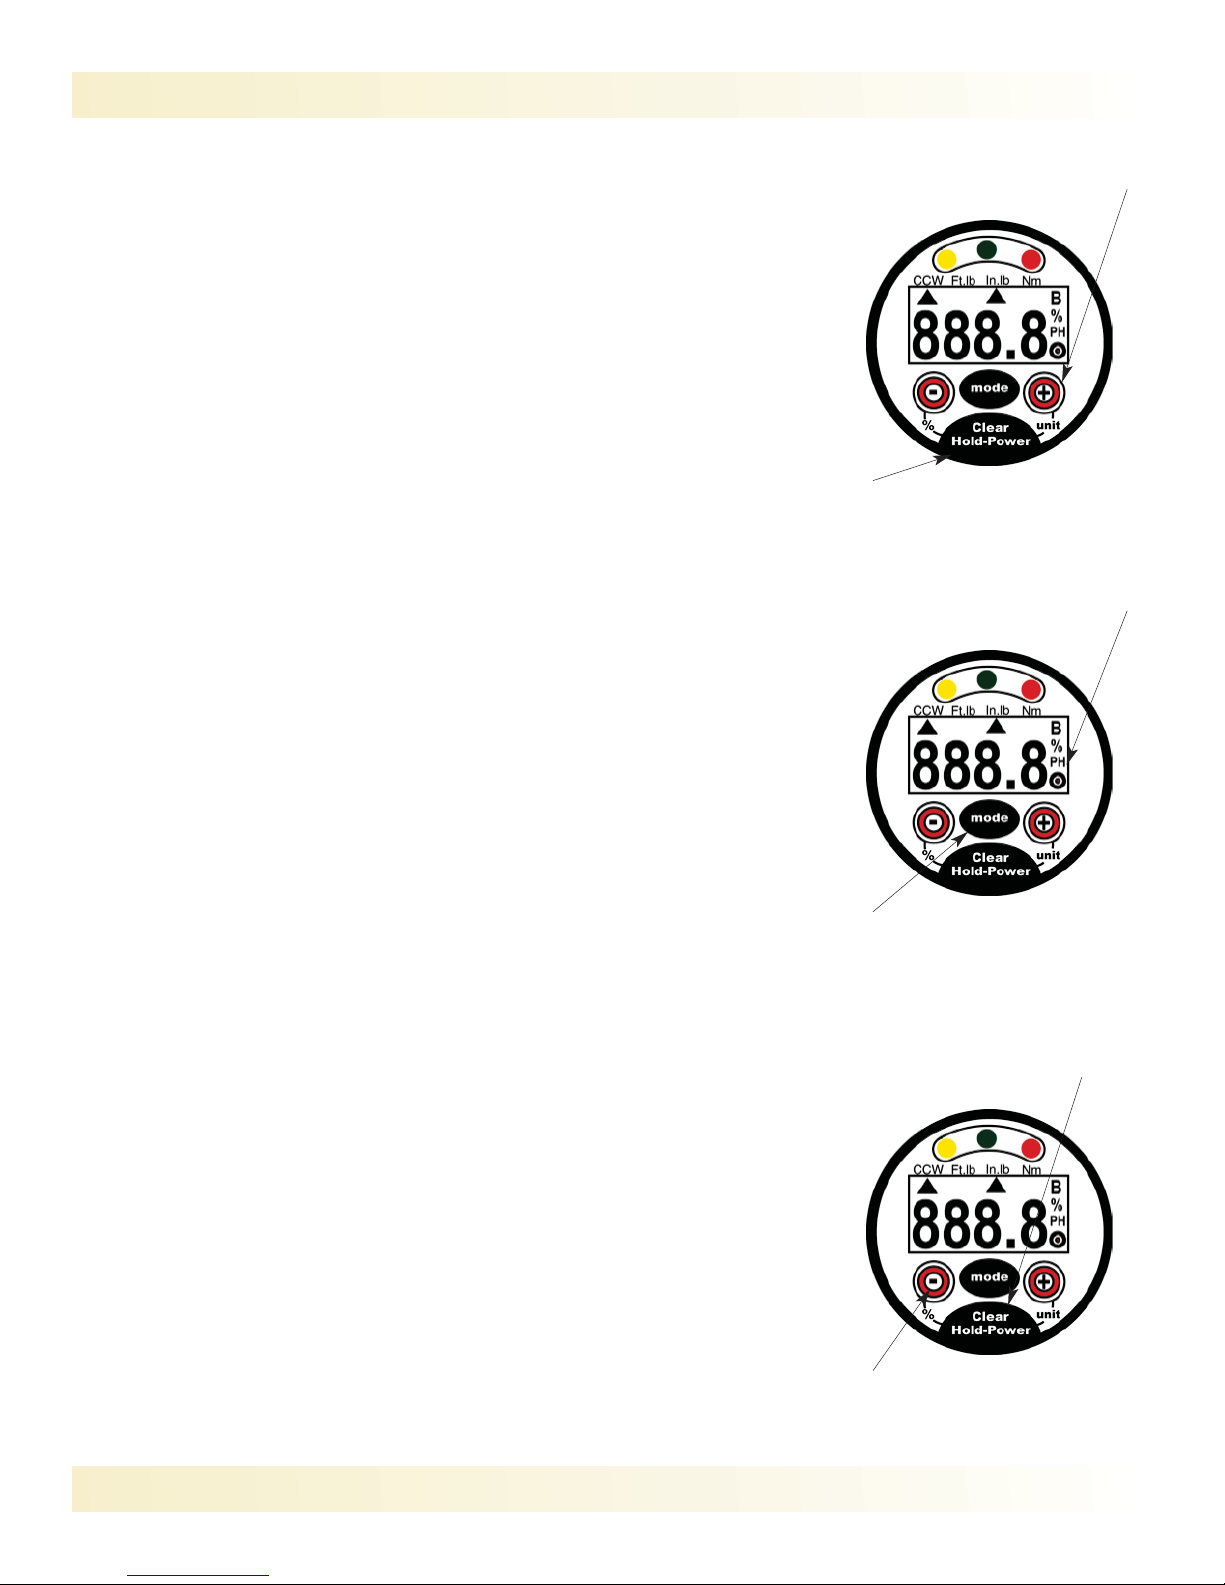
1. For security it takes two key presses to change the units:
2. Press and hold the power/clear button (when wrench is on).
3. Then press the Target + key to change units. ft.lb...In.lb...Nm
Notes: When you change units the target setting will also be changed to the
new units value (makes a great torque conversion calculator).
The units selected will become the default units when the wrench is turned off
and on again.
Changing from Peak to Track mode:
1. Press the Mode button from peak to track.
Changing Tolerance Settings:
1. The default setting is +/- 2% of pre-set torque. The operator can adjust the
the setting from 1 - 10% or turn it off.
2. With the wrench ON, hold the power button and press the Target - key.
Keep pressing the Target - key until you show the desired value.
3. The tolerance setting provides a visual and sound signal if the torque
Passed or Failed.
- If the torque is under the pre-set torque & tolerance setting - Yellow light
- If the torque is within the pre-set torque & tolerance setting - Green light
- If the torque is over the pre-set torque & tolerance setting - Red light
First press and hold the
power/clear button
Then press the Target + key to
change units
Press the Mode button from
peak to track.
PH is shown when in peak mode
Press the - button to change
tolerance setting
Press & hold to Power
button with the wrench on
Page 4
EDTW Operation instructions Page 3
Mountz Inc. www.etorque.com
Applying Torque:
1. Tighten nut or bolt by applying a steady even pull using built in ratchet as
necessary. Wrench should be kept at 90 degrees to axis of bolt during
tightening.
2. When pre-set torque is reached, there are 3 ways to determine what torque
is being applied:
- Look directly at the LCD.
- Pre-set torque and look for the lights.
- Pre-set torque and listen for the buzzer.
3. Once pre-set torque is achieved, do not apply any more torque or you will
over tighten it.
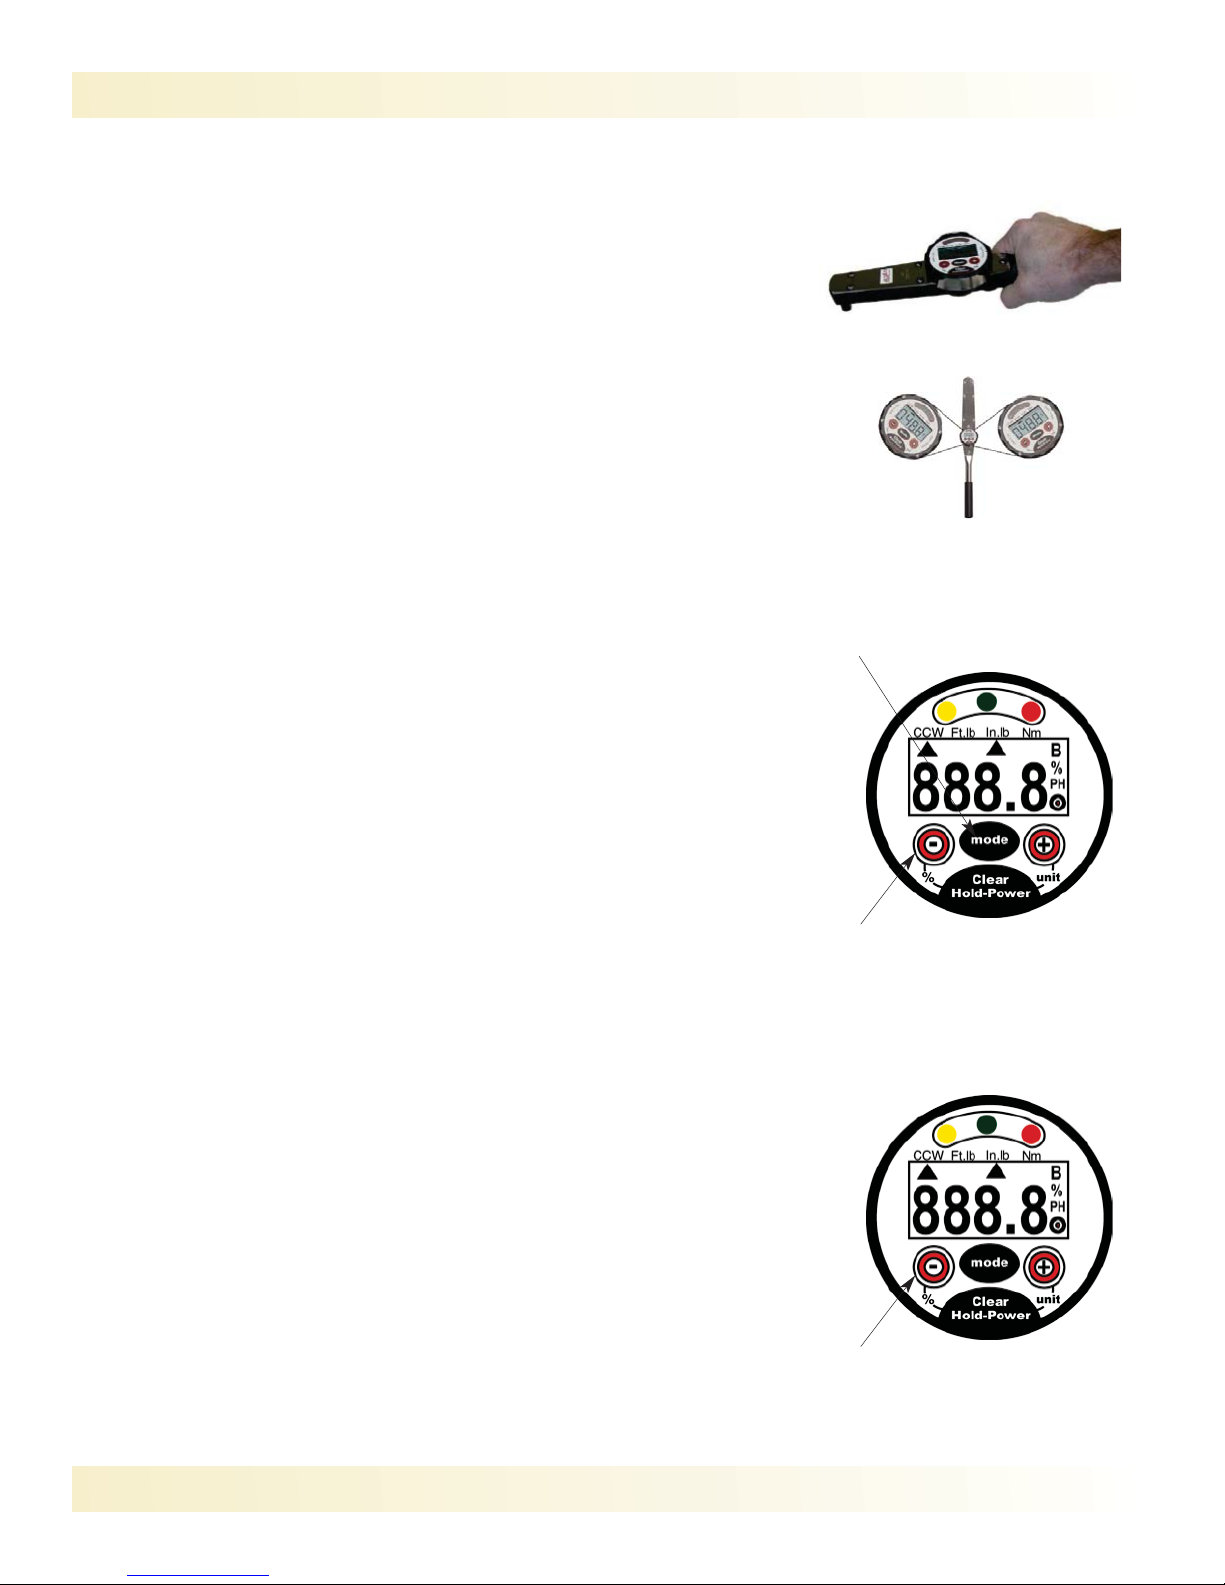
4. Rotate the display for easy viewing.
LCD Contrast:
1. The operator can change the LCD contrast (viewing angle) by first pressing
and holding the Mode button and then press the Target - button. This is
useful when the temperature is very cold or very hot.
Notes: The contrast changes very slowly, so be patient.
Manual Off:
1. To manually turn off the wrench, hold the Power button for 3 seconds.
Display rotates both ways
(up to 359 degrees)
Press and hold the Mode button
Then press and hold the target button (wait for the contrast to
change)
Press the power button for
3 seconds
Page 5
EDTW Operation instructions Page 4
Mountz Inc. www.etorque.com
Mountz Service Locations
Eastern Service Center
19051 Underwood Rd.
Foley, AL 36535
Phone: (251) 943-4125
Fax: (251) 943-4979
Western Service Center
1080 N.11th Street
San Jose, CA 95112
Phone: (408) 292-2214
Fax: (408) 292-2733
Mexico Service Center
Mountz Mexico SA de CV Chihuahua
Av. Cristobal Colon #15343
Col. Paseos de Chihuahua
Chihuahua, Chih. Mexico CP 31125
Phone: (614) 481-0023
Fax: (614) 481-0053
www.etorque.com
Download a “Service Form” and include a copy
when you send the tools in to be serviced.
Testing & Servicing
For testing the torque wrench either use a torque analyzer or
torque transducer within the range of the torque wrench. Make
sure you apply the torque slowly and smoothly.
In order to maintain accuracy, it is crucial that torque control
measuring equipment be calibrated regularly.
We recommend a general once a year calibration interval.
However, it is the user’s organization that must determine suitable
intervals based upon equipment performance, application, degree
of usage and management objectives.
For calibration, re-adjustment or repairs, please send the tool to
one of our 3 service locations.
Accuracy +/- 1% of reading, +/- 1 digit.
Designed for R&D, QC, a lab or production environment.
Program pre-set torque.
Display rotates - LCD can be read from any side.
Three units of torque measurement available: N.m, lbf.ft, lbf.in
Selection of two operating modes: Track and Peak.
Non-length dependent.
Go/No Go LED’s and a buzzer can be set for a high or low torque limits.
Four-digit display.
Battery operation.
 Loading...