

Page 1
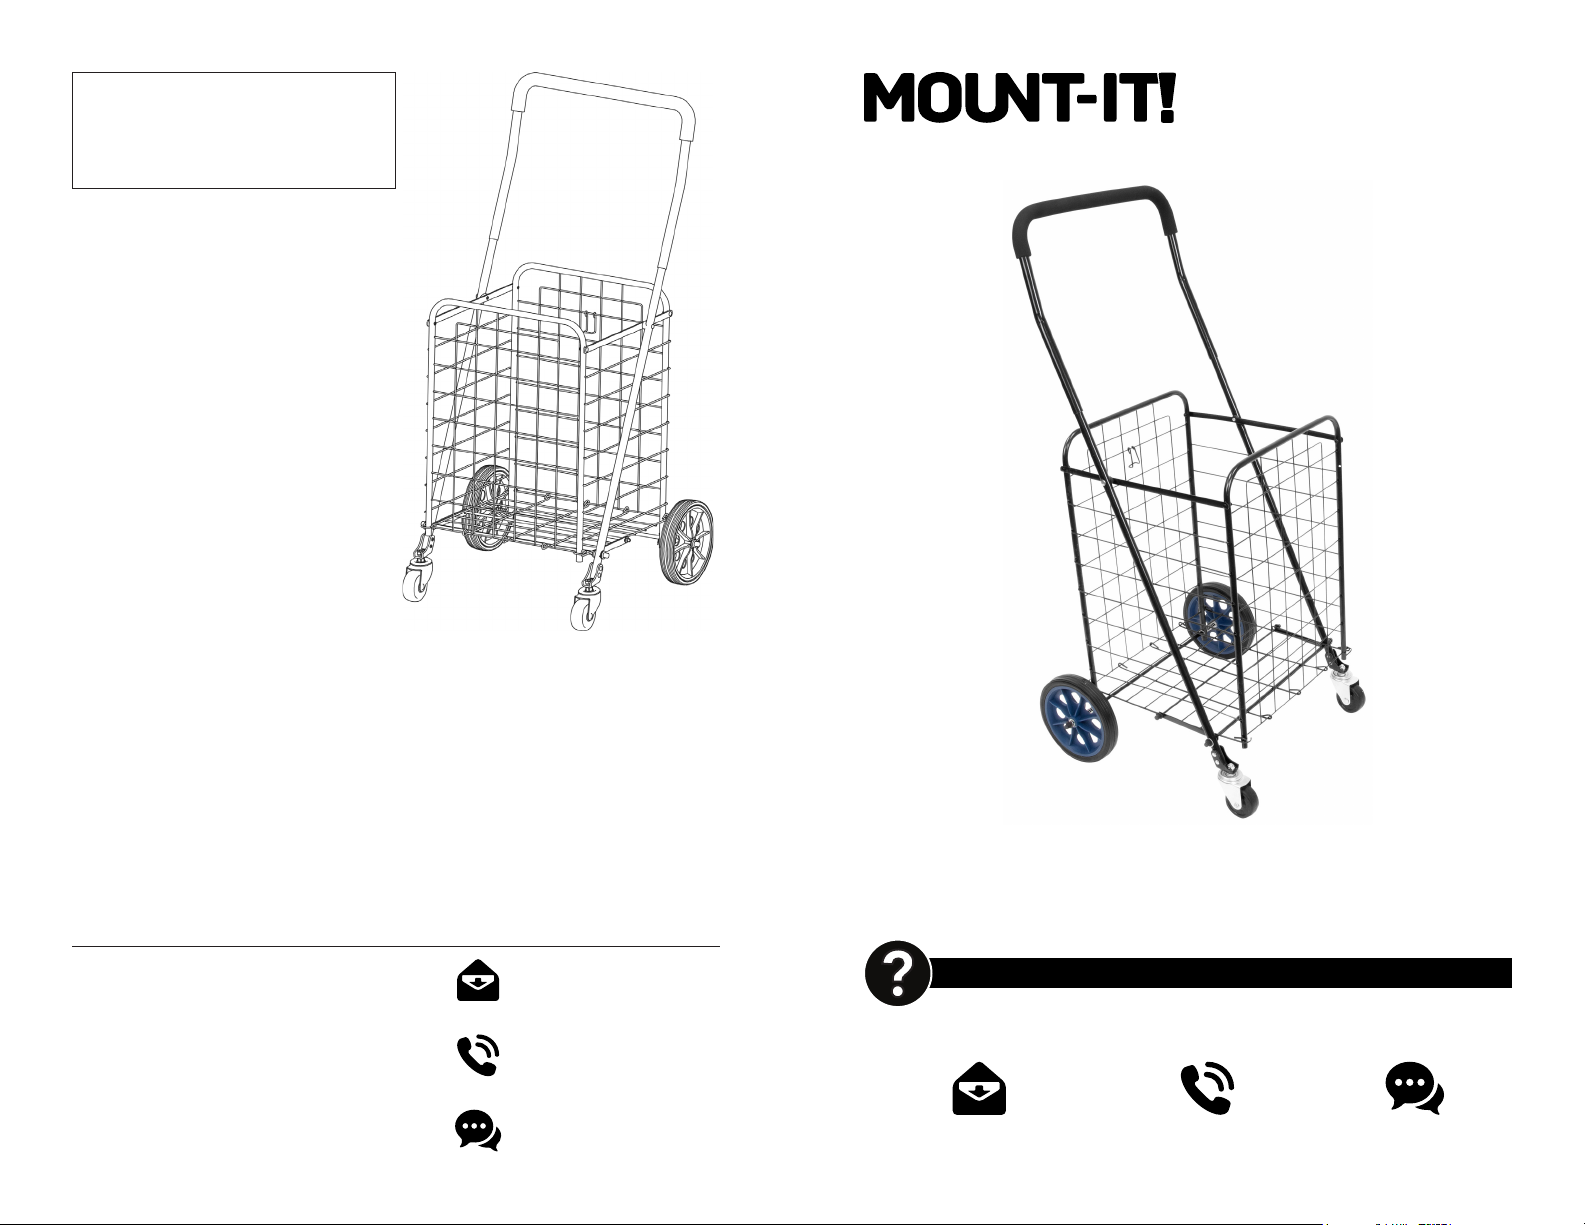
Adjust the extension of the handle
to a comfortable use height.
The handle can be retracted for
compact storage of the cart.
RECOMMENDED STEPS TO
FOLD THE CART:
Folding the cart may require firm
pressure on the front and back
frames of the cart to fold in the side
bars. This is normal for the first few
folding attempts.
Ensure the front wheels are swiveled
away from the back wheels for a
complete fold.
Adjust the angle of the latch with
pliers if the latch does not fully
engage the front frame.
User Manual
SKU: MI-907S
Thank you for choosing Mount-It!
Visit us at www.mount-it.com for product registration and warranty information.
Our US based customer service team is
standing by to answer any questions you
have about your Mount-It! product.
Available by phone Monday - Friday from
8:00am to 4:00pm PST.
Chat live with an agent on our website!
(855) 915-2666
www.mount-it.com
Rolling Utility Shopping Cart
HAVE QUESTIONS?
Monday - Friday from 8:00am - 4:00pm PST
[email protected] www.mount-it.com(855) 915-2666
Page 2
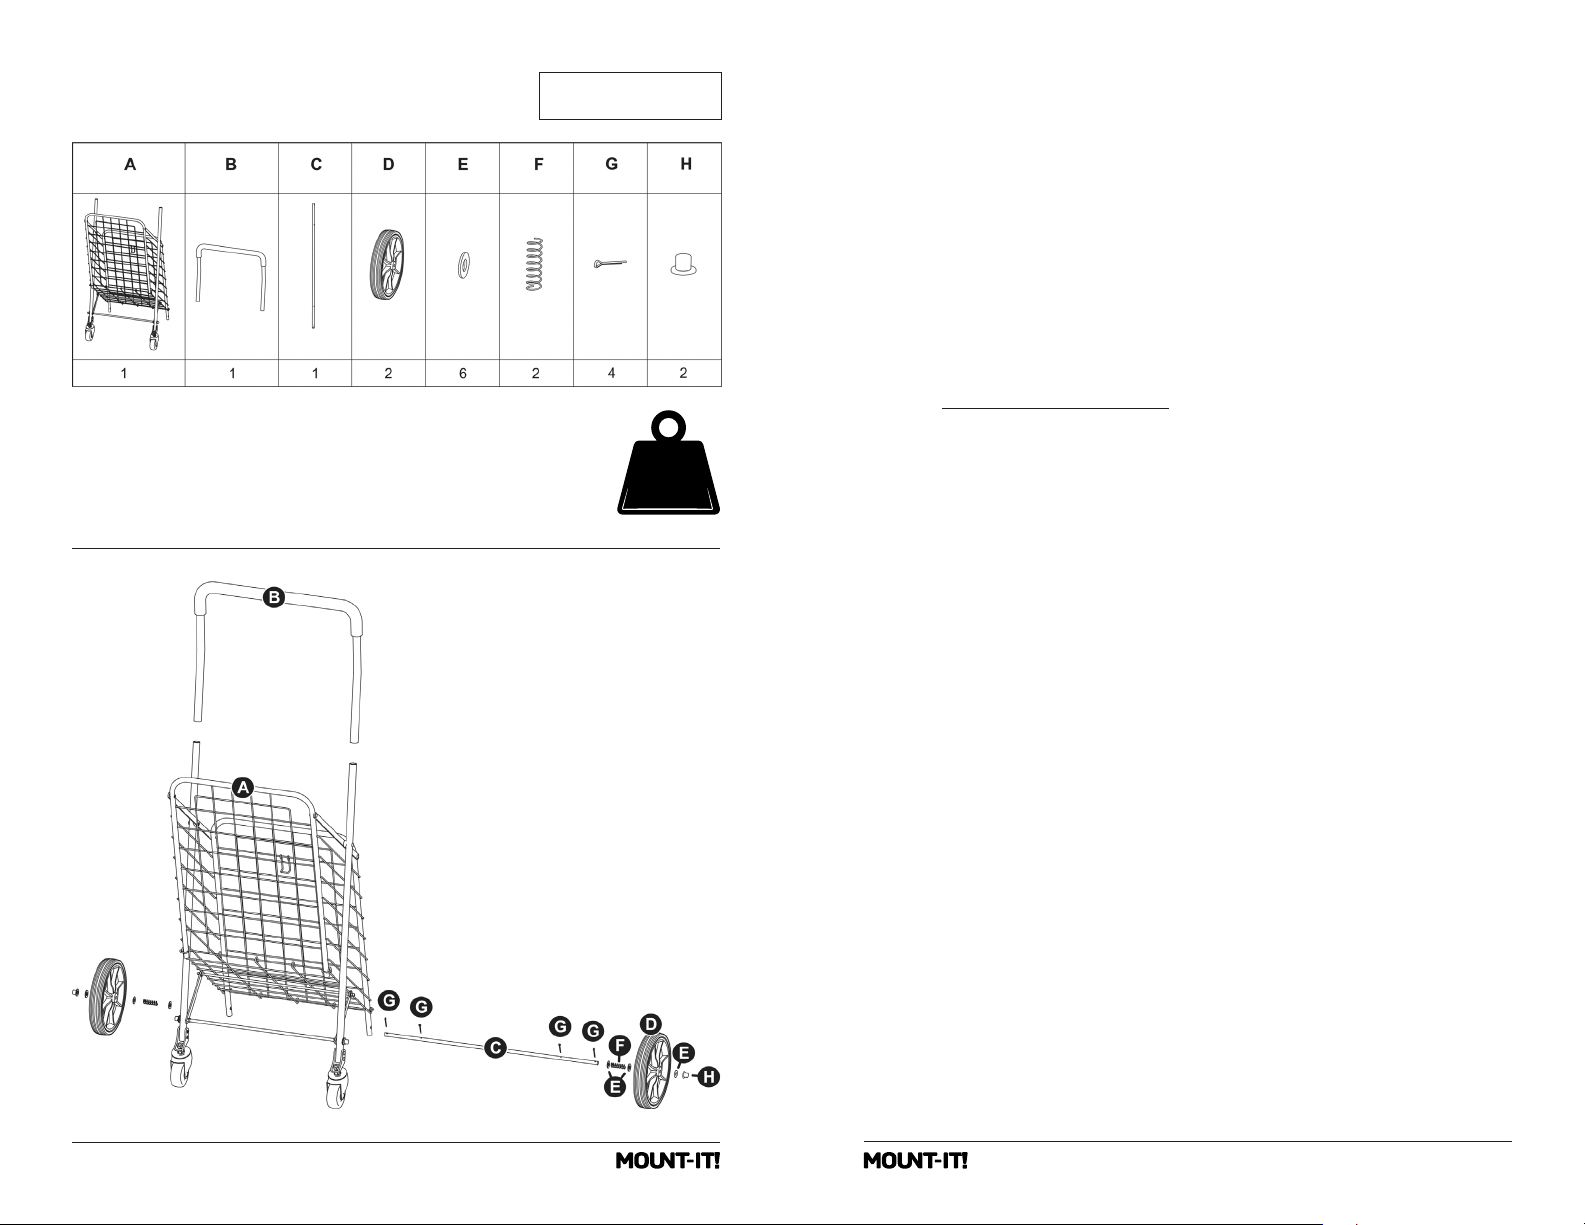
PACKAGE CONTENTS
Shopping Cart Handle Axle Back Wheel Washer Spring Cotter Pin Hub Cap
Tools Needed: Pliers
This cart is intended for light duty use for groceries, laundry and
transporting sports, camping, gardening equipment. The cart is
rated for 66 lbs weight capacity of evenly distributed load.
Assembly Time:
Less than 10 minutes
66
lbs capacity
HANDLE & AXLE ASSEMBLY
1. Remove protective packaging material. Remove the wheels and
other components that might be attached to the cart for transportation
purposes.
2. Unfold Shopping Cart (A) by releasing the latch located on the back side
of the cart.
3. Insert the Handle (B). Adjust the height of the desired handle by
positioning it on one of the three slots.
4. Slide Axle (C) through the holes located on each leg at the back side
of Shopping Cart (A). Center the axle and place two Cotter Pins (G) in the
holes on the inside of the back legs.
5. Use pliers (not included) to bend open the Cotter Pins (G) ends to secure
the axle in place.
WHEEL ASSEMBLY INSTALLATION
Follow the assembly steps below on one side of the axle.
1. Attach Washer (E), Spring (F) and Washer (E) on the axle, in the order
shown in the image below.
2. Attach Back Wheel (D) to the axle, followed by Washer (E).
3. Apply pressure on Spring (F) by pushing the Back Wheel (D) to the inside
of the axle until the outer hole on the axle is visible.
4. Attach Cotter Pin (G) on the outer hole to lock the wheel assembly in
place.
5. Use pliers (not included) to bend open the Cotter Pins (G) ends to secure
the axle in place.
6. Press the hub cap (H) onto the end of the axle to finish with wheel
assembly installation.
Follow steps 1 through 6 on the other side of the axle for the other wheel
assembly installation.
2
3
 Loading...