

MOTREX MTXA300JA User Manual
对折基准线
Owner’s Manual
FCC Statement
This equipment has been tested and found to comply with the limits for a Class B digital
device, pursuant to Part 15 of the FCC Rules. These limits are designed to provide reasonable
protection against harmful interference in a residential installation. This equipment generates
uses and can radiate radio frequency energy and, if not installed and used in accordance with
the instructions, may cause harmful interference to radio communications. However, there is
no guarantee that interference will not occur in a particular installation. If this equipment does
cause harmful interference to radio or television reception, which can be determined by
turning the equipment off and on, the user is encouraged to try to correct the interference by
one or more of the following measures:
-- Reorient or relocate the receiving antenna.
-- Increase the separation between the equipment and receiver.
-- Connect the equipment into an outlet on a circuit different from that to which the receiver
is connected.
-- Consult the dealer or an experienced radio/TV technician for help.
Changes or modifications not expressly approved by the party responsible for compliance
could void the user's authority to operate the equipment.
for Users
MTXA300JA
MP3/USB/AUX/
BLUETOOTH
WITH FM/AM RADIO
!!! !! !!!!! ATTENT IO N !!! !! !!!!!
Any Abnormal Operation or interference of frequency, the radio may
get caused malfunction. If so, set RESET to the radio. Press and hold
both 1DIS and 6DIR+ buttons about 5seconds simultaneously.

Table of Contents
Bluetooth Summary
Bluetooth Summary ----------------------------- 2
Identification of Controls and Functions
General Operating Instructions
Power ON/OFF ------------------------------- 4
Volume Control ------------------------------- 4
I-VOL Set-up --------------------------------- 4
Clock ON/OFF ------------------------------- 4
Contrast Control ------------------------------ 4
ID3 Language Selection --------------------- 4
Traffic ON/OFF ------------------------------- 4
Bass Control --------------------- ------------ Middle Control -------------------- ---------- Treble Control --------------------- ---------- Balance Control ------------------------ ------ 5
Fader Control --------------------------------- 5
Beep Control --------------------------------- MUTE --------------------------- ------------- Clock Set-up --------------------------------- Media Selection -----------------------------Radio Section Operation
- 7
Band Selection -------------------- ---------- Area Selection ------------------- ------------ Manual Tuning -------------------- ---------- Auto Tuning ---------------------------------- Station Preset -------------------------------- Presets Scan ---------------------------------- Best Stations Memory ---------------------- RDS Station ----------------------------------- 7
USB
Operation
Track UP/Down --------------------- -------- Directory/File Search ----------------------- Directory UP/Down ------------------------- Track/Folder Scan --------------------------- Track/Folder Repeat ------------------- ----- Track/Folder Random ------------------------ 9
ID3 Display ------------------------------------ 9
Smart Phone Charge -------------------------- 9
----- 3
- 5
- 5
- 5
-
- 6
- 7
- 7
- 8
- 8
iPod/iPhone Operation
Supported Devices ----------------------------- 10
iPod/iPhone Connect -------------------------- 10
Track Up/Down -------------------------------- 10
Repeat Play ------------------------------------- 10
Random Play ----------------------------------- 10
AUX Input ----------------------------------------- 11
Bluetooth Operation
Bluetooth Special Notes ---------------------- 12
Pair with Bluetooth Device ------------------- 13
Connect/Disconnect --------------------------- 13
Handsfree --------------------------------------- 14
Audio Transfer --------------------------------- 14
Last Call Dial ---------------------------------- 14
Make Call by Phone -------------------------- 14
6
Make Call by Audio Unit --------------------- 15
Make Call by Phone Book ------------------- 15
6
Memory Phone Number ---------------------- 15
6
Recall Memorized Number ------------------ 15
BT Music Play --------------------------------- 15
BT Music ID3 display ------------------------ 15
Reset Function and Precautions ---------------- 16
Specifications ------------------------------------- 17
7
7
7
7
Before operating the unit,
8
8
8
please read this manual
thoroughly and retain it for
future reference.
The BLUETOOTH features are subject to Bluetooth V2.1+EDR/Bluetooth 3.0
The Bluetooth technology is a wireless connection with a short range. That is, the
cellular phone must be in between 30cm to 1 meter close to the car audio system
(in the vehicle).
The integrated Bluetooth module in your audio unit allows the hands-free use of a
phone via a Bluetooth connection. The cellular phone can remain in the bag or the
glove compartment, while you have both hands free for steering.
The Bluetooth feature:
- A2DP, AVRCP, HS/HFP, PBAP
- Audio transfer between Audio Unit and Celluar Phone
- Noise Reduction
- Acoustic Echo cancellation
- Range up to ten meters cable free connection with Bluetooth devices
- Stereo audio play, pause, track up, track down, repeat play, random play
- PhoneBook
- Shows ID3
IMPORTANT NOTES:
Keeping well your phone connection with Bluetooth technology, followings are
recommended.
- Talking better close to the Audio Unit.
- Off road driving or opening window, higher speed (over 30Km) should be heard
loud noise whilst phone conversation.
- Talking the call through out the speaker phone with other hand free kits must be
heard loud noise or unclear talks.
- Air conditioner or heater may cause interruption noise to be heard.
- Cell phone are not too close to the audio unit to avoid GSM noise caused.
(No closer than 30CM to the radio unit).
- Extreme weather may cause not to work the Bluetooth function in the audio unit.
1
2
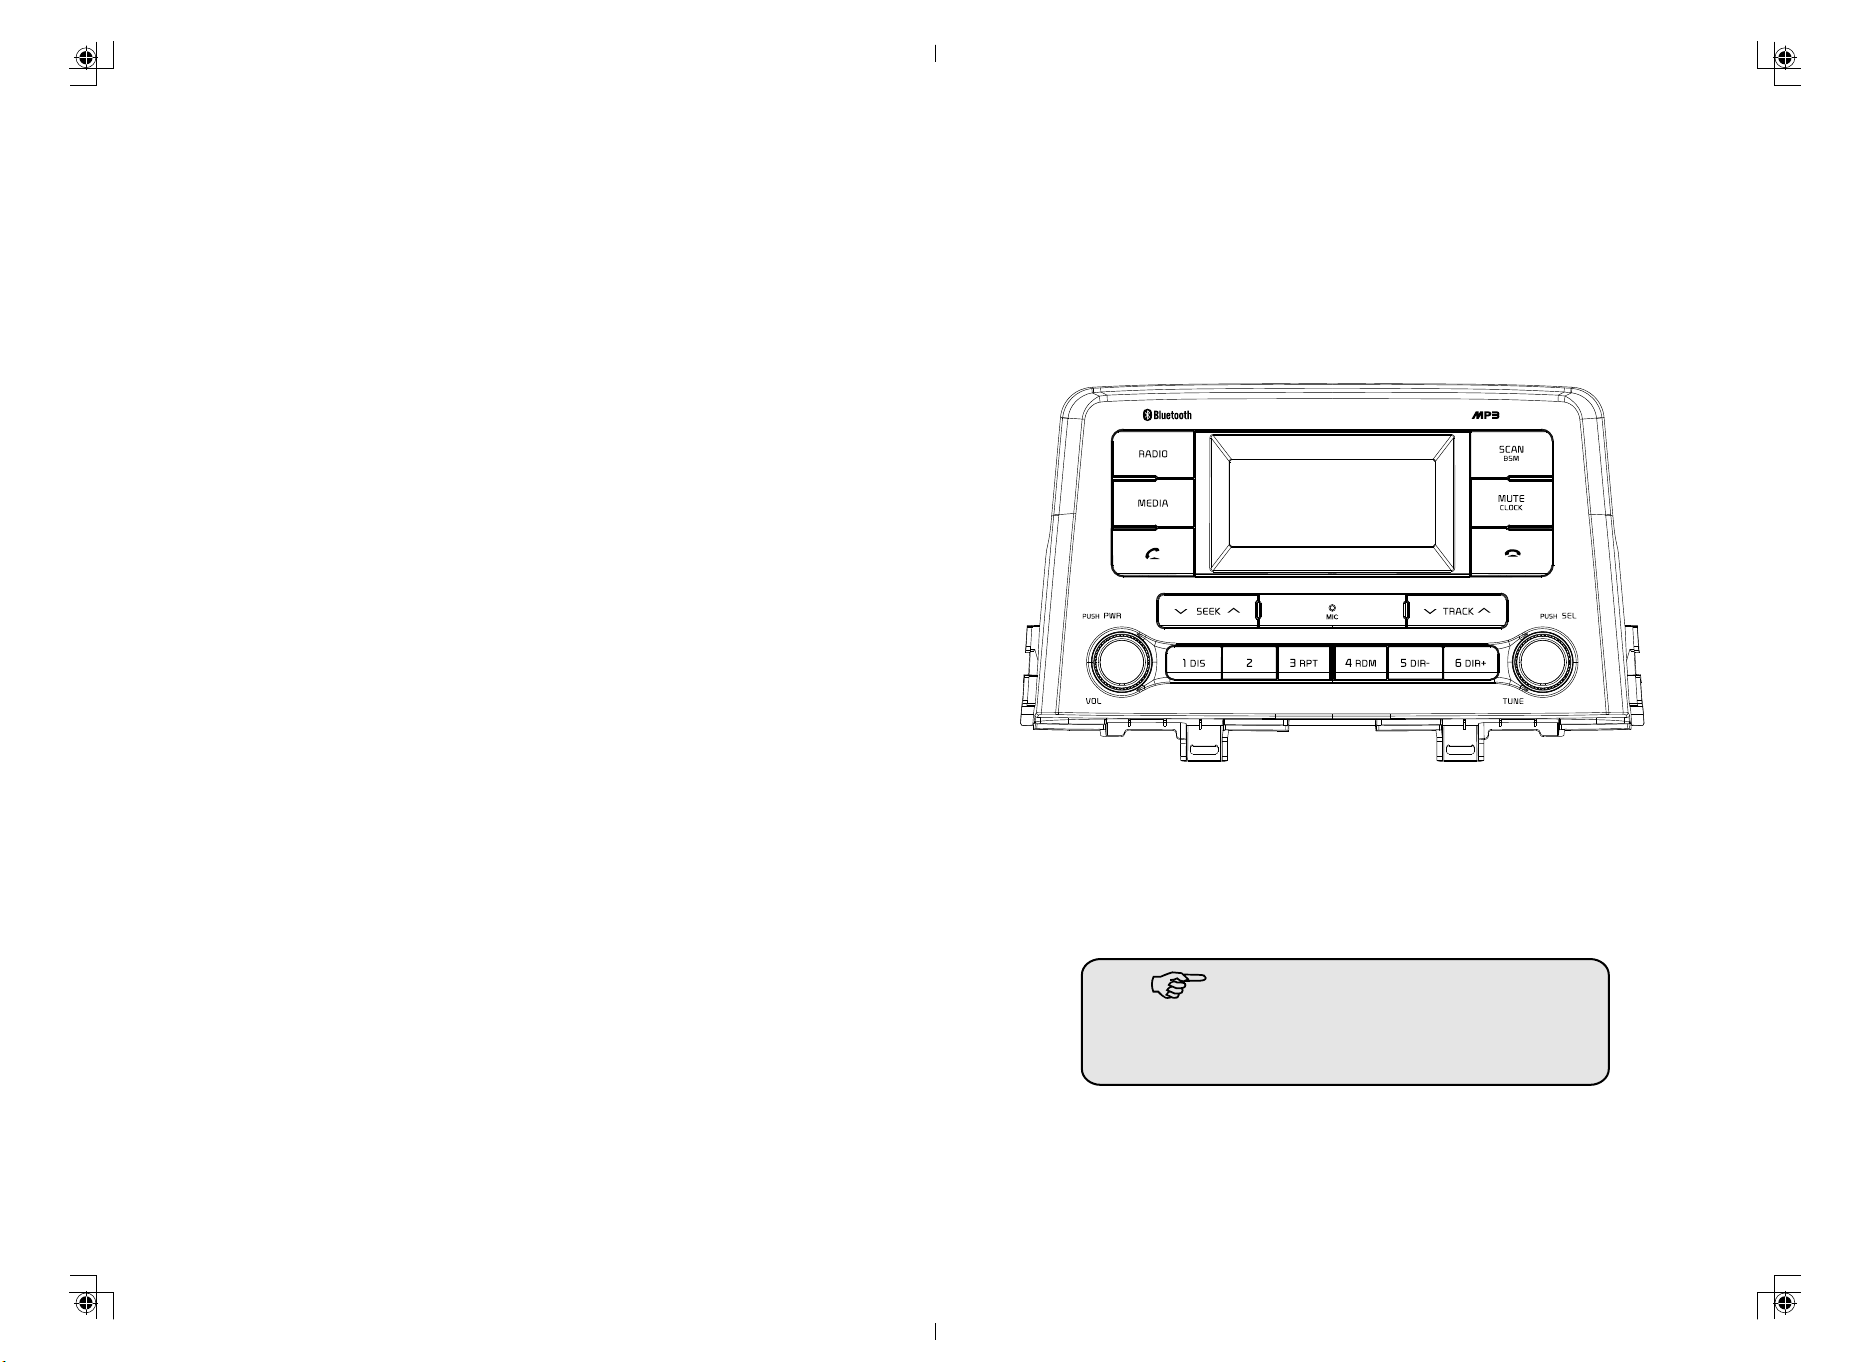
Identification of Controls and Functions
3
4
5
9
1
17
10
General Operating Instructions
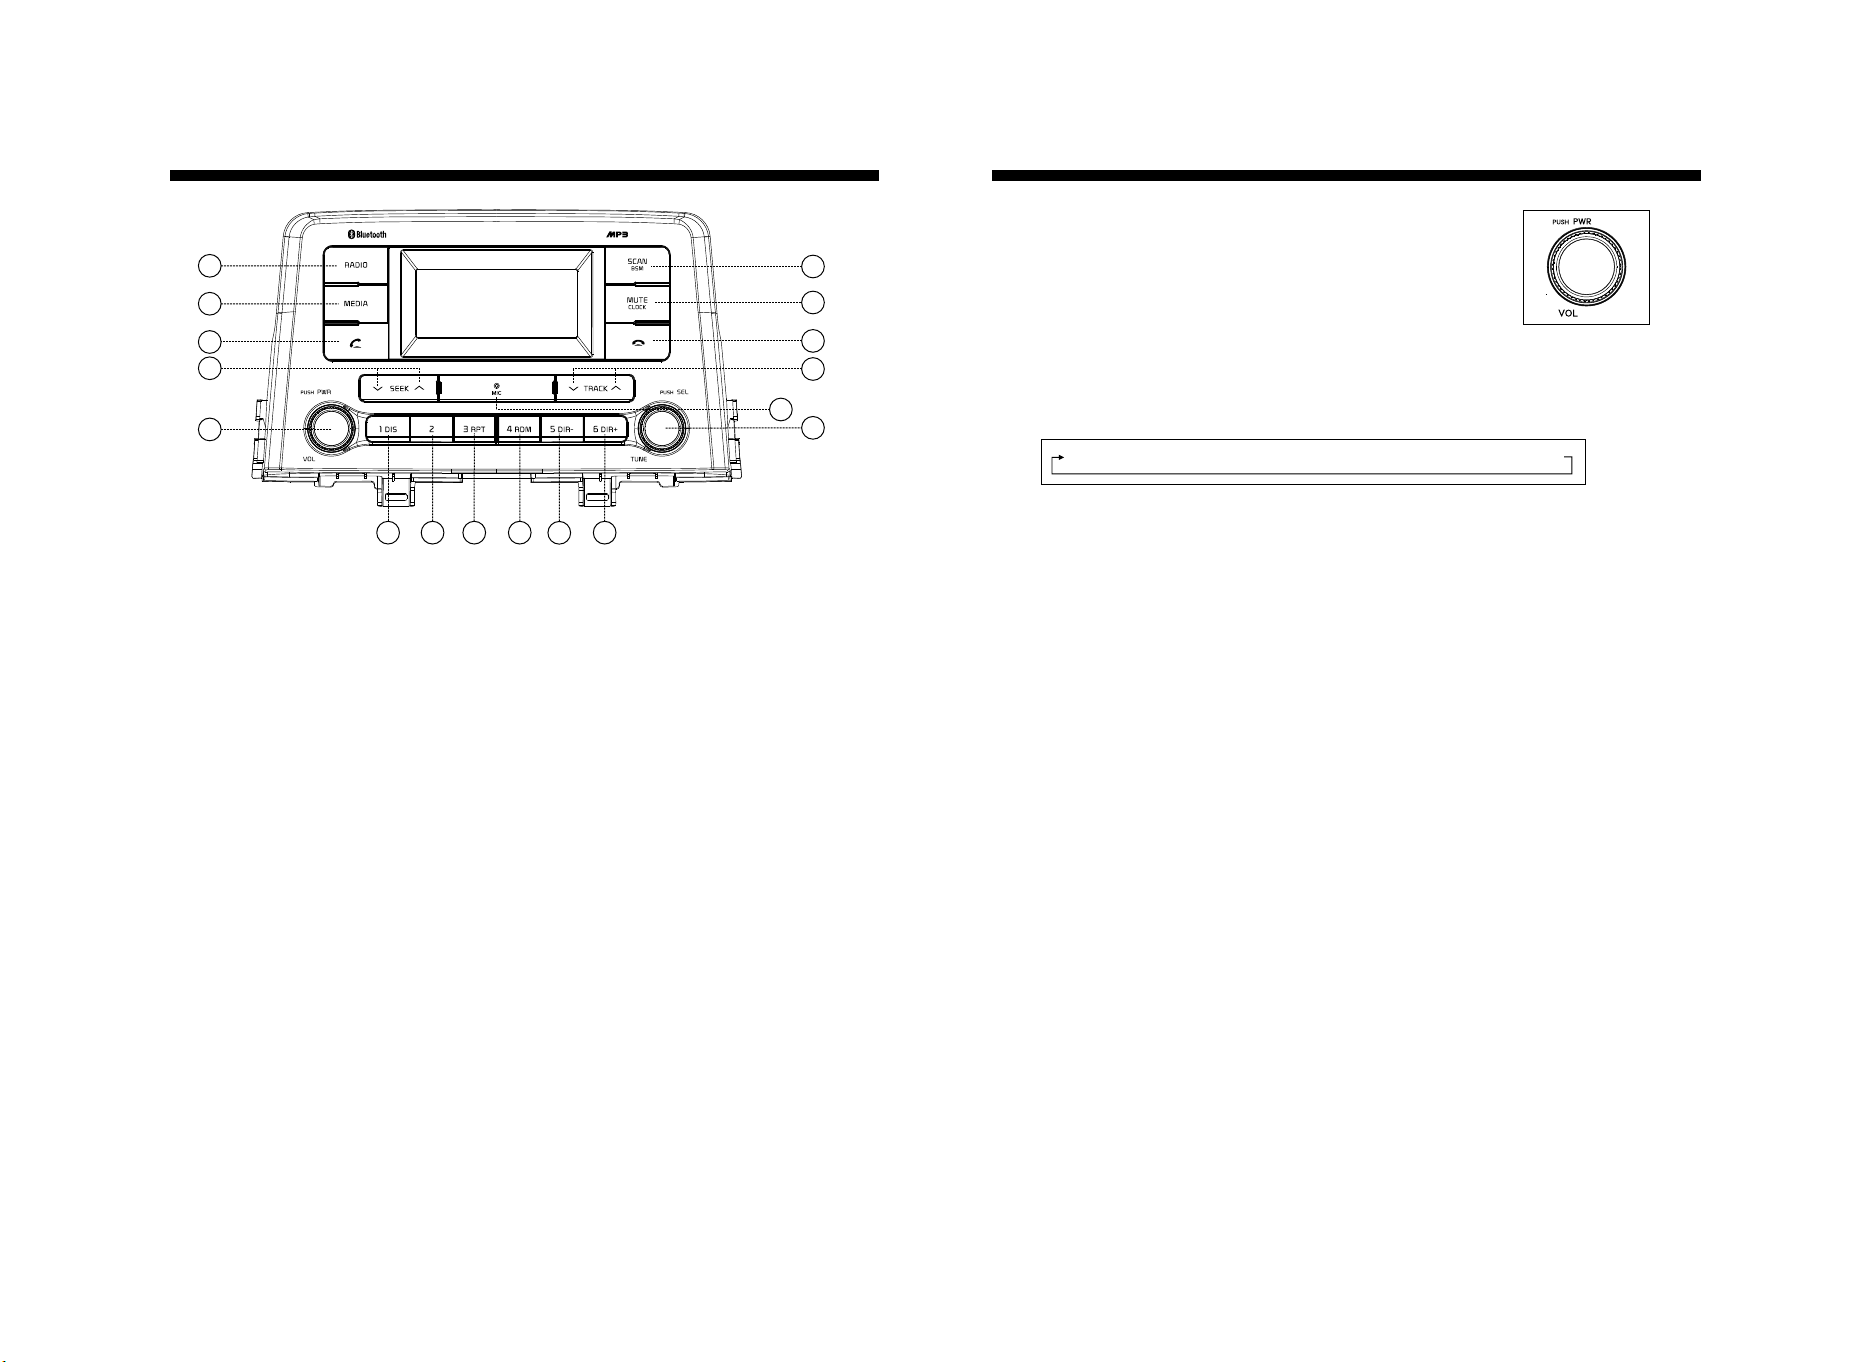
1-1. Power On/Off button
Press Power button (1) to turn the unit on or off.
6
7
8
2
1-2. Volume Up/Down Control knob
Turn VOL knob (1) right to increase the volume level;
Turn VOL knob (1) left to decrease the volume.
After 5 seconds the display will return to the previous display mode.
1-3. System Setting MENU
With unit powered on, press and hold VOL button for 2s to enter system setting
menu, then repeat short press this knob (1), LCD displays as follows:
I-VOL --> CLOCK --> CONTRAST --> ID3 LANGUAGE --> TRAFFIC
12
13
14
15
16
11
1. Power ON/OFF, Volume UP/DOWN button
2. Manual UP/DOWN Tuning, File Search, Enter button
3. Radio button (FM1 --> FM2 --> AM)
4. MEDIA button (USB --> AUX --> BT MUSIC)
5. Call & Pair button
6. SCAN/BSM button, Scan Play button
7. Audio Mute/Clock button
8. Call End button
9. Seek Up/Down button
10. Track Up/Down button
11. Station Preset 1, Display button
12. Station Preset 2 button
13. Station Preset 3, Repeat Play button
14. Station Preset 4, Random Play button
15. Station Preset 5, Directory Down button
16. Station Preset 6, Directory Up button
17. MIC Hole
1.3.1 Initial Volume Level Set Up
I-VOL is the volume level the unit will play at when next turned on. To adjust the
I-VOL level, press and hold VOL button (1) for longer than 2 seconds. The current
volume level displays on the display panel. Then turn button (1) right or left to set
the volume level as the I-VOL level.
1-3.2 Clock ON/OFF Control
To select Clock ON or OFF, press and hold VOL button (1) for longer than 2 seconds,
then repeatedly press VOL button momentarily until CLOCK appears on the display
panel. Then turn knob (1) right or left within 5 seconds to select CLOCK ON or OFF.
Note: Due to the time tolerance, the clock display on the Audio Unit and on the Car
might have little difference.
1-3.3 Contrast Control
To adjust the display Contrast, press and hold VOL button (1) for longer than 2
seconds, then repeatedly press VOL button momentarily until CONTRAST appears
on the display panel. Then turn knob (1) right or left within 5 seconds to adjust level
of contrast.
1.3.4 ID3 Language Selection
To select the ID3 display language, press and hold VOL button (1) for longer than 2
seconds, then repeatedly press VOL button momentarily until ID3 appears on the
display panel. Then turn knob (1) right or left within 5 seconds to select ID3 display
language among English, Spanish, French, Arabic.
Note: The language selection only affect the ID3 display. All other display always
in English.
1.3.5 Traffic on/off Selection
The unit default at Traffic off. To select Traffic on, press and hold VOL button (1) for
longer than 2 seconds, then repeatedly press VOL button momentarily until TRAFFIC
appears on the display panel. Then turn knob (1) right or left within 5 seconds to select
Traffic ON. With Traffic on selected, it will auto seek the Traffic stations with TA
SEEK appears on the display panel.
3
4
 Loading...