

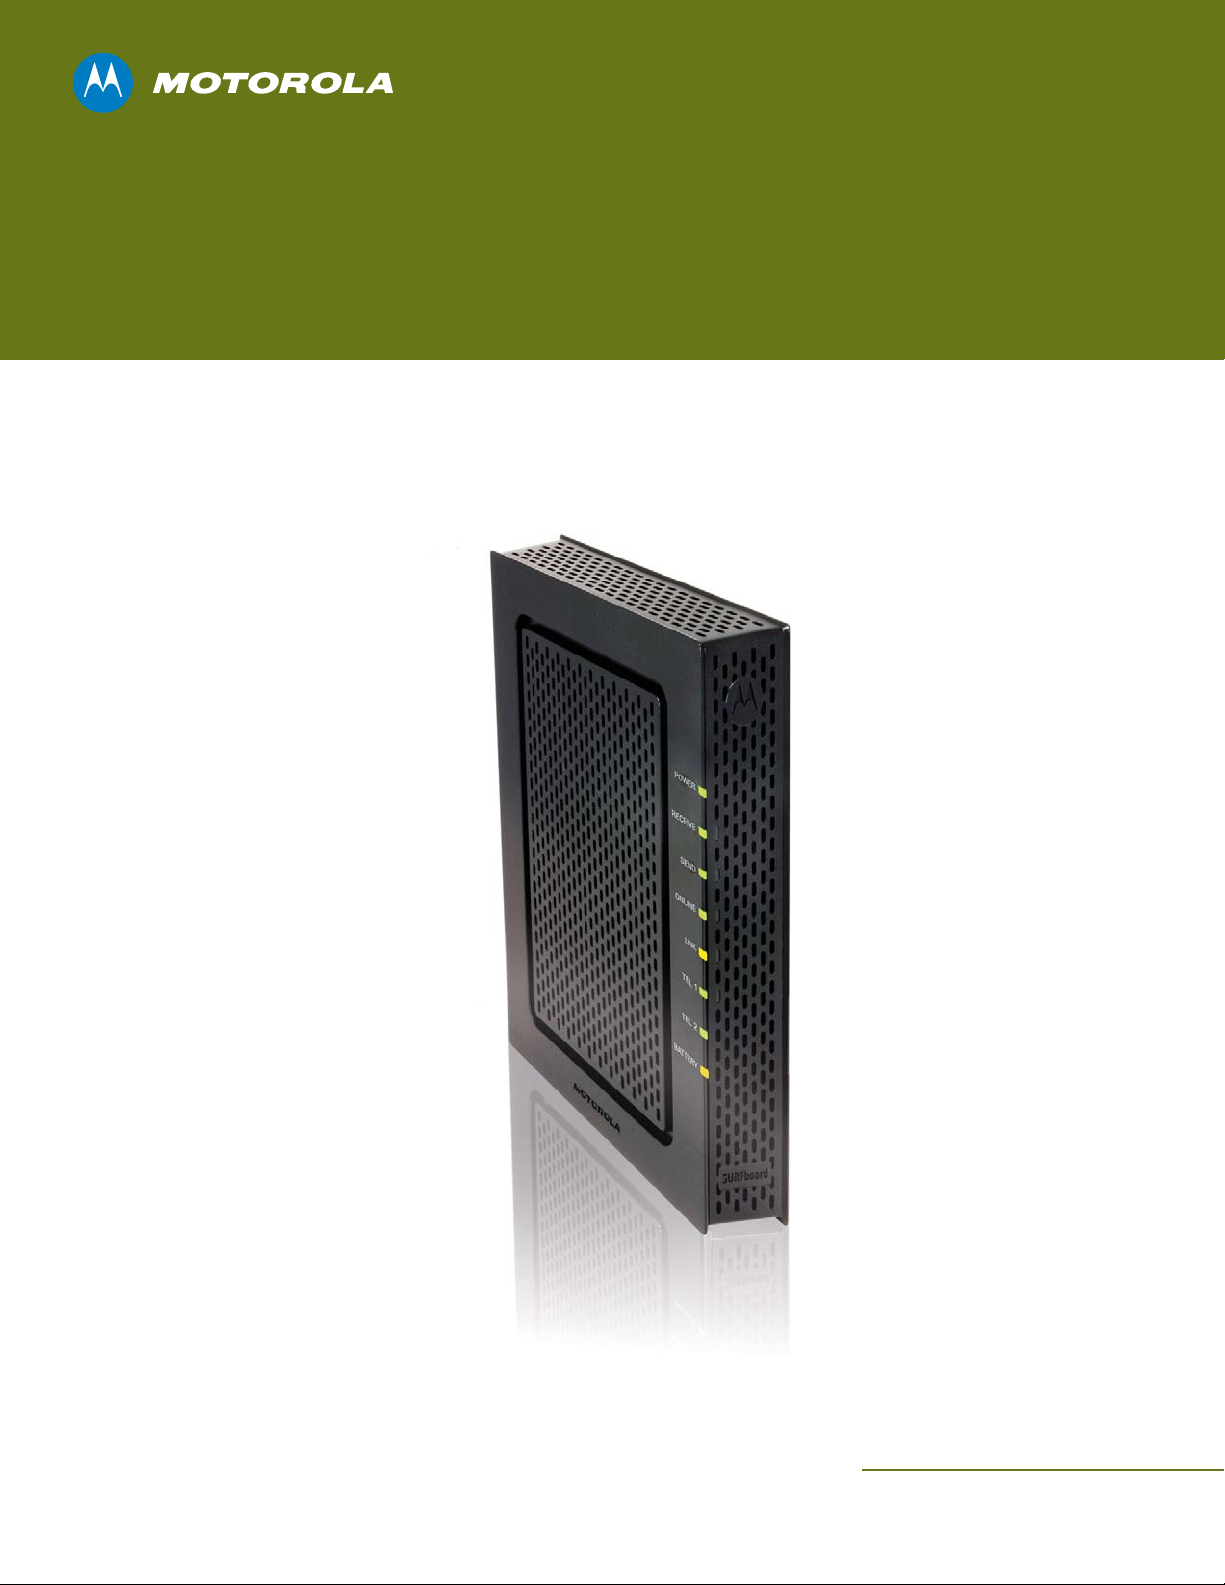
SURFboard® SBV6220
DOCSIS® 3.0 Digital Voice Modem
Quick Start Guide

Contents
Before You Begin . . . . . . . . . . . . . . . . . . . . . . . . . . . . . . . . . . . . . . . . . . . . . . . . . . . . . . . . . . . . . . . . . . . . . . . . . . . . . . . . . 1
Introduction . . . . . . . . . . . . . . . . . . . . . . . . . . . . . . . . . . . . . . . . . . . . . . . . . . . . . . . . . . . . . . . . . . . . . . . . . . . . . . . . . . . . . . . . . . . . . . . 1
System Requirements . . . . . . . . . . . . . . . . . . . . . . . . . . . . . . . . . . . . . . . . . . . . . . . . . . . . . . . . . . . . . . . . . . . . . . . . . . . . . . . . . . . . . . . 1
In the Box . . . . . . . . . . . . . . . . . . . . . . . . . . . . . . . . . . . . . . . . . . . . . . . . . . . . . . . . . . . . . . . . . . . . . . . . . . . . . . . . . . . . . . . . . . . . . . . . . 1
Product Overview . . . . . . . . . . . . . . . . . . . . . . . . . . . . . . . . . . . . . . . . . . . . . . . . . . . . . . . . . . . . . . . . . . . . . . . . . . . . . . . 2
Front Panel LEDs . . . . . . . . . . . . . . . . . . . . . . . . . . . . . . . . . . . . . . . . . . . . . . . . . . . . . . . . . . . . . . . . . . . . . . . . . . . . . . . . . . . . . . . . . . . 2
Rear Panel Ports and Connectors . . . . . . . . . . . . . . . . . . . . . . . . . . . . . . . . . . . . . . . . . . . . . . . . . . . . . . . . . . . . . . . . . . . . . . . . . . . . . . . 2
Front Panel Description . . . . . . . . . . . . . . . . . . . . . . . . . . . . . . . . . . . . . . . . . . . . . . . . . . . . . . . . . . . . . . . . . . . . . . . . . . . . . . . . . . . . . . 2
Connecting Your Digital Voice Modem . . . . . . . . . . . . . . . . . . . . . . . . . . . . . . . . . . . . . . . . . . . . . . . . . . . . . . . . . . . . . . . 3
Installing the Battery . . . . . . . . . . . . . . . . . . . . . . . . . . . . . . . . . . . . . . . . . . . . . . . . . . . . . . . . . . . . . . . . . . . . . . . . . . . . . . . . . . . . . . . . . 3
Cabling . . . . . . . . . . . . . . . . . . . . . . . . . . . . . . . . . . . . . . . . . . . . . . . . . . . . . . . . . . . . . . . . . . . . . . . . . . . . . . . . . . . . . . . . . . . . . . . . . . . 3
Testing the Connections . . . . . . . . . . . . . . . . . . . . . . . . . . . . . . . . . . . . . . . . . . . . . . . . . . . . . . . . . . . . . . . . . . . . . . . . . . . . . . . . . . . . . . 4
Troubleshooting . . . . . . . . . . . . . . . . . . . . . . . . . . . . . . . . . . . . . . . . . . . . . . . . . . . . . . . . . . . . . . . . . . . . . . . . . . . . . . . . . . 5
SBV6220 Quick Start Guide i

Before You Begin
Introduction
Congratulations on your purchase of a Motorola SURFboard® SBV6220 DOCSIS® 3.0 Digital Voice Modem. This document will help you
set up your digital voice modem to quickly get it up and running.
System Requirements
Your computer must meet the following minimum requirements:
An established coaxial cable connection•
®
Any web browser, such as Microsoft•
Windows•
Note: Make sure the latest service packs and patches are installed for the operating system you are running.
®
2000, Windows XP™, Windows Vista®, Macintosh®, UNIX®, or Linux®
Internet Explorer®, Netscape Navigator®, or Mozilla® Firefox
In the Box
Before starting the installation, make sure the following items are included in the box:
®
SBV6220 Digital Voice Modem
Ethernet cable
SBV6220 Quick Start Guide 1
Battery
Install Sheet
Power adapter and cord
SW License & Regulatory Card

Product Overview
Front Panel LEDs Rear Panel Ports and Connectors
Telephone Ports 1/2 & 2
POWER
RECEIVE
SEND
ONLINE
LINK
TEL 1
TEL 2
BATTERY
Reset Switch
Ethernet Port
Cable Connector
Power Connector
Front Panel Description
The SBV6220 front panel contains indicator lights that provide the following status information:
LED OFF FLASHING ON
POWER Power is disconnected Startup diagnostics in progress Green: Digital voice modem is powered on
RECEIVE Receive channel not found Scanning for a downstream channel
connection
SEND Send channel not found Scanning for an upstream channel
connection
ONLINE Internet connection failed Scanning for an Internet connection;
transmitting or receiving data over the
Internet
LINK No connection to SBV6220
Ethernet port detected
TEL 1
TEL 2
BATTERY Battery is discharged or not
* Blue LED operation is not available in all locations. Your service provider may implement bonded channels for high-speed Internet and Ethernet connections.
Telephone line is not set
up for service. Contact your
VoIP service provider.
properly installed
LAN activity; transmitting or receiving
data
Telephone is off-hook; dialing or usage
in progress; telephone service is not
provisioned
Battery is not fully charged or power
is not on
Green: Receive (downstream) channel is connected
Blue*: Downstream channel connection with bonded channels
Green: Send (upstream) channel is connected
Blue*: Upstream channel connection with bonded channels
Green: Startup process completed
Amber: A device (computer or hub) is connected to Ethernet
(10Base-T) or Fast Ethernet (100Base-T) port on rear panel
*
: High-speed Ethernet (1000Base-T) connection made from
Blue
SBV6220 to your computer
Green: Telephone is connected and activated; on-hook
Amber: Power is on and battery is in good condition
SBV6220 Quick Start Guide 2

Connecting Your Digital Voice Modem
Please make sure to follow the installation instructions in the order presented. Before starting the installation, you must fi rst install the
battery in your digital voice modem.
Installing the Battery
Place the SBV6220 on its side and press down on the two 1.
locking tabs to remove the battery cover from the bottom of
the digital voice modem.
Slide the battery into the battery compartment until it is fully 2.
seated.
Replace the battery cover with the locking tabs facing 3.
upward, and then push the cover into place.
Note: The battery may take up to 12 hours to reach a full
charge.
Cabling
1
2
3
IMPORTANT
Before starting this part of the installation, make sure to power off your computer and unplug the power cord to your •
digital voice modem.
Contact your cable service provider before connecting the Motorola SURFboard Digital Voice Modem to your existing •
telephone wiring. Do not connect the telephone cable from the TEL port to a traditional telephone service.
Note: To prevent damage to the SBV6220 Digital Voice Modem
from static electricity, perform each installation step in the
following order:
1. Connect one end of the coaxial cable to a grounded cable
TV outlet or splitter.
2. Connect the other end of the coaxial cable to the Cable
connector on the rear of the SBV6220.
3. Insert the power cord plug into an AC electrical outlet.
4. Connect the power cord to the power adapter and insert
the power connector end of the power adapter into the
Power connector on the rear of the SBV6220.
12
34
SBV6220 Quick Start Guide 3

Connecting Your Digital Voice Modem
Connect your telephone and computer to the SBV6220
Note: Do not connect the telephone cable from either TEL
port to a traditional telephone service; only connect it to a
telephone.
For a single or two-line telephone:
1. Plug one end of the telephone cable into your telephone.
2. Plug the other end of the telephone cable into TEL 1/2 port
on the back of the SBV6220.
Note: You must use the TEL 1/2 port to connect a two-line
telephone.
For a second single-line telephone, fax machine, or other
device:
3. Plug one end of the device cable into the device.
1
2
34
4. Plug the other end of the device cable into the TEL 2 port on
the back of the SBV6220.
5. To connect your computer, insert one end of the Ethernet
cable into the Ethernet port on your computer.
6. Insert the other end of the Ethernet cable into the Ethernet
port on the back of the SBV6220.
56
Testing the Connections
To verify that all the components were properly installed, perform the following connectivity test:
Power on your computer and then log on.1.
Check that all the LEDs on the SBV6220 front panel are either 2. on or fl ashing, except for TEL 1 and TEL 2. The telephony LEDs will
be on if the SBV6220 is set up for telephone service.
Note: See Front Panel Description on page 2 for status information on the LEDs that are fl ashing.
Open a web browser.3.
Go to any website to check for an Internet connection.4.
Check the telephone for a dial tone. If there is no dial tone, then you may not have a telephone service subscription.5.
Note: Contact your service provider to provision the telephony line(s).
If the connectivity test failed, see Troubleshooting on page 5 for a possible solution.
SBV6220 Quick Start Guide 4

Troubleshooting
This section covers some of the common problems that may occur during installation of your digital voice modem. Before calling your
service provider, follow the applicable instructions provided below to quickly resolve the problem. If the problem still exists, then you
should contact your cable service provider.
For more information on advanced troubleshooting issues and using your digital voice modem, see the SBV6220 DOCSIS 3.0 Digital
Voice Modem Installation Guide available at Digital Voice Modems area on the Motorola website, http://broadband.motorola.com/
consumers/support.
Problem Solution
Green POWER LED is off
- or -
All LEDs are off
SBV6220 cannot receive or
send data
Check that the AC/DC power adapter is securely plugged into the back of the SBV6220 • and the
electrical wall outlet.
Make sure the power adapter is plugged into a live electrical outlet that is • not switch-controlled.
Check the coaxial cable connection on the SBV6220 and cable service wall outlet. Hand-tighten •
the cable connectors, if necessary.
Check that the Ethernet cable is properly connected to the SBV6220 and your computer.•
Check the LEDs on the front of the SBV6220. Note the fi rst LED from top to bottom that is • off
or fl ashing. This LED shows where the error occurred; see Front Panel Description on page 2 for
more information.
POWER, RECEIVE, SEND, and ONLINE LEDs should always be on. LINK LED should be fl ashing.
If you do not have cable TV service, then you must contact a cable service provider.•
If you have cable TV service, then you can determine if the cable system is working properly
by viewing a channel on your TV. If you cannot see a picture on the TV, then your data and voice
service will not work; you will need to contact your cable service provider.
Check the IP address by following the steps for your operating system in the user guide: See the •
SBV6220 DOCSIS 3.0 Digital Voice Modem Installation Guide for the operating system you are
running by performing the steps in one of the following sections:
Verifying the IP Address in Windows Vista o
Verifying the IP Address in Windows XP o
Verifying the IP Address in Windows 2000 o
If you need an IP address, call your cable service provider.
No telephone service
- or -
TEL 1 or TEL 2 LED is off
TEL 1 or TEL 2 LED is
fl ashing (rapidly)
SBV6220 Quick Start Guide 5
If your telephone requires external power, check the AC power connection to your telephone.•
Check that the telephone lines are properly connected to the SBV6220. If they are and the TEL 1 •
or TEL 2 LED remains off, the telephone line is not set up for voice service. Contact your service
provider.
A telephone wiring fault was detected. Check the applicable telephone wiring. •

www.motorola.com
MOTOROLA and the Stylized M Logo are registered in the U.S. Patent and Trademark Offi ce. SURFboard is a registered trademark of General Instrument Corporation, a wholly-owned subsidiary of Motorola, Inc.
Windows is a registered trademark and XP and Vista are trademarks of Microsoft Corporation in the U.S. and/or other countries. Linux is a registered trademark of Linus Torvalds in the U.S. and other countries. UNIX
is a registered trademark of the Open Group in the United States and other countries. Macintosh is a registered trademark of Apple Computer, Inc. DOCSIS is a registered trademark of Cable Television Laboratories,
Inc. Netscape is a registered trademark of Netscape Communication Corporation. All other product or service names are the property of their registered owners. No part of the contents of this document may be
reproduced or transmitted in any form or by any means without the written permission of the publisher. © Motorola, Inc. 2008. All rights reserved.
548417-001-a 11/08
 Loading...