

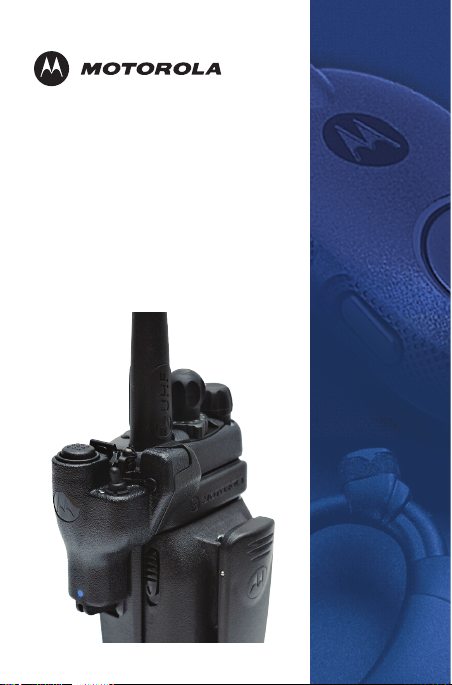
MISSION
CRITICAL
WIRELESS
ADAPTER
PMLN5792


FOREWORD
C
n
Product Safety and RF Exposure Compliance
Before using this product, read the
operating instructions for safe
!
a u t i o
usage contained in the Product
Safety and RF Exposure booklet
enclosed with your radio.
ATTENTION!
The radio is restricted to occupational use only to
satisfy ICNIRP/ FCC RF energy exposure
requirements. Before using this product, read the
RF energy awareness information and operating
instructions in the Product Safety and RF Exposure
booklet enclosed with your radio (Motorola
Publication part number 6881095C98 - This is US
Safety. EMEA version is 6864117B25.) to ensure
compliance with RF energy exposure limits.
This device complies with part 15 of the FCC
Rules. Operation is subject to the following two
conditions: (1) This device may not cause harmful
interference, and (2) this device must accept any
interference received, including interference that
may cause undesired operation
modifications not expressly approved by
Motorola may void the user's authority to
operate this device.
Bluetooth® is a registered trademark of the Bluetooth
Special Interest Group.
. Any changes or
i
English

OPERATION
Attaching the Mission Critical Wireless Adapter to the Radio's Universal Connector
Below are the steps to attach the Mission Critical
English
Wireless Adapter PMLN5792 to the radio’s
universal connector:
1. Ensure that the radio is turned off before
attaching the adapter to the radio.
2. Remove the universal connector cover from
the side of the radio.
3. Insert the bottom hooked end of the adapter
into the radio's bottom slot. Pivot the top of the
adapter towards the radio, then engage the
adapter's spring loaded latch in the radio's top
slot. Refer to Figure 1 Mission Critical Wireless
Adapter.
4. Secure the adapter to the radio using the
tethered screw.
1

Top Slot
English
Audio Routing
Toggle Switch
LED
Blue
Dot
Tethered
Screw
Spring
Latch
Bottom
Hooked
End
Bottom
Slot
Figure 1 Mission Critical Wireless Adapter
2

Supported Bluetooth Devices
• NTN2570A, HKXXXX Wireless Accessory
Kit, NFP, 12" CABLE
• NTN2573A, HKXXXX Wireless Accessory
Kit, NFP, 9.5" CABLE
English
• NTN2571A, HKXXXX Wireless Accessory
Kit, NFP
LED Status Indication
State LED Indication
Successful Power Up Blue LED Blinks 3
times
Not Paired with any
Blue LED Blinking
Bluetooth Device
Not Connected with
Bluetooth Headset
Bluetooth Headset
Connected
Blue LED
Illuminated
Blue LED Heartbeat
Blinking (On for
every 4 seconds)
Table 1: LED Status Indication
3

Mission Critical Wireless Adapter Pairing Procedure
1. Place the Bluetooth device in pairing mode.
Refer to respective Bluetooth device’s user
manual.
2. Refer to “Attaching the Mission Critical
Wireless Adapter to the Radio's Universal
Connector” on page 1 to attach the adapter to
the radio.
3. Place the blue dot (secure pairing spot) on the
Bluetooth device within one inch of the blue
dot (secure pairing spot) on the adapter.
a.The adapter allows a maximum of 1 audio
and 1 non-audio device to pair with it.
b.If the maximum number of device is
reached, the user needs to unpair the
device. Refer to step 7 for unpairing
procedure.
4. The adapter provides LED indication when
successfully connected with the Bluetooth
Headset Device .Refer to “LED Status
Indication” on page 3.
5. Perform link check to verify the Bluetooth
connection between the adapter and the
Bluetooth device. Refer to respective Bluetooth
device’s user manual.
6. Bluetooth devices which are connected
successfully with the adapter are reconnected
automatically on the next power up.
English
4

7. To replace with new Bluetooth device:
a.Power OFF the Radio
b.Press and hold the PTT button on the
adapter while powering up the radio until the
English
adapter provides LED indication. This
indicates that the dongle has unpaired with
the previously paired device and is ready to
pair with the new device. Refer to “LED
Status Indication” on page 3.
c.Repeat steps 1 to 5 to pair a new Bluetooth
device.
Note: When step 7 is performed, it will erase all the
previously paired device information. However, the user can
repeat the “Mission Critical Wireless Adapter Pairing
Procedure” on page 4 for pairing with intended device.
Bluetooth Link Lost
In the event of interference, or if the Bluetooth
Device is out of range, the link between the
Mission Critical Wireless Adapter and Bluetooth
Device may be lost.
If the link between the adapter and Headset
(Bluetooth Device) is lost, the received audio is
automatically routed back to the radio's speaker
and the adapter will not allow the Bluetooth device
to key-up the radio.
Bluetooth Link Restored
Once the Bluetooth Device is in range or after
interference has subsided, the link between the
Mission Critical Wireless Adapter and the
Bluetooth Device is restored.
5

When the link between the adapter and the
Headset (Bluetooth Device) is restored, the
adapter will allow the Bluetooth device to key-up
the radio.
Audio Routing Toggle Switch
The toggle switch on top of the adapter allows the
user to switch audio between the Mission Critical
Wireless Adapter and the radio.
• With the toggle switch positioned away from
the radio, audio will be routed to the radio
speaker, and the radio microphone is active
during transmit.
• With the toggle switch positioned towards
the radio, audio will be routed to the
Bluetooth headset earpiece, and the
headset microphone will be active. The
adapter and headset must be paired first. To
pair the adapter and headset, refer to
“Mission Critical Wireless Adapter Pairing
Procedure” on page 4.
Other Notes
• The Mission Critical Wireless Adapter
PMLN5792 is non-serviceable.
• The Mission Critical Wireless Adapter
PMLN5792 is for portable usage only.
• The Mission Critical Wireless Adapter
PMLN5792 only supports one Headset and
one Bluetooth PTT POD.
English
6

m
MOTOROLA, MOTO, MOTOROLA SOLUTIONS and the Stylized
M Logo are trademarks or registered trademarks of Motorola
Trademark Holdings, LLC and are used under license.
All other trademarks are the property of their respective owners.
© 2010 Motorola, Inc. All rights reserved.
*6801200302
68012003026-A
 Loading...