

Motion Sound MS-1771 User Manual
1
MS-1771 User Guide
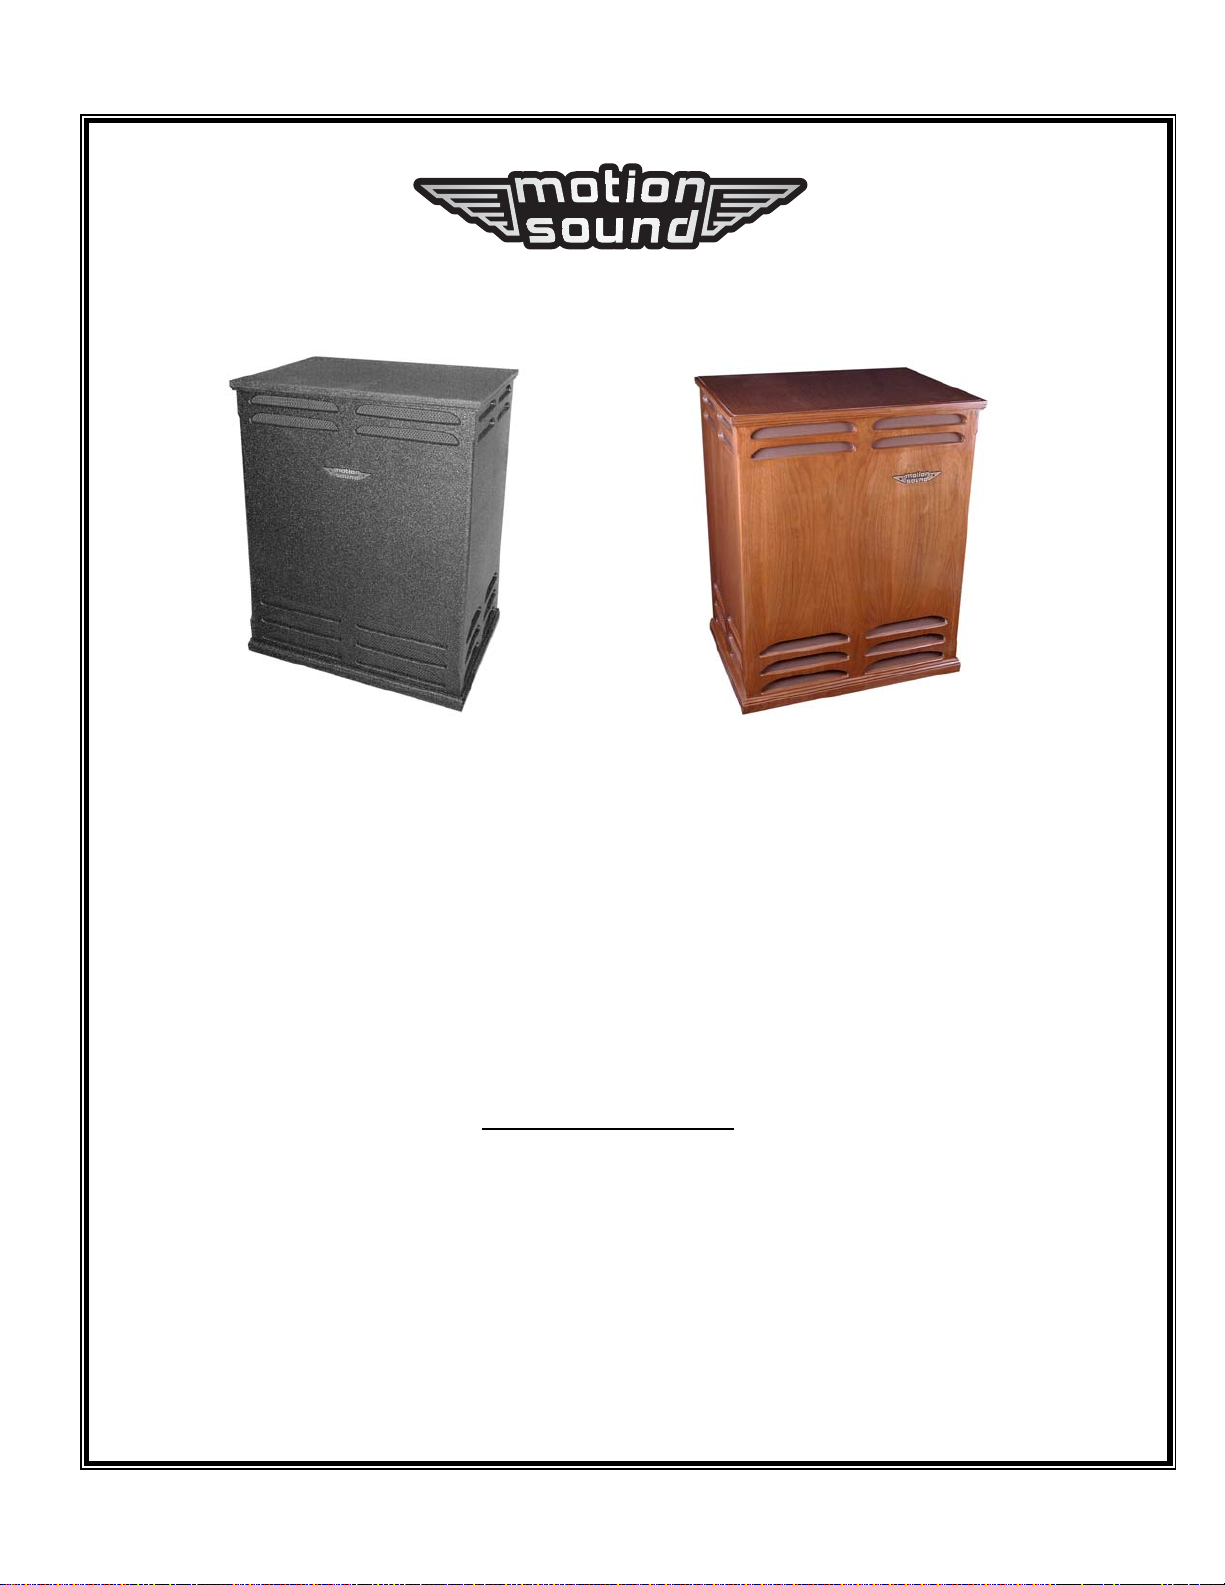
MS-1771 MS-1771W
• The MS-1771 is a high powered bi-amped rotary speaker system deigned for use with console Organs.
Modern technology is used in both electronic and mechanical design providing a maintenance free reliable
rotary speaker system. All critical screws are threaded into steel inserts for strength and tightness.
• The “Polymaric™” proprietary polymer finish is extremely rugged and appropriate if some physical contact
is likely. Clean as needed with mild soap and water. Wood models should be cared for like fine furniture. Use
light cleaners and quality polish. Wood finish models are less tolerant of physical damage.
• The power supply, motor drivers, and audio power amplifiers are on a single main chassis PC board.
• Once the MS-1771 has been installed and tonally adjusted, general cleaning and care of the cabinet is all that
is required for long term trouble free operation.
Caution! Hazardous voltages are present inside amplifier components.
Caution! The MS-1771 can produce high sound pressure levels.
Connection to Organ
• Connect the MS-1771 and the Organ to the same AC outlet if at all possible. Some buildings have wiring problems
with grounds and polarity that can cause “hum” or even damage to the MS-1771. If you are unsure of your buildings
wiring have a technician test power and grounds before you connect the MS-1771.
• Do not change any settings on the MS-1771 without reading the information below.
The MS-1771 supports the industry standard 11 pin cable connection to an 11 pin compatible Organ. With the Organ off
and the MS-1771 standby power switch off connect the 11 pin cable between the Organ and MS-1771. Plug the MS1771 into rated AC power and turn the standby switch on. The upper LED on the amplifier chassis will illuminate. Turn
the Organ on, the lower LED also illuminates indicating the MS-1771 is on and ready. Play some music with the Organ
volume at about 25% noting the sound level. As all Organs are different you can adjust the volume and tone as indicated
below to suit the venue. We strongly recommend that a trusted listener help during any tonal adjustments.

2
Default Internal Adjustments (On PC Board)
Default External Adjustments (On Amplifier Chassis Rear)
Amplifier tone control adjustments
The amplifier chassis on the lower rear of the MS-1771 has external controls for Volume, Bass, and Treble. They are
adjusted with a small blade type screwdriver. The MS-1771 is initially set up for typical installations. There are also internal
EQ adjustments for acoustic and personal taste refinement. Have the Organist/Music director present when making EQ
adjustments. (Internal adjustments are on the PC board, remove lower wood panel for access)
1. The volume trim control (external) should be set with the Organ played at full registration and full volume. Do not turn the
volume control past any sign of distortion.
2. The horn balance: (internal) Adjusts the horn volume in relation to the 15” speaker providing overall cabinet tone and mid-
range balance. Use full registrations when making this adjustment. Some installations will require higher horn levels than
others.
3. Treble Control: (external) Adjusts the very highest (>3 KHz) response of the cabinet and effects key click and brilliance.
4. Bass: (<150 Hz) (external) the lower pedal notes are effected. Play the Organ with full registration and low pedal notes
while listening in several locations in the room.
5. High Cut: (internal) Some Organs may have to much shrill brilliance, the high cut, in conjuction with the treble control, can
help tame an overly bright sound. Set the treble control first then experiment with the high cut. You may have to go back
and forth a few times to finalize the sound.
Rotary Speed Control Adjustments (On PC Board)
All rotor and horn dynamics (internal) have been careful ly set at the time of manufacture and should not need adjustment
unless belt tension is changed or a belt is replaced. Of course, speeds can be changed to personal preference. Record trim
control settings in case you want to return to default. There are two sets of trim controls (4 each), one set for the horn, the
other set for the low rotor; Fast speed, Slow speed, Acceleration time, and Deceleration time.
Horn diaphragm replacement.
The horn rotates on sealed ball bearings, no oil or maintenance is required.
Warning! Use a Motion Sound MS-1.2 or certified 8-ohm replacement only
1. Remove the top rear cabinet cover screws and cover to gain access to the rotary assembly.
2. Remove the top axle shaft top support screws (See image below).
3. Remove the four screws holding the horn driver rotary assembly to the cabinet.
4. Carefully slide the assembly out the rear of the cabinet then remove the speaker wires (note polarity) from diaphragm.
5. Undo the three phillips screws to remove the diaphragm, follow the replacement’s instruction sheet, then reassemble.
.
 Loading...