

Page 1
MostFun Sail Getting Started
V0.96.3
Chengdu MostFun S&T Co.,Ltd.
Page 2

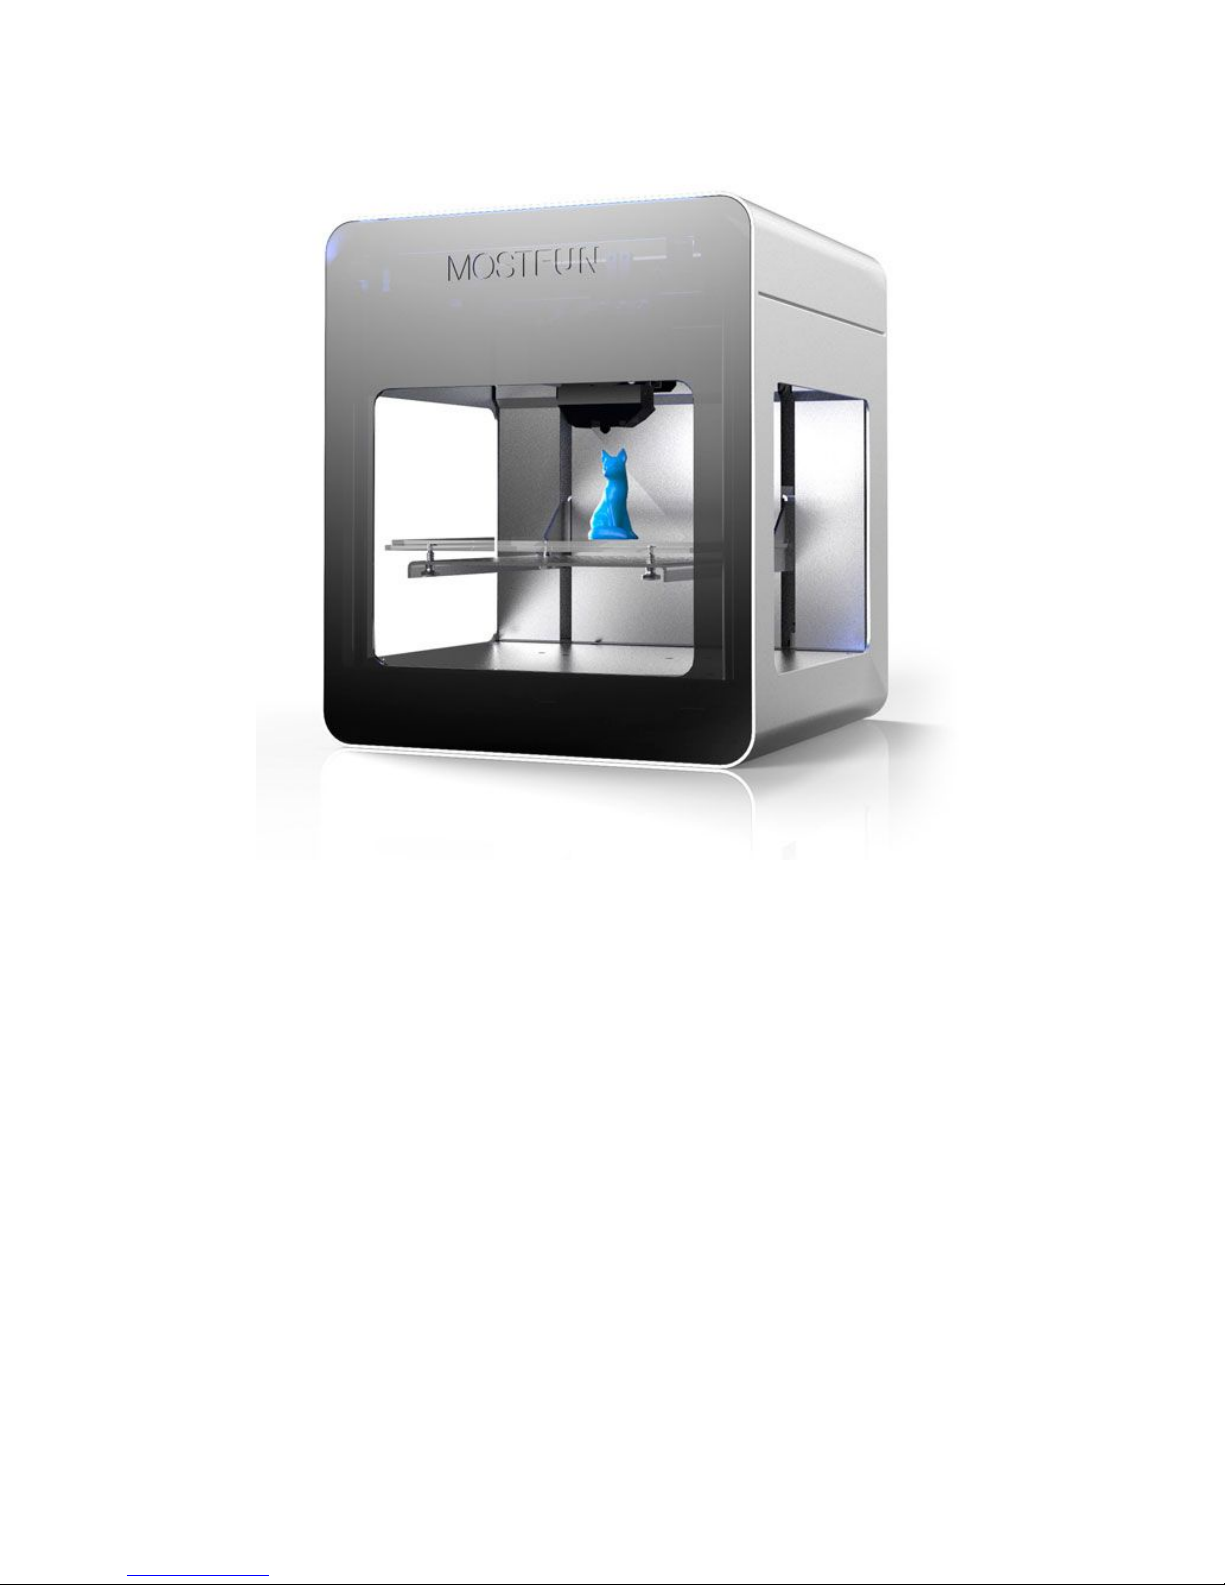
MostFun 3D printer www.mostfun.cc
1
Catalog
Product introduction
......................................................................................................
2
Parameter
...............................................................................................................
2
The first use of the machine
...........................................................................................
3
Unboxing
................................................................................................................
3
Driver installation
...................................................................................................
5
Installing driver under Mac OS
.......................................................................
7
Installing driver under Ubuntu(Linux)
............................................................
7
Software installation and configuration
.................................................................
7
Software download
........................................................................................
7
Cura Install
......................................................................................................
8
Cura configure
..............................................................................................
10
Transcoding configuration
....................................................................................
13
Loading and changing filament
............................................................................
14
Leveling the print platform
...................................................................................
18
Print model
...........................................................................................................
18
Rotate object
................................................................................................
19
Scaling object
................................................................................................
20
Detaching the 3D printed object
..........................................................................
20
Printing from SD
...................................................................................................
21
maintenance
.................................................................................................................
21
Lubrication Z axis lead screw and XY transmission structure
...............................
22
Material preservation
...........................................................................................
22
The list of items
............................................................................................................
22
Page 3

MostFun 3D printer www.mostfun.cc
2
Product introduction
Parameter
Molding technology: FDM
XY structure: H type single transmission band structure of XY planar motion
Size: 27*27*31 cm
Print Area: (X) 13* (Y) 13* (Z) 11 cm
Printing thickness: 100 micron
Printer weight: 9.4kg
After packing weight: 14kg
Suggested filement: 1.75PLA
PLA weight: 1kg
PLA color: random
PLA Suggested temperature: 200~210 ℃
Specification: power supply input (100~240V 2.2A) output (19V 6.32A)
Page 4
MostFun 3D printer www.mostfun.cc
3
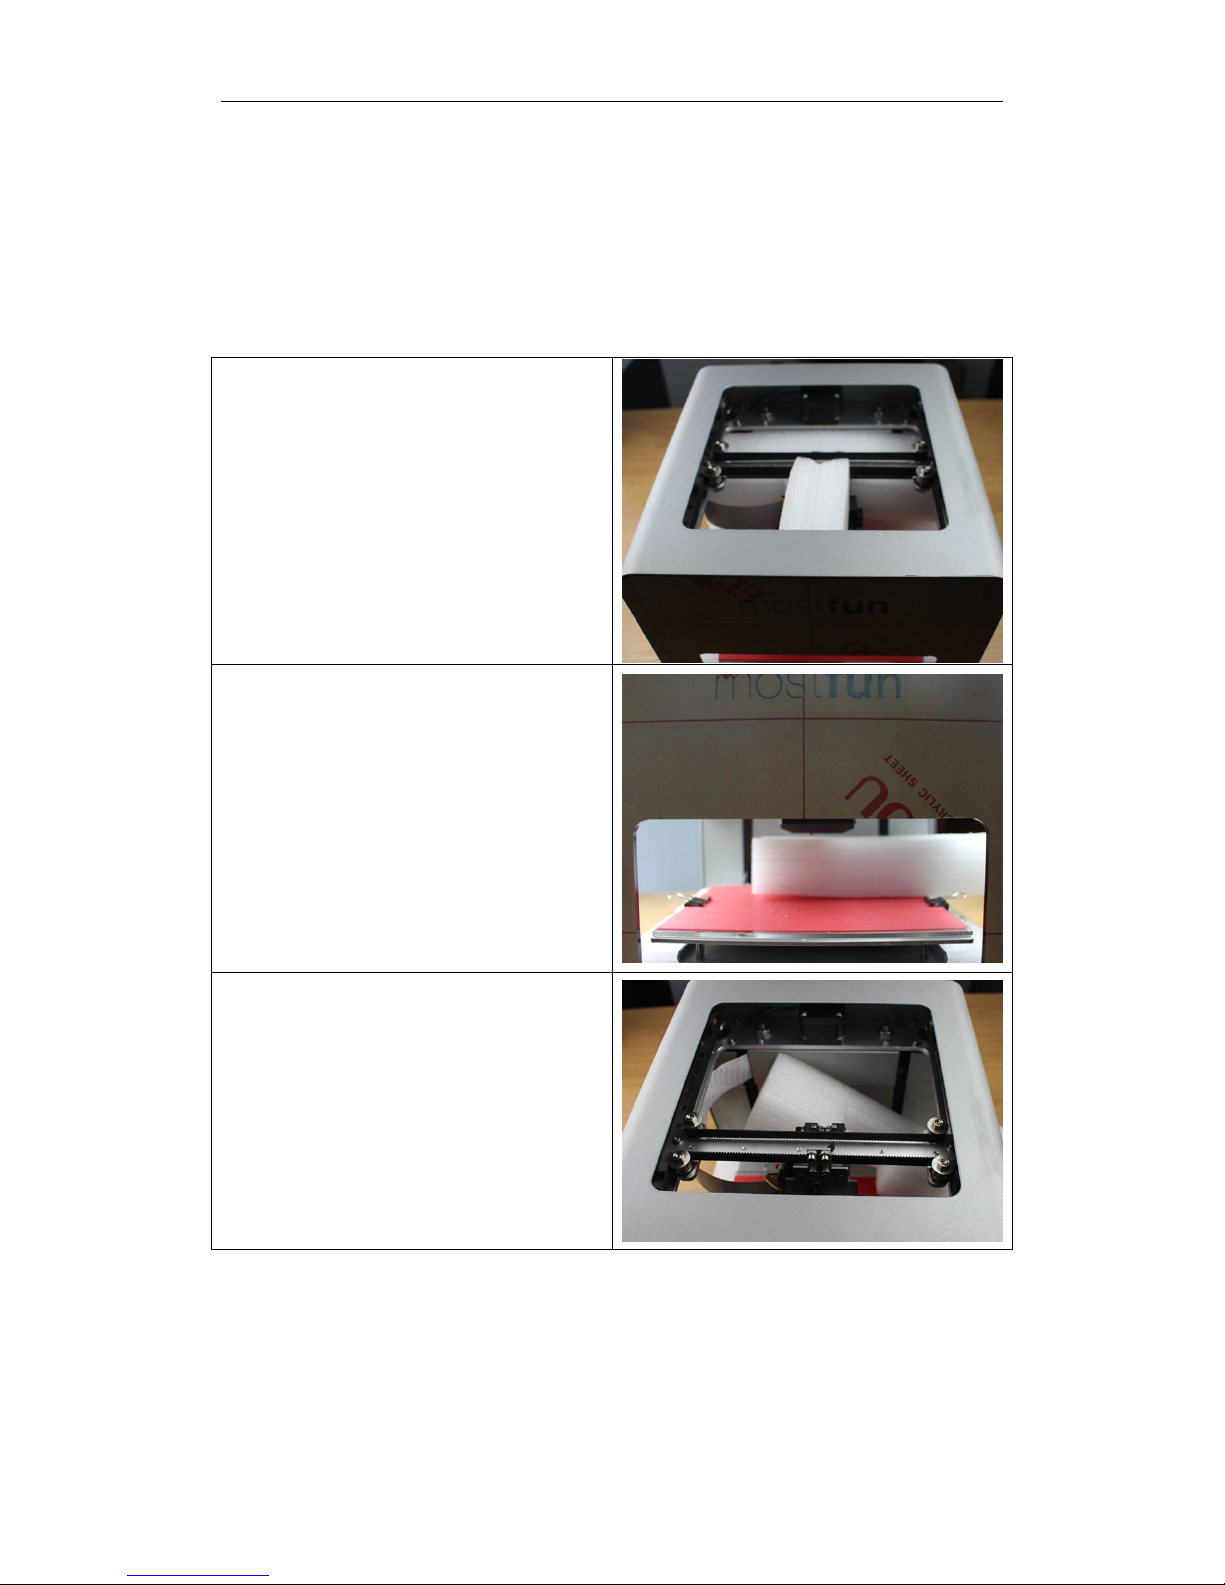
The first use of the machine
Unboxing
Remove the foam
1、remove one mini foam
2、remove the foam on the glass plate
3、remove the foam which fixed the extruder
Page 5
MostFun 3D printer www.mostfun.cc
4
4 、 raise the plate and remove the foam
below.
5 、 finish removing the foam and you can
tear off the paper on the panel.
The power adapter connect patch board and the usb cable conect the computer.
Page 6

MostFun 3D printer www.mostfun.cc
5
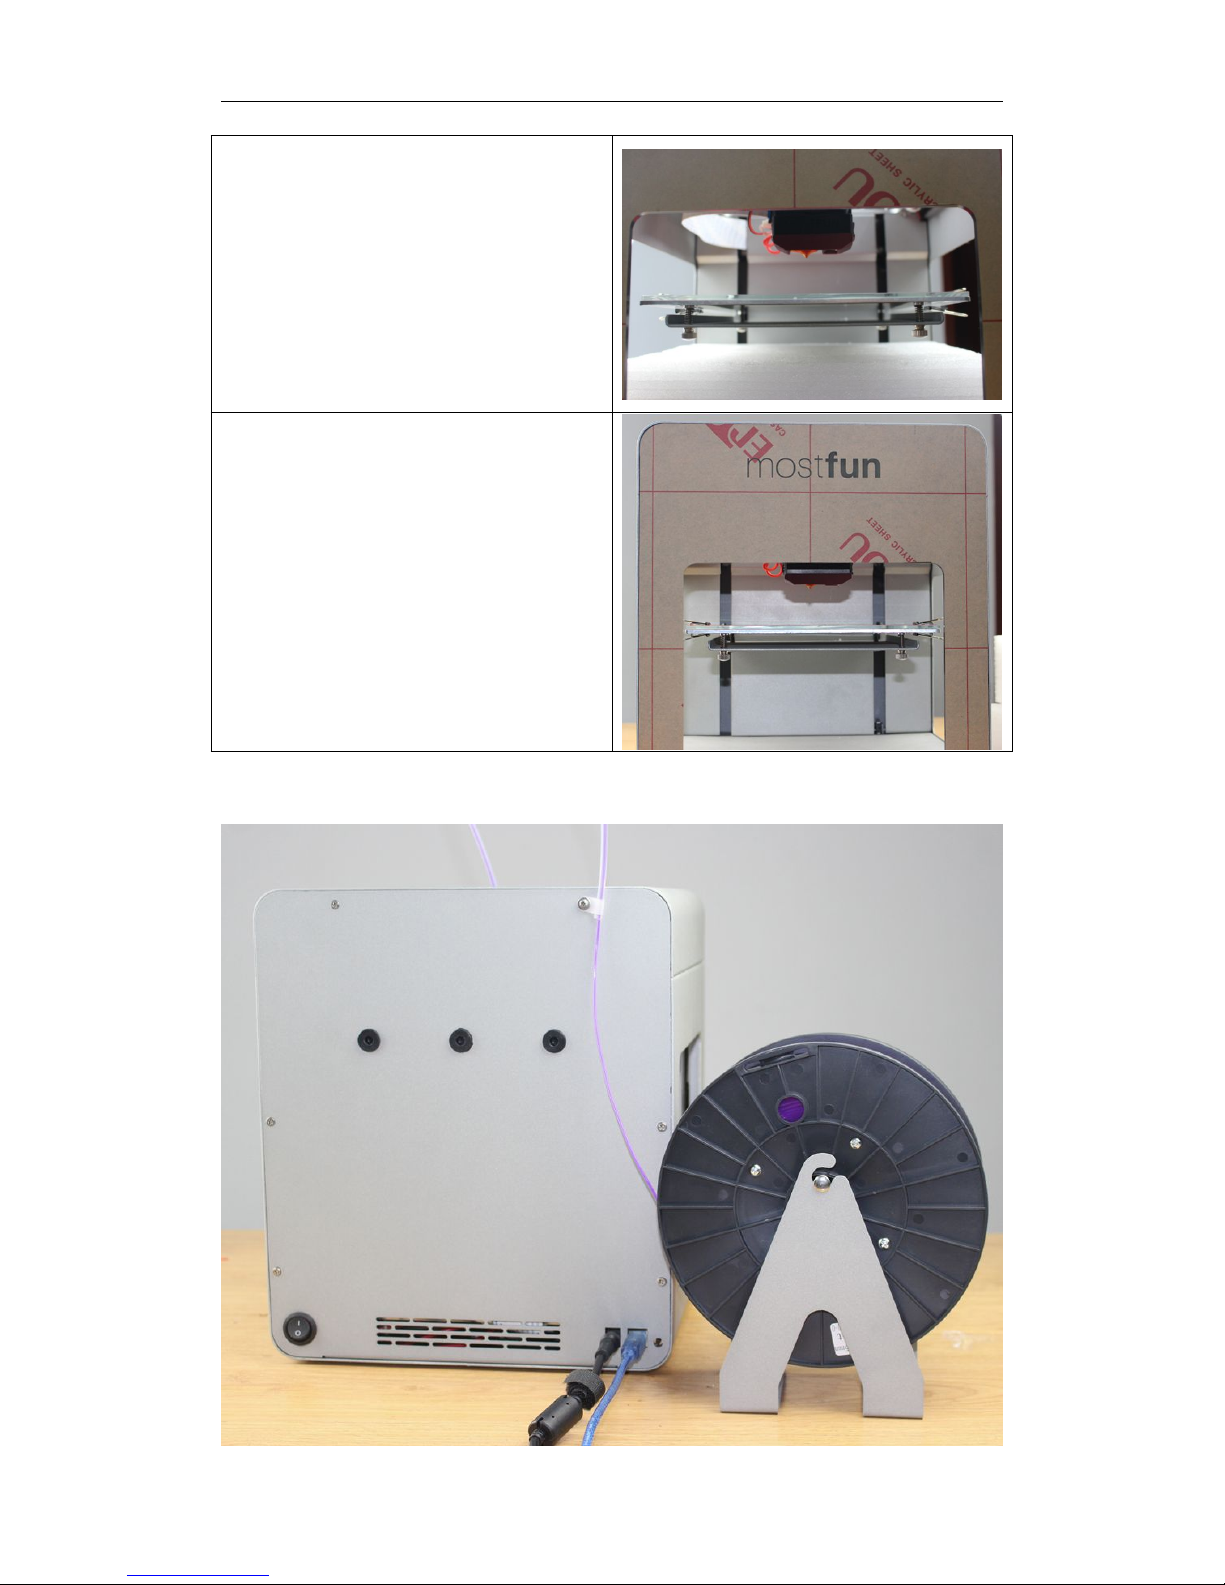
Check the masking Tape Crepe Paper is sticked will.
Make sure the power button is open as shown in Fig. then the light on the front panel will
be on.
Driver installation
By the following address,download the driver with the corresponding operating
system.
http://www.mostfun.cc/software/
Installing driver under windows
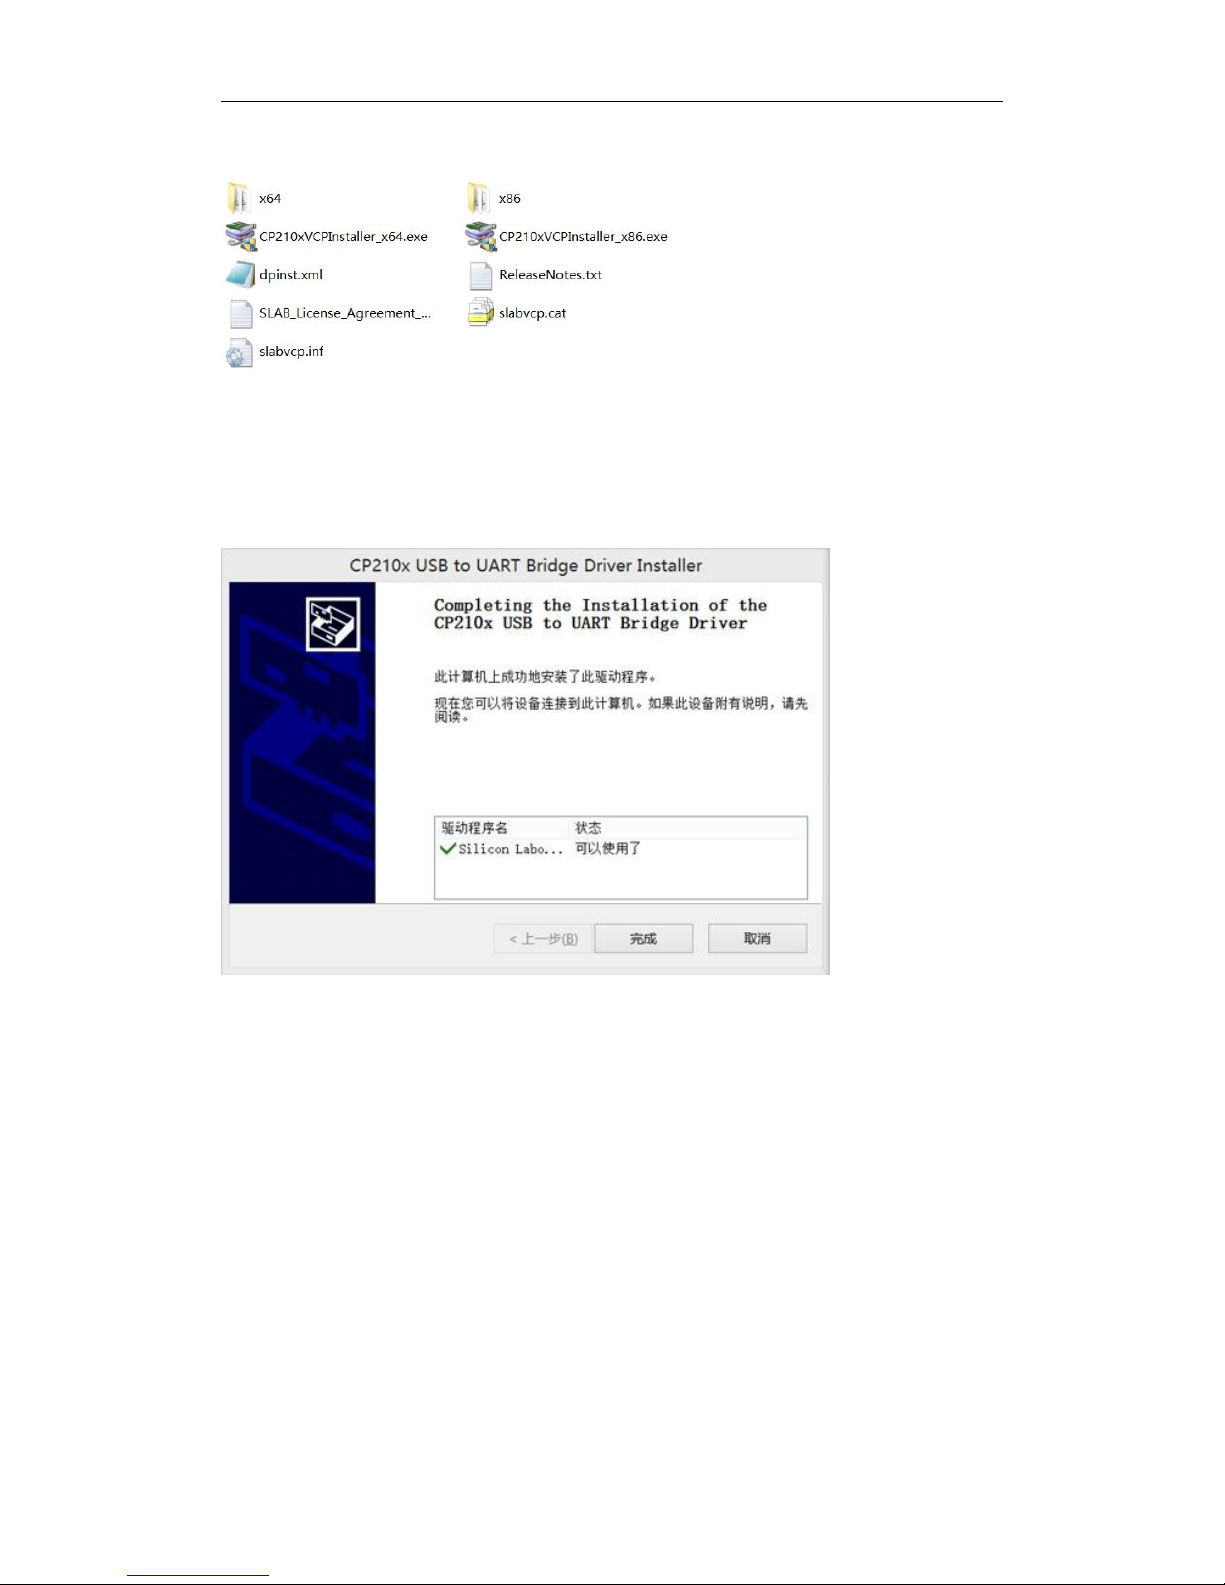
After the decompression you can see the following documents:
Page 7
MostFun 3D printer www.mostfun.cc
6
If your Windows is a 64 bit system, then run CP210xVCPInstaller_x64.exe
If is a 32 bit system,then run CP210xVCPInstaller_x86.exe
Click "next" after entering, and select "I accept the agreement", and then click next,
enter the installation.
After the completion you can see the following tips, That is ,The driver installation is done.
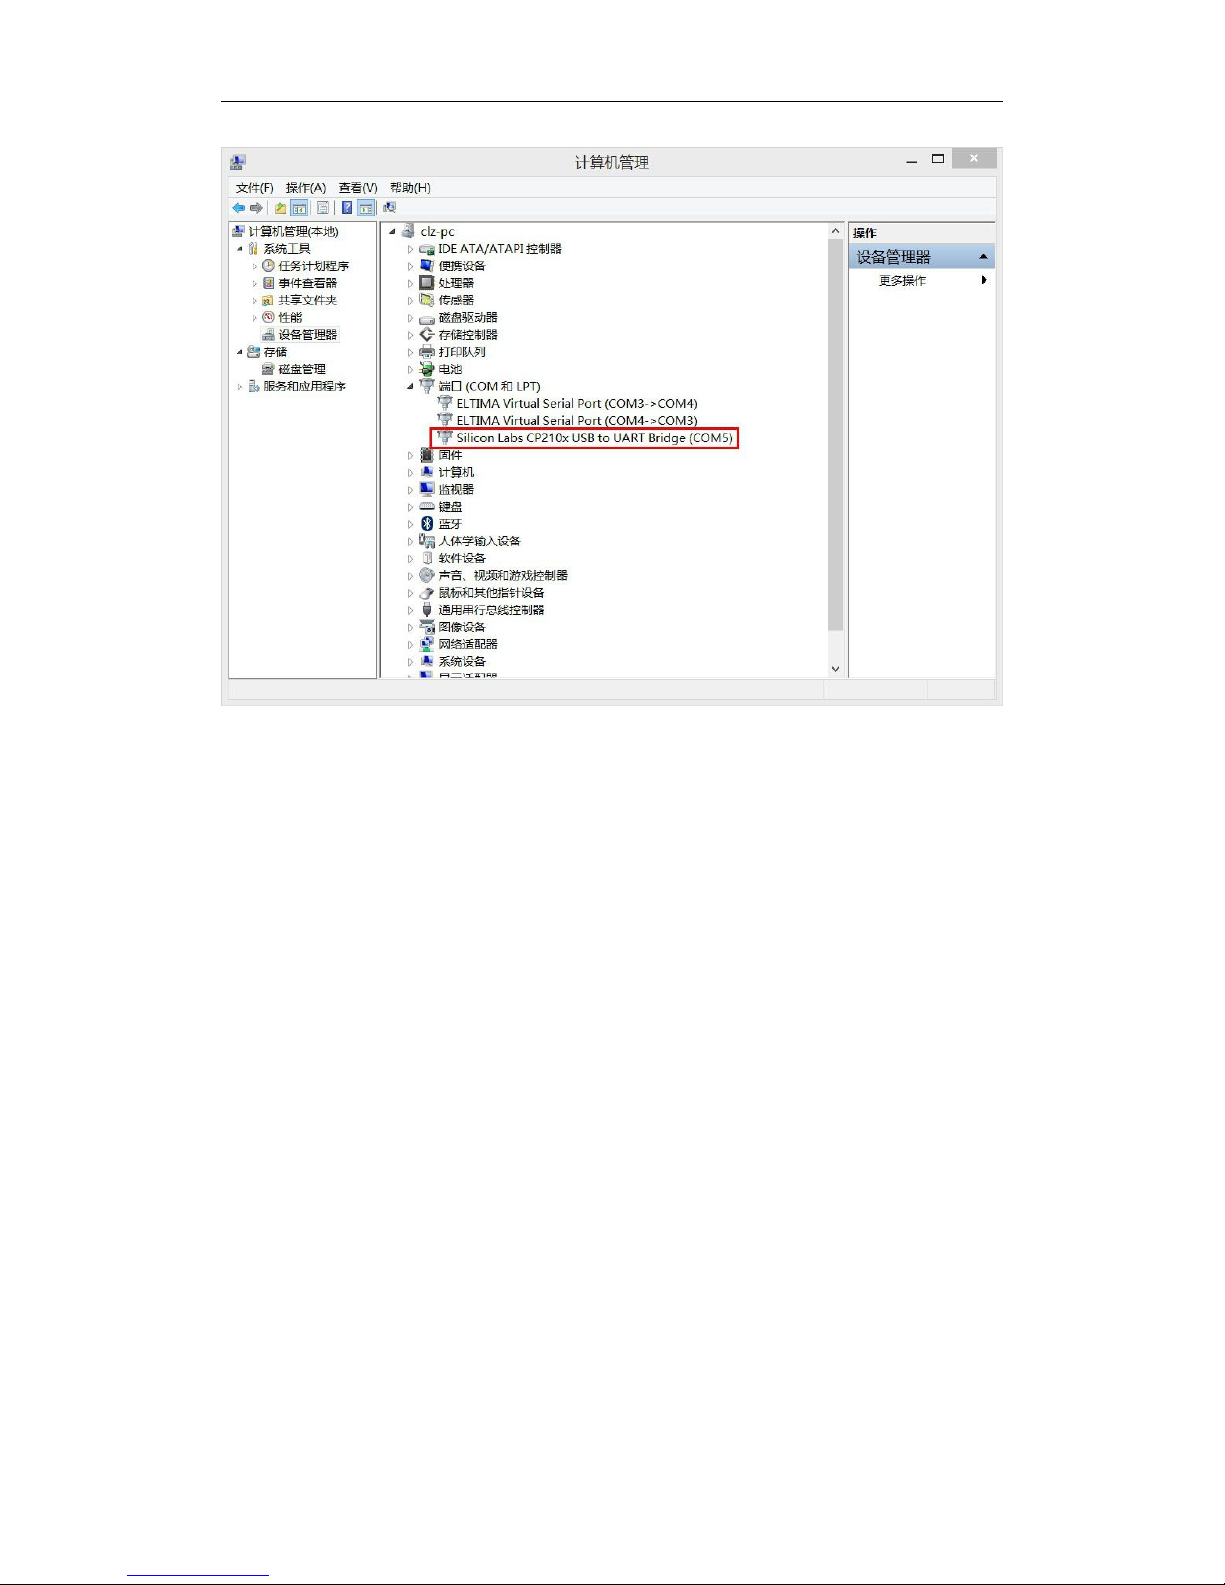
After Install the driver, we need to know the currently serial number. Right click on the
desktop computer / this computer, select the management in the pop-up menu
Select the device manager
You should see an open port named “Silicon Labs CP210x USB to UART Bridge “, If
there is no COM & LPT section, look under "Other Devices" for "Unknown Device".
write down the next serial number, you will use it in control the print software .
Page 8
MostFun 3D printer www.mostfun.cc
7
Installing driver under Mac OS
If your system is mac OS, Install the driver directlly after decompresssion.
Installing driver under Ubuntu(Linux)
If your system is Ubuntu, there is no need to install the driver.
Software installation and configuration
We recommend the software is cura and RepetierHost .
Software download
These two softwares support all systems , the download address is as follows:
Page 9

MostFun 3D printer www.mostfun.cc
8
Repetier-Host download:
http://www.repetier.com/download/
Cura download:
http://software.ultimaker.com/
You can download these software from the address as follows:
http://www.mostfun.cc/software/
When you download please select the appropriate version of the operating system,
this manual mainly to use Winodws-Cura as an example.
Cura Install
Run the file Cura_14.07.exe, Input the installation path, and click the Next ;
Cancel the option "Install Arduino Drivers", and then click the Install;
Page 10

MostFun 3D printer www.mostfun.cc
9
Waiting to the installation to complete, and then click the Next ;
Chick the “Finish” and quit the setup,then run Cura.
Page 11

MostFun 3D printer www.mostfun.cc
10
Cura configure
After installing Cura, Start up Cura and go to the next page to configure the software
for your 3D printer. You can also configure cura through the menu bar Expert>Run
first run wizard
Cura welcomes you first with the note: ”This wizard will help you in setting up
Cura for your machine” click [Next >] button to continue.
Then you get the following screen where you should select the other 3D printer
and click “Next” .
Page 12

MostFun 3D printer www.mostfun.cc
11
Choose the custom and click “Next” .
Then you get the following screen were you should select the right Parameters and
then click “Finish”.
Page 13

MostFun 3D printer www.mostfun.cc
12
After basic configuration, you need take the machine setting through the menu bar
File>Machine settings… . In this page you can set the parameter like the following
screen ,the set the right Serial Port(Check the serial number to see the manual driver
installation part ) and the Baudrate is 115200;
You can find the preferences menu under File in the File>Preferences…
Under the Printing window type,you should choose Pronterface UI。
Page 14

MostFun 3D printer www.mostfun.cc
13
Transcoding configuration
The mainly two part of configuration is Basic and Advanced. Different models
has different configuration ,Here we give only a common configuration,It is based
on our testing.
The parameters above except
Nozzle size
and
Filament
can be changed, the other can
be changed according to the actual situation.
Page 15

MostFun 3D printer www.mostfun.cc
14
Loading and changing filament
Before loading print materials, you must perform the following steps
1. Heating the extrusion to 200℃。
(after the extruder heated, the temperature is high to 200 ℃, do not touch to the nozzle position, so as not to burn )
Drag a module in cura Randomly ,
Wait for transcoding completed
,you can see the icon
Click this icon ,it will pop up a print control interface .
Set the Temperature at 200℃,then Press enter:
Observe the temperature curve, waiting for the temperature reached 200
degrees,then perform the latter operation .(Do not touch the extruder)
2. Insert the pipe into the black clip
Page 16

MostFun 3D printer www.mostfun.cc
15
3. Insert the PLA into the pipe from the back of the printer.
Page 17

MostFun 3D printer www.mostfun.cc
16
4. Press the extruder arm,Insert the PLA wire into the extruder.
Page 18

MostFun 3D printer www.mostfun.cc
17
5. Feed the PLA with the hand, Observation of silk of nozzle,
Wait for the nozzle’s
uniform wire,release the extruder arm.
6. Put the black clip into extruder and rotate it.
7.Now you have load PLA successfully.
If the print material is not easy to load, you can according to the following tips check:
1.
Ensure that the nozzle is heated to a suitable temperature.(Please observe the software, do not go to
thetest by hand )
2.To trim PLA wire head ,The head should be cut into a sharp, contribute to its loading.
3.Force the PLA wire is inserted into the extruder .
4.Let PLA wire straight into the extruder.
Page 19

MostFun 3D printer www.mostfun.cc
18
Leveling the print platform
For the first time to use MostFun Sail, you need to build a level platform.To level you
need go into the control interface.
After go into the printing interface ,you can click the X Y Z button to move the printer’s
X Y Z axis, it can also be used to print platform leveling.
The platform (Z axis) decreased 10mm, move the heads to the four corners of the print
platform glass respectively,click Z homing.
Observe the nozzle is lightly touching the glass plate or not. When they are,the platform
has been levelling.if they are not,please turn the screw below the platform.
Print model
Completed all configuration, you can click the Print button on the controlr interface, then
start printing. Before the printting,You may need to adjust the model to achieve the
effect you want to print.
Page 20

MostFun 3D printer www.mostfun.cc
19
Rotate object
The left icon on the bottom of the 3D interface is the rotation button [1]. When you select
and click it, you can rotate the model over it’s XYZ axis. You see also more functions
when you have selected the rotation button.the top icon’s action, lays your model flat [3]
on the surface, to make sure your model is well attached to the build plate
whileprinting.The second icon resets [2] the 3D models rotation. By click-select one of the
3 orientation circles you adjust the rotation of the model. The rotation degree appears in
the number around the model. When rotating and clicking shift you rotate per degree
otherwise it’s per 15 degrees.
Page 21

MostFun 3D printer www.mostfun.cc
20
Scaling object
The second left icon on the bottom of the 3D interface is the scaling button [1]. When you
select and click it, you can scale the model in the XYZ direction. The top icon that appears
has the function to scale your object to max size [3] for your printer.The icon above resets
[2] the 3D models rotation.By unlocking [4] the lock you have the possiblity to scale the
object in each particular dimension. By selcet and slide one of the 3 scaling squares you
adjust the uniform scale of the model.The amount of scaling and size dimensions appears
in the number next to the model.
Detaching the 3D printed object
Fnished your print ,do not move the model directly ,wrong operation may damage the
flatform or hurt youself, the right method is , move the b
inder Clips
fristly and don’t touch
the extruder, then remove the object and glass plate together. Finally ,remove the model
from the glass plate.
If the object stick tightly, the removal Tool become useful.
Page 22

MostFun 3D printer www.mostfun.cc
21
Printing from SD
Software:Repetier-Host (you can download from http://www.mostfun.cc/software)
Before start the printing ,you need configure right serial port through the menu
configure-connect-communication port .choose the mostfun’s serial port.
After saving the file and safely ejecting your SD-card from your computer, it is time to
insert it in the SD-card Slot of your Mostfun.
1.Start Repetier-Host and connect your MostFun printer;
2.
Click the SDcard option;
3.
In the "SD" management interface you can choose the gcode file.
4.
Click start printing.
The printer will start the heating head automatically ,and enter the offline print
status. Now you can turn off the Repetier-Host, unplug the USB cable.
If you need to stop printing, you can connect to the printer again through
Repetier-Host , or close the MostFun power supply directly .
maintenance
Page 23

MostFun 3D printer www.mostfun.cc
22
Lubrication Z axis lead screw and XY transmission structure
We suggest maintenance to the XY transmission structure per 100 hours printing.
Add oil to the sides guide or lead screw,then let the slide activities to brought the oil
into the guide.
Page 24

MostFun 3D printer www.mostfun.cc
23
Material preservation
In the air of long-term exposure,PLA will expansion because of absorbing moisture.It
will lead to the blockage of extruder or the slik is not uniform. So we suggest you to
store it in a dry and closed environment, you had better put a desiccant in the side of
PLA meterial.
The list of items
MostFun Sail 3D printer *1
USB Cable *1
Filement PLA 1kg *1
SD Card *1
Bracket *1
Page 25

MostFun 3D printer www.mostfun.cc
24
Masking Tape Crepe Paper*1
Supporting rod *1
Object Removal Tool*1
Cross screwdriver *1
Power Adapter *1
Glass plate *1
Binder Clips *2
Lubricant *1
 Loading...