

Mosquito Magnet Executive Operation Manual

For Outdoor Use Only
EXECUTIVE
#1440-651
2
Safety Instructions 3
Principal Parts 4
Assembly Instructions 5
Trap Assembly
Bug Bag Installation
Set-Up 6-7
Charging Instructions
T
rap Placement
Propane Tank Installation
Instructions 8
Starting Instructions
Shut Down Instructions
When Not In Use
End of Season Storage
For Optimal Results
Smart Technology 9
Setting Fuel-Saving Modes
Fuel-Saving Modes
Cold Temperature Shutdown
Low Battery Warning
Child Safety Lock
Maintenance 10
Maintenance
Propane Tank Changing Tips
Maintenance Schedule
Quick Clear Valve 11
Troubleshooting 12
LED Fault Codes
How the Mosquito Magnet®Works
Mosquitoes and other biting insects use the long-range
attractant carbon dioxide (CO2) to locate people. Once in
close proximity, mosquitoes use short-range scents
emitted from the skin, to determine which person they
are going to bite. The Mosquito Magnet mimics a human
by converting propane to CO2, with its patented catalytic
conversion technology, in combination with a shortrange scent.
Attracted by the CO2and short-range scents,
mosquitoes and other biting insects are drawn to the
Mosquito Magnet. When they reach the trap,
the insects are vacuumed into a bug bag by our
patented Counterflow Technology
™
, where they
dehydrate and die within 24 hours.
The Mosquito Magnet is silent and odorless. When
properly placed in your yard, the trap begins working
immediately
. Noticeable results can be achieved in 7 to
10 days. To greatly reduce your biting insect
population, allow 4 weeks. Leave the Mosquito
Magnet out all summer long, to control the mosquito
population in your yard.
Only biting insects are targeted including mosquitoes,
no-see-ums, black flies and midges. Beneficial insects
such as butterflies, bees or moths are not targeted.
Questions or Comments
Woodstream®Corporation
69 North Locust Street
Lititz, PA 17543
United States
http://www.mosquitomagnet.com/store_locator/International/
Patented Counterflow Technology
™
Contents
Model No.: Executive:
Serial No.: Serial No.:
Type of Gas: Propane
Manifold Pressure: 100 – 110 psi
Minimum Gas
Supply Pressure: 11.0 in. WC
Input Rating: 759 Btu/Hr.
Minimum Clearances: 20 – 24”
Woodstream®Corporation
69 North Locust Street
Lititz, PA 17543
United States
www
.mosquitomagnet.com
Patents:
Denmark: No. 1432304
Finland: No. 1432304
France: Nos. 1,537,780; 1,011,324; 1,049,373 and 1,432,304
Germany: Nos. 1011324; 1049373 and 60211538.8
Greece: Nos. 1011324 and 1432304
India: No. 228997
Ireland: Nos. 1011324 and 1432304
Italy: Nos. 1,537,780; 1,011,324; 1,049,373 and 1,432,304
Japan: No. 4317748
Portugal: Nos. 1011324 and 1432304
Spain: Nos. 1,537,780; 1,011,324 and 1,432,304
Sweden: Nos. 1,537,780 and 1,432,304
UK: Nos. 1,537,780; 1,011,324; 1,049,373 and 1,432,304
Australia: Nos. 726575; 735984 and 2002356537
New Zealand: Nos. 335035 and 506403
Singapore: No. 64595
S. Africa: No. 97/8366
China: Nos. ZL0281957.X and ZL03812961.2
Brazil: Nos. 9711492-8 and 9908104-0
Mexico: No. 250272
Other patents pending
Made in USA
1
Welcome
Congratulations on your purchase of Mosquito Magnet®. Now you can begin to enjoy your outdoor living space again.
Mosquito Magnet is the #1 mosquito trap in North America. Backed by 18 years of research and independent
testing, Mosquito Magnet is scientifically proven to effectively reduce mosquitoes & other biting insects from your
yard.
Mosquito Magnet is easy to use. The enclosed CD-ROM provides key information for getting started. In this
manual, you’ll learn everything you need to know about how it works, optimal trap placement, maintenance,
storage and warranty information. The keys to success are trap placement, utilization of Octenol or Lurex3
cartridges (depending on your area) and routine maintenance. For optimal catch rate, you’ll need to change the
propane tank and Octenol or Lurex3 every 21 days and use the Quick Clear Cartridge every tank change.
Visit us online at www.mosquitomagnet.com for additional information regarding Mosquito Magnet tips and
testimonials.
FOR YOUR SAFETY
If you smell gas:
1. Shut off the gas to the appliance.
2
. Extinguish any open flame.
3. Open lid.
4. If odor continues, immediately call your gas
supplier or your fire department.
FOR YOUR SAFETY
1. Do not store or use gasoline or other
flammable vapors and liquids in the vicinity
of this or any other appliance.
2. An LP cylinder not connected for use shall
not be stored in the vicinity of this or any
other appliance.
4
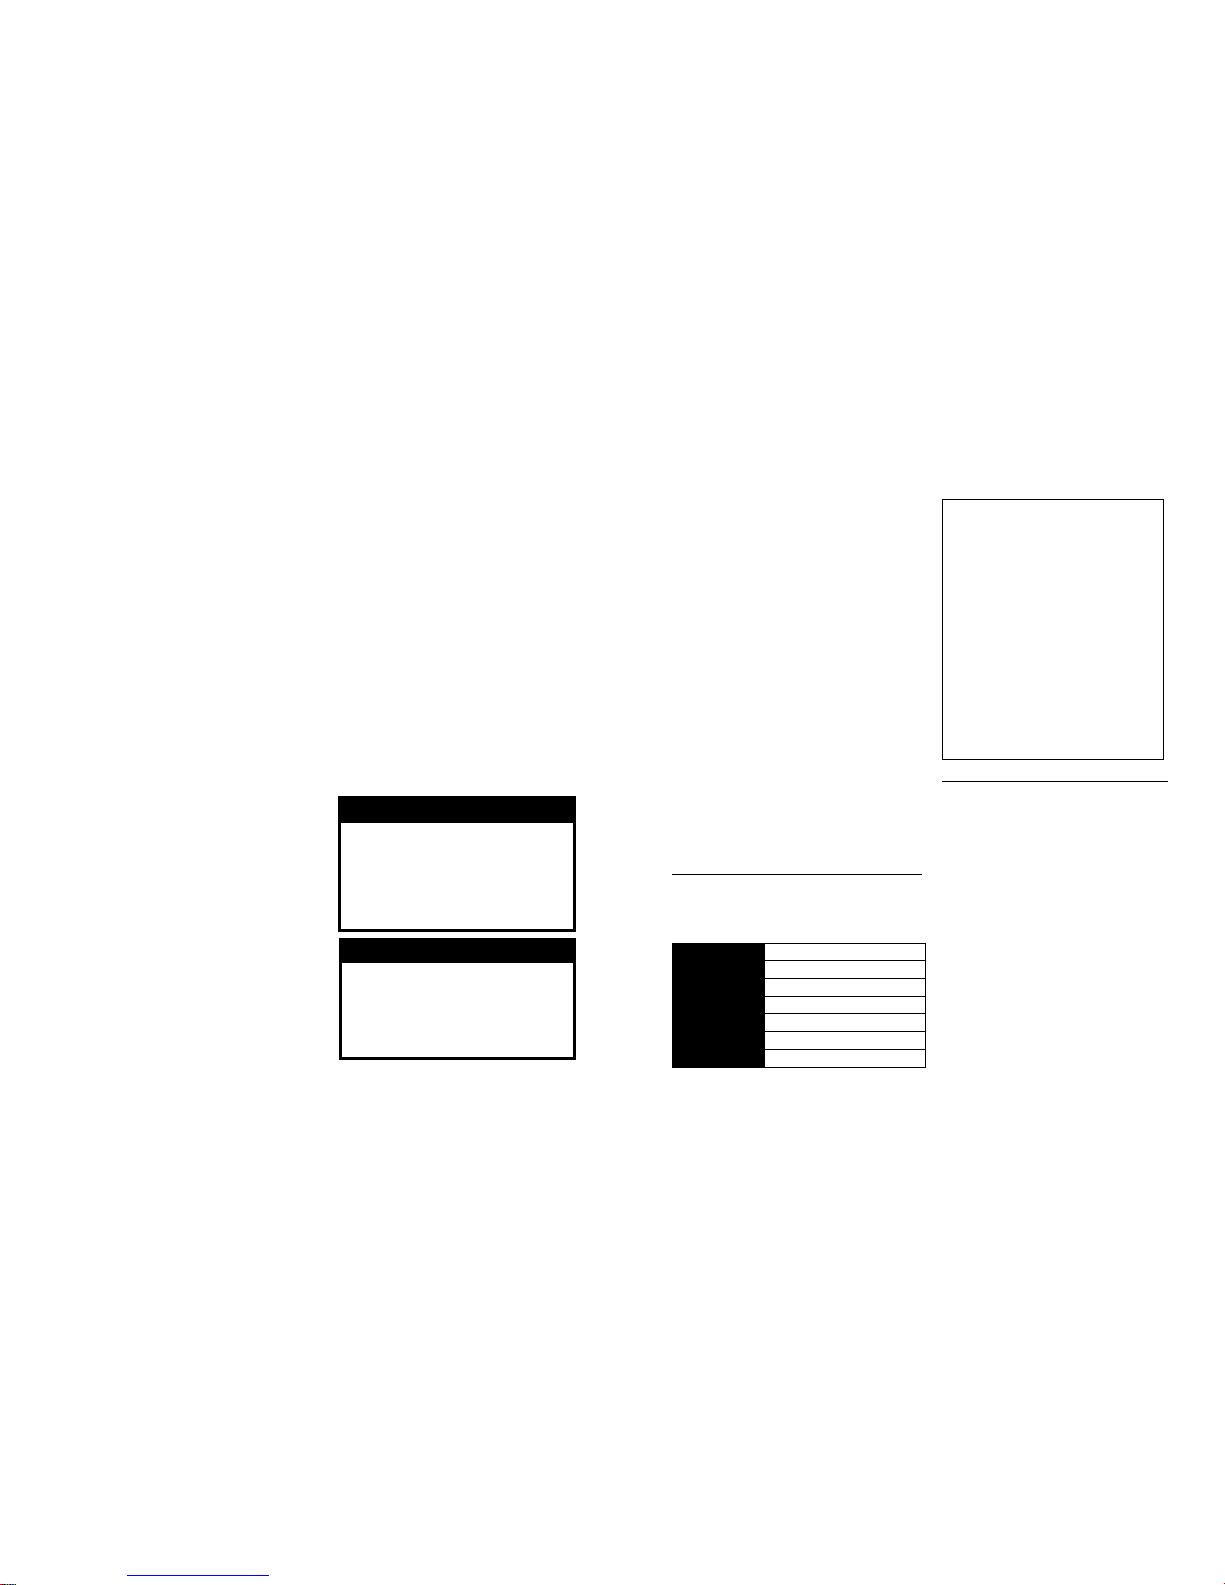
Parts Included
Bug Bag
Quick Clear Adapter
Principal Parts
Self-Contained
Executive
Regulator Hose (1)
MOD E
AT T ENTI O N
OFF
RU N
COO L
WA RM
MOD E
Power Head (1)
Trumpet (1)
Support Pole (1)
Base Support (1)
Remote Battery Charger
Rechargeable Battery
3
Safety Instructions
• Maintain adequate clearances of 51 cm - 61 cm around air openings
into the combustion chamber, clearances from combustible material,
provisions for accessibility and for combustion and ventilating air
supply. Keep the trap area clear and free from combustible materials,
gasoline, and other flammable vapors and liquids. The appliance is
not to be used in locations where flammable vapor or explosive dust
is likely to exist.
• Do not obstruct the flow of combustion and ventilation air.
• Keep the ventilating openings of the cylinder enclosure free and clear from debris.
• Clean the trap with a water damp cloth, if necessary.
• The LP-Gas cylinder must be provided with a shut-off valve terminating
in an LP-Gas supply cylinder valve outlet specified for Connection No.
510 in the Standard for Compressed Gas Cylinder Valve Outlet and Inlet
Connections, ANSI/CGA-V-1-1977.
• The LP-Gas cylinder supply system must be arranged for vapor withdrawal
and the cylinder must include a collar to protect the cylinder valve.
• The LP-Gas cylinder used shall be constructed and marked in accordance
with the specifications for LP-Gas cylinders of the U.S. Department of
Transportation (DOT) or The National Standard of Canada CAN/CSA-B339.
• The trap shall be used outdoors only in a well ventilated space and shall
not be used in a building, garage, or any other enclosed area.
• The LP-Gas cylinder must be disconnected and removed from the
appliance, if the appliance is stored indoors.
• LP-Gas cylinders must be stored outdoors in a well-ventilated area out
of reach of children.
• Disconnected cylinders must have threaded valve plugs tightly installed
and must not be stored in a building, garage, or any other enclosed area.
• The pressure regulator and hose assembly supplied with this appliance
must be used for connection to the LP-Gas cylinder. Replacement pressure
regulators and hose assemblies must be specified by the manufacturer.
• Avoid improper use of extension cords. Keep connections away from
moisture and avoid damage to the cord.
• If the supply cord is damaged, it must be replaced by the manufacturer or
its service agent or a similarly qualified person in order to avoid hazard.
Visit www.mosquitomagnet.com
Children and adults should be alerted to the
hazards of high surface temperatures and should
stay away to avoid burns or clothing ignition.
Young children should be carefully supervised when they
are in the area of the heater. Keep out of reach of children.
Clothing or other flammable materials should not be
hung from the heater, or placed on or near the heater.
Please read and follow all safety
instructions and warnings.
Note:
Some or all of the following required safety instructions for
propane powered devices may apply to your trap. Allow
trap to cool for 5 minutes before re-starting.
Warning: Improper installation, adjustment, alteration,
service or maintenance can cause injury or property damage.
Read the installation, operating and maintenance instructions
thoroughly before installing or servicing the trap.
Caution: The gas pressure regulator provided with this
appliance must be used. This regulator is set for an outlet pressure
of 11.0 in. Water Column. The minimum inlet gas supply pressure is
11.0 in. Water Column from regulator.
• This unit is not intended to be installed in or on recreational vehicles and/or boats.
• The gas supply must be turned off at the LP-Gas supply cylinder when
this appliance is not in use.
• The installation must conform with local codes or, in the absence of
local codes, with the National Fuel Gas Code, ANSI Z223. 1-1998 for US
and with the CAN1-B149 for Canada.
• To test for a gas leak, place soapy water around the connector,
regulator, and gas hose assembly. If bubbles appear, there is a gas leak.
• Inspect the hose before each use of the unit. If it is evident there is
excessive abrasion or wear, or the hose is cut, it must be replaced prior
to the unit being put into operation. The replacement hose shall be that
specified by the manufacturer.
• The trap is equipped with an internal spark. Failure to follow starting
procedure will result in the trap not starting.
• Installation and repair should be done by a qualified service person
(find service centers on www.mosquitomagnet.com). The heater should
be inspected before use and at least annually by a qualified service
person. More frequent cleaning may be required as necessary. It is
imperative that the control compartment, burners, and circulating air
passageways of the heater be kept clean.
6
Set-Up
Charging Instructions
1. Remove cover panel from rear of Power Head Unit
(panel snaps off). Press the battery latch & pull out of
the trap to disconnect. Remove the battery by pulling
up on the bottom and rotating the battery out of
position.
2. The Battery Charger is not rated for Outdoor use. The
battery must be charged indoors.
3. Plug the Battery Charger into a suitable indoor outlet.
4. Connect the re-chargeable battery to the battery
charger.
5. The LED on the Battery Charger will indicate Red when
the battery is charging, when the battery is fully
charged the LED will indicate Green. The typical charge
time is less than two hours.
6. The battery charger is automatic, it will shut down to a
safe maintenance charge current when the battery is
fully charged. It will not over charge the battery. For
maximum life, do not leave the battery on the charger
for extended periods.
7. When the battery is fully charged, disconnect the
battery from the battery charger and return it in the
Mosquito Magnet Executive.
8. Insert and connect the re-chargeable battery.
9. Replace the cover panel on the rear of Power Head
Unit.
Trap Placement
1. Determine the direction of the prevailing wind.
Check local weather patterns if you are unsure.
2. Stand in the center of the area you are trying to protect
and look toward the prevailing wind.
3. Proper placement of the trap will be 10 meters in front of
you, within 1.5 meters of ground cover (i.e. bushes,
flowerbeds, tree line, marshbed). Ensure that trap is not
directly against any blockades such as buildings, fences, etc.
4. It is recommended that the trap be placed in the shade.
5. Do not place trap directly above a water source
(sprinklers, hose, etc.).
6. Trap must be placed on level ground to avoid tipping
or uneven propane distribution.
7. For optimal trap placement in your yard, refer to the
instructional CD-ROM included with your trap; or, go to
www.mosquitomagnet.com to build your own yard
diagram for correct trap placement.
NOTE: Make sure cover panel is replaced; trap is not
weatherproof with cover panel removed.
Insert & Connect Battery
Remove Back Panel
5
Assembly Instructions
Trap Assembly:
Place base upside down on a flat surface, unfold Ushaped support leg until it locks in place.
Place trap power head onto pole. Press down firmly
with two hands to secure.
Assembled trap should have the front of power head/
trumpet placed farthest from the wheels in the same
direction as base U-shaped legs.
Turn base and leg assembly right-side-up and place
support pole into cavity on base.
The battery is not fully charged at the factory; charge
the battery before the first use. Under proper usage,
one charge lasts all season. See page 6 for further
details.
Step 1
Step 2
Step 3
Bug Bag Installation:
To insert Bug Bag, first engage front/open section then gently
push the back end down into place.Step 4Step 4
Step 4
O FF
RU N
CO OL
WA RM
MO D E
AT T ENT IO N!
MO D E
1
2
8
Instructions
Charge your battery per instructions on page 6. Under proper
usage, battery will last all season.
Starting Instructions
It is recommended that you read the entire manual before
starting the Mosquito Magnet
®
trap.
1. To start the trap, press and hold the ON/OFF button for
three seconds until the orange LED illuminates.
2. RUN will show on the display. WARMand the indicator
arrows will also flash on the display. The LED (indicator
above ON/OFF button) will be orange.
3. The fan will ramp from low speed to high speed after
approximately 3 minutes.
4. The display will flash WARM and the LED will be
orange for approximately 15-25 minutes while the trap
is warming up.
5. After the trap reaches operating temperature, the LED
will be green and WARM will disappear from the
display.
Shut Down Instructions
To turn off the trap, press the ON/OFF button. RUNwill show on
the display. COOL and the indicator arrows will flash on the
display. The LED will be green. After a two minute cool down,
the fan will stop, the LED will turn off and OFF will show on the
display.
When Not In Use
If the unit is not in use, the gas must be turned off at the supply
cylinder. Storage of this unit indoors is permissible only if the cylinder
is disconnected and removed. Cylinders must be stored outdoors,
out of reach of children and must not be stored in a building, garage
or any other enclosed area.
End of Season Storage
Refer to the shut down instructions above prior to closing the
propane tank valve and disconnecting the regulator. Close the
propane tank valve and disconnect regulator. Also disconnect
the battery but make sure not to remove battery from trap.
Any open Mosquito Magnet® Octenol or Lurex3 cartridges
should be removed and discarded. See cartridge label for
disposal instructions.
The bug bag should also be discarded
prior to storing the trap.
STORAGE:
The trap should be stored indoors in a garage or shed in
the off-season. Cover trumpet to prohibit insects from nesting. Cover
unit with trap cover or with a tarp and secure tightly at the bottom to
keep out dust, spider webs and other debris.
NOTE: It is recommended that you use the Quick Clear adapter
before seasonal storage to avoid build-up of
contaminants during off-season. (see page 11).
**READ MANUAL BEFORE STARTING**
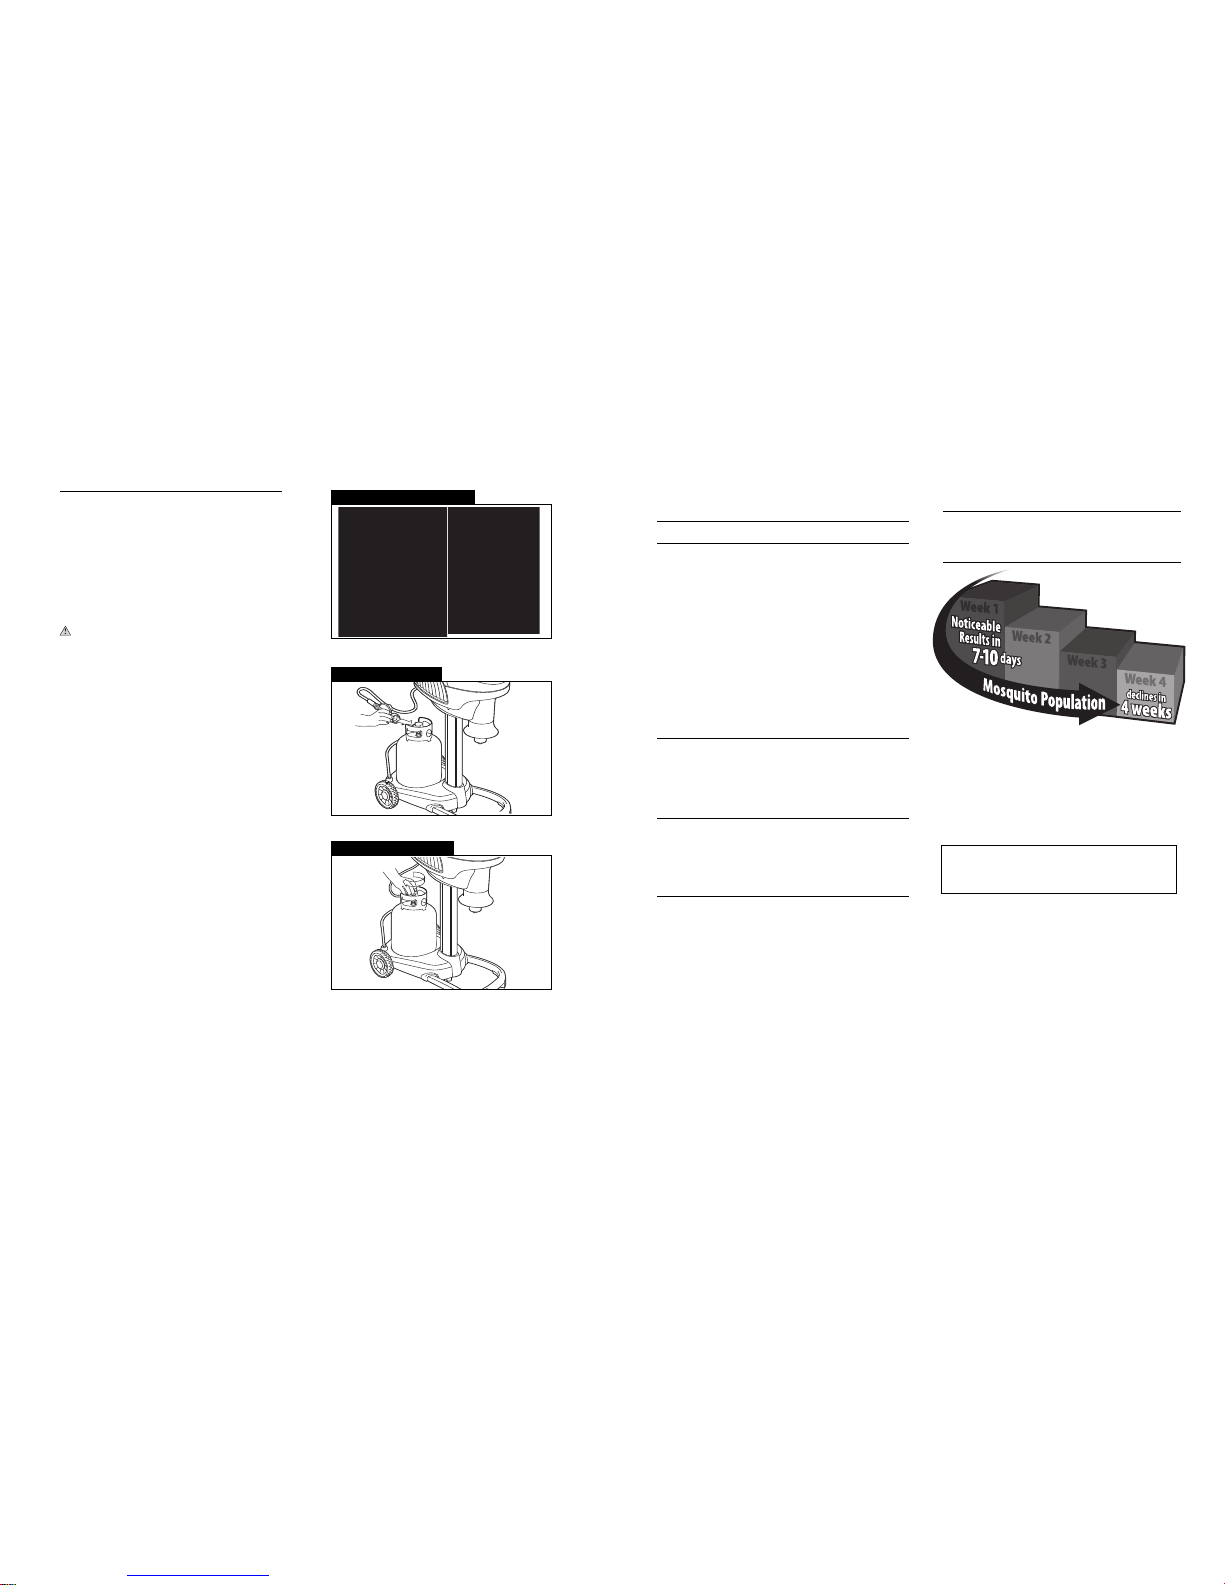
For Optimal Results Run 24 hours/day
• Your trap will begin capturing immediately with
significant reduction in the mosquito population in
7-10 days. Allow 4 weeks to significantly reduce the
mosquito population in your yard.
• Allow trap to cool for 5 minutes before re-start.
• Never spray insecticide in or around trap.
• Trap can be left running in the rain, but do not place
trap directly above a water source (sprinklers, hose,
etc.).
• If using lime or fertilizer compounds, be sure to shut
down the trap first to prevent dust or fine mist from
being drawn into trap and clogging bug bag.
Warning: Improper installation, adjustment, alteration, service or
maintenence can cause injury or property damage. Read the
installation, operating and maintenence instructions thoroughly
before installing or servicing this equipment.
Caution: The gas pressure regulator provided with this
appliance must be used. This regulator is set for an outlet
pressure 11.0 in. water column.
The gas supply must be turned off at the LP-Gas supply
cylinder when this appliance is not in use.
7
Set-Up
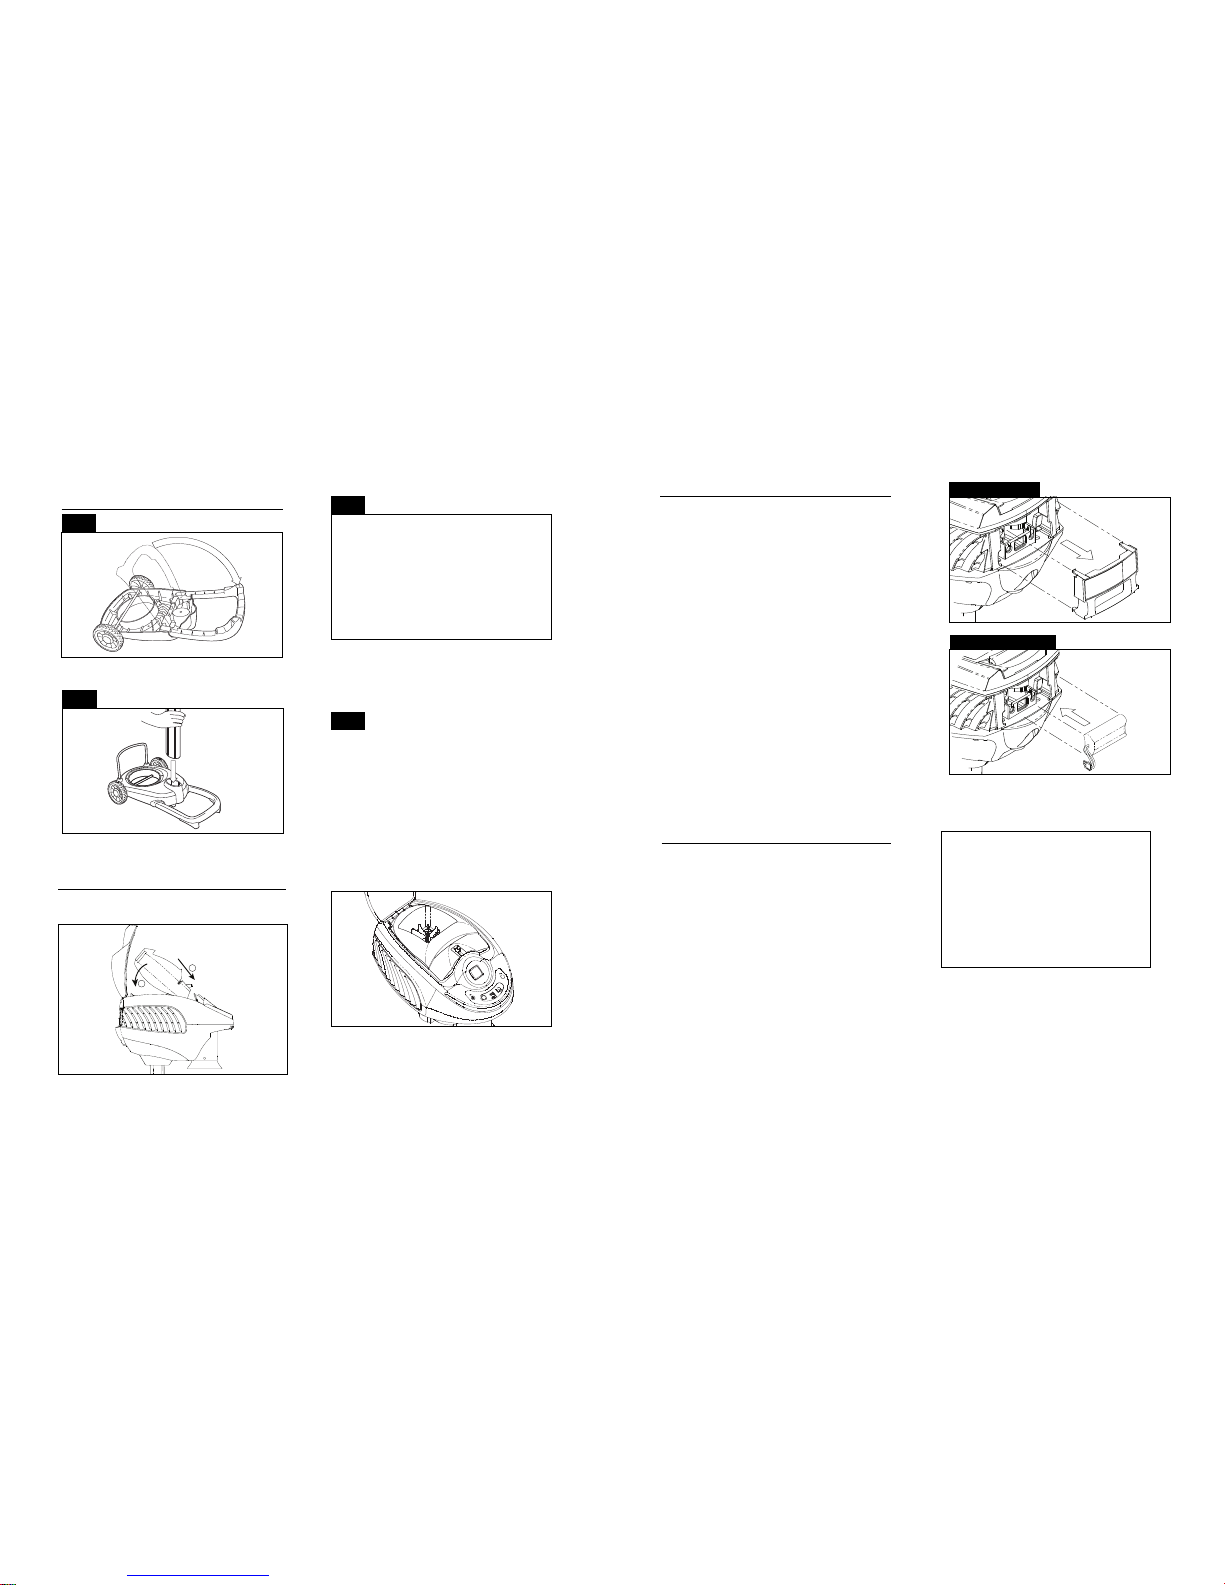
Propane Tank Installation
1. After trap is placed in its ideal location,
place propane tank onto the base.
2. Making sure propane tank is fully closed, attach
propane regulator hose to propane tank. Secure
tightly by hand. Do not use tools.
3. Turn propane on by slowly turning valve counterclockwise. T
ake care not to turn too quickly to avoid
engagement of safety valve.
DO NOT MOVE TRAP WITH TANK ATTACHED!
TANK MUST BE DISCONNECTED FROM REGULATOR
BEFORE TRAP IS RELOCA
TED TO AVOID DAMAGE
TO REGULATOR AND/OR TRAP. BE ADVISED,
DAMAGE CAUSED FROM FAILURE TO COMPLY
WITH THIS INSTRUCTION IS NOT COVERED
UNDER WARRANTY.
Step 1 – Propane Tank Placement
Step 2 – Attach Regulator
Step 3 – Slowly Open Valve
 Loading...