

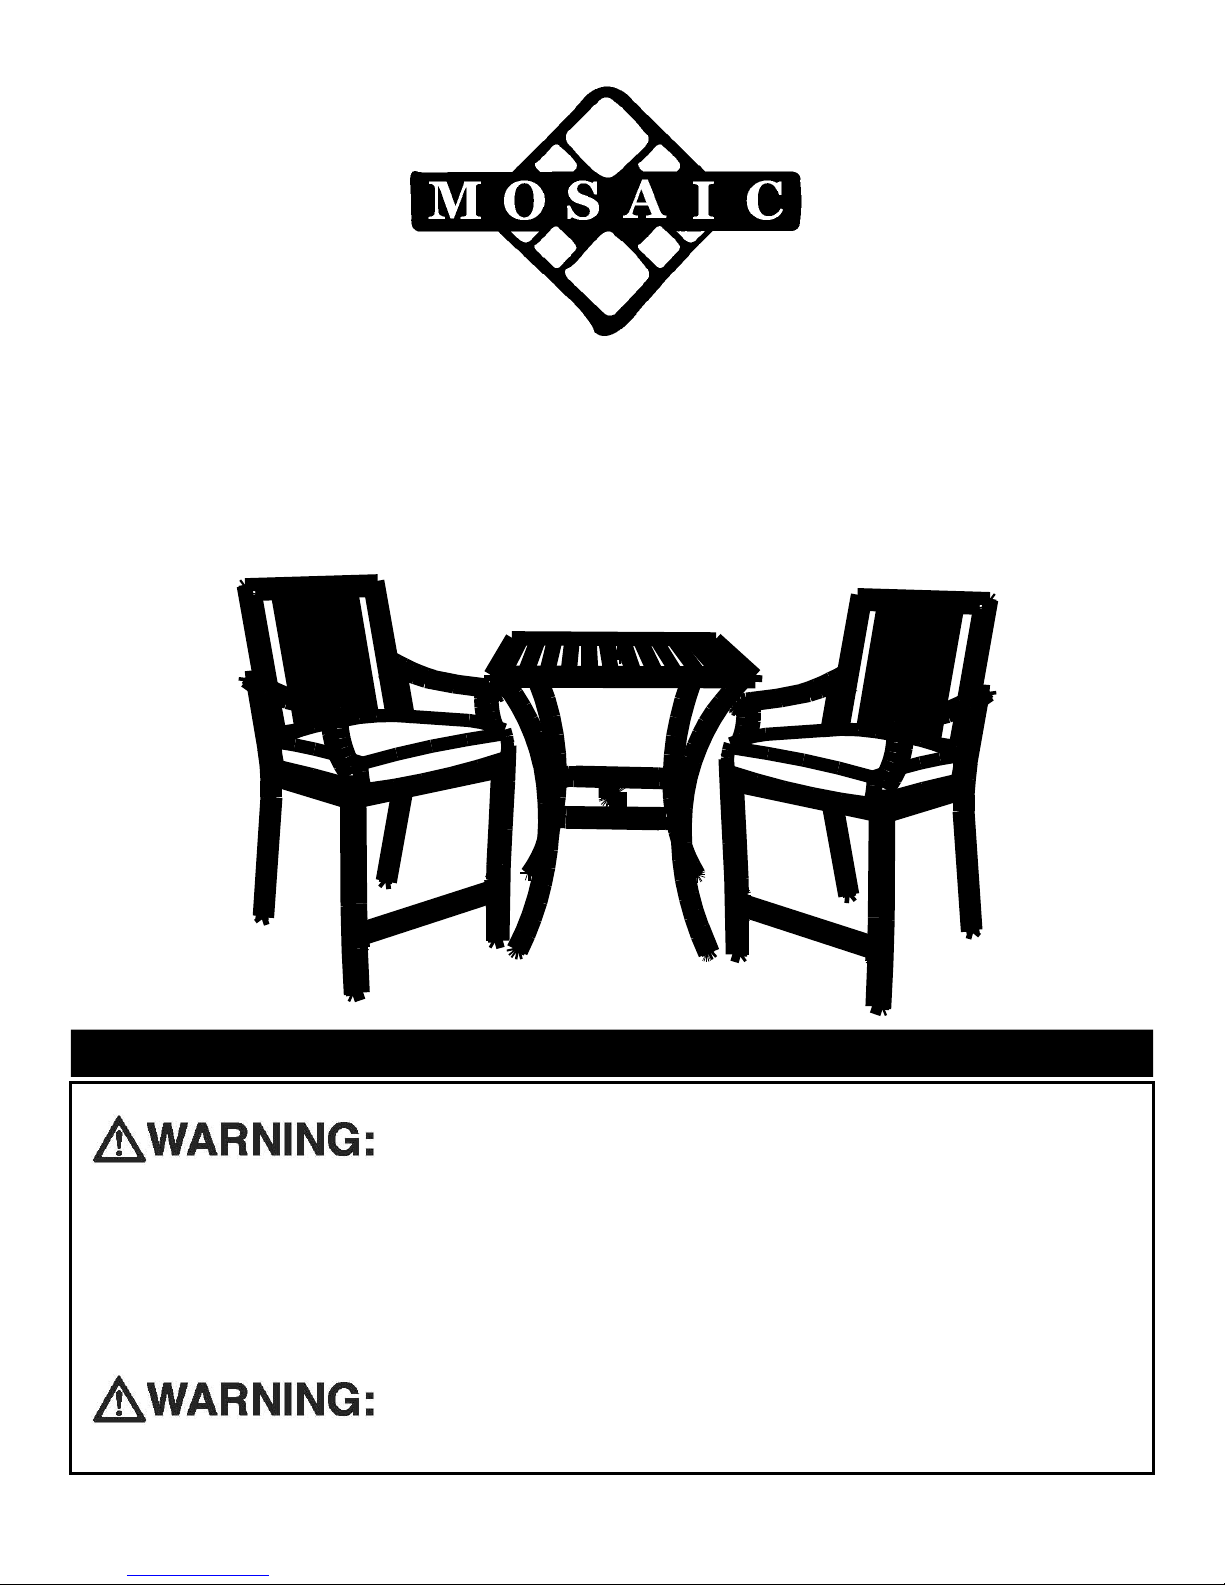
3Pc Cushioned Balcony Height Set
FSMVPT2071
Assembly Instructions
1
Customer Service: (954) 735-9800, 8:00am to 5:00pm, Eastern Standard Time,
(11:00am to 8:00pm, Central Standard Time), Monday thru Friday
(Made in China)
Please keep this instruction manual for future reference
ADULT ASSEMBLY REQUIRED
KEEP SCREWS AND SMALL PARTS OUT OF REACH OF CHILDREN
THIS PRODUCT CONTAINS ONE OR MORE CHEMICALS KNOWN TO THE STATE OF CALIFORNIA
TO CAUSE CANCER AND/OR BIRTH DEFECTS OR OTHER REPRODUCTIVE HARM

•
Warnings 3
•
Care and Maintenance 3
•
Warranty Information 4
•
Tools Required 4
•
Parts List (Chair) 5
•
Parts List (Table) 6
•
Assembly Instructions (Chair) 7
•
Assembly Instructions (Table) 8
2
Table of Contents

Warnings
•
Adult assembly required.
•
Keep small parts out of reach of children.
•
Ensure that all parts are securely fastened and that all nuts and
bolts are fully tightened before use.
Before assembly, check to ensure that all parts and hardware are included.
If any hardware is missing, do not return this item to the store.
Please contact our customer service number at (954) 735-9800 for
replacement parts.
SKU#: 0264-41090-0005-000-0000
STYLE#: FSMVPT2071
3
Care and Maintenance
This set is designed to be enjoyed outdoors on a residential patio or lawn.
In order to extend the life of this product, please take the following
precautions:
•
After extended periods of non-use, check to ensure that all nuts and bolts
are present and properly tightened.
•
Regularly clean the furniture using a water hose with a sprayer
attachment.
•
During extended periods of non-use, store the set in a covered area that
is not exposed to the elements.

Limited Warranty
Frames are under warranty from defects for a period of one (1) year.
4
1 Hex Wrench (Provided)
4 mm
2 Wrench (Provided)
11-12 mm
Tools Required

5
Parts List (Per Chair)
Description Picture Qty
A Right Chair Legs 1pc
A1 Left Chair Legs 1pc
B Seat Frame 1pcs
C Seat Back 1pc
D Support Bar 1pcs
E Bolts
¼” X 20 mm
4pcs
F Bolts
¼” X 38 mm
4pcs
G Bolts
¼” X 45 mm
4pcs
H Washers
Q13*Q6.3*1.0
12pcs
I Bolt Covers
Q12*Q4.0 mm
12pcs
J Seat Cushion 1pcs

6
Parts List (Table)
Description Picture Qty
A Right Chair Legs 4pc
B Left Chair Legs 1pc
C Seat Frame 1pcs
D Bolts
¼” X 38 mm
4pcs
E Bolts
¼” X 20 mm
4pcs
F Nuts
¼” X 45 mm
4pcs
G Bolt Covers
Q12*Q4.0 mm
8pcs
H Nut Covers
¼” X 16 mm
4pcs
I Washers
Q13*Q6.3*1.0
8pcs

Assembly Instructions (Chair)
Step 1:
7
Attach seat frame (B) to
chair legs (A) and (A1).
Secure with washers(H)
and bolts (F).
Note: Hand tighten
hardware only in this step.
Step 2:
Attach seat back (C) to the
chair legs (A) and (A1).
Secure seat back with bolts
(G) and washers (H).
Attach support bar (D) to the
chair legs (A) and (A1).
Secure support bar with bolts
(E) and washers (H).
Fully tighten all hardware
with tools provided, then
install bolt covers (I).

Assembly Instructions (Table)
Step 1:
8
Assemble the table upside- down on a soft non
abrasive surface to avoid
scratches to the paint.
Attach legs(A) to table top
(B). Secure with washers
(I) and bolts (E).
Note: Hand tighten
hardware only in this step.
Step 2:
Attach center ring (C) to the
legs (A). Secure with
washers (I), bolts (D) and
nuts (F).
Fully tighten all hardware
with tools provided, then
install bolt covers (G) and nut
covers (H).
Turn table right- side- up for
use.
 Loading...