

Morsø 2B Classic Installation And Operating Instructions Manual
MORSØ JERNSTØBERI A/S . DK-7900 NYKØBING MORS
E-Mail: stoves@morsoe.com · Website: www.morsoe.com
Installation and Operating Instructions
Morsø 2B Classic
For use in North America

2
1.0 Installation of your Morsø stove Page no.
1.1 Unpacking the stove 5
1.2 Checking loose parts in the stove 5
1.3 The chimney / ue system 8
1.4 Flue connection 9
1.5 Connection to the existing chimney 9
1.6 Positioning the stove 11
2.0 Operation 13
2.1 Before you start ring 13
2.2 Lighting & loading intervals 14
3.0 Maintenance 17
3.1 Exterior maintenance 17
3.2 Internal maintenance 17
3.3 Cleaning the stove & the ue 19
3.4 Leaving the stove for extended periods 20
3.5 Parts diagram for model Morsø 2B Classic 21
3.6 Parts list for model Morsø 2B Classic 22
Enjoy your new Morsø stove!
We congratulate you on your choice of a Morsø
stove. Morsø has been producing some of the
world’s best stoves since 1853. If you follow this installation- and operating instruction carefully, we
can assure you many years of warmth and pleasure.
Contents
3
Optional Accessories
A wide range of accessories (such as handling gloves, reside tools, glass cleaner and heatproof paint) are available for use with your Morsø stove. They help with day-to-day running
and maintenance. Contact your Morsø dealer for more information.
The Morsø 2B Classic meets the U.S. Environmental Protection Agency’s emission limits for
wood heaters sold on or after July 1, 1990
The Morsø 2B Classic have been tested by OMNI-Test Laboratories, Inc. The test standards
are ANSI/UL-1482 for the United States and ULC S627 for Canada.
The stove is listed for burning wood only. Do not burn other fuels.
Under speci c test conditions this heater has been shown to deliver heat at rates ranging
from 10,000 to 23,600 Btu´s.
Cast iron
Cast iron is a live material. There are no two ovens that are identical. This is partly due to the
tolerances of the casting process, partly because the ovens are a work of craftsmanship.
Minor unevennesses may also occur in the cast iron surface.

4
Installation of woodburning stoves must be safe and legal.
If your Morsø stove is not installed correctly, it may cause a house re. To reduce the risk
of re, the installation instructions must be followed carefully. Contact the local building
ocials about restrictions and installation inspection in your area.
Before you start installing your stove, make sure that:
- The stove and chimney connection are placed far enough from combustible materials to
meet all clearance requirements.
- The oor protection must be adequate and must be made correctly according to the requirements.
All neccessary approvals are needed from the local building ocials.
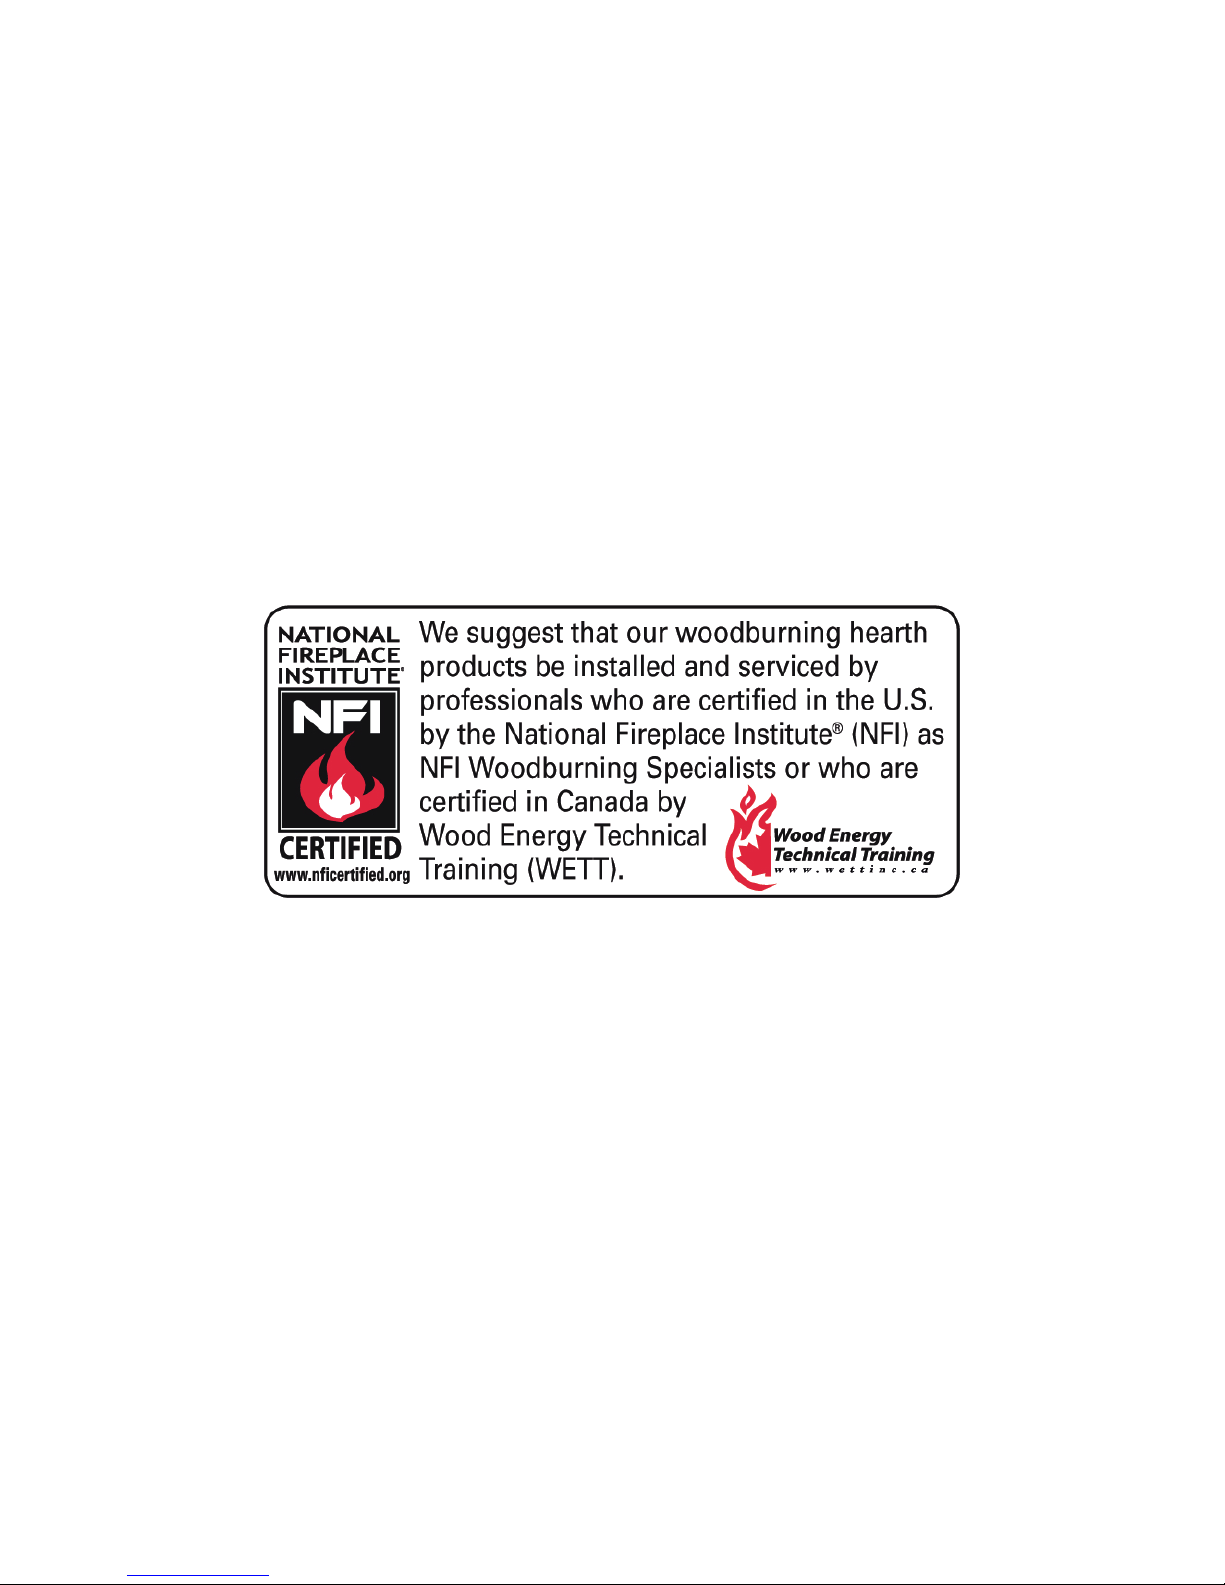
The data plate, which is located on the back of the stove, provides information regarding safety
testing information, name of certied testing laboratory, and installation requirements.
Installation requirements vary in dierent districts, and the local building ocials have the nal
authorization to approve your installation. You should discuss the installation with them before
beginning. Please ask your dealer for further information.
Do not connect to any air distribution duct or system.
Important: If the installation instructions are not followed carefully, it may cause dangerous situations like chimney - and house res. Follow the instructions carefully and
do not deviate from them as it may cause injuries to people or property.
1.0 Installation of your Morsø stove
5
1.1 Unpacking the stove
2B Classic: After removing the outer packaging, atten it and lay onto the oor close to the
stove; this can then act as protective work surface during the assembly process.
Next, remove the legs and bolts from inside the stove. Gently lay the stove onto its back and
unscrew it from the wooden pallet. Using the bolts supplied, now screw the legs into position
on the underside of the base. The stove should now be lifted and moved into the upright position, avoiding excess load on the back legs.
1.2 Checking loose parts in the stove
After unpacking, check that the re bricks are rmly in position and have not shifted in transit. Check also that the air control works freely.
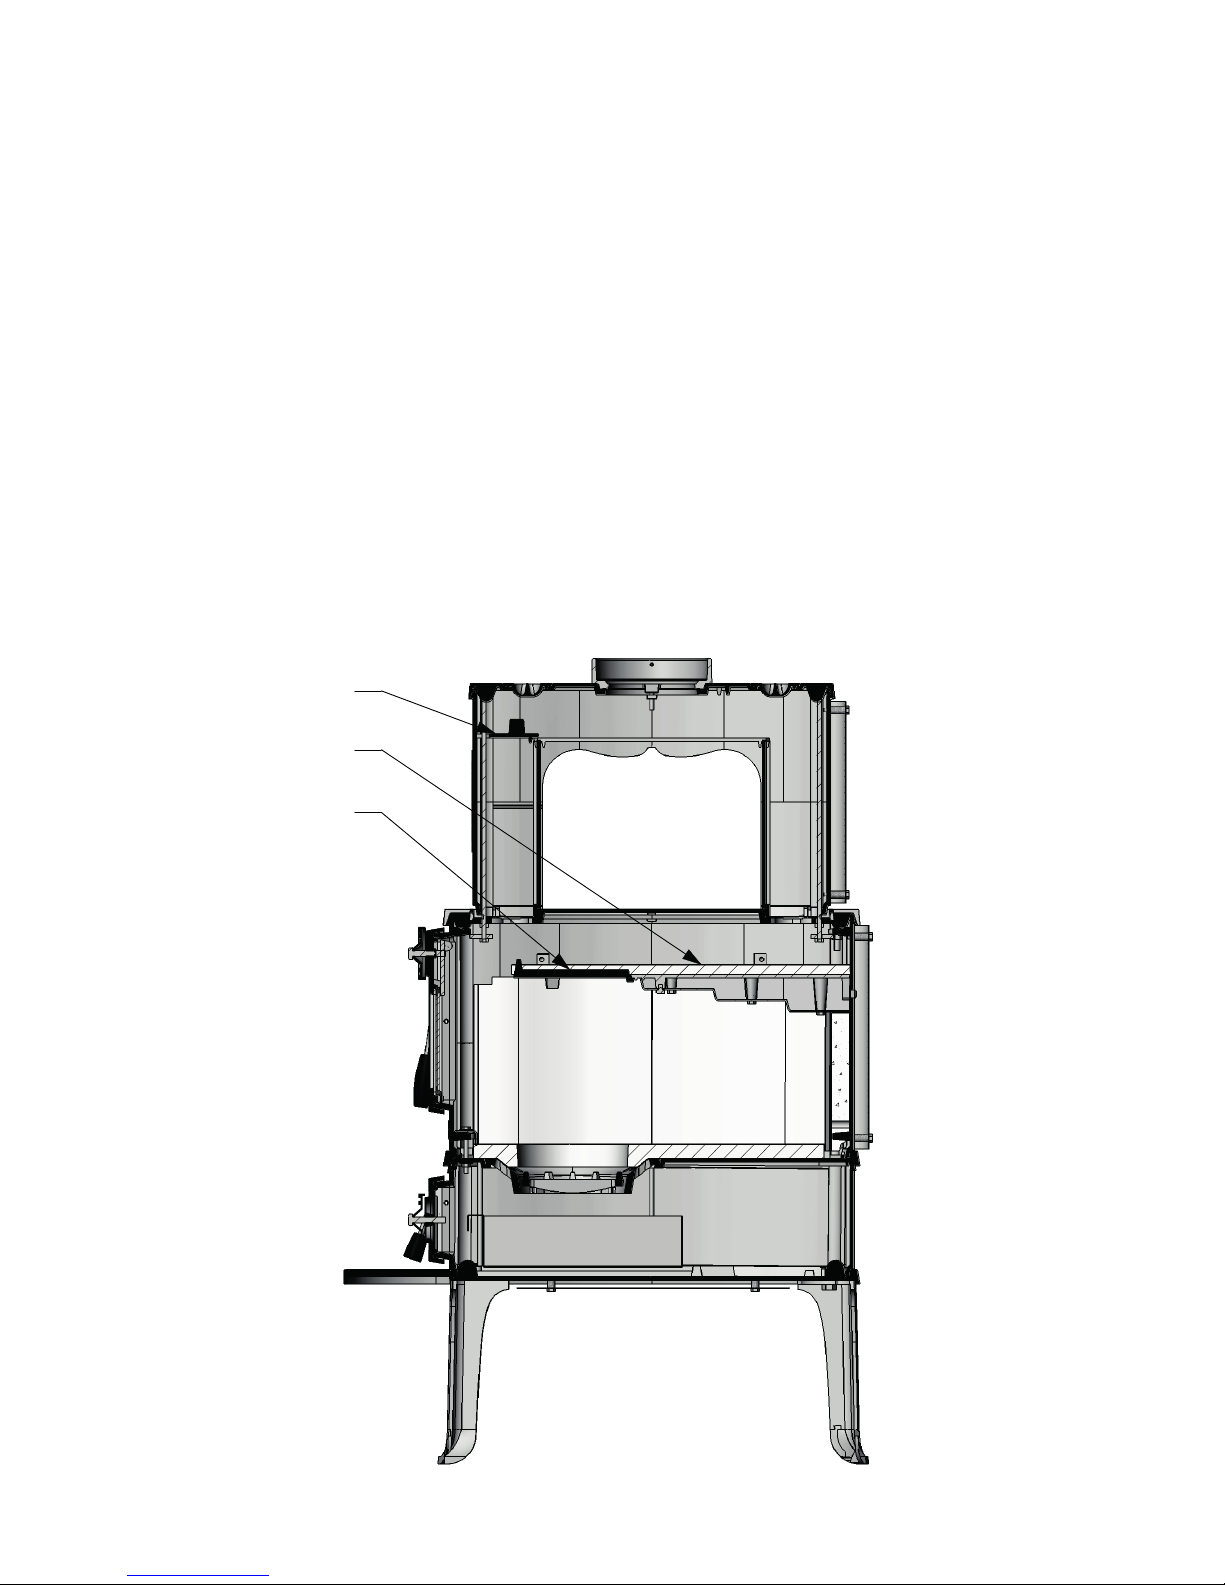
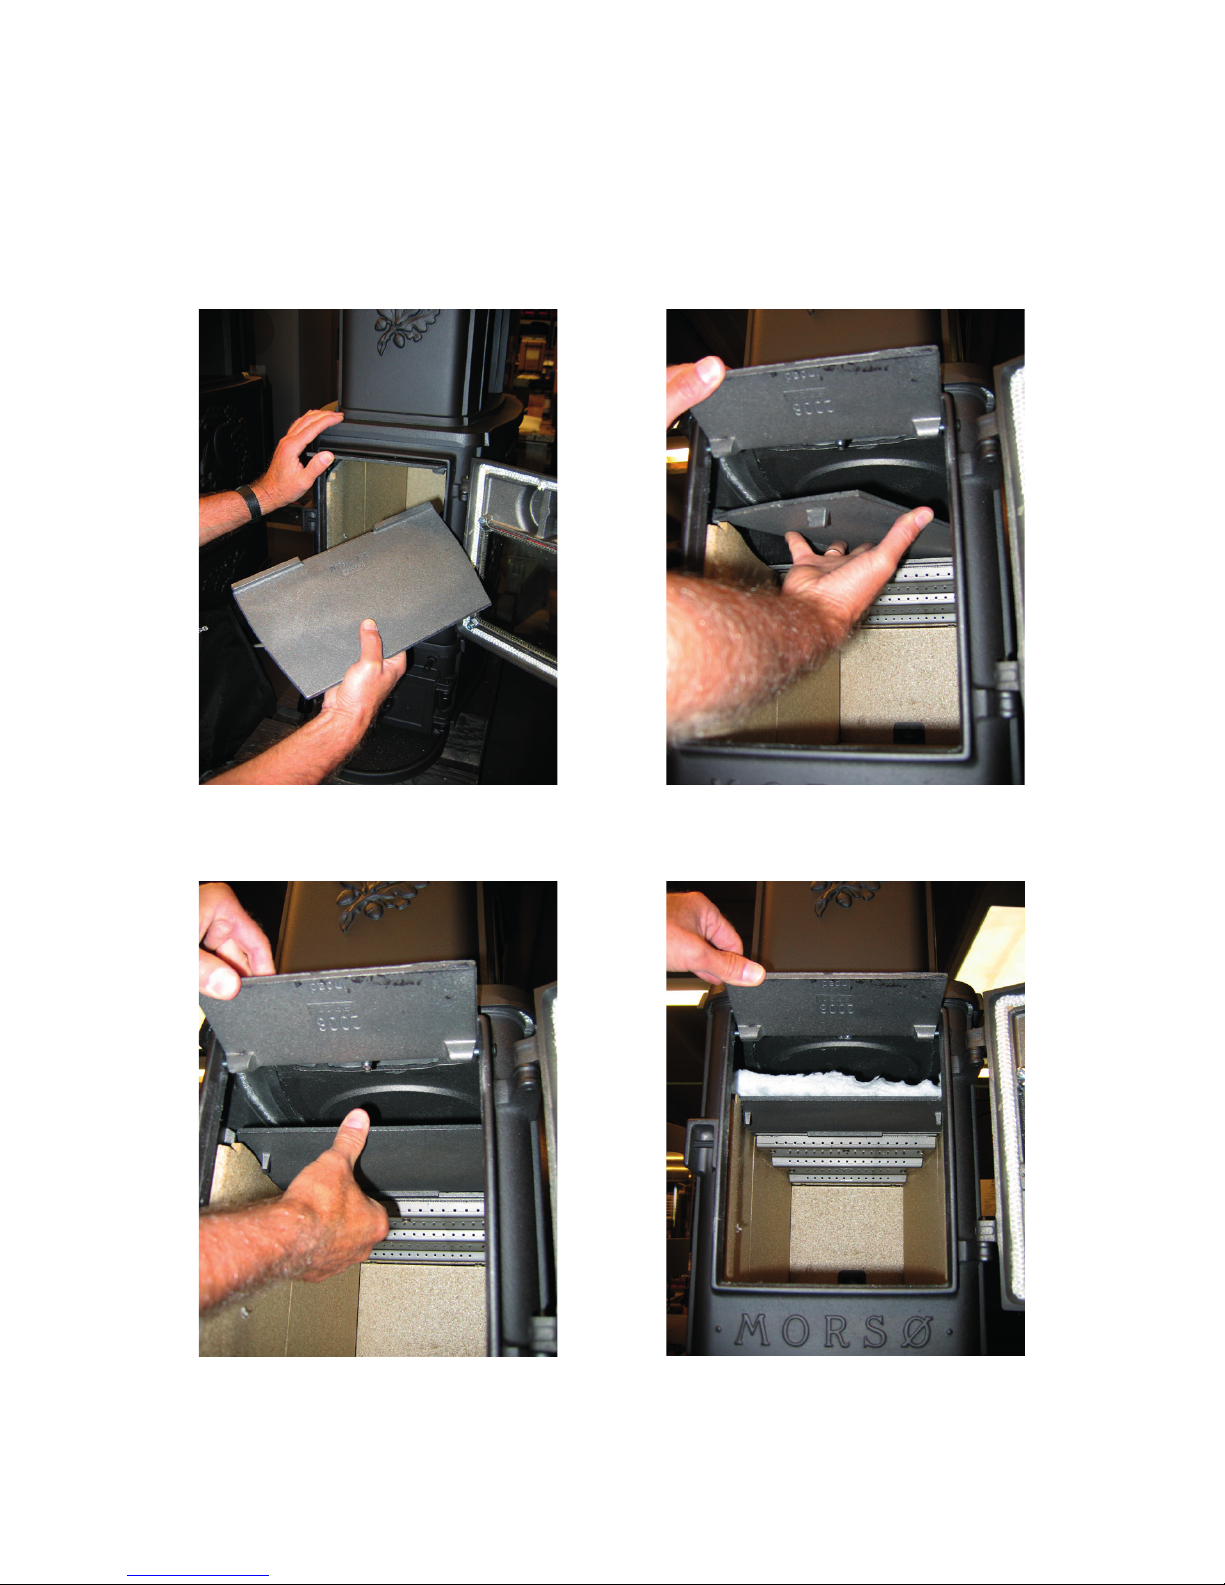
Before starting the initial re, make sure that the bae (1) and insulation (2) over the bae
are placed correctly, as shown on the images below. Also check that the cover (3) identication number 2118 are placed correctly.
3
2
1
6
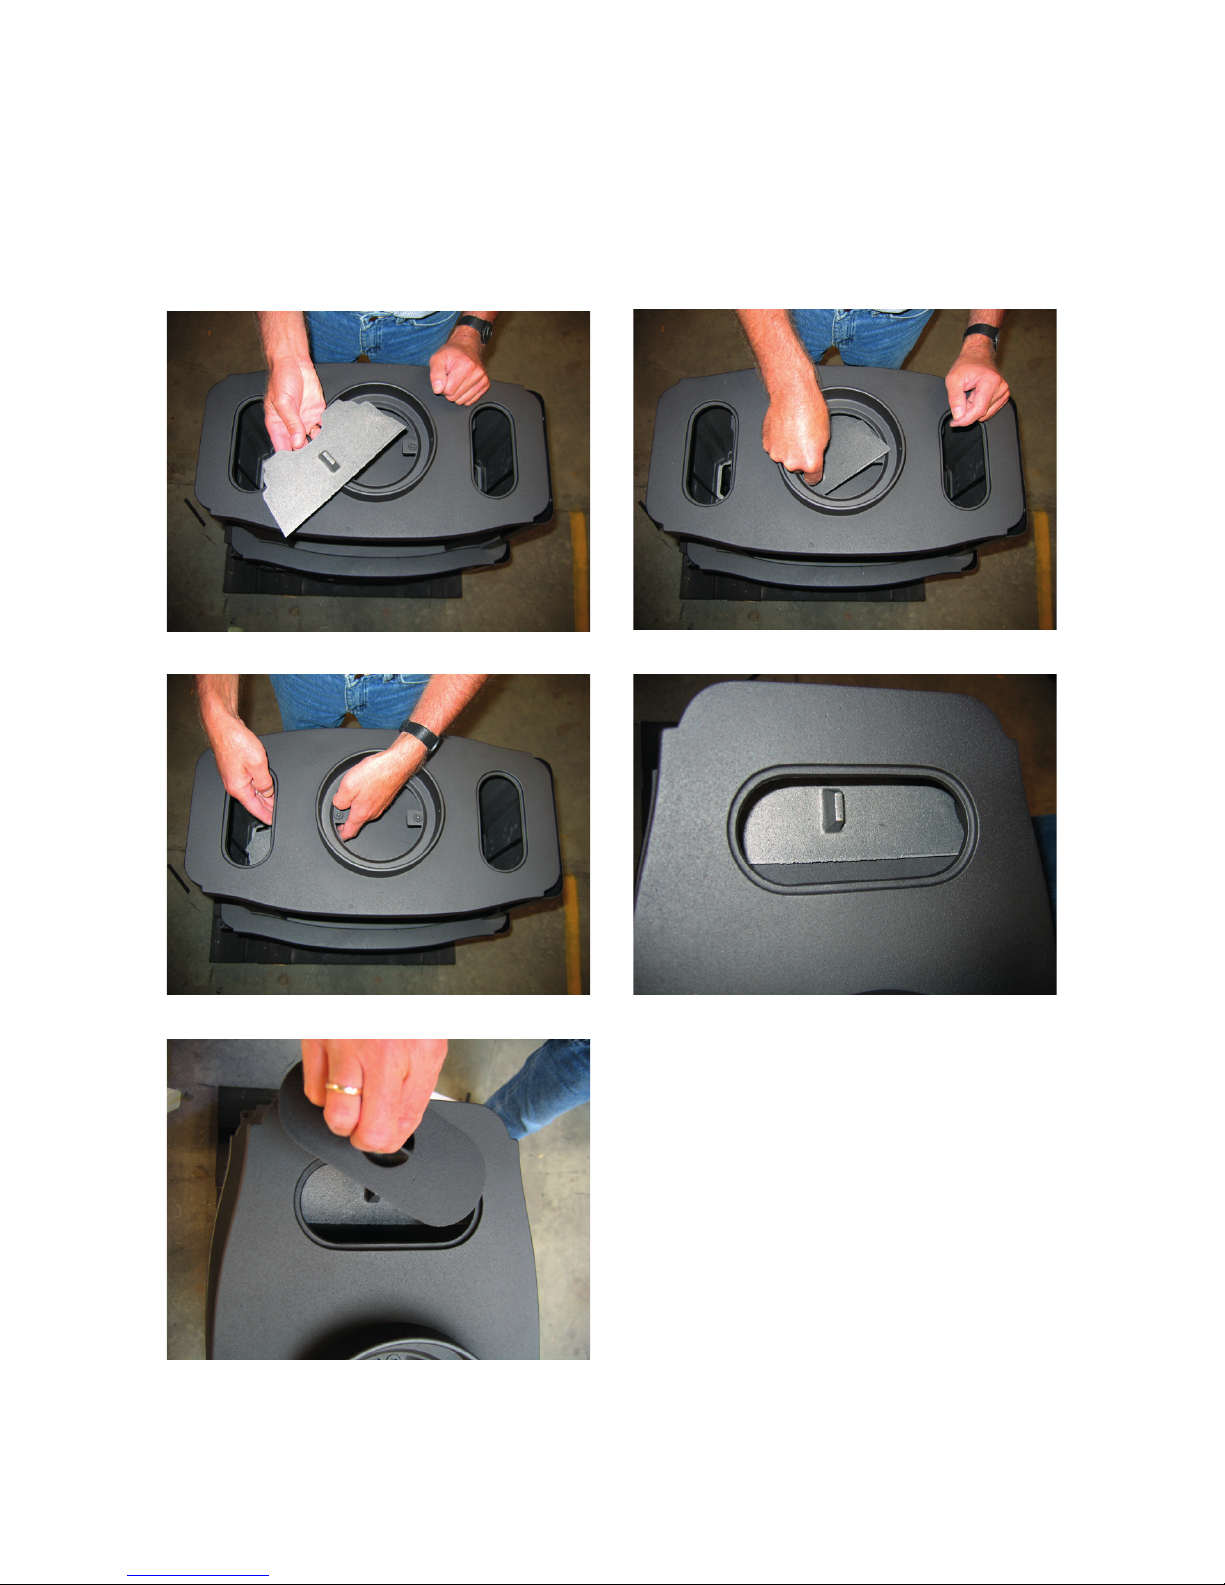
How to t the Smoke Cover
Place the smoke cover by the smoke vent in front of the stove. This is easily done by leading
the smoke cover down through the ue collar before tting the pipe. It is also possible to t
the smoke cover through the access door opening. See pictures below.
7
How to t the Vertical Bae
Lead the vertical bae through the door as shown below (picture 1 & 2). Place the bae
into the right position (picture 3 & 4). The bae insulation is placed on the bae.
Standard Accessories
A Morsø glove and ceramic ue connection gasket are standard accessories that usually can
be found in the ashpan or rebox area.
8
1.3 The chimney / ue system
Note that the ue system must be independently secured and must not rely on the stove
for support.
The stove must not be connected to a chimney ue serving any other appliance. (Several ues may run up a single chimney stack; use one ueway per appliance).
Use a residential type masonry or listed type HT factory-built chimney.
High Temperature (H.T.) Chimney Standard UL-103-1985 (2100º F.) or a code-approved
masonry chimney with ue liner for the USA, and High Temperature (650ºC) Standard
ULC S-629 for Canada.
The internal dimensions of the chimney connector and chimney must not be less than 6 inches diameter (or equivalent cross section), and should not be signicantly larger than this. Too
large a section will tend to allow the ue gases to cool excessively, causing sluggishness or
unpredictability in the stove’s performance.
We recommend the length of the chimney system should be at least 16 feet (not required)
above the stove in normal domestic situations, measured from the ue collar to the top of
the chimney.
Local conditions like for example - roof constructions, large trees nearby and high altitude,
may inuence the chimney draft and height. Therefore, contact the local professional chimney sweep or your Morsø dealer.
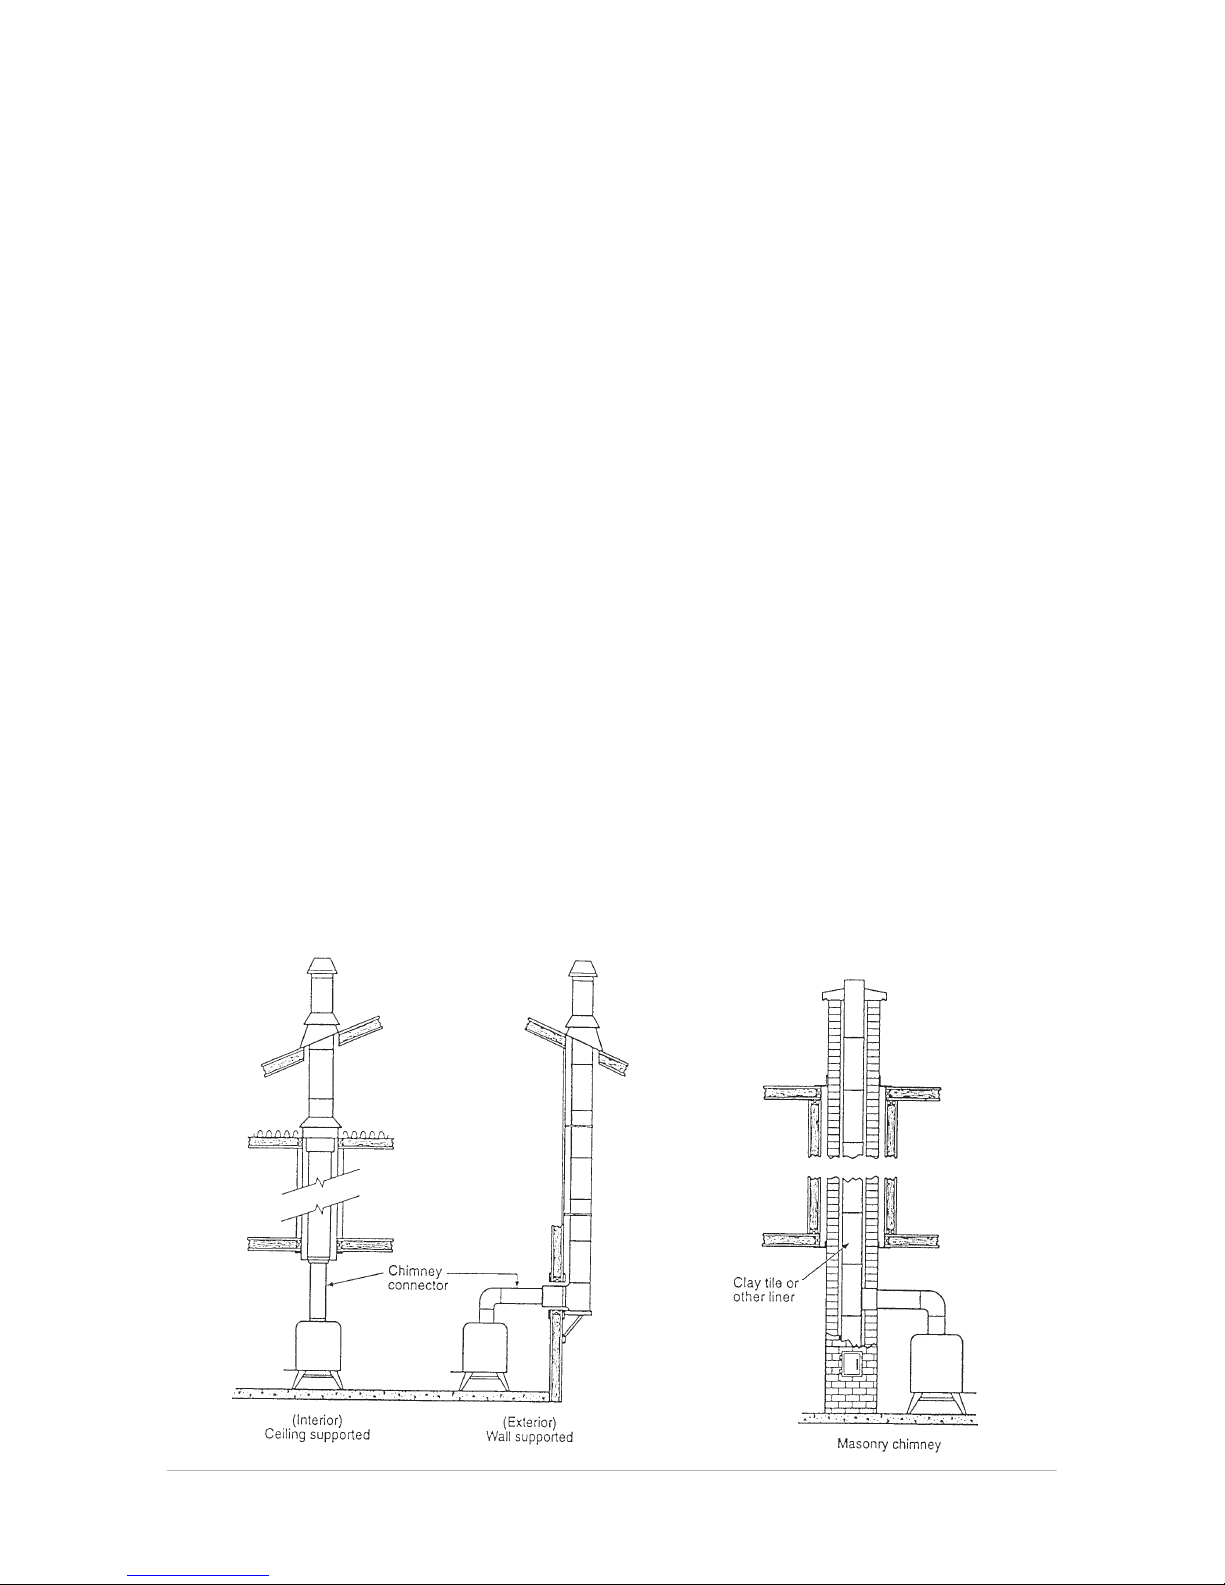
Typical Factory-Built or Masonry Chimney Installations
 Loading...