

Morrisons GBC1436BMO Assembly And Safety Use Instructions
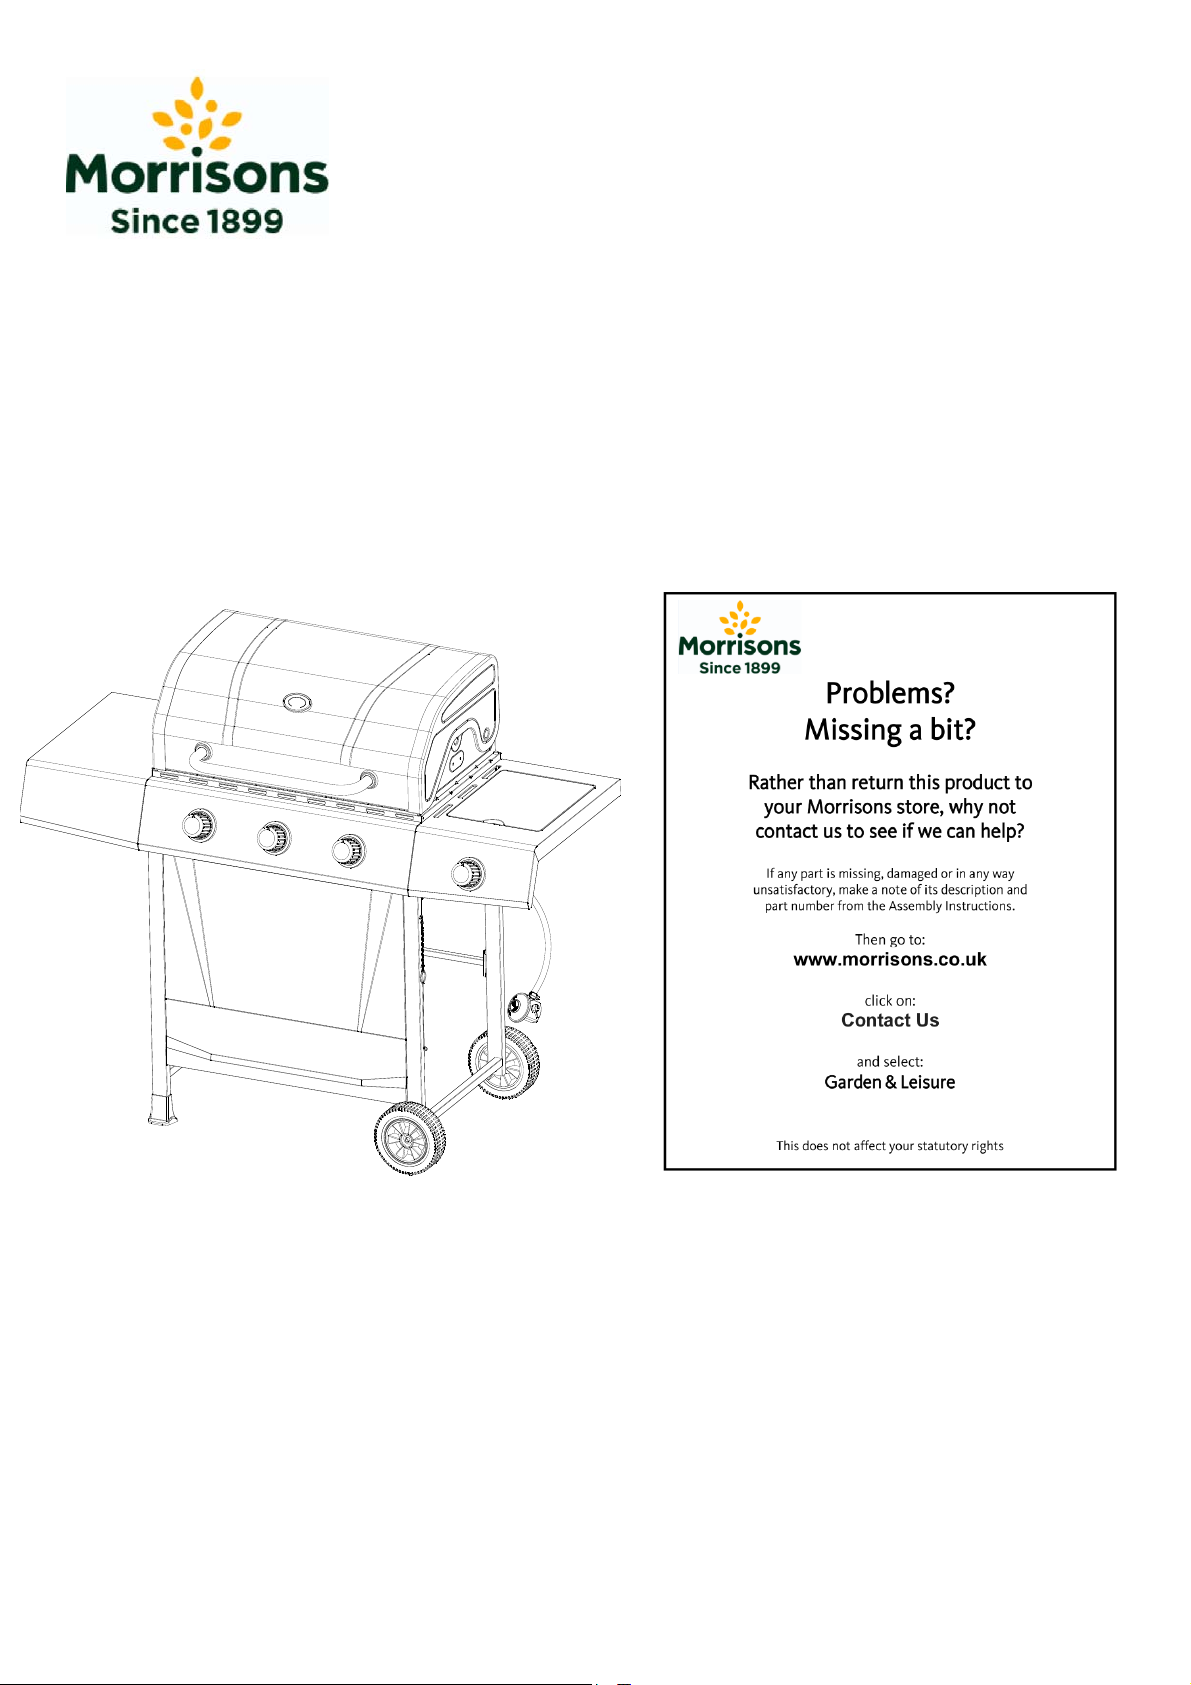
3 Burner Gas Barbecue
Assembly and Safety Use Instructions
(Model No.: GBC1436BMO)
IMPORTANT! READ CAREFULLY AND KEEP FOR FUTURE REFERENCE
CE 0359-19
1
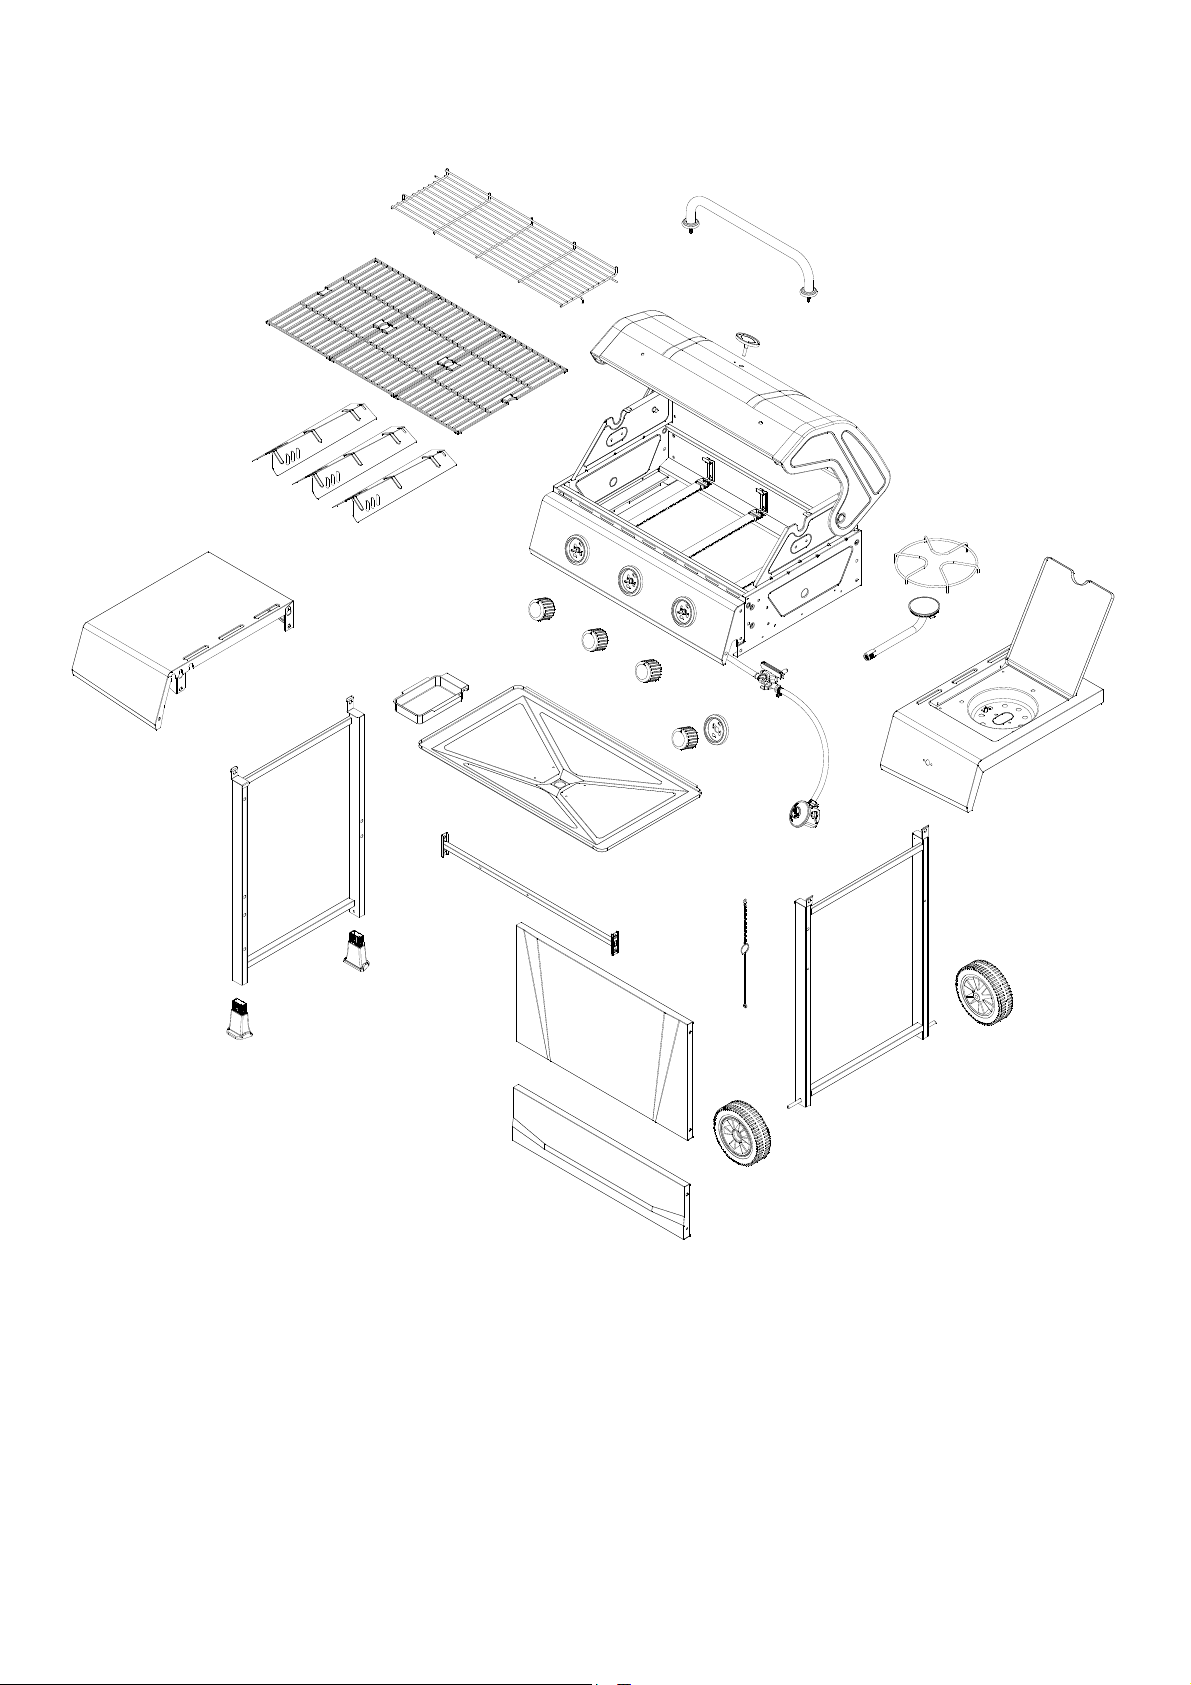
Expanded View
4
4
4
3
1
2
6
5
6
11
6
12
10
10
8
7
14
10
15
13
10
18
21
9
16
17
19
21
22
20
23
2
19
Parts Supplied
Please check parts against the list below before assembling your Barbecue Grill.
Take a few moments to familiarise yourself with the contents. Check that all holes are clear of paint before assembly, if
you find a blockage, please use a screw driver to clear the blocked hole.
1
Lid handle
1
12
Grease cup
1
2
Temperature gauge
Wa rming ra c k
3
Cooking grid
4
Lid & fire-bowl
5
assembly
6
Heat plate
13
1
Grease tray
1
1
3
for side burner
Left cart frame
15
1
1
Right side shelf
14
Right c a rt fra me
16
1
17
Lighting hook
3
Rea r ca rt fra me
18
support
1
1
1
7
Side burner grid
Side burner
8
Control knob plate
9
10
Control knob
Left sid e s h elf
11
1
19
Wheel
1
20
Axle
End cap of left
21
1
4
1
cart frame
Upper front panel
22
Lower front panel
23
2
1
2
1
1
3
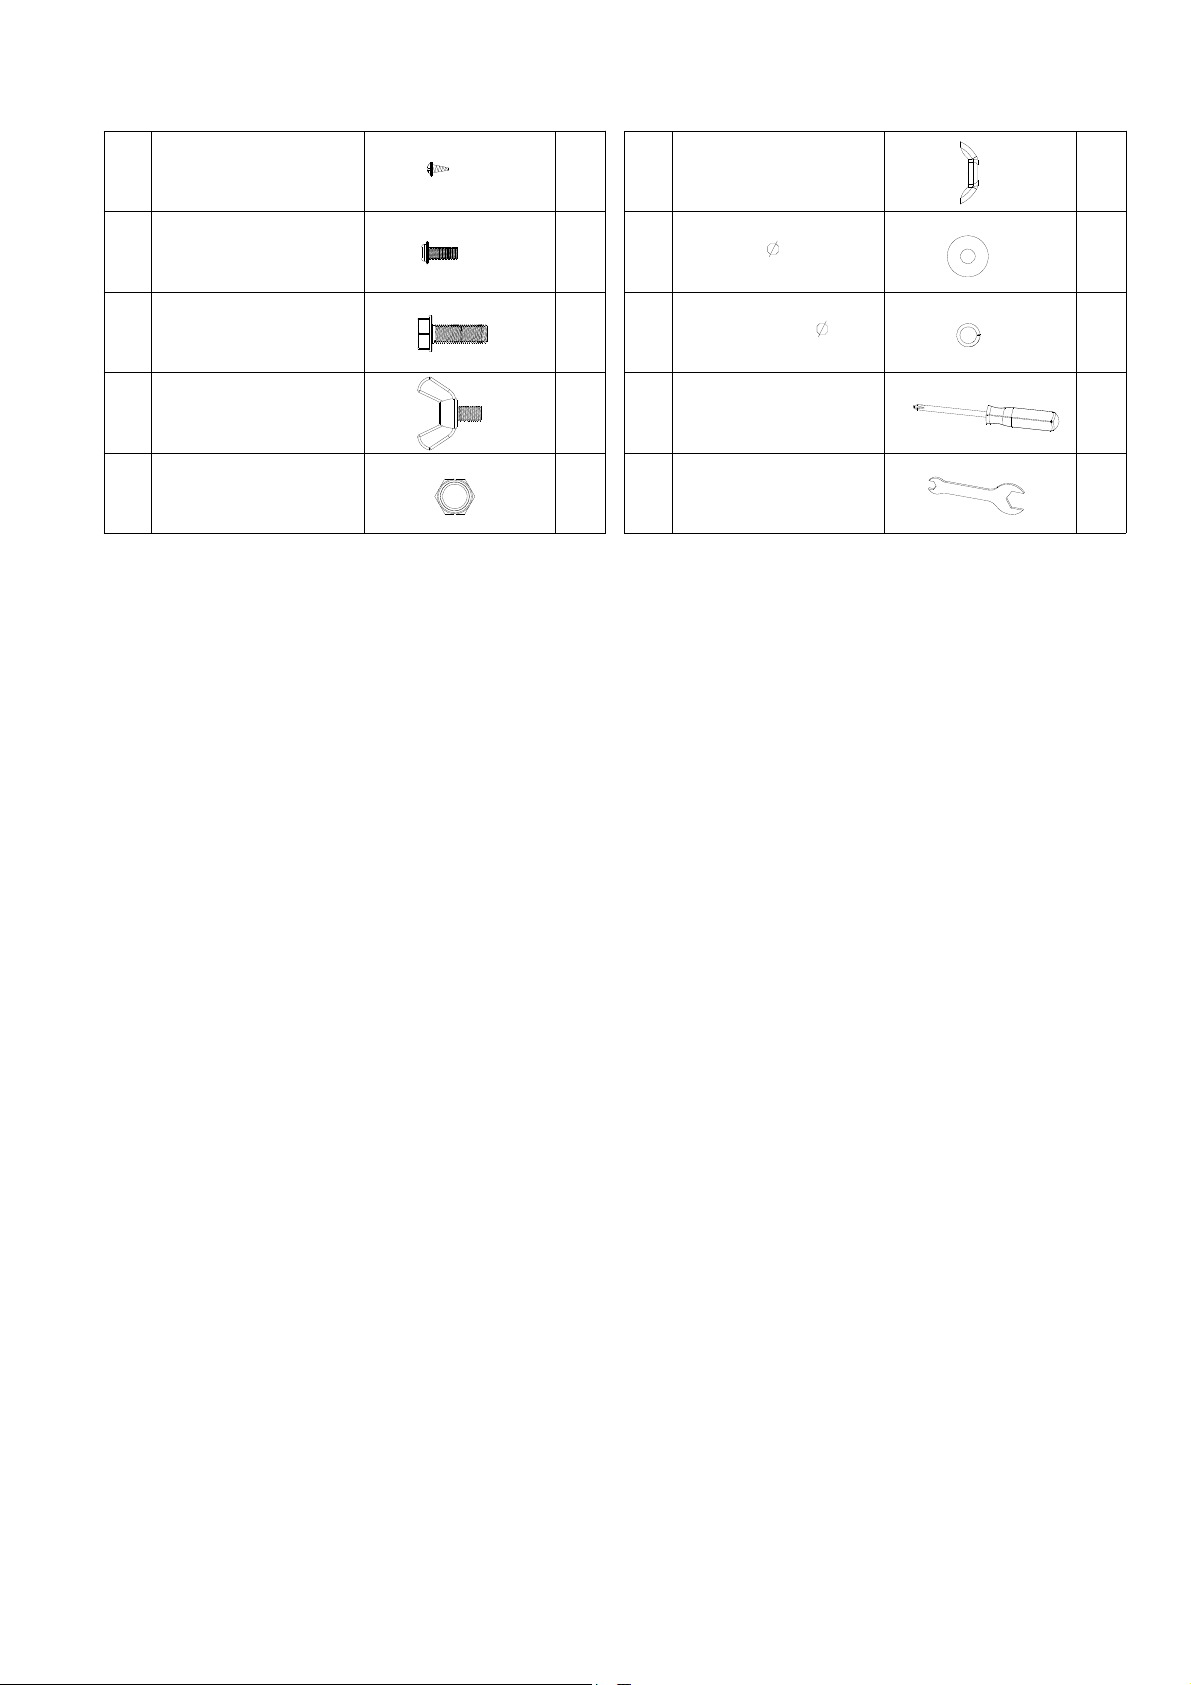
Fittings Supplied
Screw ST4.8x10
A
2
F
Wing nut M6
2
B
Screw M4x10
4
G
Washer 6
6
Bolt
C
M6x16
D
Wing bolt M6x10
26
1
Lock washer
H
Screwdriver
I
6
6
1
E
Nut M10
2
J
Wrench M6 & M10
2
Screwdriver (included), wrench (included) and plastic head hammer (not included) are
required to assemble the Barbecue.
Dispose of all polythene packing carefully and keep out of the reach of children
Please read the section on barbecue safety prior to using your Barbecue.
Two people are recommended for assembly.
Please read all instructions carefully and keep outer packaging to refer to photograph of finished product in case of
difficulty.
Warning
1, Use outdoor only.
2, Read the instructions before using the appliance.
3, WARNING: Accessible parts may be very hot. Keep young children away.
4, This appliance must be kept away from flammable materials during use.
5, Do not move the appliance during use.
6, Turn off the gas supply at the gas cylinder after use.
7, Do not modify the appliance.
8, Gas cylinder can’t be used or stored underneath the fire bowl or in the grill cabinet.
4
Assembly
Please read all instructions thoroughly before proceeding. Find a large, cle an area in which to assembl e your barbecue.
Please refer to parts list and assembly diagram as necessary. Assembly of the barbecue involves many large
components, it is advisable to have two people assemble the unit.
STEP 1:
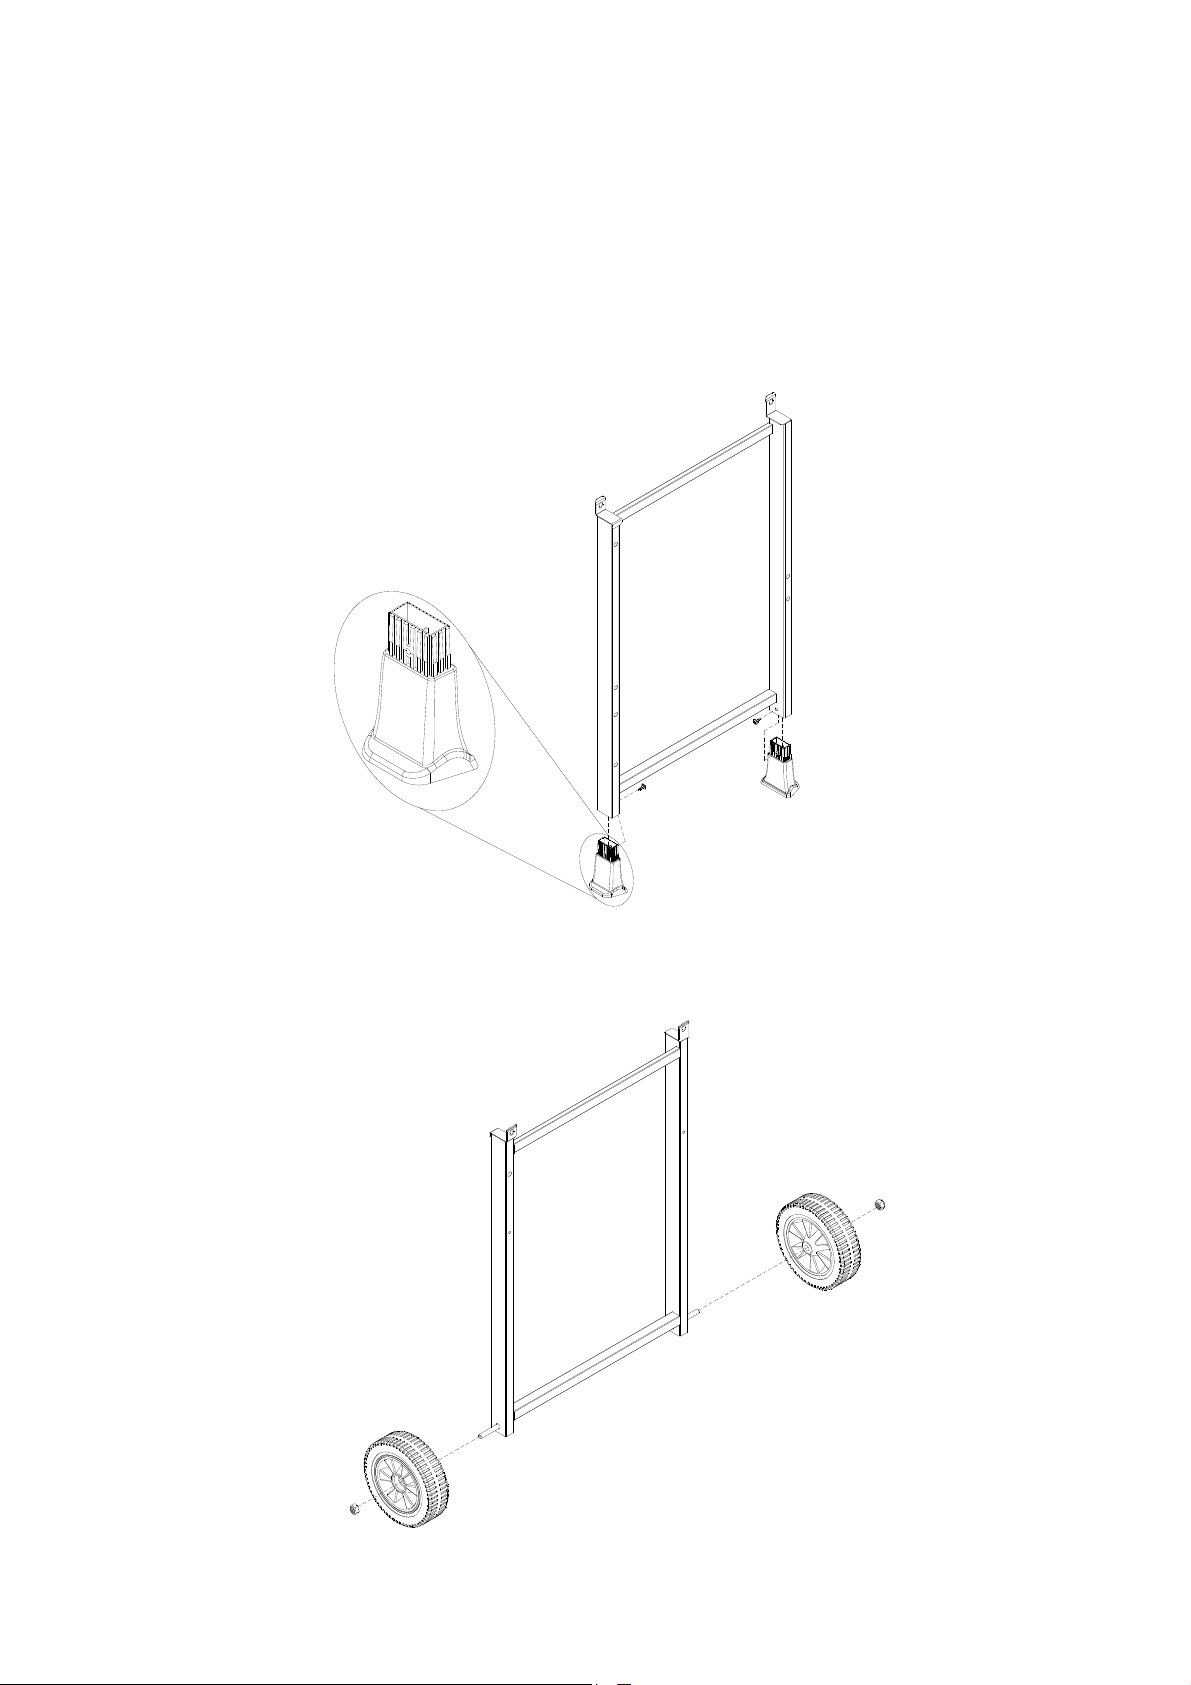
A: Att ach end cap of left cart frame (21) to left cart frame (15) ((A) Screw 2Pcs).
Note: Use plastic head hammer slowly and gently to strike on the end cap of left cart frame insert into frame tubes if
needed. Make sure the left cart frame is in the correct orientation as sho wn in below diagrams.
.
(15)
(A)
(A)
(21)
STEP 2:
A: Att ach axle (20), wheel (19) to right cart frame (16) ((E) Nut 2Pcs).
Note: Make sure the right cart frame is in the correct orientation as shown in below diagrams..
5
(19)
(E)
(16)
(21)
(20)
(19)
(E)
STEP 3:
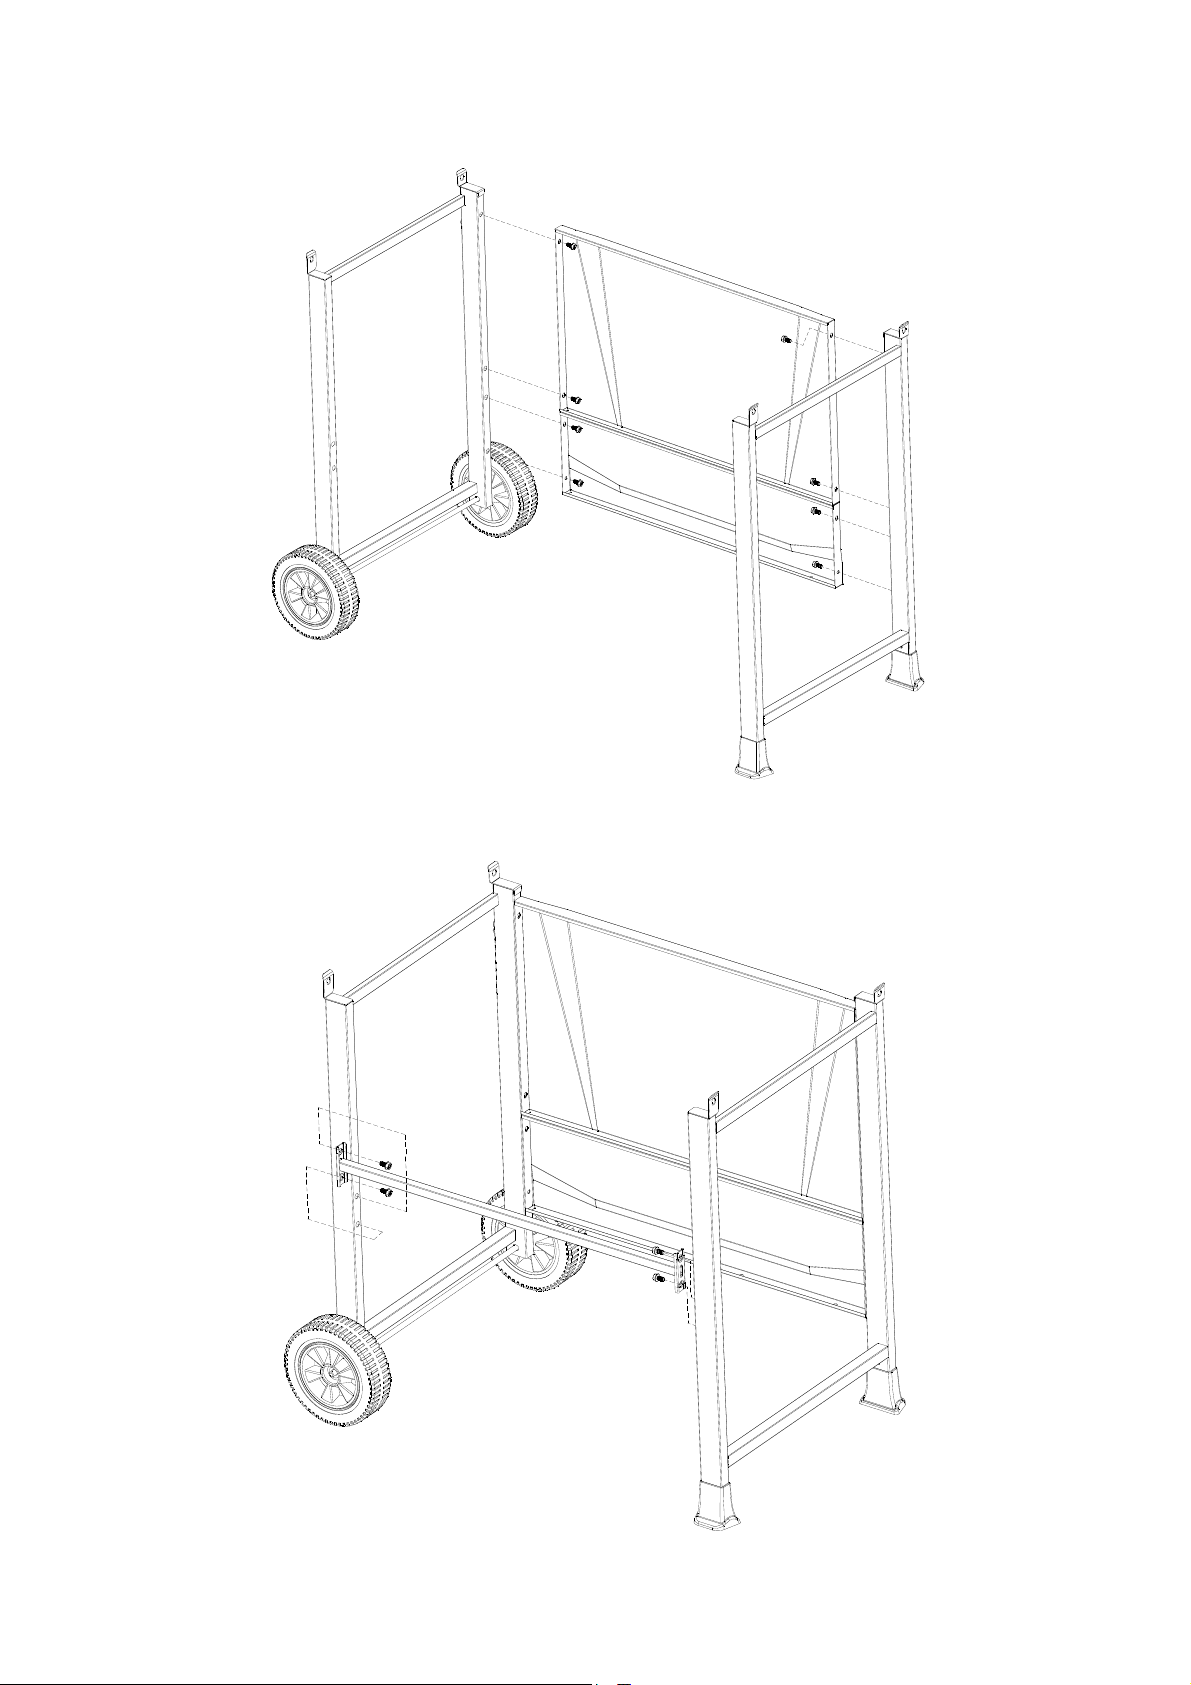
A: Att ach upper front panel (22) and lower front panel (23) to the assembled cart frame ((C) Bolt 8Pcs).
Note: Make sure the left and right cart frame are in the correct orientation as shown in below diagram..
(C)
(22)
(C)
(C)
(C)
(C)
(C)
(23)
(C)
(C)
STEP 4:
A: Att ach rear cart frame support (18) to the assembled cart frame ((C) Bolt 4Pcs)..
6
(C)
(C)
(18)
(C)
(C)

STEP 5:
A: Att ach lighting hook (17) onto right cart frame ((D) Wing bolt 1Pc).
B: Hang the lighting hook onto wing bolt.
STEP 6:
A: Att ach lid handle (1) onto lid & fire-bowl assembly (5) ((G) Washer 2Pcs / (H) Lock washer 2Pcs / (F) Wing nut 2Pcs).
B: Att ach temperature gauge (2) onto lid & fire-bowl assembly (5).
(D)
(17)
(D)
(17)
1
2
(1)
(2)
(5)
(G)
(H)
(F)
(G)
(H)
(F)
7
 Loading...