

Morgana AutoCreaser 50 Operator's Manual
AutoCreaser 50
CREASING MACHINE
OPERATORS MANUAL
Morgana Systems Limited United Kingdom
Telephone: ( 01908 ) 608888 Facsimile: ( 01908 ) 692399
SERIAL No. 710386LBAD ONWARDS
DOCUMENT
Website: www.morgana.co.uk
ISSUE 7
January
2008
70-069

INDEX
INTRODUCTION
The Morgana Autocreaser 50 PAGE 3
SAFETY Do’s & Don’ts
THE AUTOCREASER 50
Labelled Photograph 6
THE CONTROLS
The control panel 7
Features on the control panel 8
QUICK START GUIDE 9
OPERATING THE AUTOCREASER 50
Setting the machine
Programming the machine
Reading stored programmes 17
Paper jamming 17
THE STACKER ASSEMBL Y
Setting the Stacker unit 18
4
12
16
PERFORATIN G
Equipment, spares 20
Setting the machine 21
THE BLADE ASSEMBLY
Setting the blade pressure 23
Setting the blade alignment 24
REPLACING CREASING BLADE SETS
Installing new blade sets 25
Spares 26
TROUBLE SHOOTING 27
DISPATCH KIT 30
ACCESSORIES & OPTIONS 31
RECOMMENDED SPARES 32
Page 2
CREASING

AutoCreaser 50
The Morgana Autocreaser 50 is a fully automatic suction feeding creasing
system designed for use with both conventional litho and digital printers.
The feed on the Autocreaser 50 can also be manually operated for use with
heavy stock, very small or very large sheets, embossed or even irregular
sheets.
The Autocreaser 50 is capable of creasing sheet sizes to a maximum of
700mm x 500mm (27.5” x 19.7”) and weights in excess of 350gsm.
The minimum sheet size when the machine is used in automatic mode is
140mm x 210mm (5½ “x 8½”).
INTRODUCTION
AutoCreaser 50
Up to sixteen creases can be programmed to a single sheet.
The crease is programmed from the leading edge of the sheet using the
controls on the front panel.
A minimum distance between creases is 0.1mm
The Autocreaser 50 has up to nine available memory addresses for
programmed creasing operations.
The blade and anvil are mechanically controlled over their entire length
and can be adjusted to accommodate various weights of media.
IMPORTANT
The operating environment should be controlled to a temperature between
16° C and 27° C Maximum
SYSTEM
Page 3

Safety Do’s & Don’ts
Safety Do’s & Don’ts
Do - read this operator manual fully before operating the machine.
Do - operate with the designated AC current only. Use an exclusive outlet, as
overloading may cause fire or an electric shock.
Do - install the power cord out of the way to avoid a tripping hazard.
Do - beware of finger traps when replacing roller cassette and fold plates.
Do not - install the machine in an unstable place such that it tilts or shakes.
Do not - unplug the plug or unplug the power cord from the outlet with a wet hand,
this can cause an electric shock.
Do not - unscrew and remove any covers from the machine, as it can cause an
electric shock or injury.
Do not - place receptacles containing liquids on any surface.
Do not - adjust any part of the machine whilst rollers are running
Do not - operate the machine with loose or trailing clothing or loose hair.
Do not - under any circumstances adjust the paper gate when the machine is
switched on.
Page 4
CREASING

AutoCreaser 50
BLANK
PAGE
SYSTEM
Page 5

DOCUMENT CREASING MACHINE
Key to photograph below
Roller tilt handle
1
2 Stacker assembly
3
Suction slot knob
4 The display unit
5
Air separation knob
6 Air distribution knob
AUTOCREASER 50
AutoCreaser 50
7 Adjustable side lay
8BackStop
9 Fixed side lay
10 Roller tilt knob
11
Paper Gate
12
Exit Guard
Control Panel
13
14
Fuses
Gap Set Knob and Lever
15
Vacuum Bleed Knob
16
Page 6
CREASING
AutoCreaser 50
The Display Unit and the Switches on the Control Panel allow the
operator to read, edit, create and initiate numerous creasing programs
within the memory.
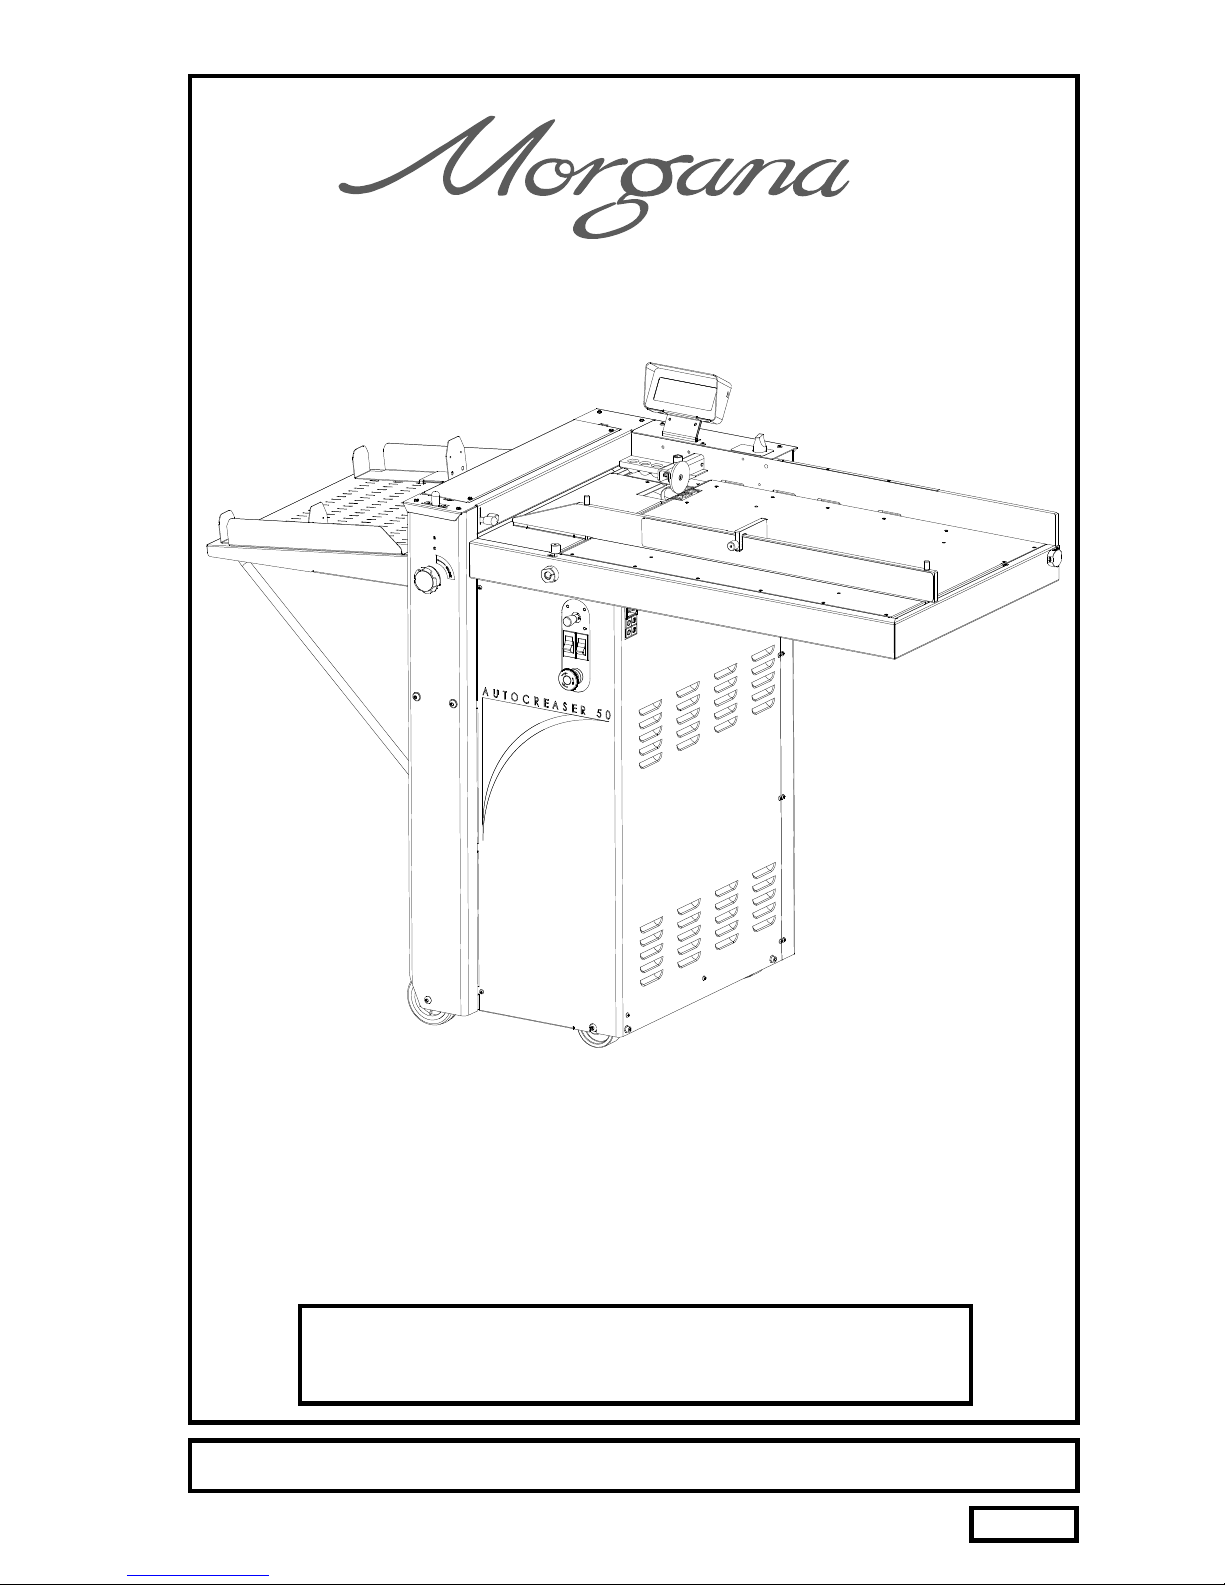
The Control Panel houses the Selection Switch, Compressor switch,
System switch, and an industry standard Emergency Stop switch which
will stop all power going to the machine when activated.
THE CONTROLS
THE CONTROL PANEL
Compressor Switch
Selection Switch
System Switch
Emergency Stop Switch
SYSTEM
Page 7

THE CONTROLS
Features on the Control Panel
Selection Switch
Allows the operator to scroll through stored addresses and programs, increase or
decrease the batch quantity and set a crease position.
System switch
When activated the system switch will operate the motors in order to begin the
creasing sequence.
Compressor switch
Allows the operator to switch off the compressor unit in order to utilise the machine
to manually feed sheets.
Page 8
CREASING
AutoCreaser 50
Setting the machine to operate in automatic mode
1. Set the gap between the paper gate and the vacuum roller to
approximately twice the thickness of the stock to be creased.
Place the stock to be creased onto the loading table against the
2.
fixed side lay.
Release the clamps on the adjustable side lay and slide up to the
3.
paper stack allowing a gap of approximately 0.5mm (1/64 inch)
between the paper and the side lay.
4.
Position the backstop and slide it up to the paper stack, also allowing a
gap (as stated in the above step).
5.
Turn the Emergency Stop button clockwise to switch the power on.
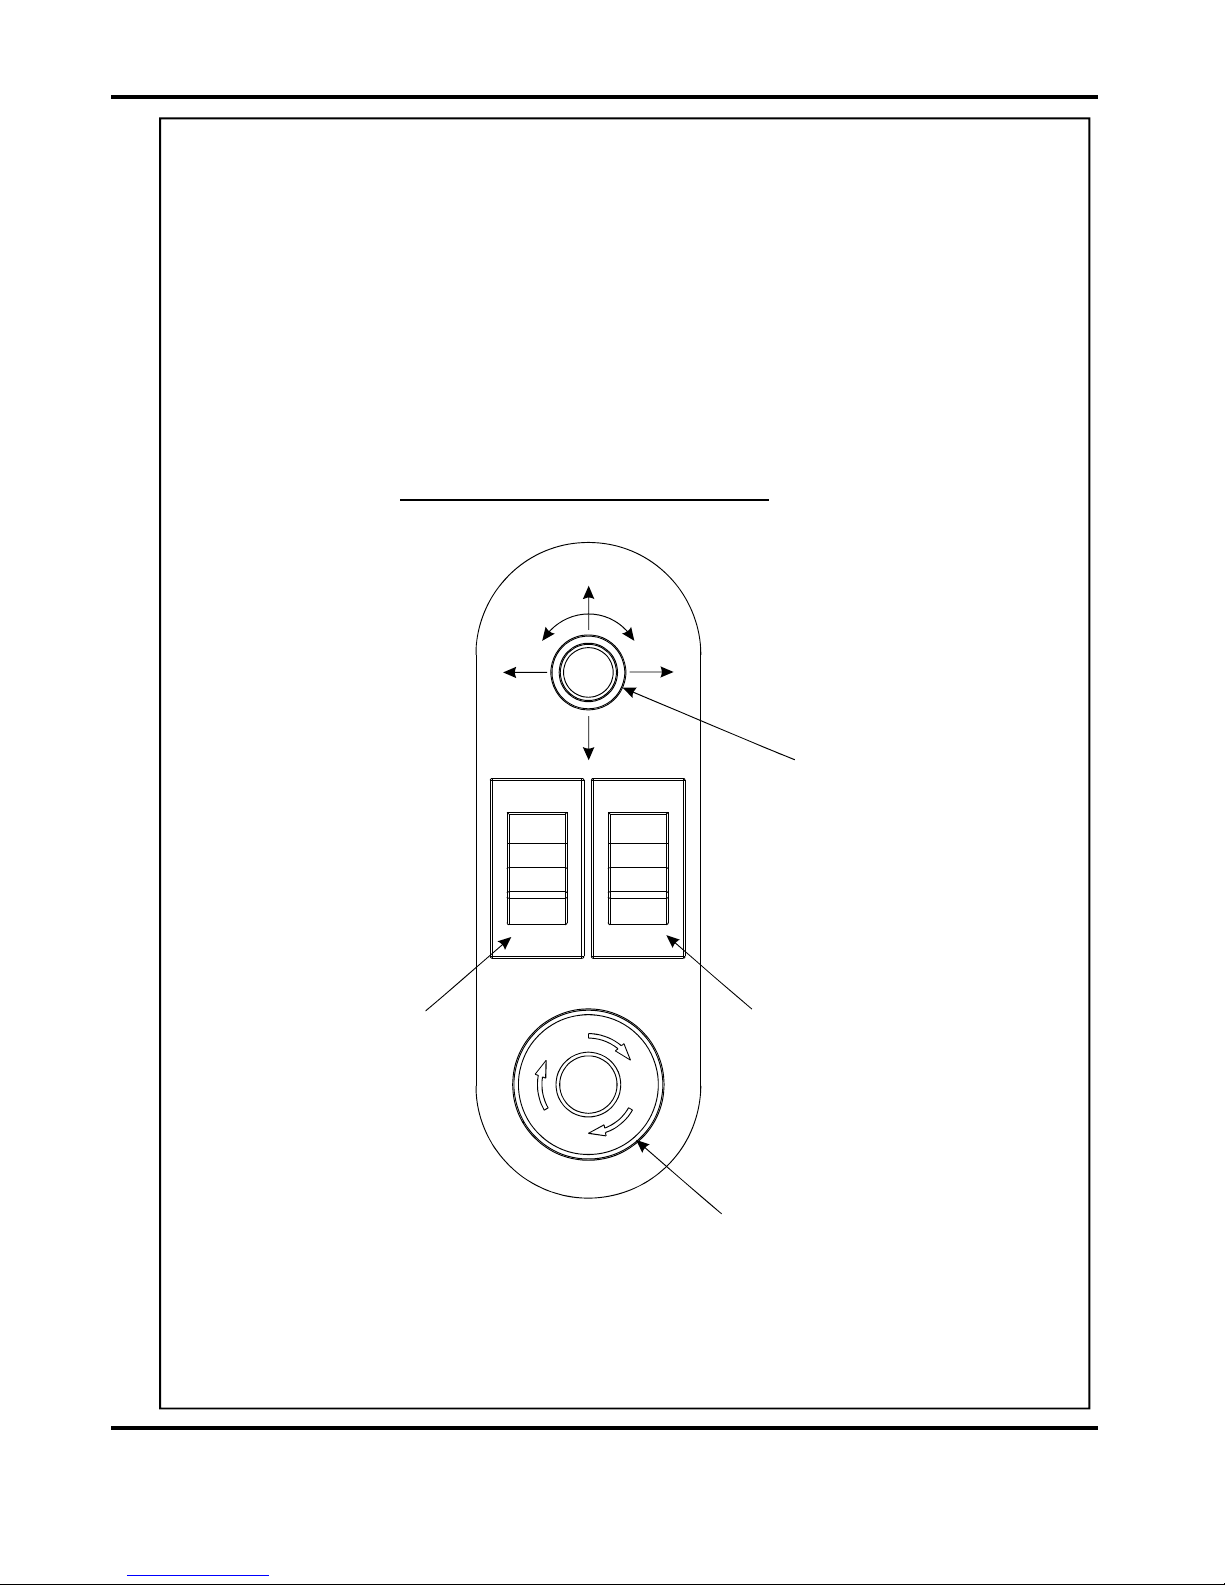
The display unit is now illuminated, a typical start up display menu is
shown below.
Quick Start Guide
Tools
Batch Off
2 Creases
NOTE:The arrows on the display denote the direction in which the selection
switch must be moved in order to access the various sub-menus.
Feed
Setup
Zero
Total 20
Program 3
SYSTEM
Page 9

Quick Start Guide
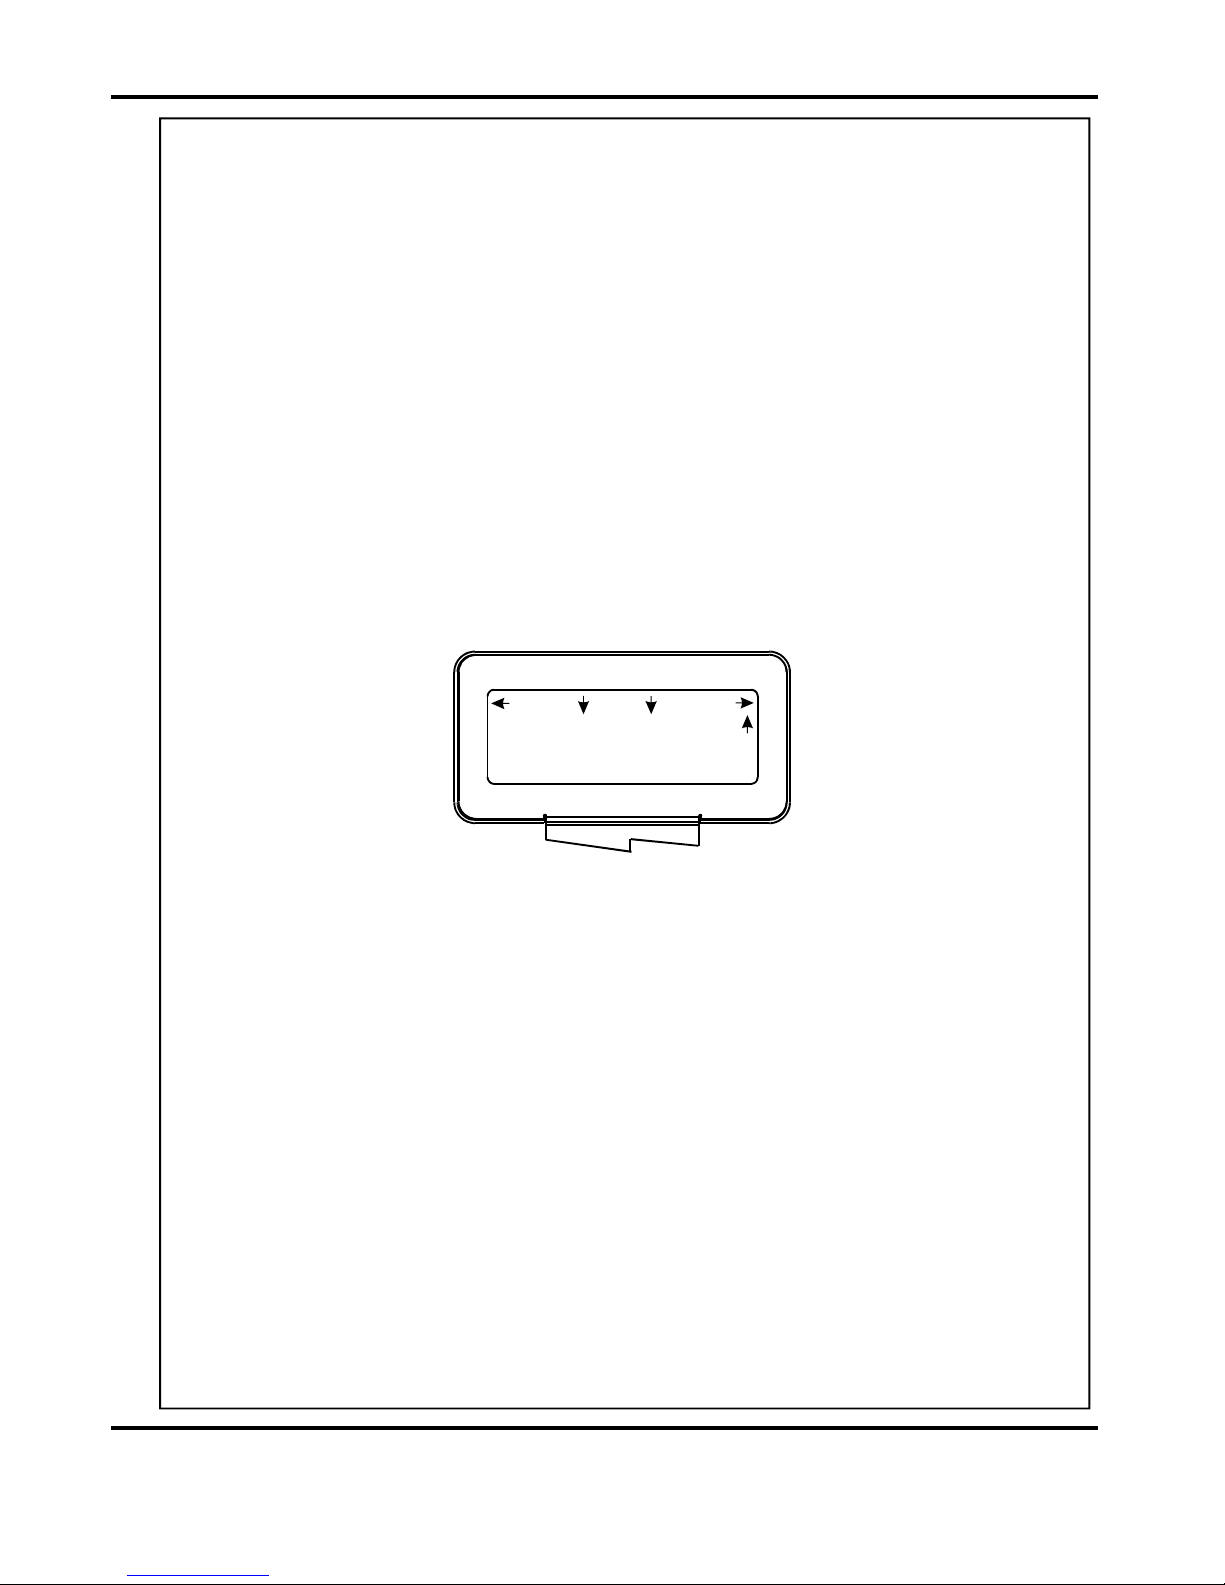
6. Following the arrows on the display unit; move the selection switch to
the right to select (i.e. Setting the crease positions), a typicalSetup
display is shown below .
Set Creases
1st Crease 148.0
2nd Crease 0.0
More
Home
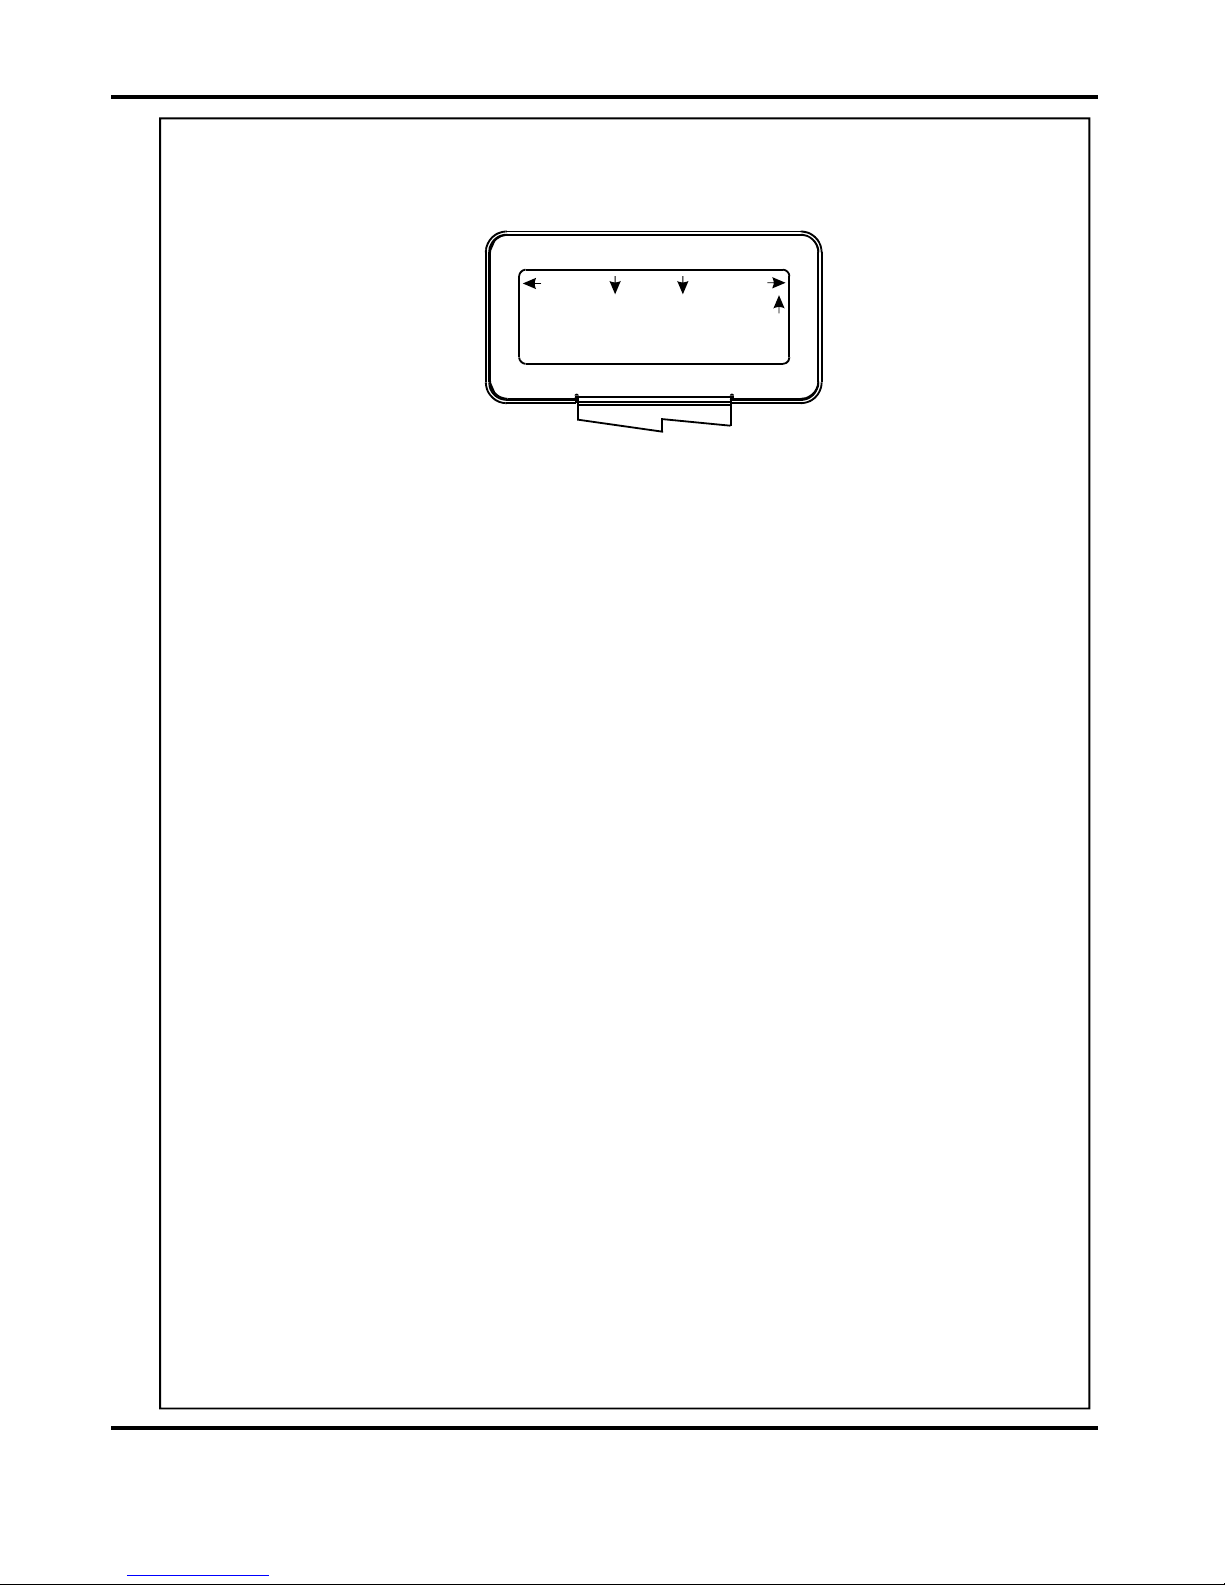
7. Following the arrows on the display unit; move the selection switch down
to set the creases. The 1st Crease is now selected.
Set Creases
Tens Decimals
( 1st Crease 148.0 )
2nd Crease 0.0
8.
Move the Selection Switch to the left to select or to the right toTens
Back
select . The or (whichever has been selected)Decimals Tens Decimals
can then be adjusted by rotating the Selection Switch, (clockwise to
increase or anti-clockwise to decrease).
9. To set the 2nd Crease position move the selection switch down; the 2nd
Crease is selected and can be set as described in step 8. above.
Set Creases
Tens Decimals
( 2nd Crease 000.0 )
3rd Crease 0.0
Back
10. Further creases can be set in this way, up to a maximum of sixteen
creases.
Page 10
CREASING
AutoCreaser 50
11 . When the required creases have been set, move the selection switch up
step by step until the display contains the word , see below.Feed
Quick Start Guide
Tools
Batch Off
2 Creases
12. Press the Compressor Switch down.
13. Press the System Switch down, the display will momentarily read Please
Wait Initiating Feed.and then return to show
14. Move the selection switch down to begin feeding the sheets.
In order to manually feed sheets see instructions on page 17.
Feed
Setup
Zero
Total 20
Program 3
SYSTEM
Page 11
 Loading...