

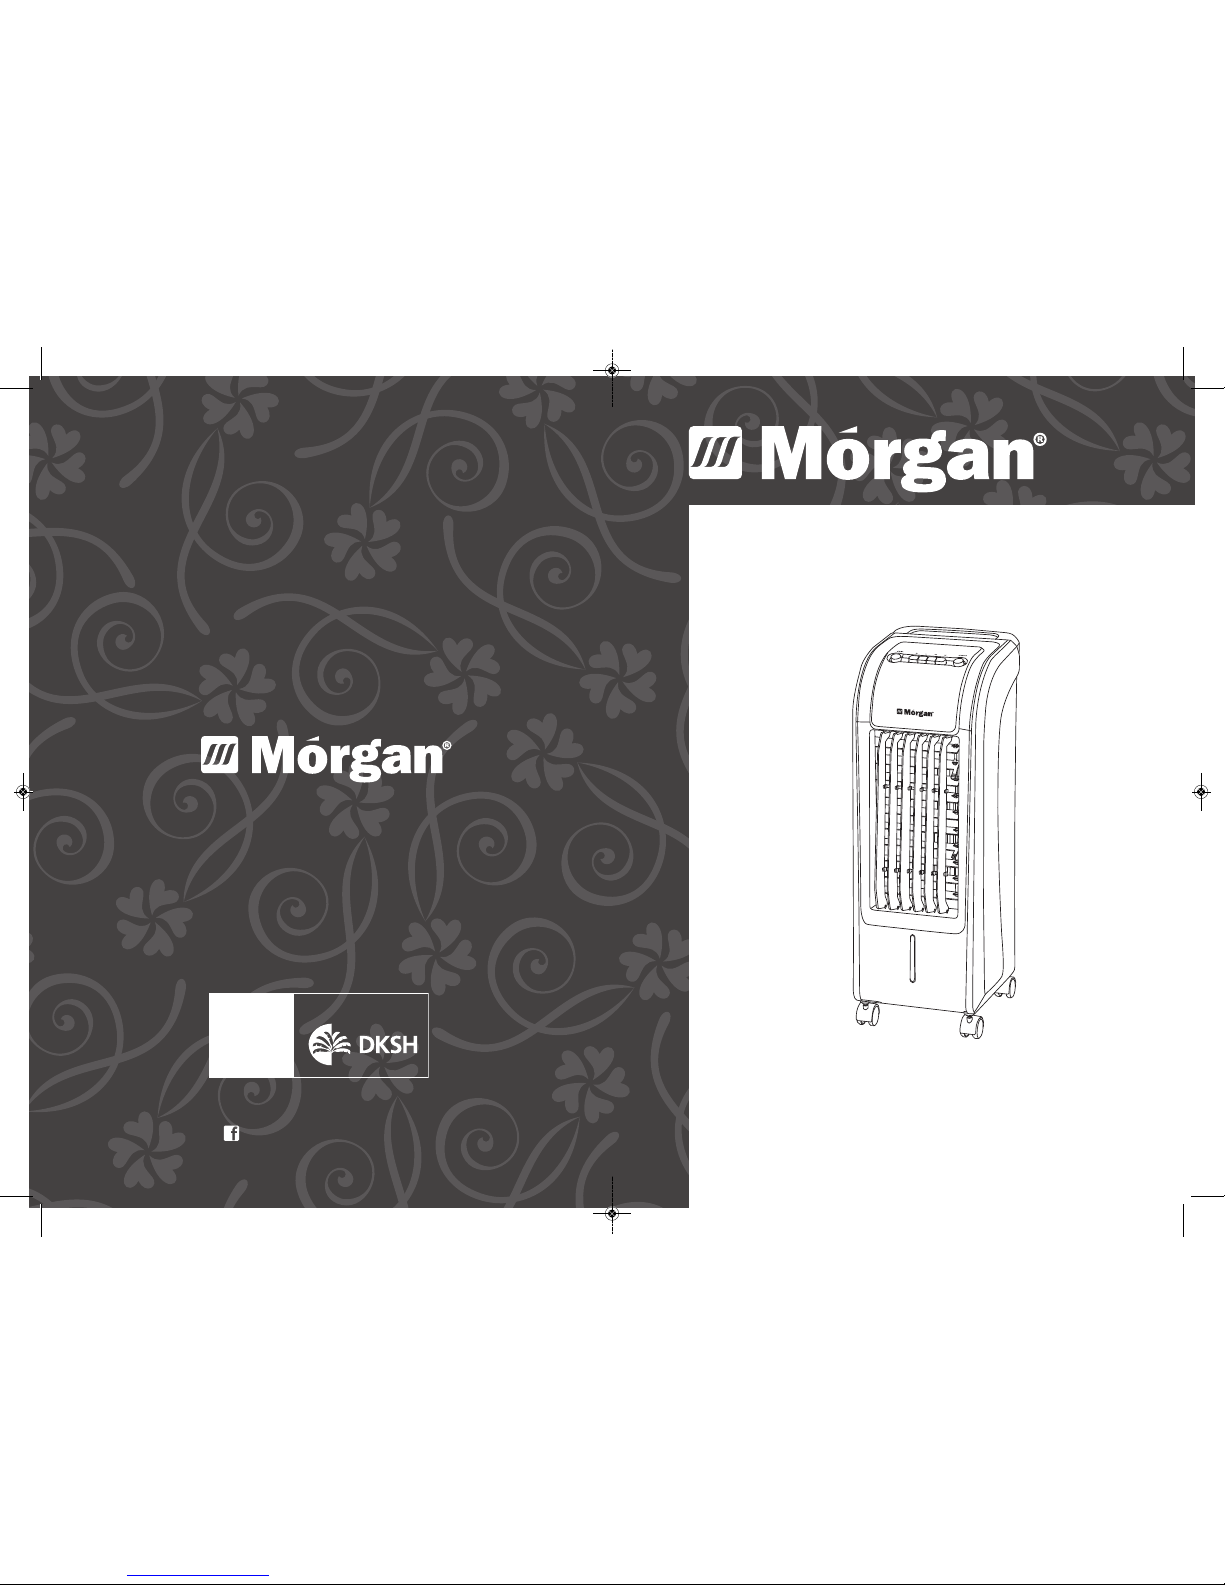
USER MANUAL
Air
Cooler
MAC-COOL1A
E-mail: electrical.appliance@dksh.com
www.morgan.my
Market Expansion
Services by
www.dksh.com.my
facebook.com/morganappliances
MAC-COOL1A(IM)080814_Layout 1 8/27/14 4:23 PM Page 1
3
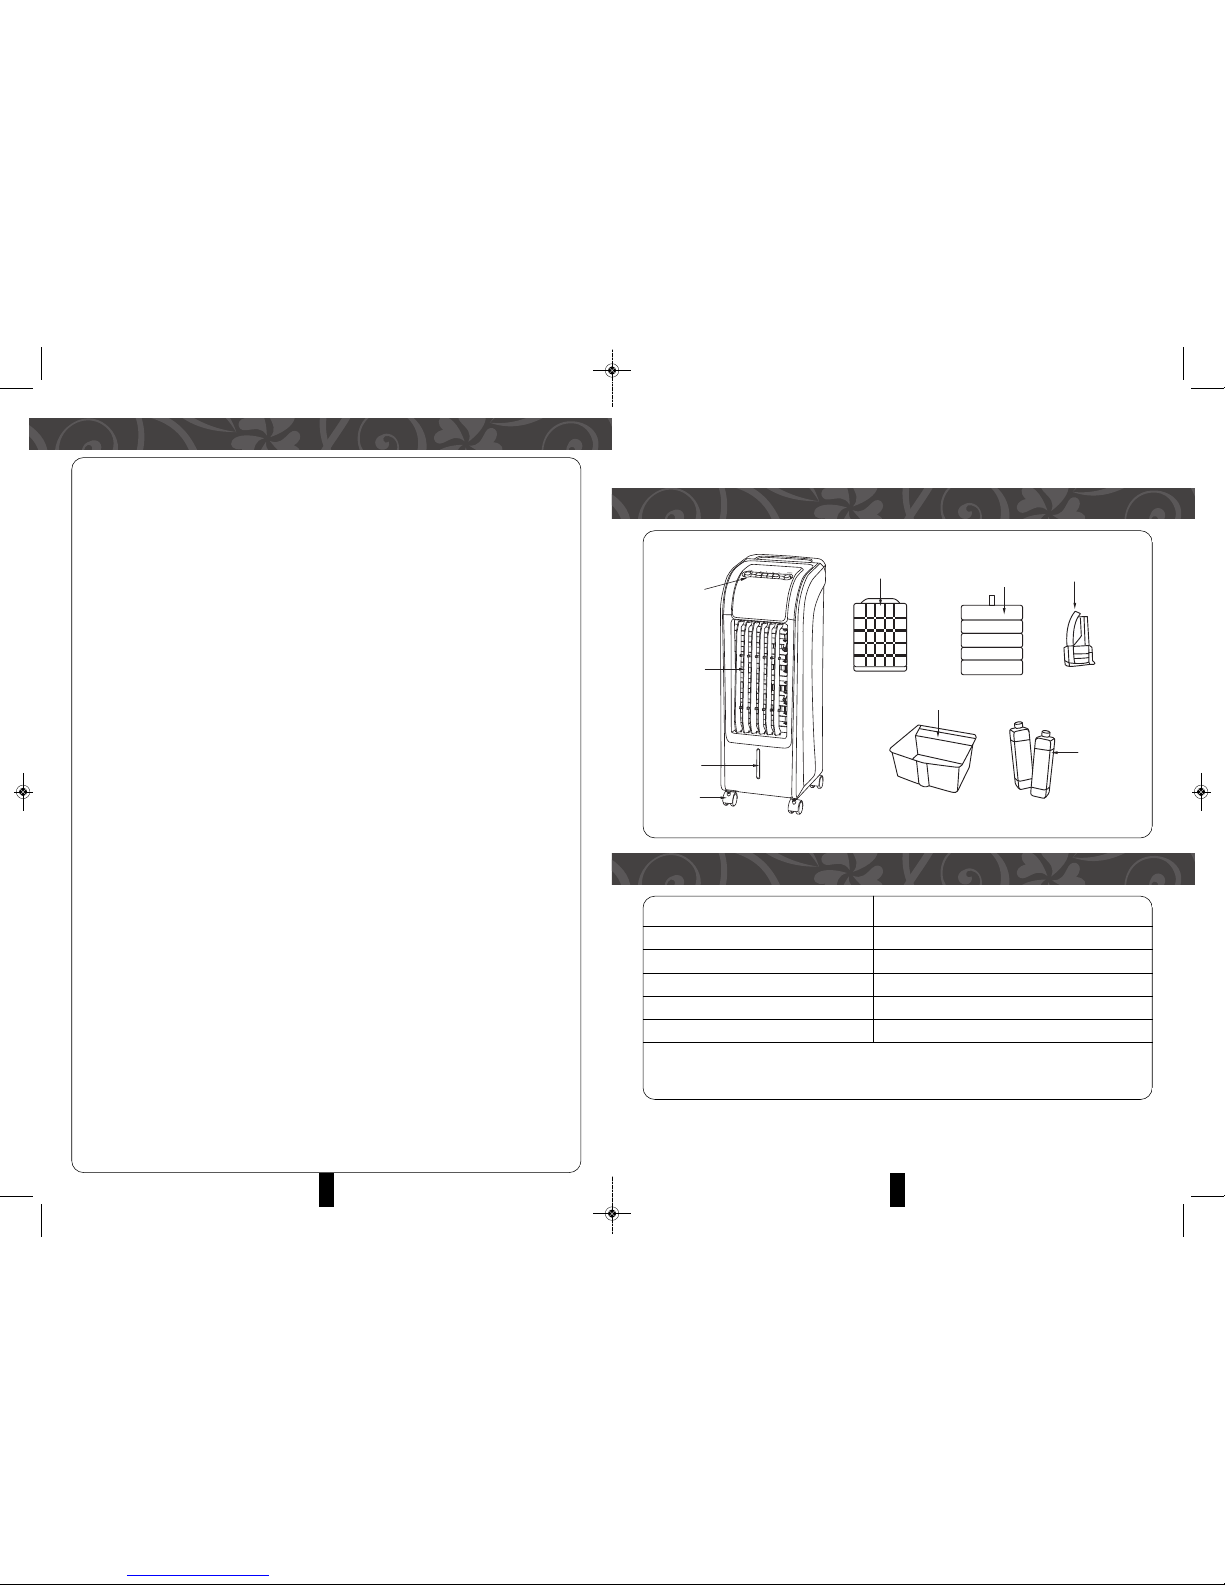
PARTS IDENTIFICATION
SPECIFICATIONS
Thank you for purchasing a MORGAN AIR COOLER. Each unit has been manufactured
with the highest safety standards and reliability.
Before first use, read the instructions carefully and keep them for further reference.
MODEL MAC-COOL1A
RATING VOLTAGE / FREQUENCY 220-240V~ 50/60Hz
RATED WATTAGE 75W
MAX AIR FLOW 1150m³/h
MAX WATER VOLUME 5L
NET WEIGHT 5.6Kg
Note: Due to continuous improvement to our products, we reserve the right to modify
and upgrade the specification and design without prior notice.
C
ontrol
panel
Air vent
Water level
indicator
Castor
Water tank
A
ir Filter
Screen
W
etted Pad
W
ater pump
Cooler Pack
6
CAUTION
1. Check the household voltage to ensure it matches the appliance's rate
specification.
2. Do not attempt to repair or modify the appliance by yourself. Any repairs or service
should be performed by a qualified service person.
3. Do not operate the appliance with wet hands in order to prevent electrical shocks
or other injuries.
4. If the power cord is damaged, it must be replaced with a similar power cord from
the manufacturer or its service agents.
5. When the appliance is not in use, switch it off and unplug it.
6. DO NOT insert or allow objects to enter any ventilation or exhaust opening as this
may damage the product and could cause an electrical shock or fire.
7. Do not use the appliance near explosive, flammable and combustible sources.
8. Use the appliance only on a flat surface.
9. Children should be supervised to ensure that they do not play with the appliance.
10. This appliance is not intended for use by persons (including children) with reduced
physical, sensory or mental capabilities, or lack of experience and knowledge,
unless they have been given supervision or instruction concerning use of the
appliance by a person responsible for their safety.
11. The water level inside the water tank should not exceed the “MAX” mark at any
time. When humidifying, the water level should not fall below the “MIN” mark.
12. After adding water to the water tank, do not tilt or knock over the appliance when
moving it. To move it, tilt it to aside to avoid spilling the water. Always grip the side
handles to move the appliance.
13. Do not overturn or topple the appliance. Should this happen, and if there is
residual water inside it, unplug the power supply immediately and send it to repairs
or service.
14. Unplug the appliance during filling or cleaning.
MAC-COOL1A(IM)080814_Layout 1 8/27/14 4:23 PM Page 2

4 5
FUNCTIONS
ASSEMBLING AND WATERING
OPERATING INSTRUCTIONS
ON/OFF ON CONTROL PANEL:
Press the L (low), M (medium) , H (high) button for switch ON the appliance. Press ‘O’
to shut it down.
SPEED:
Press this button L (low), M (medium) , H (high) button to adjust fan speeds.
SWING:
Adjusts wind direction to swing when the button is ON. Press this button again to
cancel this function. NOTE: You may also swing the blades manually by choosing the
“up and down” wind directions.
COOLING:
Press this COOL button to begin the cooling operation. Press again to cancel the
function IMPORTANT: Ensure there is sufficient water inside the water tank before
operating the cooling function.
COOLER PACK
The cooler pack with its cooling function absorbs heat from the water and reduces
water temperature in the water tank below ambient temperatures so the air will be
much cooler.
HOW TO USE:
a. Store inside your refrigerator in freezer compartment.
b. When the cooler pack is frozen, place it into the water tank.
c. There are two cooler packs which can be used alternately.
PRINCIPLE OF COOLING:
Water is channeled from the water tank by pump to the top, where the water drops
into a paper evaporator. When the water inside the paper evaporator evaporates into
water vapor, the air is cooled - like cool air delivered by a fan.
ELECTRONIC CONTROL PANEL:
Easy to use push buttons.
ADJUSTABLE SPEED AND FAN TYPE:
3 speeds and fan types with wide air delivery system.
COOLING:
Through air evaporating, reduces air temperature and raise relative humidity.
DELIVER WIND AT WIDE ANGLE:
swing the blades automatically, deliver wind at wide angle. You may also swing the
blades manually by choosing the “up and down” wind directions.
1. Assembling castors: place appliance on a flat surface, use wrench from foam box and
proceed to assemble the castors.
2. Watering: pull ⅓ water tank, then add clean water
3.
Attention:
a. Pay attention to the water level indicators when adding water.
b. Water level should not exceed “MAX” mark at any time. For humidifying, the
total water level should not fall below the “MIN” mark.
c. Place ice cubes into the water tank to increase the cooling efficacy, however –
take care not to exceed the “MAX” water level mark.
MAC-COOL1A(IM)080814_Layout 1 8/27/14 4:23 PM Page 3

7
CLEANING AND MAINTENANCE
WARNING: Ensure that the fan is switched off from the power supply before removing
the air filter screen.
1. CLEAN THE AIR FILTER SCREEN
Turn off the power supply, pull the handle of air filter screen, remove it from
appliance. Clean the air filter screen with neutral detergent and banister brush
before rinsing with clean water. Finally, reinstall to the appliance.
2. CLEAN THE WETTED PAD
Turn off the power supply. Remove the air filter screen, then draw the wetted pad
from the support. Clean the wetted pad with neutral detergent and banister brush,
then rinse with clean water. Finally, reinstall to the appliance.
Attention:
the wetted pad must be installed horizontally, in order to avoid leakage.
3. CLEAN THE WATER TANK
Turn off the power supply, open the water tank door, remove water tank and clean
it with neutral detergents before rinsing with clean water. Reinstall to the
appliance.
4. CLEAN THE BODY
Clean with neutral detergent and soft cloth.
Attention:
Turn the power supply when cleaning the appliance as there is high
pressure inside the body. Do not wet the control panel.
2
C O N T E N T S
3
3
4
4
5
6
7
Parts Identification
Specifications
Functions
Assembling And Watering
Operating Instructions
Caution
Cleaning And Maintenance
MAC-COOL1A(IM)080814_Layout 1 8/27/14 4:23 PM Page 4
 Loading...