

Version EN 5.0 © 2014 Moree Ltd.
Instruction Manual (EN) - 2.4 GHz Version
Mod. 06-01-01 Multicolour
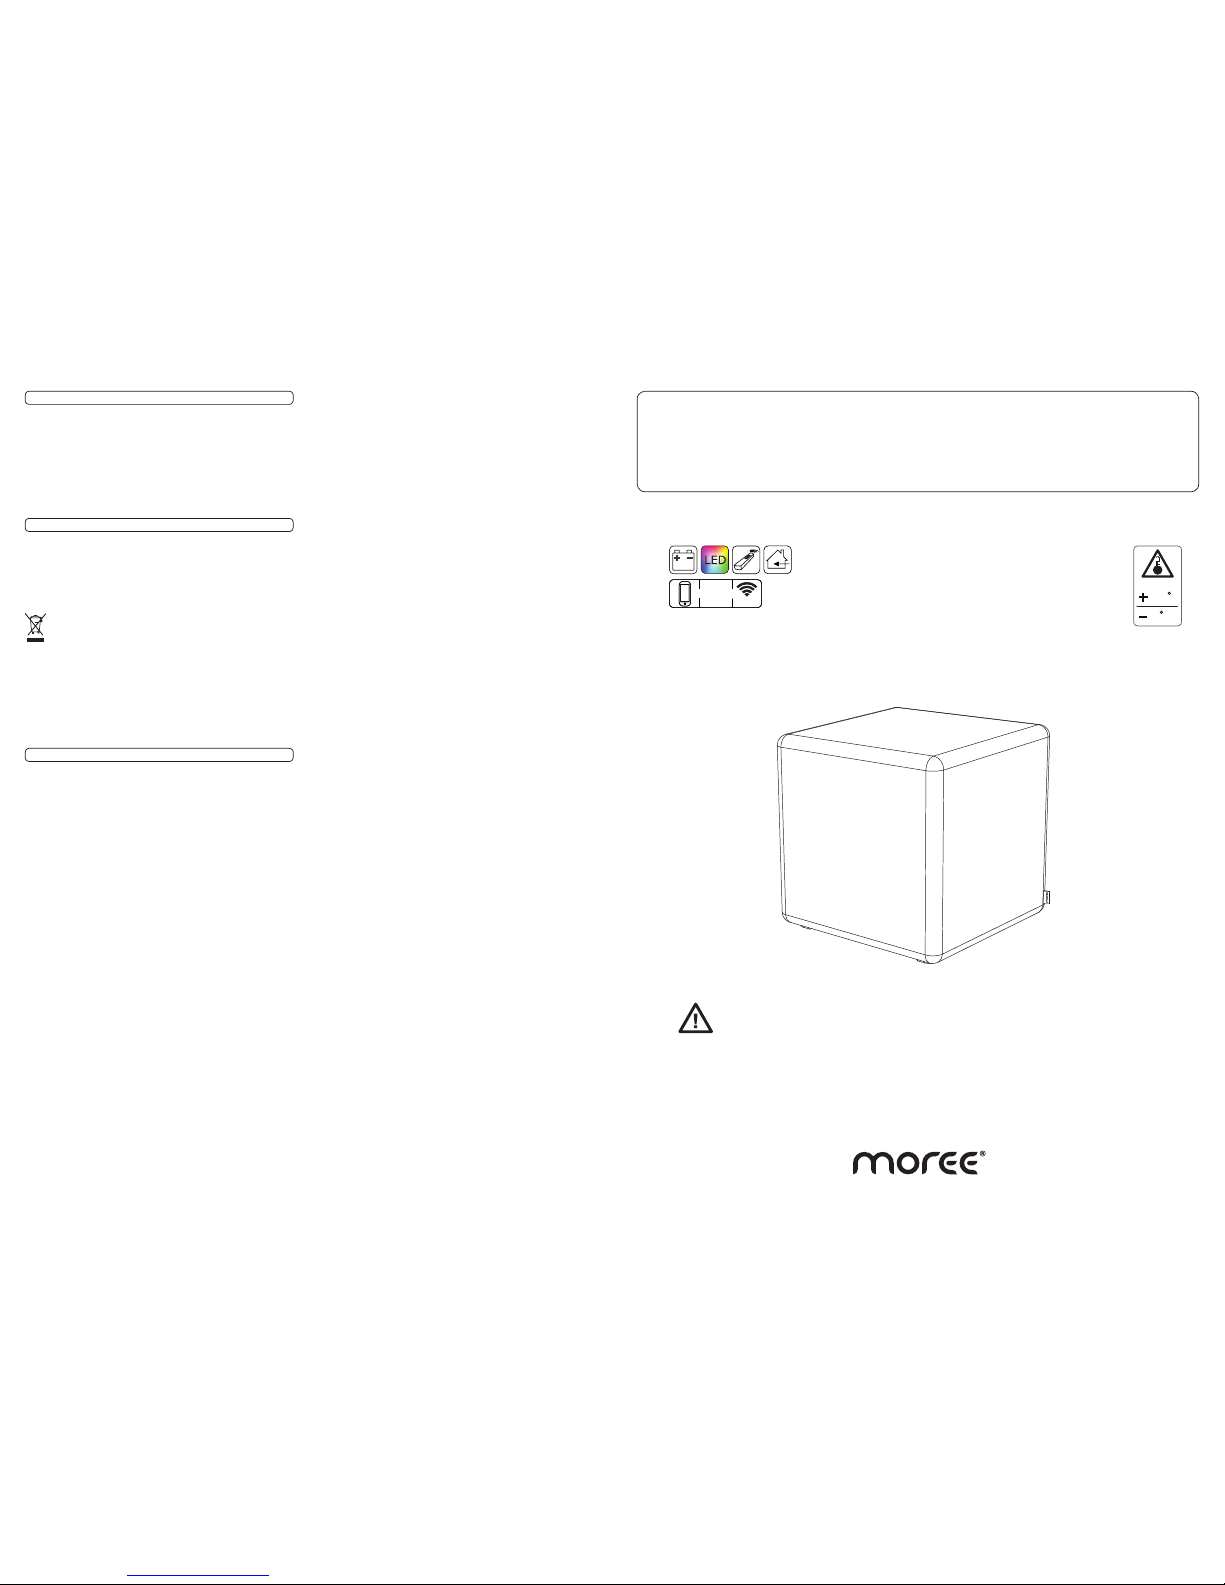
CUBE LED PRO ACCU
Distribution
Disposal/ Ecology
Packaging material and appliance are made from recyclable
materials. Seperation of the remaining waste materials into different types facilitates the recycling of valuable raw materials.
When the appliance is to be no longer used please dispose of
the appliance in the proper manner.
This Symbol on the product indicates that it should not
be disposed in the normal houshold waste. Please take
it to a recycling point for electrical and electronic appliances to be recycled in a proper manner.
Rechargeable batteries which are dead or defective should not
be disposed of in the household rubbish; always take them to a
special waste disposal and make an important contribution to
protecting our environment.
Please obtain information on disposal from your local
authority.
Original Packaging
The device can be safely transported in the original
packaging. If insufficient protective packaging is used,
the customer is liable for any damages during transportation.
PLEASE KEEP THE ORIGINAL PACKAGING AND USE IT,
IF POSSIBLE, IN CASE OF WARRANTY OR RETURN OF
THE EQUIPMENT.
www.moree.de
Moree Ltd.
Kaiserswerther Markt 11
40489 Düsseldorf
Germany
Designed and produced by Moree in Germany © 2011
Products are subject to change.
MADE IN GERMANY
•
Please read the instruction manual fully, before using the product. Keep the manual for the
entire life of the product.
• Make sure to charge the product fully before the first use and every 2 months when stored for
a long period of time.
•
Including Battery, Charger and Remote Control
40
c
0
c
MAX
APP
WIFI
Apple, the Apple logo and iPhone are trademarks of Apple Inc., registered in the
U.S. and other countries. App Store is a service mark of Apple Inc..
Android is a trademark of Google Inc.
Wipe the product with a soft, damp cloth only. Do not use
abrasives, alcohol or solvent based cleaners.
Maintenance
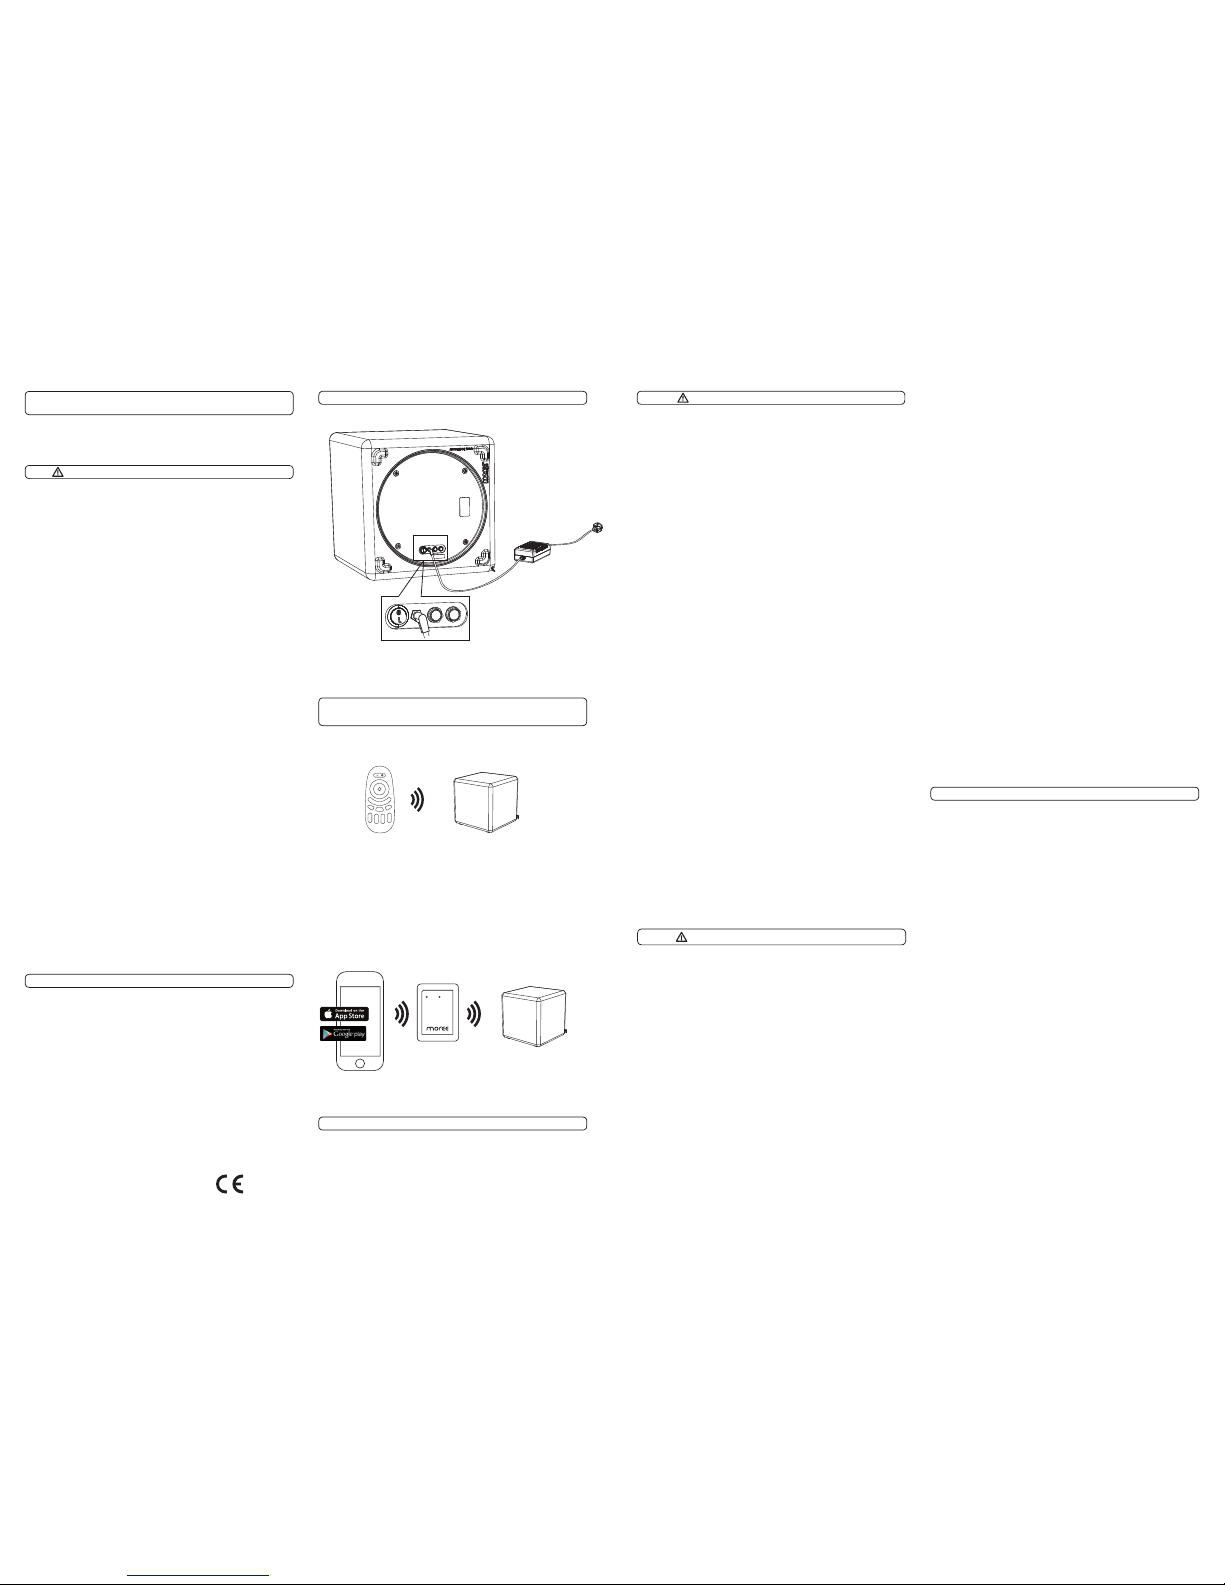
Construction Diagram
ON/OFF
button
Cube Base
Charger
Charging
point
SAFETY PRECAUTIONS - CHARGER
This unit corresponds to the directive for electromagnetic compatibility and to the low voltage directive.
ATTENTION! THE UNIT IS SUPPLIED WITH HAZARDOUS MAINS VOLTAGE (230 V~). LEAVE SERVICING TO
SKILLED PERSONNEL ONLY.
IMPROPER OPENING OF THE DEVICE, OTHER TAMPERING OR CHANGES TO THE DEVICE WILL VOID THE
WARRENTY.
- Use only recommended power sources.
- Only use the unit for recharging 12 V lead batteries.
- The unit is suitable for indoor use only. Protect it
against any water contact, high air humidity and heat
(admissible ambient temperature range 0 – 40 °C).
- Do not place any objects filled with liquid on the unit,
e.g. a glass.
- Do not allow dirt or metal objects (such as keys) to
contact the charger terminals or plug. This could result
in fire, electrical shock or other damage.
SAFETY PRECAUTIONS - BATTERY
- The heat generated within the unit must be cooled.
Therefore, never cover the housing.
- Unplug the battery charger from the power outlet after
recharging is complete, or when you are not using it.
Do not operate the unit or immediately disconnect it
from the mains socket:
1. if there is visible damage to the unit or the mains
cable,
2. if a defect might have occurred after the unit was
dropped or suffered a similar accident,
3. if malfunctions occur.
- In any case the unit must be repaired by skilled personel.
- A damaged mains cable must be replaced by the
manufacturer or authorized, skilled personnel only.
- Never pull the mains cable to disconnect the mains
plug from the socket, always seize the plug.
- For cleaning only use a dry, soft cloth; never use
chemicals or water.
- No guarantee claims for the unit and no liability for
any resulting personal damage or material damage will
be accepted if the unit is used for other purposes than
originally intended, if it is not correctly connected, operated, or not repaired in an expert way.
Operation
1) Connect the mains plug of the charger to a mains
socket. The LED is illuminated to indicate operation. The
charging process has ended when the LED is lit green.
2) The charging time depends on the capacity and the
charging status of the battery.
THE PRODUCT MAY ONLY BE CHARGED WITH THE SUPPLIED CHARGER.
THE BATTERY MUST ONLY BE CHANGED BY QUALIFIED
PERSONNEL USING THE SAME BATTERY TYPE !
DO NOT ATTEMPT TO DISASSEMBLE, ALTER OR APPLY
HEAT TO THE BATTERY !
In case of leakage, do not allow liquid to come into contact
with skin. If liquid is spilt on clothes or skin immediately
wash off with water. Should problems occur, contact a docto r.
Charging the battery
To charge the battery, first plug the charger into the charging
point and then connect the charging plug to the power supply.
- Before use charge the battery fully.
- The product must only be charged when turned off.
- Fully charged batteries must be disconnected from the charger.
The product will automatically shut off when the battery is
empty. It will turn on again when the battery is recharged this may take up to 3 hours.
In order to maintain a longer battery life, please comply with
the following instructions when using this product:
If the product is not used for a long period of time please
turn it off, because the standby mode will slowly empty the
battery.
When the product is stored under 25°C it can be left for up
to 3 months. If left for longer than this period, make sure to
charge it fully again.
Please replace the battery after the correct time interval
shown below, and do not continue to use the battery after its
recommended replacement time.
Temperature Replacement
of battery surface: time:
Below 25oC (77oF) 6 Years
30oC (86oF) 4 Years
40oC (104oF) 2 Years
If the battery is quickly depleted even after charging, it has
reached the end of its life span. Purchase a new battery.
TROUBLESHOOTING
1) THE UNIT DOES NOT WORK
When the Battery is empty
Solution: The product turns off automatically when the
battery is empty due continuous use. It will turn itself
back on when the battery has been charged to a minimum level. This can take approx. 1-3 hours to reach the
minimum operating voltage. Charge the product until
the LED is lit green.
When one or both fuses are defect
Solution: Check fuses and replace if necessary. Make
sure that the charger is plugged into the product before
plugging into the mains (otherwise the fuse may blow).
Keep product away from moisture.
When the red light on the charger is not lit
Solution: Check the power supply, if the light on the
charger is still not lit, the charger is faulty.
When the charge is interrupted
Solution: Make sure the charger is correctly plugged
into the socket of the unit !
When the charge is too short
Solution: Charge the product until the LED is lit green.
2) THE REMOTE CONTROLLER DOES NOT WORK
a) The battery is empty or the batteries are inserted the
wrong way round.
b) Point the remote controller at the unit from different
angles.
c) Switch the LED product off or pull the plug to reset it.
2x
Fuses
Instruction Manual
SAFETY PRECAUTIONS - LED PRODUCT
Dear customer,
we are delighted that you have chosen a Moree product.
GB
- Before using the product, please read the manual fully. Keep
it for the entire life of the product.
IMPORTANT:
THIS PRODUCT IS FOR INDOOR USE ONLY! The product may
only be charged and used in dry rooms. Do not allow liquids or
foreign objects to enter the product. There must be no moisture
on the charging point.
- The product must only be charged when turned off.
- Fully charged batteries must be disconnected from the charger.
- The product may only be used when positioned horizontally,
with the top facing upwards on firm, non-flammable ground
and should not be covered.
- The product may only be charged with the supplied charger.
- Make sure your voltage corresponds to the voltage printed
on the product.
- Stop operating the product immediately if it emits smoke, a
strange smell, or otherwise behaves abnormally.
- The product may only be used after correct installation. Disconnect the product from the mains supply before opening.
- Do not allow dirt or metal objects (such as keys) to contact
the charging point.
- Avoid dropping or subjecting the product to severe impact.
- Max. load is 100kg.
- Do not pull on any cables !
- Do not alter the product in any way. Faulty or unqualified repair
work may cause injury to the user.
- If the appliance (including cord and charger) shows any
defect, stop using it and only replace damaged components
with specific ones that are available from the manufacturer
or a representative.
CAUTION! WHEN DISASSEMBLING DO NOT LOOK DIRECTLY
INTO THE OPERATING LIGHT SOURCE - RISK OF IRREVERSIBLE EYE DAMAGE!
Specifications LED Product
Due to the production process the top surface of the product
could be slightly convex.
Dimensions: approx. L 44 x W 44 x H 45 cm
Material: PE
Colour: translucent white
Weight: approx. 13 Kg
Illuminant: max. 13 Watt
3x high-power multicolour LEDs
Lead Acid Battery: 12V, 18 Ah
2x Fuses: refer to sticker on product
Operating time: approx. 18 h
Protection class: III
Protection grade: IP 20, for indoor use
Charger: 110-240 V~, 50-60 Hz, Vout 12 V, 3 A
Moree product appliances meet
European safety standards.
Remote Control
For this product a radio remote control (Mod. 20-02-02) is supplied.
Mod. 20-02-02
Remote Control & Moree Remote APP
(Related Manual: Moree 2.4 GHz Products)
Moree Remote APP for Smartphone/ Tablet
However you can upgrade to the WIFI Controller (Mod.
20-02-03), which allows you to control your LED Product
on your Apple or Android smartphone/ tablet via the Moree
App within your WIFI-Network.
For more details please refer to www.moree.de.
Mod. 20-02-03
 Loading...