

Montigo RX100 User Manual
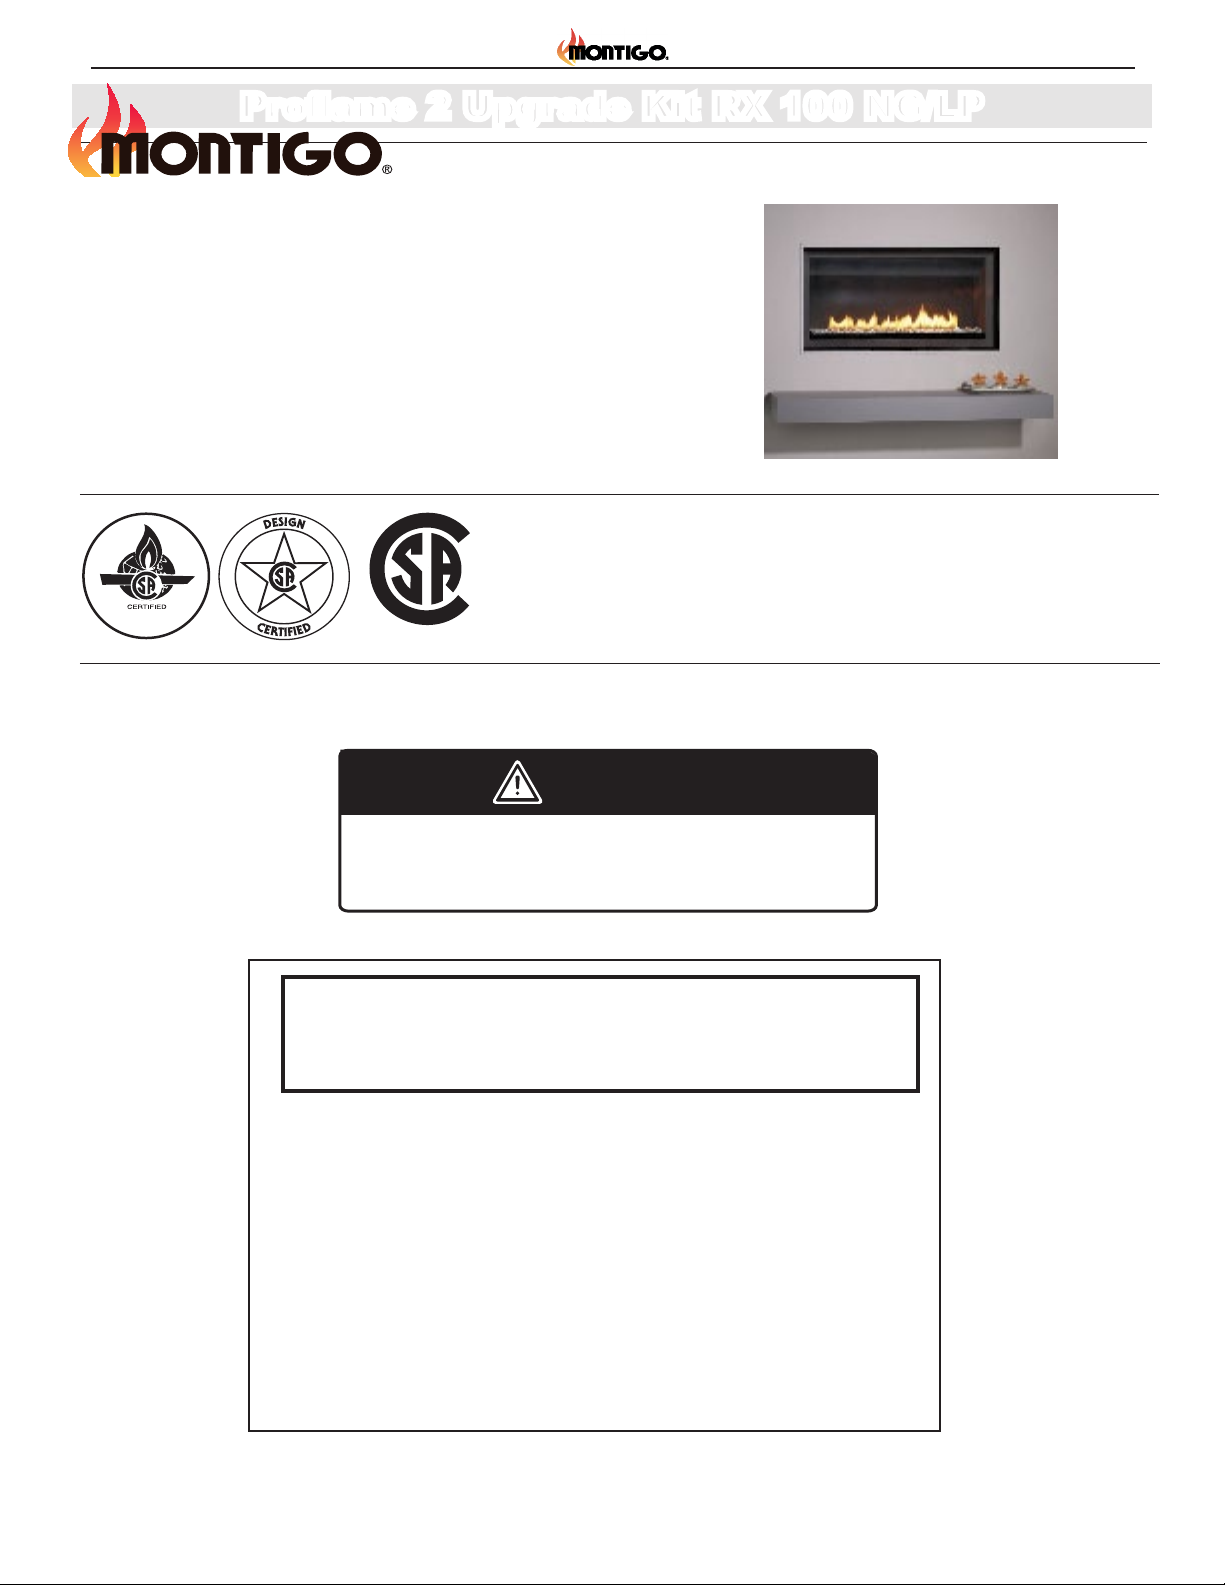
Proame 2 Upgrade Kit RX 100 NG/LP
US
Upgrade Kit NG/LP Proame 2 (Full Load with
Remote Upgrade Kit)
This kit is for use with the following models:
H Series
L Series
The installation of this kit must be done by a qualied and
®
Upgrade Kit
certied gas appliance installer.
C
Check local codes and read all instructions prior to installation.
CAUTION
Ensure that all power to the appliance is off at the electrical breaker or fuse
before beginning installation. Ensure gas is turned off at the shutoff valve before
beginning installation.
Warning: If the information in these instructions is not followed
exactly, a fire or explosion may result causing property damage,
personal injury or loss of life.
Do not store or use gasoline or other flammable vapors and liquids in the
vicinity of this or any other appliance.
What To Do If You Smell Gas:
• Do not try to light any appliance.
• Do not touch any electrical switch; do not use any phone in your building.
• Immediately call your gas supplier from a neighbor's phone. Follow the gas
supplier's instructions.
• If you cannot reach your gas supplier, call the fire department.
Installation and service must be performed by a qualified installer, service agency or
the gas supplier.
Page 1
XT0012 - 092214
Installation
Table of Contents:
A. Disconnecting Wall Switch Harness: 3
B. Stepper Motor Installation: 3
C. Main ON/OFF Switch Installation: 4
D. Battery Holder Installation: 5
E. Stepper Motor and ON/OFF Switch: 5
F. Operation with Backup Battery: 6
G. Operation with MAIN Power: 6
General Information
This blower kit is for installation with the models listed above.
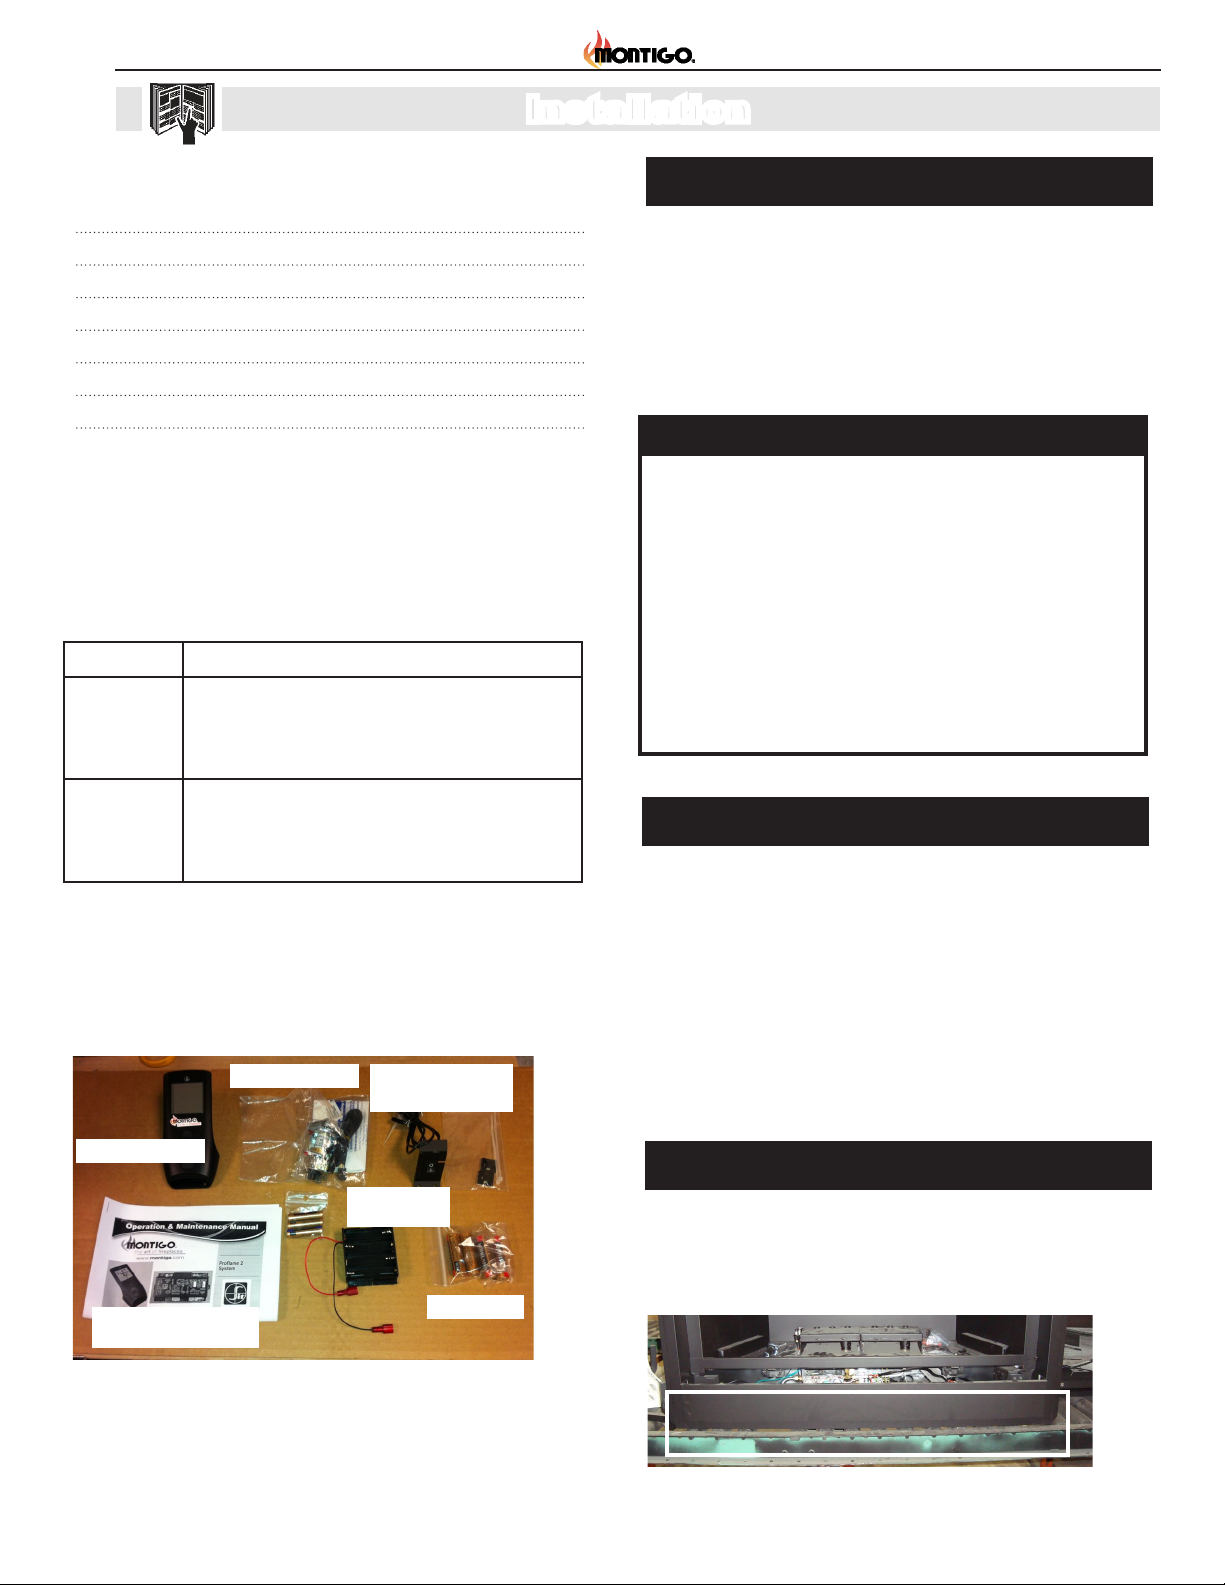
KIT # Contents
RX100NG Remote Control, Stepper Motor-NG,
Manual Override switch with harness and bracket,
backup battery pack, Proame 2 operations manual,
hardware and batteries.
RX100LP Remote Control, Stepper Motor-LP,
Manual Override switch with harness and bracket,
backup battery pack, Proame 2 operations manual,
hardware and batteries.
Before You Begin
Ensure that the power supply has been turned off at the breaker or
fuse before beginning the installation.
Shut off the gas supply at the shut-off valve, and ensure that the main
burner and pilot light have been turned off and the replace has been
cooled off for at least two hours before installation.
Stepper Motor
Manual override
switch with harness
and bracket
General Information
This upgrade kit contains the necessary components for field
upgrade of an approved Montigo fireplace from Proflame 2 standard
control system to Full Load with remote.
The installation of this unit must also conform with local codes or, in
the absence of local codes, with the American National Fuel Gas
Code, ANSI Z223.1, or the Canadian Installation Code, CAN / CGA
B149.
WARNING!
This upgrade kit shall be installed by a qualified service
agency in accordance with the manufacturer's instructions
and all applicable codes and requirements of the authority
having jurisdiction. If the information in these instructions
are not followed exactly, a fire, explosion or production of
carbon monoxide may result causing property damage,
personal injury or loss of life. The qualified service agency
is responsible for the proper installation of this kit. The
installation is not proper and complete until the operation
of the converted appliance is checked as specified in the
manufacturer's instructions supplied with this kit.
Note
Upon successful installation of this upgrade kit, the following features are available for the user:
1. Thermostatic and smart thermostatic control of the
replace
2. Main burner ame modulation (6 levels)
3. Choice of Standing or Intermittent pilot (CPI switch
required / not supplied)
4. Comfort fan speed modulation (Remote Fan Kit RFK50-R
required)
5. Battery backup for the main burner during power outage
Remote Control
Hardware and
batteries
Proame 2 Operations
Manual
Figure 1 Contents of Proame 2 Upgrade Kit
Note: You may remove the front cover (See Figure 2), or the
burner assembly to access the control module and wiring. If
removed, please ensure it is re-installed properly and all gas
connections are leak tested.
Page 2
Battery Pack
Tool Required
T20 Torx bit
Impact gun / Drill
1/4 " Nut driver bit
Figure 2 Fireplace front cover
XT0012 - 092214
 Loading...