

Page 1
Instruction Manual
MODEL: FCl121B, FCl122R, FCl126Z
115V~, 60Hz, 230W
Wards.com 1•888•557•3848
Montgomery Ward Customer Service
3650 Milwaukee Street, Madison, WI 53714
8:00 am to Midnight, Monday through Friday
Wards.com 1•888•557•3848
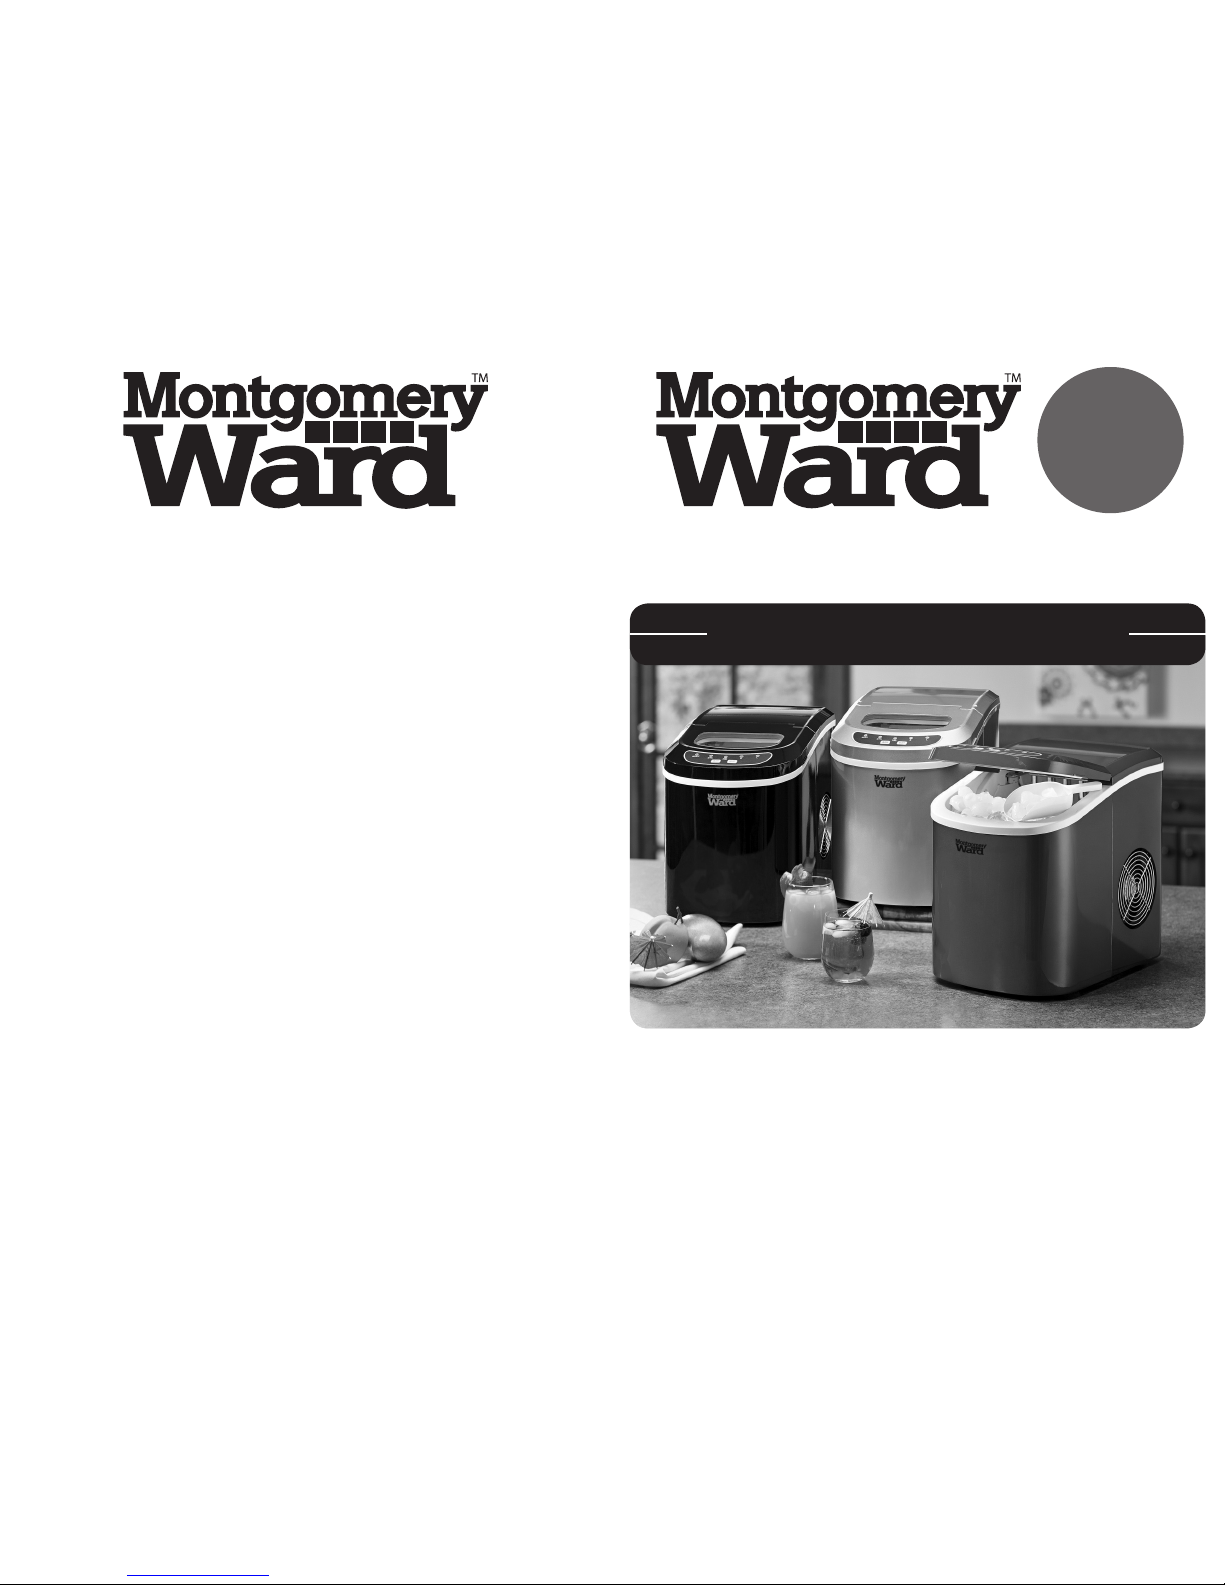
Compact Portable Ice Maker
Enjoy cool,
refreshing
ice in just
13 minus
Page 2

Thank you for purchasing your Compact Portable Icemaker by
Montgomery Ward™. We guarantee that it will perform to the highest
standard, time after time, with all the convenience, easy cleanup and
durability you rely on from Wards.
Fresh ice for summer picnics, family get–togethers, and more—you’ll find
yourself relying on this on-demand icemaker all year long. Each batch
is ready in just 13 minutes, and it’s capable of producing up to 26 lbs.
daily. Electronic controls, including ice size and water/ice bucket
indicators make it easy to use, too!
3
PLEASE READ THESE INSTRUCTIONS BEFORE USE
WARNING: TO AVOID THE RISK OF ELECTRICAL SHOCK, ALWAYS MAKE
SURE THE PRODUCT IS UNPLUGGED FROM THE ELECTRICAL OUTLET
BEFORE ASSEMBLING, DISASSEMBLING, RELOCATING, SERVICING OR
CLEANING
When using electrical appliances, basic safety precautions should always be
followed, including the following:
1. Close supervision is necessary when using this appliance near children. This
appliance is not suitable for use by children.
2. Never leave an appliance unattended while in use.
3. Do NOT place an appliance on or near a hot gas or electric burner, or in a
heated oven. Do NOT place on top of any other appliance.
4. DO NOT let the power cord of an appliance hang over the edge of a table or
counter top or touch any hot surface.
5. Do NOT operate any electrical appliance with a damaged cord or plug or after
the appliance malfunctions or has been dropped or damaged in any manner.
6. The ice maker should not be adjusted or repaired. Call our toll-free number for
information on replacement or returning the product.
7. The use of accessory attachments that are not recommended by the appliance
manufacturer may cause fire, electric shock or injury.
8. Avoid contact with moving parts when the unit is in operation.
9. NEVER touch the cooling elements when the unit is in operation.
10. Do NOT use outdoors.
11. Do NOT use appliance for other than its intended use.
Important Safeguards ........................... 3
Electrical Requirements.................... 3–4
Parts & Features ............................... 4–5
Before Using for the First Time ......... 5–6
How to Use ........................................... 6
Operating Process ................................ 7
Cleaning & Maintenance ...................... 8
Troubleshooting ....................................9
Warranty & Return Information ..... 10–11
Table of Contents
2
1•888•557•3848
Wards.com
Important Safeguards
PLEASE SAVE THESE INSTRUCTIONS
THIS APPLIANCE IS FOR HOUSEHOLD USE ONLY
© 2014 Montgomery Ward, Inc. All rights reserved.
Electrical Requirements
Wiring and Grounding Instructions:
This appliance must be plugged into at least a 15 AMP, 110–115 VOLT, 60 Hz
grounded outlet. This appliance must be grounded.
It is equipped with a 3-wire cord with a grounded plug. The plug must be plugged
into an outlet that is properly installed and grounded.
WARNING: Improper use of grounded wire can result in the risk of
electric shock. Consult an electrician if necessary. Do NOT attempt to defeat
this safety feature by modifying the plug.
ank you
for your
purchase!
Page 3

4
1•888•557•3848
Wards.com
4
5
Parts & Features (cont’d)
Avoid the use of an extension cord because it may overheat and cause a risk of fire.
However, if it is necessary to use an extension cord:
•Useonly3-wireextensioncordswitha3-bladegroundedplug.
•Themarkedratingofanextensioncordmustbeequaltoorgreaterthan
the rating of this appliance.
•Thecordshouldbepositionedsothatitdoesnotdrapeoverthecounter
or tabletop where it can be pulled on by children unintentionally.
1. Cover with transparent window
2. Control Panel (see next page for features)
3. Compressor Cooling Fan (Do NOT block air flow)
4. Ice Scoop
5. Ice Basket
Control Panel: easy to use, button function with LED indicators:
A. Power LED indicator
B. Power “ON/OFF” button
C. Ice Cube “SELECT SIZE” button
D. Selected ice size LED indicator displays “SMALL” or “LARGE” ice
cubes to be made
E. “ADD WATER” indicator (alerts that there is no water in the Water
Reservoir (2)), must add water
F. “ICE FULL” LED indicator
Electrical Requirements (cont’d)
Parts & Features
This portable ice maker uses a fully automatic control system, with an advanced
microcomputer for easy and convenient ice making. Making ice is simple and fast.
Just add water, plug into an outlet and press the “ON” button. You can select one of
two ice cube sizes with the touch of a button. When first turning on the unit
during ice making cycles, the compressor will stay idle for 3 minutes, while
energizing.
There are warning indicators that alert you to fill with water when the reservoir is
empty and to remove ice when the storage basket is full. The ice maker also has
built-in safeguards that can limit accidental damage, automatically shutting down
the system when necessary.
Before Using for the First Time
2
1
3
4
5
Page 4

7
Pre-operating instructions:
Please read carefully.
1. The incline angle of the ice maker cabinet should not exceed 45° during transportation or use. Do NOT turn the ice maker upside-down.
Doing so could cause the compressor or refrigerating system to operate
incorrectly. When the ice maker is moved or transported, please allow time for
the fluids in the compressor to settle. Before using the ice maker for the first
time, please wait 2 hours after the unit has been leveled and positioned in its
proper place.
2. Please ensure the ice maker is level and on a stable table or platform to avoid
malfunction.
3. The machine must be placed on a dry and level surface with sufficient
ventilation, far from heat sources such as ovens, heaters, and corrosive gases.
Leave an 8-inch clearance on all sides of the ice maker for proper ventilation.
4. Do NOT fill the water reservoir with hot water. This may damage the ice maker.
It is best to fill the water reservoir with water of room temperature or colder.
1. Water is pumped from the water storage tank to the water box, which may take
up to 1 minute.
2. The ice making cycle begins when the evaporator rods are dipped into the water
box. You will hear the compressor working.
3. It will take approximately 6–13 minutes for each ice making cycle, depending
on the size selected and room temperature. The larger the size or higher room
temperature, the more time is needed to make the ice. After the cycle is finished,
the water box will tilt forward and the remaining water will flow back into the water
storage tank. The evaporator rods will then release the ice cubes.
NOTE: If the room temperature is below 60° F, then small ice cube sizes
are suggested to prevent ice cubes from fusing together.
4. Approximately 15 seconds later, the water box will tilt backwards and the ice
pusher will push the ice into the ice storage basket. After the water box flips back
to its original position, the next ice making cycle will begin.
5. When the maximum capacity of ice cubes is collected and the ice obstructs the
infrared sensor, the ice maker will automatically stop operating. The “ICE FULL”
LED indicator will light up.
If more ice is needed, remove the ice from the ice storage basket (5); then place
the basket back into the machine, making sure that the basket is placed back in its
original position.
NOTE: When replacing the basket, ensure that the infrared sensor is not
obstructed by the basket so that the machine operates properly.
WARNING! Direct or reflected sunlight may cause the infrared sensor to
malfunction. If the unit doesn’t stop, even with ice cubes obstructing the
sensor, move the unit out of the sunlight.
6. To continue making ice, check that there is water in the water storage tank. If
there is no water in the water storage tank, then no water will be pumped into the
water box, and the operation will stop. The “ADD WATER” LED indicator will light
up. Press the “ON/OFF” button. Fill the water storage tank with water, and then
press the “ON/OFF” button for the ice maker to begin operating again. Allow the
refrigerant inside the compressor at least 3 minutes to settle before restarting.
7. If the compressor stops for any reason such as water shortage, too much ice,
power off, etc., do NOT restart the machine right away. Wait at least 3 minutes
before restarting the machine.
6
1•888•557•3848
Wards.com
Before Using for the First Time (cont’d) Operating Process
How to Use
1. Open the top cover, take out the ice storage basket and fill the water reservoir
with drinkable (tap, purified or bottled) water (2.3 quarts capacity) to the level
mark and replace the ice storage basket.
Make sure that the water level does not reach above the level mark or the bot-
tom of the ice storage basket. Close the top cover.
NOTE: During the operation process, if the level of water in the water reser-
voir becomes too low, the machine will automatically stop operating
and the “ADD WATER” LED indicator will light up.
2. Plug the unit into a grounded outlet. Push the “ON/OFF” button on the control
panel to turn the machine on.
3. Select the desired size of ice cube by pressing the “S” or “L” ice selector button.
NOTE: To stop operation, press the “ON/OFF” button.
Page 5

8
9
1•888•557•3848
Wards.com
Cleaning & Maintenance
Before using your ice maker, it is strongly recommended that you clean the ice
maker thoroughly. Be sure to clean the ice maker regularly.
1. When cleaning, please make sure the power has been turned off and the plug
is disconnected from the outlet. When plugging or unplugging the unit from
the outlet, pull directly on the plug. NEVER pull on the power cord.
2. Remove the ice storage basket.
3. Drain the remaining water from the unit by unplugging the drain plug on the
front bottom side. When cleaning is completed, the plug must be properly
inserted back onto the drain otherwise the ice maker will leak.
4. Use a mild detergent diluted in warm water and wipe with a soft towel or
sponge.
Solvents, detergents and abrasives must never be used for cleaning.
5. Wipe the inner parts, such as the ice storage basket, water reservoir, water
box, ice pusher and evaporator rods.
6. The outside of the ice maker should be cleaned regularly with a mild deter-
gent solution, warm water and a soft cloth.
7. Dry the interior and exterior with a soft cloth.
8. To begin making ice once the unit has been cleaned, pour clean water into the
water reservoir and fill up to the level line (see “How to Use” instructions, p. 6)
NEVER tilt or place the ice maker on its side, otherwise you must wait 10
hours for compressor coolant to settle.
9. To ensure the cleanliness of the ice cubes, the water in the water storage tank
should be replaced every 24 hours.
10. When the machine is not in use or will not be used for an extended period of
time, pull out the drain plug (on the bottom near the front of the machine) to
empty the remaining water in the water reservoir completely. (Follow instructions in #3 above.)
Troubleshooting
Problem Possible Causes Solution
“ADD WATER” indicator light
turns on.
Low water level or lack of water. Add water and the ice maker
will operate automatically.
There is no indication on the
control panel.
Disconnection of the plug. Check that the plug is plugged
into the electrical outlet.
“ICE FULL” and “ADD WATER”
indicators light up simultaneously.
Electrical power surge.
OR
There may be air in the lines or
the lines are blocked. The water
tank cannot detect water level.
Turn off the ice maker, unplug it,
fill with water if needed, replace
the plug and restart the unit.
OR
Check if ice is blocking the ice
pusher. Turn off the unit; let the
ice melt and restart. Otherwise
contact our Customer Service.
The “ICE FULL” indicator light
is on.
The ice basket is full.
OR
The ice basket is not full or
there is no ice in the basket.
Remove ice from the ice storage basket to make more.
OR
Hold down the “SELECT” button
for 5 seconds; the ice maker
will make ice for 10 cycles even
though the “ICE FULL” indicator
is lit.
The unit does not operate. Power is not being supplied to
the unit. The ambient temperature or the water temperature is
too high.
Plug the unit into a standard
110/120 Volt, 60 Hz power
source. Please run the ice
maker in temperatures below
90° F and/or pour colder water
into the water reservoir.
Making ice takes too much time. Ice blockage. No ice is being
made.
Turn off the machine. Start the
machine after the ice block
melts. Or change the size selector to small ice cubes.
The ice making cycle seems
normal but no ice is being
produced.
There is a refrigerant leakage.
A pipe in the cooling system is
blocked.
Call our toll-free Customer
Service.
NOTE: There is protective circuitry inside this ice maker to protect the circuitry
from overheating and the ice maker will automatically shut down to prevent
damage if activated. Please disconnect power cord and restart after 30
minutes of cooling down time.
Page 6

Wards.com 1•888•557•3848
10
Wards.com
Returns
If any item, for any reason, does not meet your expectations, just return it to us.
We’ll gladly either:
•Refundyourmerchandiseamount
•Credityouraccount
•Sendareplacement
You can return any unused item in its original packaging within 60 days of its
receipt for a full refund of the purchase price (excluding shipping and handling
charges).
Please send returns to:
Montgomery Ward, Inc.
Attn: Customer Returns
2000 Harrison Suite 100
Clinton, IA 52732-6676
When returning an item:
•Usetheoriginalpackagingandpackitsecurely.
•Pleaseadequatelyinsureyouritemincaseyouneedtomakeaclaim
with the carrier you choose for returning your item.
•Includeyourordernumberandreasonforreturn.
•Werecommendkeepingthereceiptfor4weeks.
Montgomery Ward, Inc. warrants this product
to be free from defects in material and workmanship
for one year from provable date of purchase.
Within this warranty period, Montgomery Ward will repair or
replace, at its option, defective parts of this
product at no charge, provided the product is returned,
freight prepaid with proof of purchase to Montgomery Ward.
Allow 2–4 weeks for return shipping.
This warranty does not cover improper installation, misuse,
abuse or neglect on part of the owner. Warranty is also
invalid in any case that the product is taken apart or
serviced by an unauthorized service station.
This warranty gives you specific legal rights and they may
vary from state to state.
THE FOREGOING WARRANTIES ARE IN LIEU OF ALL
OTHER WARRANTIES AND CONDITIONS,
EXPRESS OR IMPLIED, INCLUDING
BUT NOT LIMITED TO THOSE OF MERCHANTIBILITY
OR FITNESS FOR A PARTICULAR PURPOSE.
1 Year Limited Warranty
Montgomery Ward Customer Service
8:00 am to Midnight CST, Monday through Friday
11
 Loading...