

Page 1
by
®
®
eat-
sting
recipes
included!
by
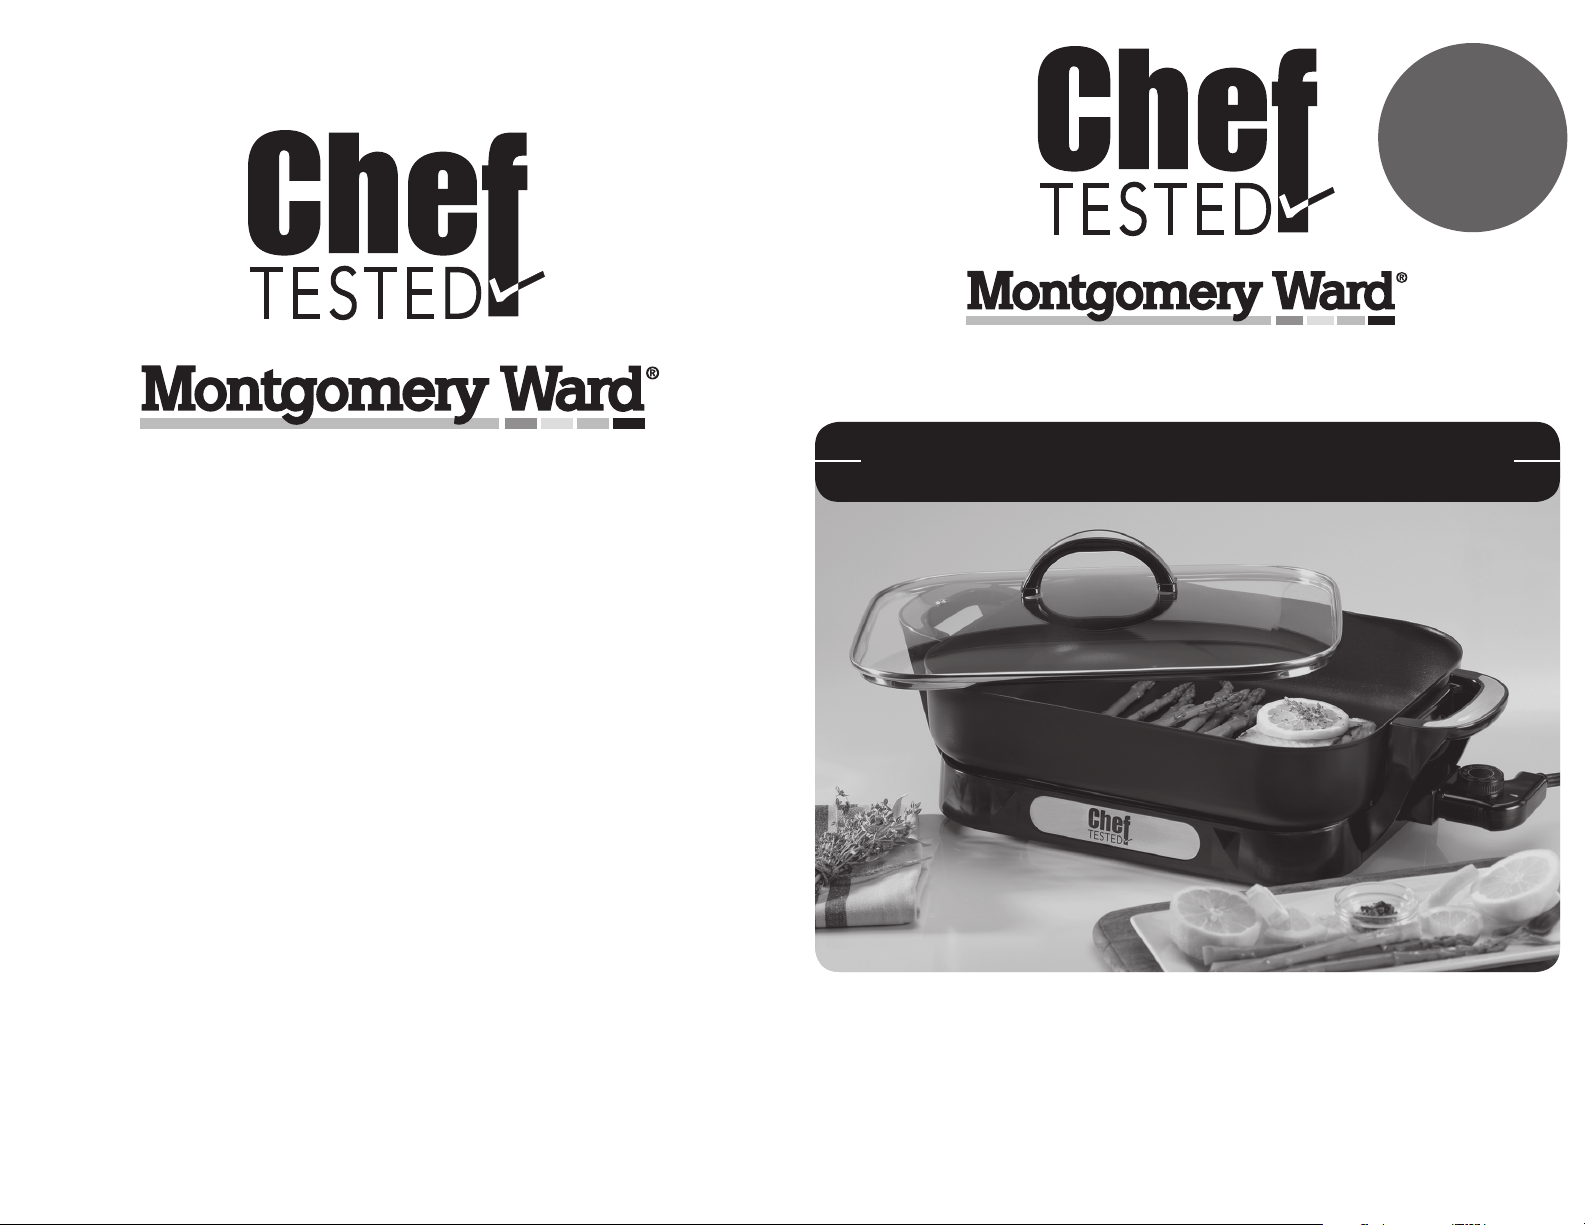
6-qt. Electric Skillet with Folding Handles
MODEL: GD-15B
Montgomery Ward Customer Service
1112 7th Avenue, Monroe, WI 53566
8:00 am to Midnight, Monday through Friday
Wards.com 1•888•557•3848
Instruction Manual
Item No.: 712032
120V~, 60Hz, 1400W
Wards.com 1•888•557•3848
Page 2
ank you
for your
®
Important Safeguards
PLEASE READ THESE INSTRUCTIONS BEFORE USE
purchase!
by
Thank you for purchasing your Chef Tested® Aluminum Electric Skillet with
Folding Handles by Montgomery Ward®. Put through the paces by the experts,
it will perform to the highest standard, time after time, with all the convenience,
easy clean-up and durability you rely on from Wards. We guarantee it!
We’re certain you’ll enjoy this handy appliance, whether you use it as an
extra warmer during parties or as a primary cooking source for a studio
apartment. The domed, tempered glass lid with steam vent lets you monitor
cooking progress and the handles fold down for compact storage.
Table of Contents
Important Safeguards ....................... 3–4
Polarized Plug.......................................5
Parts & Features ................................... 6
How to Use ........................................... 7
Cleaning & Care ............................... 8–9
Recipes ......................................... 10–13
Warranty & Return Information ..... 14–15
PLEASE SAVE THESE INSTRUCTIONS
THIS APPLIANCE IS FOR HOUSEHOLD USE ONLY
© 2015 Montgomery Ward, Inc. All rights reserved.
Basic safety precautions should always be followed when using your Foldaway
Skillet, especially when children are present.
WARNING: TO AVOID THE RISK OF ELECTRICAL SHOCK, ALWAYS MAKE
SURE THE PRODUCT IS UNPLUGGED FROM THE ELECTRICAL OUTLET
BEFORE ASSEMBLING, DISASSEMBLING, RELOCATING, SERVICING
OR CLEANING
1. Read all instructions.
2. WARNING: To reduce the risk of fire, do NOT plug in with base assembly
removed.
3. Make sure that handles are assembled and fastened properly before using
this appliance.
4. Do NOT touch hot surfaces. Use handles and knobs.
5. To protect against electrical shock, do NOT immerse heat control, cord or plug
in water or other liquid.
6. Close supervision is necessary when any appliance is used by or near
children.
7. Unplug from outlet when not in use and before cleaning. Allow unit to cool
before putting on or taking off parts, and before cleaning the appliance.
8. Do NOT operate any appliance with a damaged cord or plug or in the event
the appliance malfunctions or has been damaged in any manner. Call our tollfree Customer Service for information on replacements and returns.
9. The use of accessory attachments not recommended by the appliance manufacturer may cause injuries.
10. This appliance is NOT intended for deep frying foods.
11. Do NOT use outdoors.
12. Do NOT let cord hang over edge of table or counter or touch hot surfaces.
13. Do NOT place on or near a hot gas or electric burner or in a heated oven.
14. It is recommended that this appliance not be moved when it contains hot oil or
other hot liquid. If it must be moved when it contains hot oil or hot liquid, use
extreme CAUTION.
15. ALWAYS attach heat control to appliance first, then plug cord into the wall
outlet. To disconnect, turn control to “OFF” then remove plug from wall outlet.
2
Wards.com
1•888•557•3848
3
Page 3
Important Safeguards (cont’d)
Polarized Plug
16. Do NOT use appliance for other than intended use.
17. Children should be supervised to ensure that they do not play with the appliance.
18. This appliance is not intended for use by persons (including children) with
reduced physical, sensory or mental capabilities or lack of experience and
knowledge, unless they have been given supervision or instruction concerning the use of the appliance by a person responsible for their safety.
19. This appliance comes with a thermostat heat control probe with power cord.
Make sure that every time this appliance is used, the correct connector is
used as well.
Before Using for the First Time:
Remove all packaging materials and wash the skillet according to the “Cleaning
& Care” section of this manual (p. 8–9).
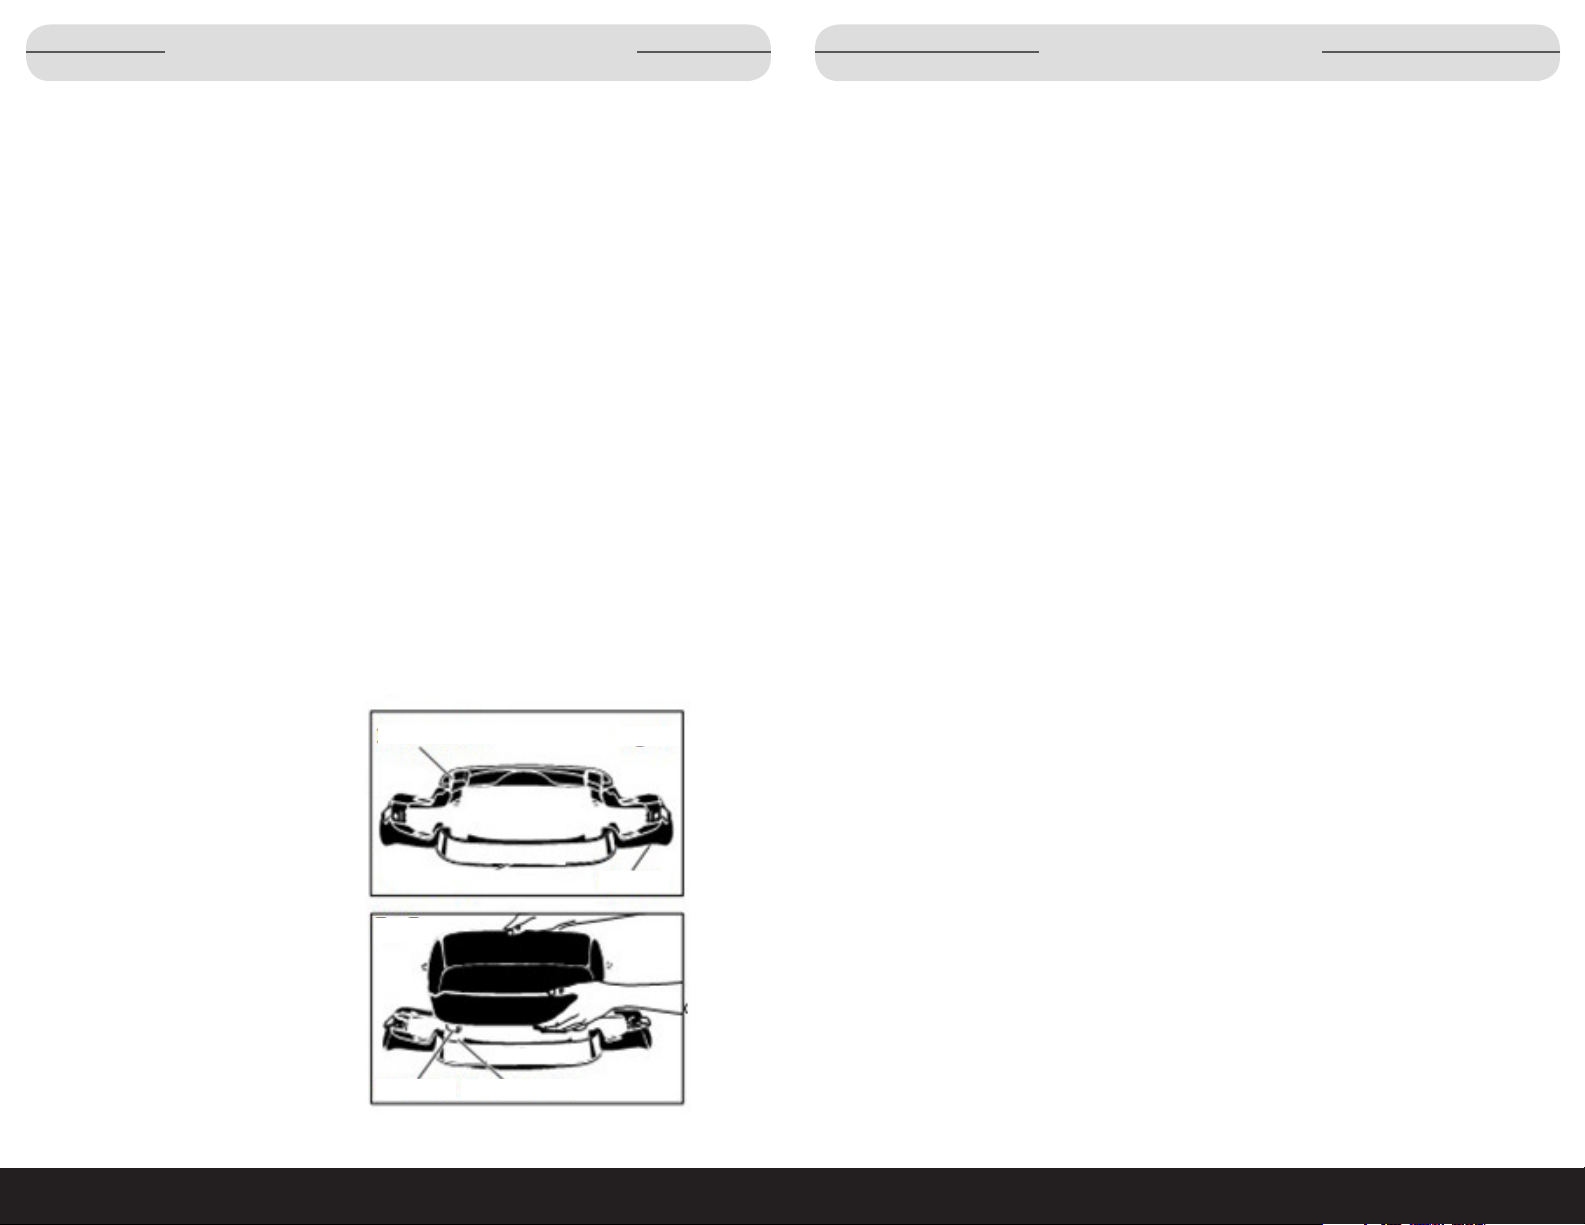
Your skillet must be fully assembled before you use it. Lay the handles flat before
placing the skillet on the base as shown below in Fig. A. Follow the instructions
below to assemble your skillet:
This appliance has a 3-prong polarized plug. Do not attempt to modify the plug in
any way.
SHORT CORD INSTRUCTIONS
1. A short power supply cord is provided to reduce the risk resulting from
becoming entangled in or tripping over a longer cord.
2. Longer, detachable power-supply cords or extension cords are available and
may be used if care is exercised in their use.
3. If a long detachable power cord or extension cord is used:
• The marked electrical rating of the detachable power supply cord or
extension cord should be at least as great as the electrical rating of
the appliance.
• If the appliance is of the grounded type, the extension cord should be
the same type—3 wire.
• The longer cord should be arranged so that it will not drape over
the countertop or tabletop where it can be pulled on by children or
tripped over.
PLASTICIZER WARNING
CAUTION: To prevent plasticizers from migrating from the finish of the
countertop or tabletop or other furniture, place heat-resistant, NON-PLASTIC
coasters or place mats between the appliance and the finish of the counter top or
table top. Failure to do so may cause the finish to darken. Permanent blem-
ishes may occur or stains can appear.
1. Place the removable base on
a flat surface with the rubber
feet down.
2. Set the skillet pan onto the
base so that the supports fit
into the recessed areas on
the base (Fig. B).
3. Lift handles in the upright
position.
4
4
Recessed areas
Fig. B
Supports Recessed area
Wards.com
Fig. A
Handle
1•888•557•3848
5
Page 4

Parts & Features
1. Handle
2. Glass Lid
3. Aluminum Skillet
4. Foldaway Handle
5. Removable Base
6. Thermostat Heat Control with Power Cord
7. Socket
How to Use
CAUTION: This product is not intended to melt wax, gels, plastics, glue or other
materials for making candles or for other hobbyist activities, or in any commercial or business application.
1. Place assembled skillet on a dry, level, heat-resistant surface.
2. If desired, “season” the nonstick cooking surface by rubbing lightly with cooking oil. Remove excess oil with a paper towel.
3. Insert the Thermostat Heat Control into the skillet so the two electrical pins on
the skillet are fully inserted into the heat control. Plug the power cord into a
120V AC electrical wall outlet.
4. Turn Thermostat Heat Control to desired temperature. Remove cover and
preheat skillet. The indicator light will go off when the selected temperature is
reached.
NOTE: As the skillet heats up, you may hear a clicking sound; this is due to the
expansion of the metal as it heats. It is normal. You may also notice this
sound as the unit cools down.
5. Prepare food for cooking. Because the skillet features a nonstick finish, food
may be prepared with little or no oil.
6. Place food in skillet and cook according to the required temperature. The heat
should be adjusted according to personal preference and particular food being cooked. During cooking, the indicator light will go on and off periodically to
indicate that the desired temperature is being maintained.
NOTE: For best results, use heat-resistant nylon, plastic or wooden utensils in
the skillet. Do NOT use metal utensils as they may scratch the nonstick
surface. Do NOT cut foods on the cooking surface.
7. Turn the heat control to “0” when cooking is complete. Unplug Thermostat
Heat Control from the wall outlet and then from the appliance. Allow skillet to
cool before cleaning.
6
Wards.com
1•888•557•3848
7
Page 5

Cleaning & Care
Cleaning & Care (cont’d)
The skillet pan must be hand-washed; the cover can be washed in the dishwasher. Wash the pan and cover before initial use and after each subsequent use. Do
NOT immerse Thermostat Heat Control in water or let it come in contact with any
liquid.
To disassemble the skillet for cleaning and storage:
1. Lift the skillet pan off the base and clean as described below.
2. Push the handles down until they lock into the base.
3. For compact storage, rotate the handles up and inward, and place the base in
the pan in an inverted position so that the rubber feet are facing up. Then place
the cover upright onto the pan.
When washing the skillet, clean the nonstick surface with a non-metal cleaning pad. Firm pressure can be applied if necessary. Do NOT use steel wool or
abrasive cleaners. Soaking the skillet to loosen food residue is not necessary. If,
however, soaking the skillet is desired, do NOT soak for more than 2 hours. Soak-
ing for more than 2 hours may damage the nonstick finish.
In time, the nonstick finish may darken over the heating element. To remove this
discoloration, use a commercial cleaner designed for cleaning surfaces. These
cleaners are available at most grocery and hardware stores. For best results, follow the manufacturer’s instructions, being careful that any cleaning solution that
comes into contact with the exterior of the appliance is wiped off.
Instructions for Glass Cover Care and Use:
Do NOT use cover if it is chipped or cracked. Handle cover carefully and avoid
impact.
Do NOT handle hot cover with wet towel or place hot cover on a cold or wet
surface.
Allow cover to cool before washing. This cover is dishwasher safe. Keep the cover
clean. Do NOT use steel wool cleaning pads or abrasive powders which can
scratch or weaken the glass. Nonabrasive pads or powders may be used if necessary. Do NOT scrape or gouge glass with hard or sharp utensils.
CAUTION: Failure to follow these instructions could cause immediate breakage
or breakage at a later date for no apparent reason, which may result in personal
injury or property damage. Periodically check the screws on the cover handle for
looseness. Retighten if necessary.
CAUTION: Overtightening can result in stripping of screws or cracking of handle
or cover.
IMPORTANT: To ensure continued accuracy of the Thermostat Heat Control,
avoid rough handling in use and storage.
After treating the skillet with a commercial cleaner, it is recommended that the
cooking surface be wiped lightly with cooking oil before using. The outside finish
of the skillet is easy to keep attractive and looking new. Simply wipe away spills
and drips as they occur. If food should happen to burn on, it can be removed with
warm, soapy water and a cleaning pad. Rinse and wipe dry.
8
Wards.com
1•888•557•3848
9
Page 6

Recipes Recipes
Chicken Marsala (Yields: 8 servings)
Ingredients:
4 Tbsp. butter
4 Tbsp. olive oil
1/3 c. all purpose flour
1 tsp. salt
1 tsp. ground black pepper
4 chicken breasts, halved horizontally
and pounded thin
1. Heat the butter and olive oil in the skillet at 325° F.
2. Combine the flour, salt and pepper in a wide dish or plate.
3. Dredge the chicken in the flour mixture, coating both sides. Shake off excess
flour.
4. Place in hot butter/oil mixture and let cook for 3 minutes on each side until
slightly golden brown. Once chicken has browned, remove to a plate and set
aside.
5. Heat the onions in the remaining butter/oil and sauté for 3 minutes.
6. Add mushrooms and continue to cook, stirring occasionally, for 4 minutes.
7. Add garlic and let cook for 30 seconds or until garlic is fragrant.
8. Add the 1 Tbsp. of flour, stir and cook mixture for 1 minute.
9. Add the wine and chicken stock and stir. Sauce will begin to thicken up
almost immediately.
10. Add the chicken back to the skillet and place the cover on top.
11. Let the chicken cook in the sauce for 2-3 minutes (or until chicken registers
165°F on a meat thermometer).
12. Remove lid, sprinkle in cheese and parsley.
13. Enjoy with roasted potatoes or cooked penne pasta.
1/2 medium onion, diced
8 oz. white mushrooms, quartered
2 tsp. garlic, minced
1 Tbsp. all purpose flour
1/2 c. Marsala wine
1/2 c. chicken stock
1/3 c. parmesan cheese, grated
1 Tbsp. parsley, chopped
Creole Jambalya (Yields: 8 servings)
Ingredients:
Spice Rub:
2 Tbsp. smoked paprika
1 tsp. ground black pepper
2 Tbsp. garlic powder
1 tsp. crushed red pepper
Jambalya:
4 chicken legs, skin on
4 chicken thighs, skin on
1 lb. shrimp, peeled and deveined
3 Tbsp. olive oil
1 large onion, diced
2 ribs celery, diced
1/2 red pepper, diced
1/2 green pepper, diced
2 cloves garlic, minced
1 Tbsp. fresh thyme, chopped
2 bay leaves
1. Combine ingredients for spice rub.
2. Place chicken and shrimp together in a bowl and rub in 3 Tbsp. spice rub on
both. Cover and set in refrigerator for 1-2 hours.
3. Heat olive oil in skillet at 350°F.
4. Remove the chicken from the refrigerator (shrimp will be used near the end
of the cooking process) and brown the chicken on all sides, about 5 minutes
each side. Remove chicken from skillet and set aside.
5. Add the onion to the hot skillet and cook for 1 minute. Add the celery and the
red and green peppers and cook until the vegetables begin to soften, about 5
minutes.
6. Add the garlic, fresh thyme, bay leaves and tomato paste and cook for 1 minute until fragrant. Do not let the garlic burn.
7. Add the white rice and cook rice in skillet for 2 minutes, stirring constantly to
coat the rice in oil.
8. Add the Worcestershire, hot sauce, beer, tomato-clam juice and chicken stock.
Bring to a simmer.
9. Add chicken pieces and place lid on skillet.
10. Let mixture simmer for 15 minutes until rice is almost tender.
11. Add ham, andouille sausage and shrimp and cook for 5 more minutes until the
rice is tender and the chicken registers 165°F on a meat thermometer.
12. Serve immediately.
1 tsp. granulated onion
1 tsp. salt
1 Tbsp. dried oregano
1 Tbsp. dried thyme
1 Tbsp. tomato paste
2 cups long grain white rice (not instant)
1 tsp. Worcestershire sauce
2 tsp. hot sauce
1 c. beer
2 c. tomato-clam juice
3 c. chicken stock
6 oz. ham, diced
13 oz. andouille sausage or kielbasa
salt and pepper, to taste
10 11
Wards.com
1•888•557•3848
Page 7

Recipes Recipes
Southwest Tortilla Casserole (Yields: 8–10 servings)
Ingredients:
1 Tbsp. olive oil
1 medium onion
2 lbs. ground beef
2 cloves garlic
3 Tbsp. ground cumin
3 Tbsp. chili powder
2 (10-oz.) cans Mexican style
tomatoes (contains green chilies)
1. Heat olive oil in skillet at 370°F.
2. Add onion and let cook for 1 minute.
3. Add ground beef and cook until brown.
4. Drain grease from skillet.
5. Add garlic, cumin and chili powder to the ground beef mixture and cook for 1
minute until fragrant.
6. Add canned tomatoes, chilies and sauce. Stir. Add frozen corn and cook until
mixture is hot and corn is warmed through.
7. Add green onions and cilantro. Season to taste.
8. Remove ground beef mixture to a bowl.
9. Turn off skillet, let cool and wipe clean.
10. Layer 6 tortillas on the bottom of the skillet. Spoon half the meat mixture on
top of the tortillas and spread to even thickness. Sprinkle 2 cups of cheddar
cheese over meat.
11. Place another layer of 6 tortillas over the cheese and spoon the rest of the
meat mixture on top. Sprinkle 2 cups of cheddar cheese.
12. Finally, layer another 6 tortillas and sprinkle remaining 2 cups of cheddar
cheese.
13. Place lid on skillet and turn the dial to 270°F. Let cook for 10-15 minutes or
until cheese is melted throughout the casserole.
2 (4-oz.) cans diced green chilies
1 (8-oz.) can tomato sauce
2 c. frozen corn
3 green onions, sliced
1/2 c. chopped cilantro
Salt and pepper, to taste
6 c. shredded cheddar cheese
2 pkg. (8-inch) corn tortillas
Apple Pudding (Yields: 6–8 servings)
Ingredients:
8 apples, any kind, peeled, cored and sliced
1 c. sugar
1 tsp. cinnamon
1/2 c. maple syrup
Batter:
1 1/2 c. sugar
2 c. all purpose flour
2 tsp. baking powder
1/2 tsp. salt
2 c. water
Topping:
1/2 c. sugar
1 Tbsp. cornstarch
1/2 tsp. salt
1. Combine apples, sugar, cinnamon and maple syrup in a bowl. Place into the
skillet which has been turned off. Distribute apples evenly.
2. For the batter, mix the sugar, flour, baking powder and salt together in a
bowl. In a separate bowl, mix the melted butter, milk and vanilla. Add the
wet ingredients to the dry ingredients and stir until the consistency of thick
pancake batter.
3. Dollop the batter over the apples and spread. (Batter will not cover all
apples.)
4. Pour 2 cups of water into the skillet.
5. Place lid on skillet and turn thermostat to 270°F. Let cook for 20 minutes.
Remove cover and let apples cook approximately 10 minutes more. Apples
should be tender and batter should be firm.
6. Serve with ice cream.
4 Tbsp. melted butter
1 c. milk
2 tsp. vanilla
12 13
Wards.com
1•888•557•3848
Page 8

Returns
If any item, for any reason, does not meet your expectations, just return it to us.
We’ll gladly either:
• Refund your merchandise amount
• Credit your account
• Send a replacement
You can return any unused item in its original packaging within 60 days of its
receipt for a full refund of the purchase price (excluding shipping and handling
charges).
Please send returns to:
Montgomery Ward, Inc.
Attn: Customer Returns
2000 Harrison Suite 100
Clinton, IA 52732-6676
When returning an item:
• Use the original packaging and pack it securely.
• Please adequately insure your item in case you need to make a claim
with the carrier you choose for returning your item.
• Include your order number and reason for return.
• We recommend keeping the receipt for 4 weeks.
®
1 Year Limited Warranty
Montgomery Ward, Inc. warrants this Chef Tested product
to be free from defects in material and workmanship
for one year from provable date of purchase.
Within this warranty period, Montgomery Ward will repair or
replace, at its option, defective parts of this Chef Tested
product at no charge, provided the product is returned,
freight prepaid, with proof of purchase to Montgomery Ward.
Allow 2-4 weeks for return shipping.
This warranty does not cover improper installation, misuse,
abuse or neglect on part of the owner. Warranty is also
invalid in any case that the product is taken apart or
serviced by an unauthorized service station.
This warranty gives you specific legal rights and they may
vary from state to state.
THE FOREGOING WARRANTIES ARE IN LIEU OF ALL
OTHER WARRANTIES AND CONDITIONS,
EXPRESS OR IMPLIED, INCLUDING
BUT NOT LIMITED TO THOSE OF MERCHANTIBILITY
OR FITNESS FOR A PARTICULAR PURPOSE.
Montgomery Ward Customer Service
8:00 am to Midnight CST, Monday through Friday
Wards.com 1•888•557•3848
14 15
Wards.com
1•888•557•3848
 Loading...