

Montgomery Ward 747004, EPCK 40911 Instruciton Manual
Instruction Manual
Item No.: 747004
120V~, 60Hz, 1300W
Wards.com 1•888•557•3848
Montgomery Ward Customer Service
1112 7th Avenue, Monroe, WI 53566
8:00 a.m. to Midnight, Monday through Friday
Wards.com 1•888•557•3848
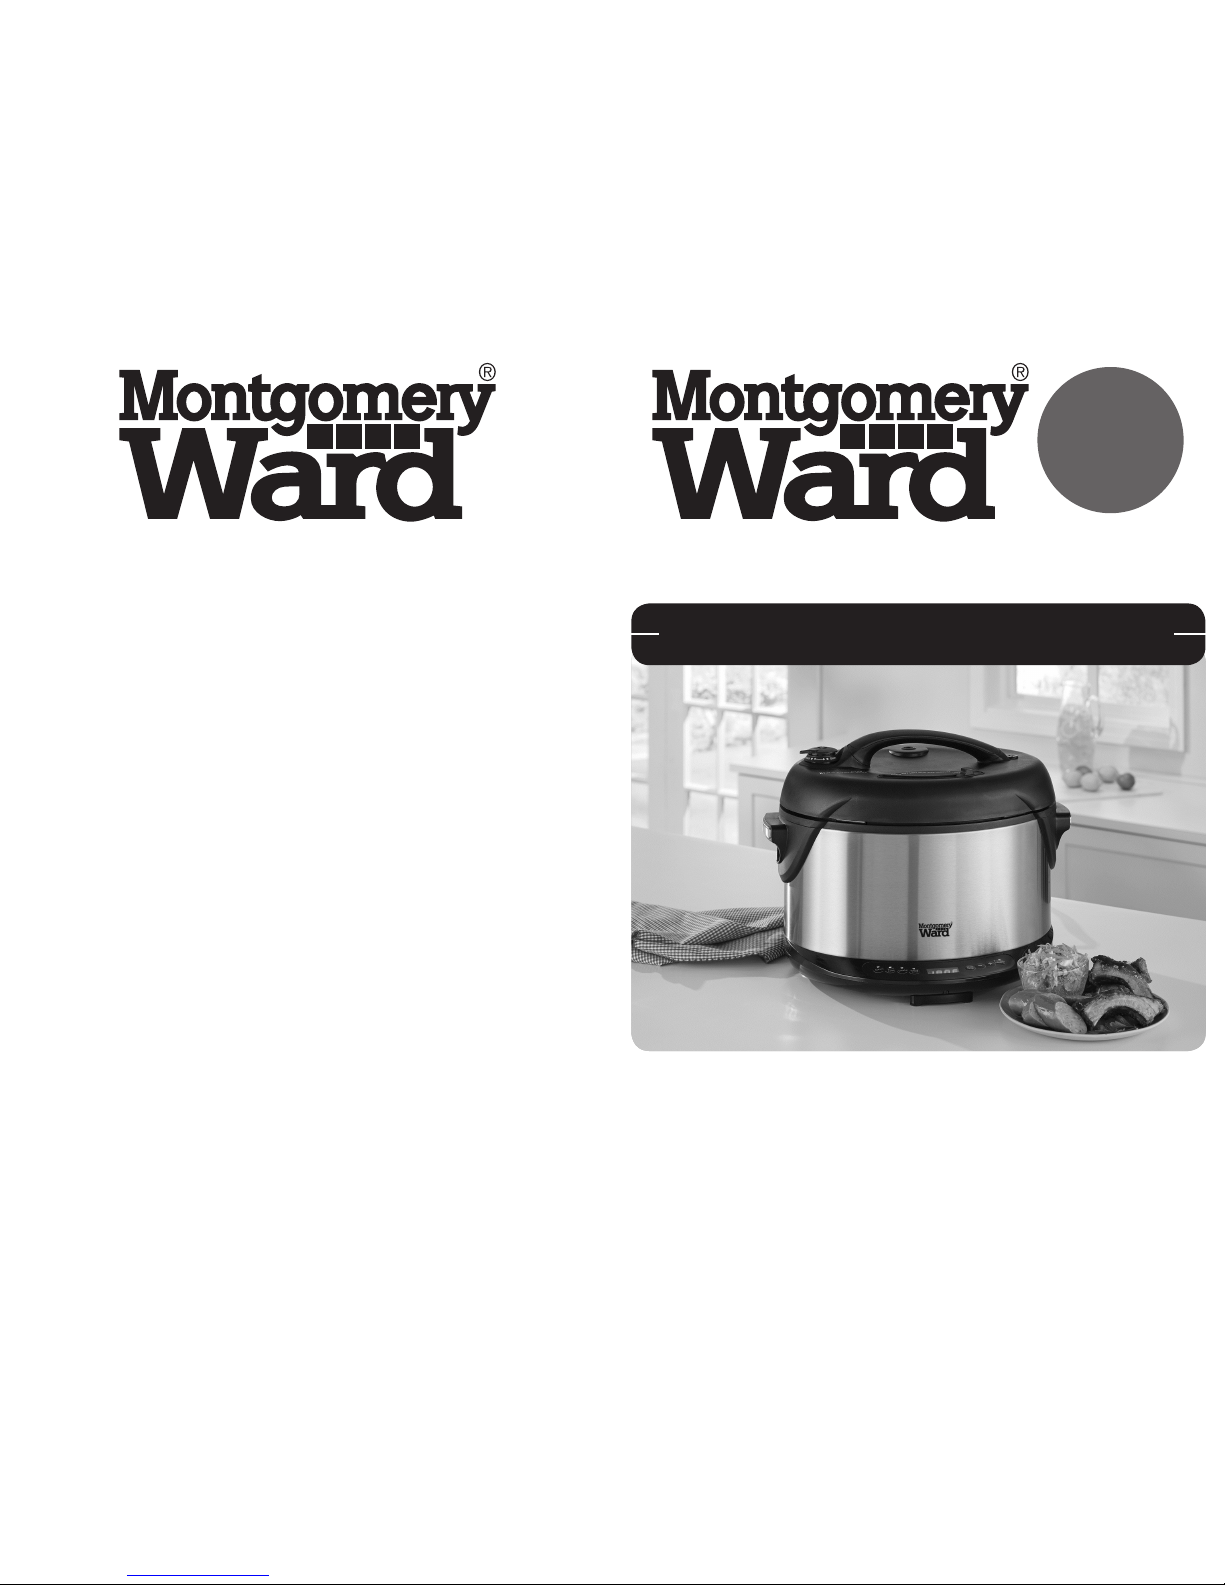
6.5 Qt. Pressure Cooker & Smoker
Coor,
Samer,
Smor
All in One
!
MODEL: EPCK 40911

Thank you for purchasing your 6.5 Qt. Pressure Cooker & Smoker by
Montgomery Ward®. It will perform to the highest standard, time after time,
with all the convenience and durability you rely on from Wards.
We guarantee it!
A pressure cooker, steamer, slow cooker and smoker all in one convenient,
easy-to-use appliance! Now you can have that smoky flavor you love, with-
out having to purchase another piece of equipment. How convenient is that!
3
PLEASE READ ALL INSTRUCTIONS BEFORE USE
Basic safety precautions should always be followed when using this appliance.
WARNING: TO AVOID THE RISK OF ELECTRICAL SHOCK, ALWAYS MAKE
SURE THE PRODUCT IS UNPLUGGED FROM THE ELECTRICAL OUTLET
BEFORE ASSEMBLING, DISASSEMBLING, RELOCATING OR CLEANING.
DO NOT TRY TO SERVICE THIS PRODUCT YOURSELF.
1. Close supervision is necessary when using this appliance near children. This
appliance is NOT suitable for use by children.
2. NEVER leave appliance unattended while in use.
3. To protect against electrical shock, do NOT place cord, plug or appliance in
water or other liquid.
4. Do NOT let cord hang over edge of table or counter or touch any hot surfaces.
5. To disconnect from electrical outlet, pull directly on plug; do NOT pull on the cord.
6. NEVER connect or disconnect plug with wet hands.
7. Do NOT allow appliance to rest on cord.
8. Do NOT operate any appliance with a damaged cord or plug, or after the appliance
malfunctions or has been damaged in any manner. Call our toll-free customer
service number for information regarding returning or replacing the product.
9. Do NOT connect appliance to a timer or an independent remote control.
10. Unplug appliance when not in use.
11. Do NOT use or place appliance near or on any flammable materials such as
tablecloth, curtains, towels, paper, plastic, etc.
12. NEVER remove lid when appliance is under pressure.
13. Always place appliance on a flat, level and heat-resistant surface.
14. Do NOT place or use the unit or any parts on or near a hot gas or electric
burner, in a heated oven, under a broiler, on a stove top or in a freezer.
15. WARNING: To avoid risk of explosion, do NOT cover the pressure valve.
16. Do NOT move appliance while in operation.
17. Do NOT lift or move appliance by lid handle; use side handles only.
18. Keep hands and face away from the pressure/steam regulator knob when
releasing the pressure.
DANGER: Steam will exhaust through pressure/steam regulator knob and
can cause burns, scalding and serious injuries.
19. Use EXTREME CAUTION when opening lid.
DANGER: Steam escaping from appliance can cause burns, scalding and
serious injuries.
20. Do NOT touch any hot surfaces (external or internal). Always use handles,
knobs and control buttons to operate the unit.
21. Always use potholders or oven mitts to remove hot cook pot from appliance.
22. When using smoker function, place appliance in well ventilated area.
23. Always remove silicone protection cap from bottom of cook pot before using
appliance.
Important Safeguards ........................3-4
3-Prong Plug......................................... 4
Parts & Features ................................5-6
Before Using for the First Time............. 6
How to Use ......................................7-10
Cleaning and Care.............................. 11
Troubleshooting .............................12-13
Recipes..........................................14-19
Notes .............................................20-21
Warranty & Return Information ......22-23
Table of Contents
2
1•888•557•3848Wards.com
Important Safeguards
PLEASE SAVE THESE INSTRUCTIONS
THIS APPLIANCE IS FOR INDOOR USE ONLY
© 2017 Montgomery Ward, Inc. All rights reserved.
ank you
for your
purchase!
3048146
Conforms to UL Std. 1026
Certified to CSA Std. C22.2 No. 64-10
4
1•888•557•3848
Wards.com
4
5
Important Safeguards (cont’d)
This appliance has a 3-prong (grounding) plug for use in a 3-prong (grounding)
outlet to minimize the possibility of electric shock. This appliance should only be
used with a 120V, 60Hz grounded outlet. Failure to follow these instructions could
result in fire, electrical shock, serious injury or death.
If the plug does not fit fully in the outlet, contact a qualified electrician to install a
3-prong (grounding) outlet. Do NOT attempt to modify the plug in any way. Do NOT
use an adapter or an extension cord that is not rated for use with this product. Failure
to follow these instructions could result in fire, electrical shock, serious injury or death.
SHORT CORD INSTRUCTIONS
1. A short cord is provided to reduce the risk resulting from becoming entangled in
or tripping over a longer cord.
2. Longer detachable power supply cords or extension cords are available and
may be used if care is exercised in their use.
3. If a long detachable power cord or extension cord is used:
• The marked electrical rating of the detachable power supply cord or extension
cord should be at least as great as the electrical rating of the appliance.
• If the appliance is of the grounded type, the extension cord should be the
same type 3-wire.
• The longer cord should be arranged so that it will not drape over the countertop
or tabletop where it can be pulled on by children or tripped over.
PLASTICIZER WARNING
To prevent plasticizers from migrating from the finish of the countertop or tabletop or
other furniture, place NON-PLASTIC coaster or placemats between the appliance
and the finish of the countertop or tabletop. Failure to do so may cause the nish
to darken. Permanent blemishes may occur or stains can appear.
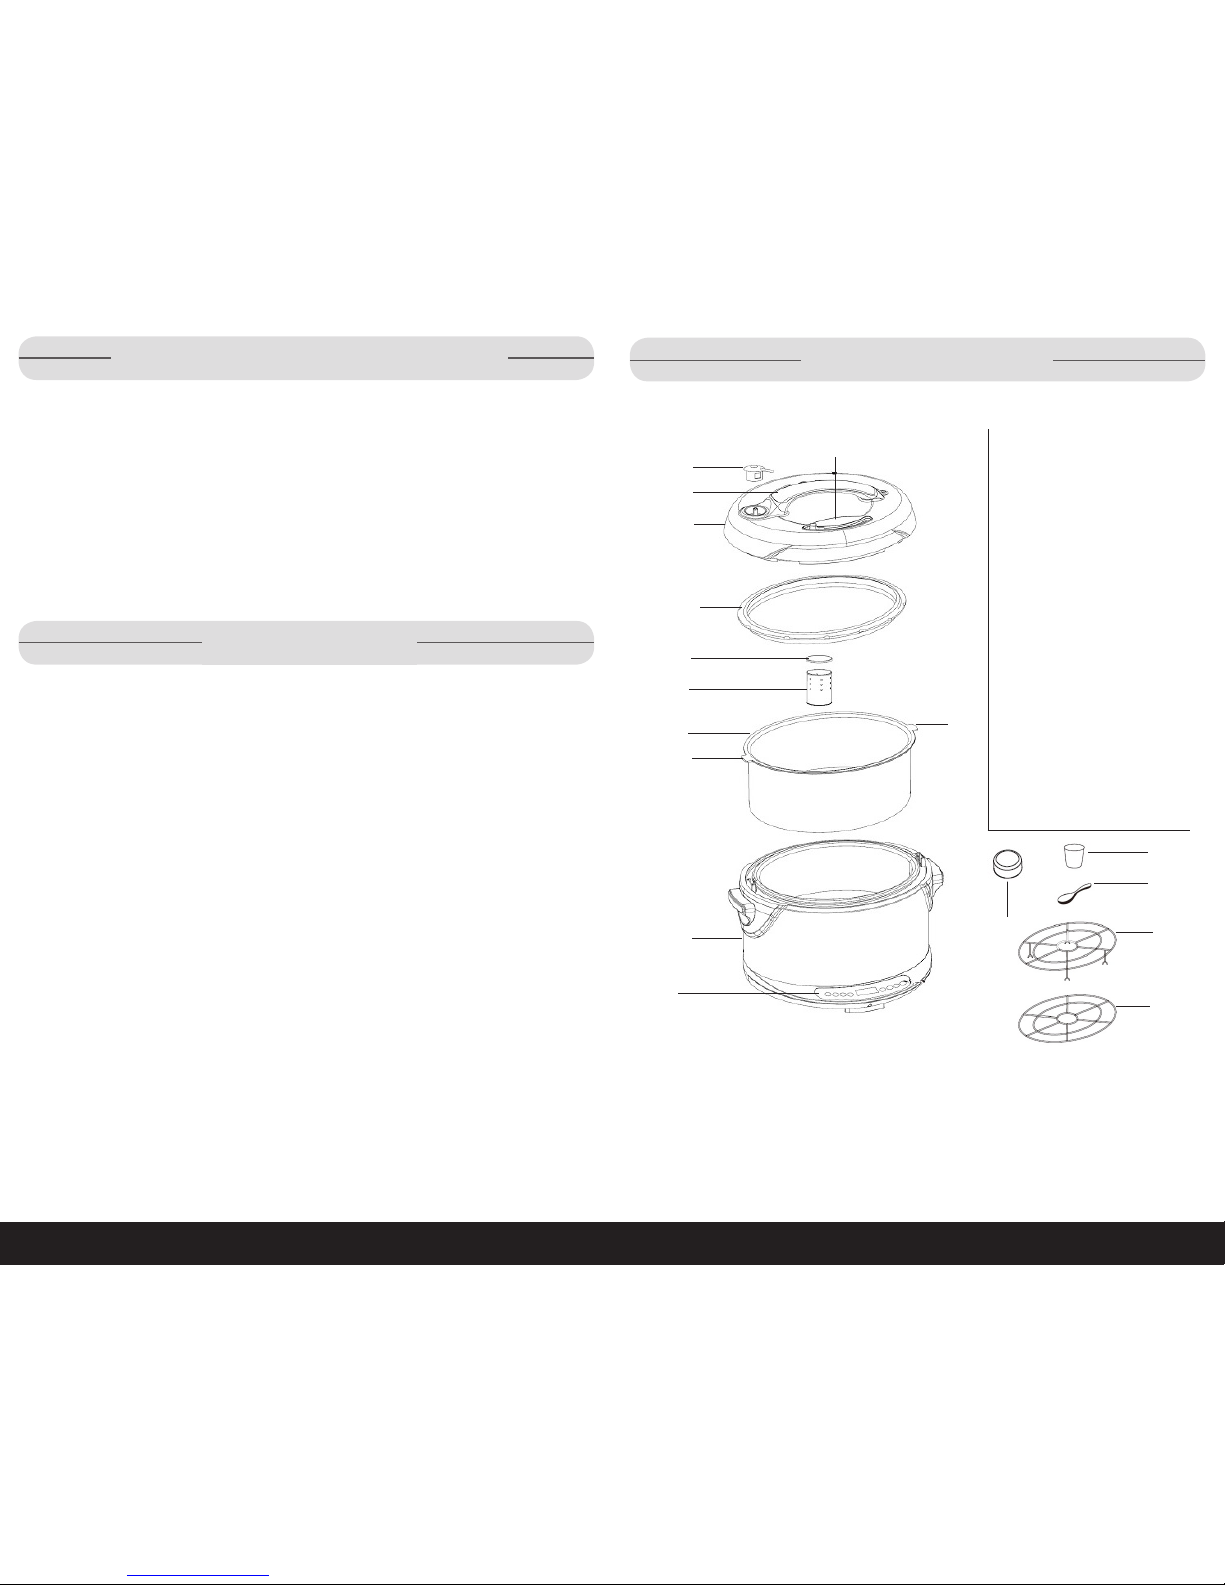
Parts & Features
1. Sliding Lock
2. Pressure/Steam
Regulator Knob
3. Handle
4. Cover
5. Rubber Gasket
6. Charring Cup Lid
7. Charring Cup
8. Cook Pot
9. Cook Pot Tabs
10. Base
11. Control Panel
12. Measuring Cup
13. Stir Spoon
14. Rack with Legs
15. Rack without Legs
16. Silicone Protection Cap
24. Allow appliance to cool down completely before handling and cleaning.
25. Always use the nonstick, removable cook pot for all functions.
26. Coiled heating element in the center of the cook pot MUST be covered with charring
cup and lid when cooking any type of food.
27. DANGER: NEVER deep fry or pressure fry in this appliance. Fire or injury
can occur.
28. Use this appliance only for its intended use as described in this manual.
29. This appliance is NOT recommended for outdoor or commercial use.
30. Do NOT attempt to dislodge food when the appliance is plugged in.
3-Prong Plug
1
2
3
4
5
6
7
8
9
9
10
11
Parts Description
• Sliding Lock - Locks the lid during cooking.
• Pressure/Steam Regulator Knob - Down position keeps pressure inside; up
positions allows steam to vent.
• Rubber Gasket - Creates airtight seal for pressure cooking.
• Charring Cup - Holds in wood chips when using smoking function. Protects
element from liquids when not using the smoking function.
• Cook Pot - 6.5qt. capacity, nonstick coated removable pot, provides even
heat distribution
• Cook Pot Tabs - Secures cook pot to base during cooking.
12
13
14
15
16

7
6
1•888•557•3848
Wards.com
Before Using for the First Time
CAUTION: Risk of suffocation - keep all packaging and plastic bags out of the reach of children.
not dishwasher safe
Do NOT immerse cook pot or base in water.
1. Remove all parts from the box and discard packaging.
2. Rotate cook pot until tabs are out from under tab plates and lift pot out of base.
3. Clean inside of cook pot with hot water and a non-abrasive sponge, taking care
to keep the element dry. Remove the silicone protection cap and wipe the sensor
on the underside of the cook pot with a soft, damp cloth.
4. Wash all removable parts in warm, soapy water.
5. Wipe exterior surface of the base with a soft, damp cloth. Do NOT use an abrasive
scouring pad or steel wool as this could damage the finish.
6. Dry all parts thoroughly and reassemble.
7. Fill the cook pot ⅔ full with water and make sure the tabs are secured under the
tab plates.
8. Put on lid and slide locking lever to the left to secure.
9. Plug cord into outlet. Turn the pressure/steam regulator knob to pressure.
10. Press the pressure setting button on the control panel. The light for high pressure
will illuminate. Press the pressure setting button a second time to confirm setting.
11. When “15” flashes on the display, use the “+” or “-” buttons to change the time to 45.
12. Allow cycle to run its course.
13. After unit beeps, wear an oven mitt and manually release pressure by turning the
pressure/steam regulator knob towards steam. The floating valve will drop.
14. Let appliance cool completely and wash again according to instructions in Cleaning
and Care section.
How to Use
Pressure Cooking
DANGER: Steam will exhaust through pressure/steam regulator knob and can
cause burns, scalding and serious injuries.
CAUTION: Keep hands and face away from pressure/steam regulator knob while
heat and steam escape.
CAUTION: Always wear an oven mitt or other heat protective glove to turn pressure/
steam regulator knob when releasing pressure.
CAUTION: NEVER force open lid. Lid will open when pressure has been fully released.
CAUTION: Tilt lid away from you when opening to avoid injury from steam.
IMPORTANT: Foods such as applesauce, cranberries, oatmeal or other cereals,
peas, pasta or rhubarb should NOT be cooked under pressure. These types of
foods tend to foam, froth and sputter, which may block the floating valve.
Tips
• Always use at least 1½ cups (12 oz.) of water or liquid in your recipes to
enable enough steam to be created to produce pressure.
• NEVER fill cook pot more than ⅔ full with water or liquid.
• NEVER fill cook pot more than ½ full with food.
• Only use non-metal utensils when filling with or removing food from cook pot,
to avoid scratching the nonstick coating.
• When cooking beans, add a tablespoon of oil to the water to reduce the
amount of foaming.
• For best results, use low pressure when cooking fresh fruits.
• When cooking frozen meats, add an 10 extra minutes for every inch of thickness.
• When unsure of how much time to cook under pressure, it’s best to under
cook and use the quick release method to check for doneness.
To Use
1. Place appliance on flat, level and heat-resistant surface.
2. Check that the rubber gasket and the pressure/steam regulator knob are clean
and positioned properly.
3. Insert cook pot, swiveling so that the tabs are locked under tab plates.
4. Place charring cup with lid over element in cook pot, to keep element dry.
5. Place food and at least 1½ cups of water or liquid into cook pot.
6. Put on lid and slide locking lever to the left to secure.
7. Plug cord into outlet. Display will show --:--.
8. Turn the pressure/steam regulator knob to pressure.
9. Press the pressure setting button on the control panel. The light above high
pressure (15 psi) will illuminate.
10. To select the low (2.5 psi) or medium (7.5 psi) pressure setting, press the “+” or
“-” buttons until the light above the desired setting illuminates.
11. Press the pressure setting button a second time to confirm setting.
12. After the pressure setting is set, the display will flash the default cook time of
15 (minutes). Use the “+” or “-” buttons to change the cook time from 1 minute
to 2 hours.
Parts & Features (cont’d)
Control Panel Functions:
• Smoke - Smokes the food to get that “classic” smoked flavor. Cook with
pressure and smoke simultaneously (HOT smoke) or smoke foods only (COLD
smoke) with no pressure and relatively little heat.
• Steam - Quickly brings water to a boil for steaming food or cooking rice.
• Slow Cook - Cooks food at a low temperature for up to 12 hours.
• Delay Time - Starts cooking at a time of your choosing (up to 8 hours).
• Pressure Setting - Low, Medium and High.
• Warm - Keeps food warm for up to 8 hours. This mode is automatically selected
after the cooking time has elapsed, until the start/stop button is pressed.
Tabs Locked
Tabs Unlocked
 Loading...