

Monte Carlo Fan Company MC94-L Owner's Manual
Owner’s
Manual
Light Kit Installation Instructions
MC94-L SERIES
READ AND SAVE THESE INSTRUCTIONS
Light Kit
Weight
We thank you for selecting one of our superior quality prodcts. We dedicate considerable
time and effort to ensure they are the best available.
ENERAL
G
To assure success of this installation be sure to read the instructions and review the dia grams
thoroughly before beginning. Follow the instructions that are applicable for your light kit.
Review the installation instructions supplied with your fan. Make sure that your fan has been wired
properly into the ceiling to allow use with your light kit.
All electrical connections must be in accordance with local codes, ordinances, and national electrical
codes.
If you are unfamiliar with methods of installing electrical wiring, secure the services of a qualified
electrician.
Caution - risk of electrical shock. Before starting installation, disconnect the power by
turning off the circuit breader or removing the fuse at the fuse box. Turning the power off
using the fan switch is not sufficient to avoid electrical shock.
NOTE:
all possible conditions and situations that may occur. It must be understood that common sense,
caution and care are factors that cannot be built into any product. These factors must be supplied
by the person(s) caring for and operating the unit.
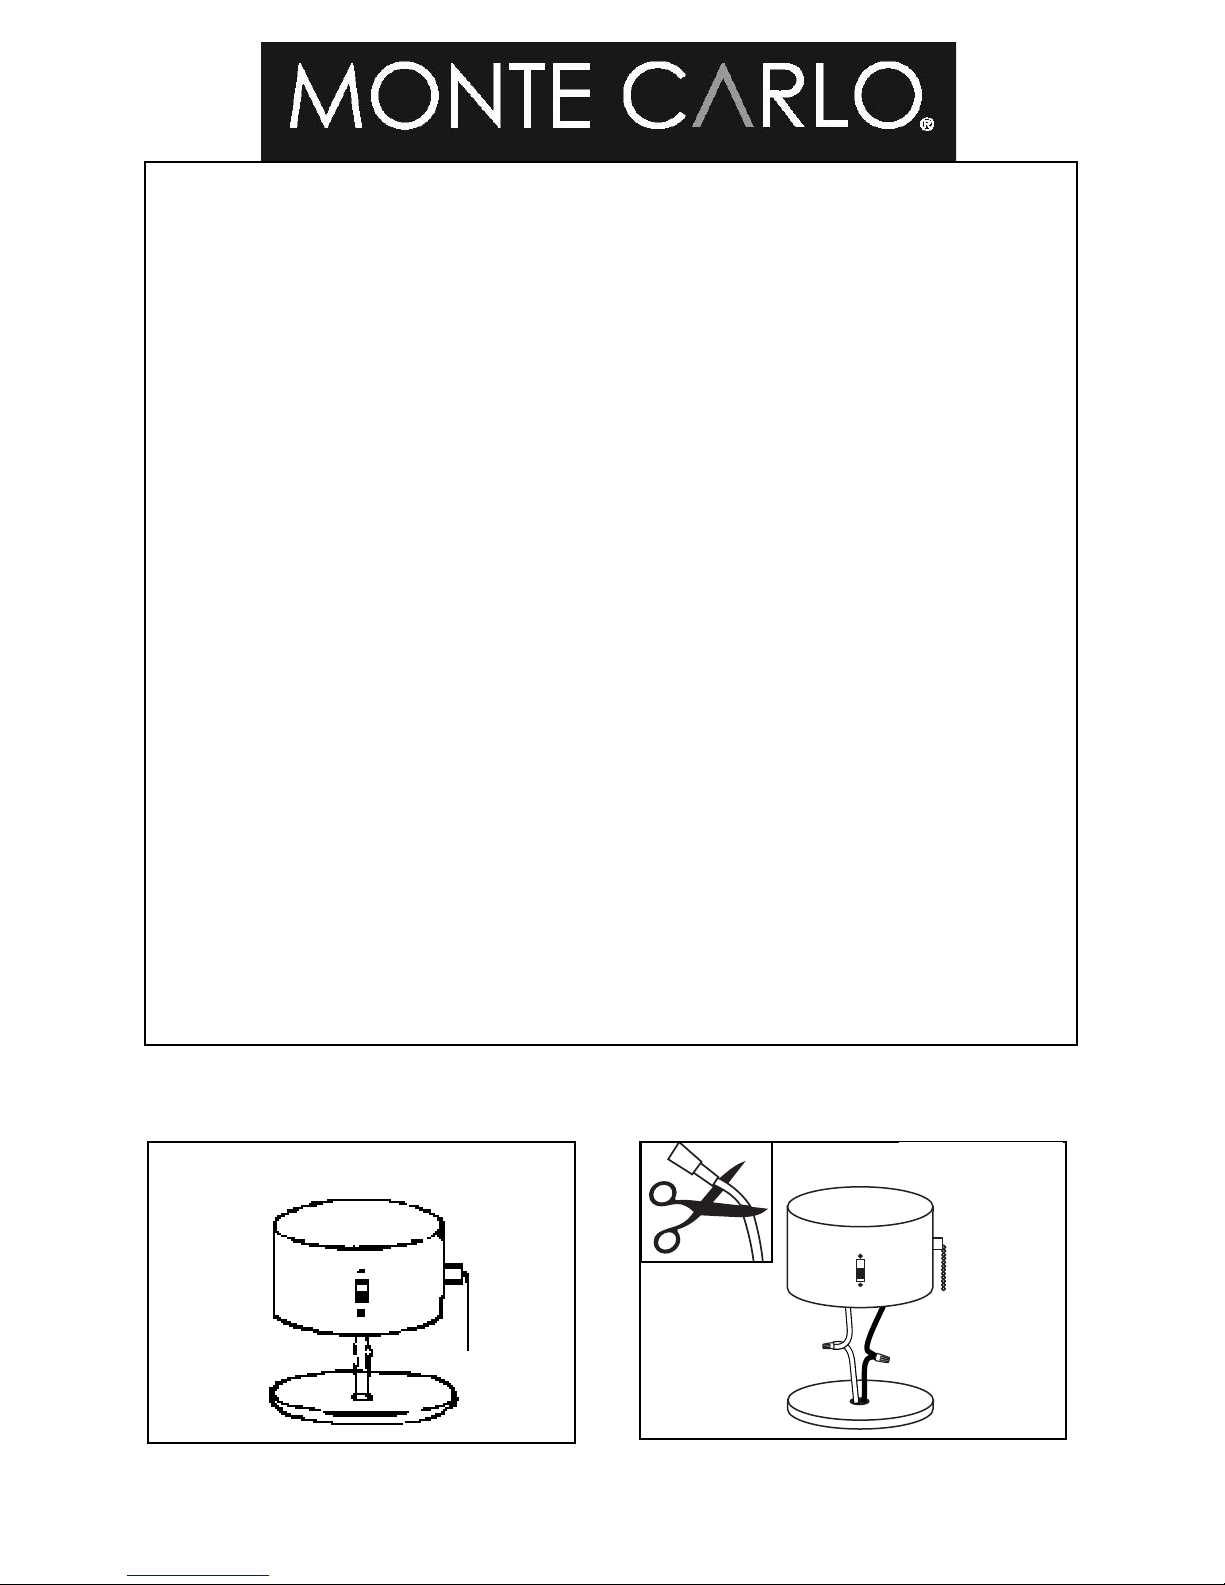
NOTE: For normal installation, please use the plug system to install light kit. Figure A.
For installation where the fan doesn’t have a plug system, remove molex adapters (cut of molex
adapters with sissors or wire cutters) and wire blue / white from source to black / white from light
kit. Install wire nuts to all connections making sure no filements are exposed. Figure B
Use remote control that comes with fan to control up light and down light seperately when used with
fan.
Use wall switch when the light kit is installed by semi flush ceiling.
The important safeguards and instructions appearing in this manual are not meant to cover
NORMAL WIRING
UL WIRING
Figure A
Figure B

GENERAL INSTALLATION
1
witch
s
housing
over
c
Remove the switch housing cover
from the fan by unscrewing the three
side mount screws.
4
2
Remove the plug from the center of
the switch housing by unscrewing or
pushing out. This plug will no longer
be needed.
5
3
Thread wires from light kit through
center hole in switch housing.
6
Install switch housing to light kit by
turning clockwise to tighten.
7
ve 2 screws from cage.
emo
R
ve cage and glass from fixture
emo
R
and put in a safe place.
Install keeper nut o
ver lead wires.
8
Install 1 x 60 w
shape bulbs. Bulbs included.
Over lamping the fan/light kit will
result in the fan/light kit lights
shutting down until the proper
wattage of bulbs are installed.
Reset the lights by turning off the wall
switch, breaker,or by remote. Replace
bulbs with the correct wattage bulbs,
turn the power on.
att (C26) candelabr
a torpedo
WARNING:
Tighen k
eeper nut onto threaded
pipe from the light kit.
9
Re-install glass and cage to fitter.
Tighten 2 screws.
 Loading...