

MONSTER VISION CAMVI-0360-A Quick Start Manual

1
Quick Start Guide
V2.0

2
THANK YOU
Thank y ou for purchasing the Monster V ision® 360 camera. This quick start guide will get you
using your new camera in no time. You will be able to take awesome videos and amazing
photos to share with your friends and family. Feel free to share them with us and we might
post them on our website, YouTube™ channel, Facebook or Instagram.
If you ever have any issues or want to learn more, please reach out to us through any number
of means all listed on our website. We will get y our question answered or problem solved
right away. Also be sure to register your camera at www.MonsterDigital.com
Please be safe and have fun!
The Monster Digital Team
3
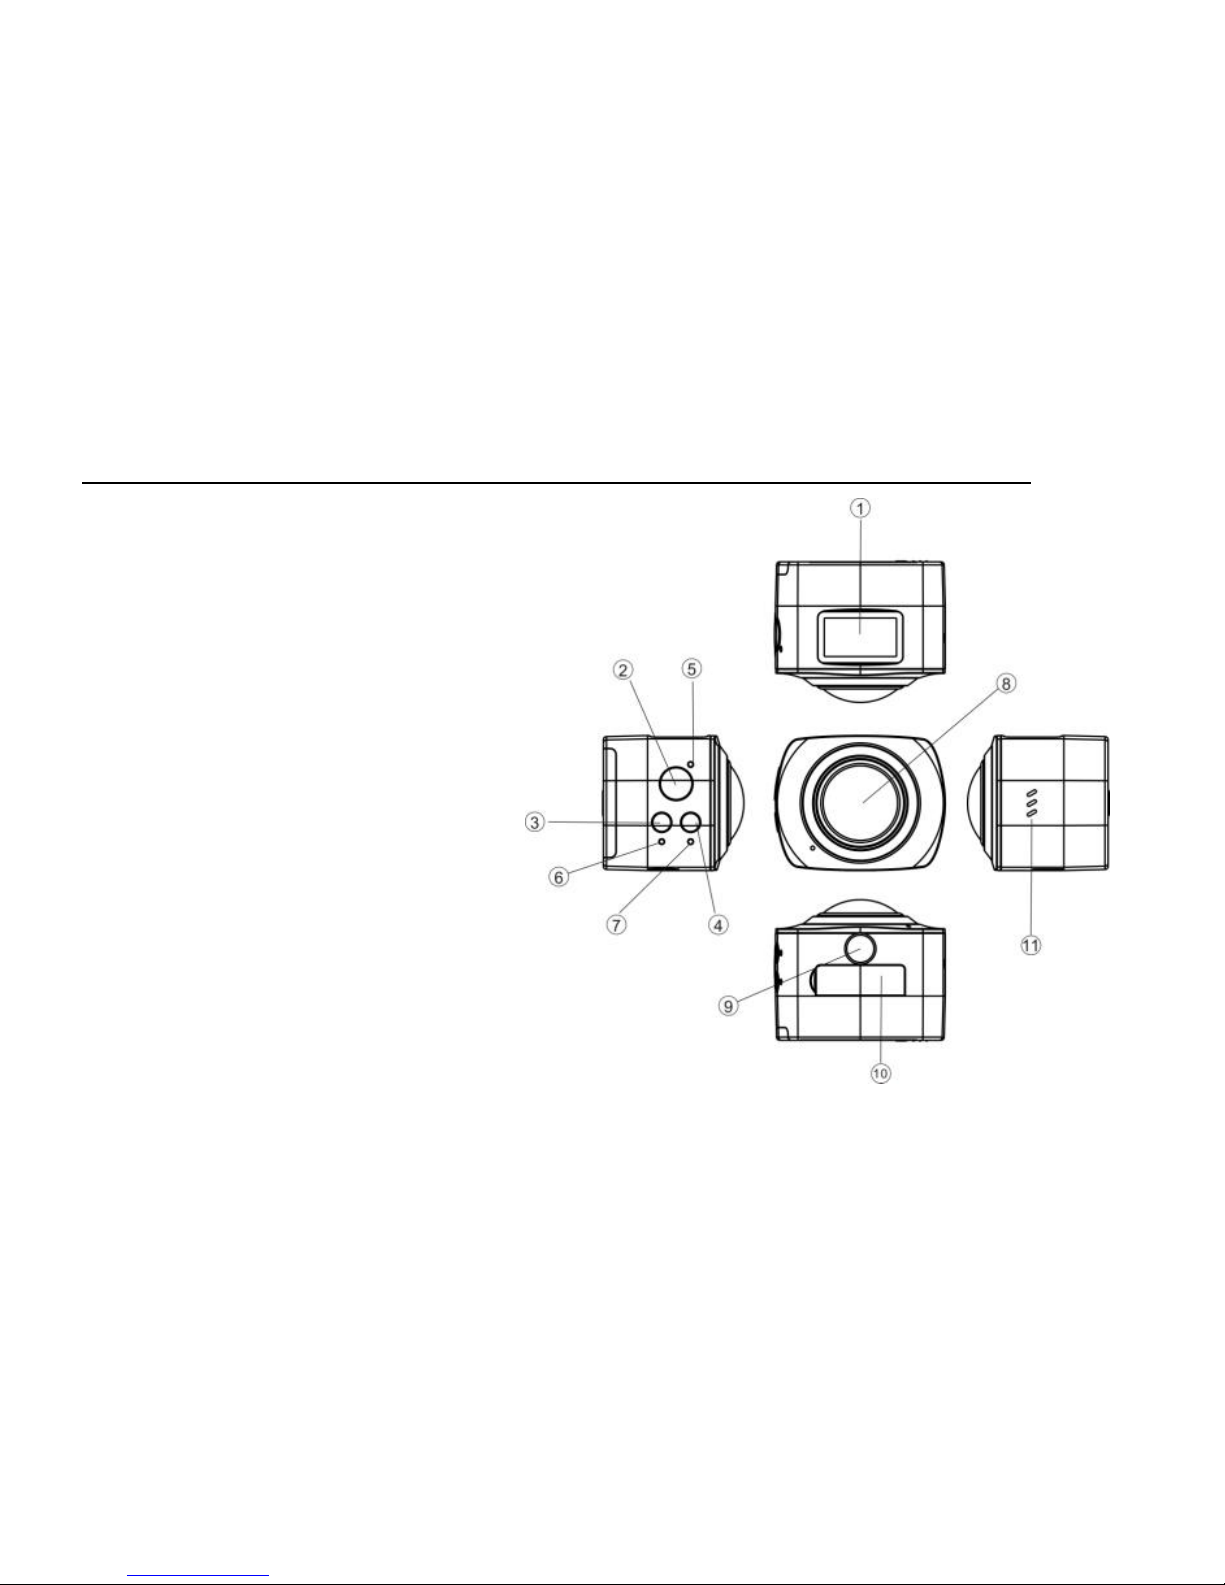
FEATURES AND BUTTONS
1. Status Screen
2. Shutter Button
3. Power Button
4. WiFi Button
5. Charging Indicator (blue)
6. Activity Indicator (red)
7. WiFi Indicator (red)
8. 220° Lens
9. Tripod mount (¼-20)
10. USB/HDMI/Memory access
11. Speaker
4
GET STARTED
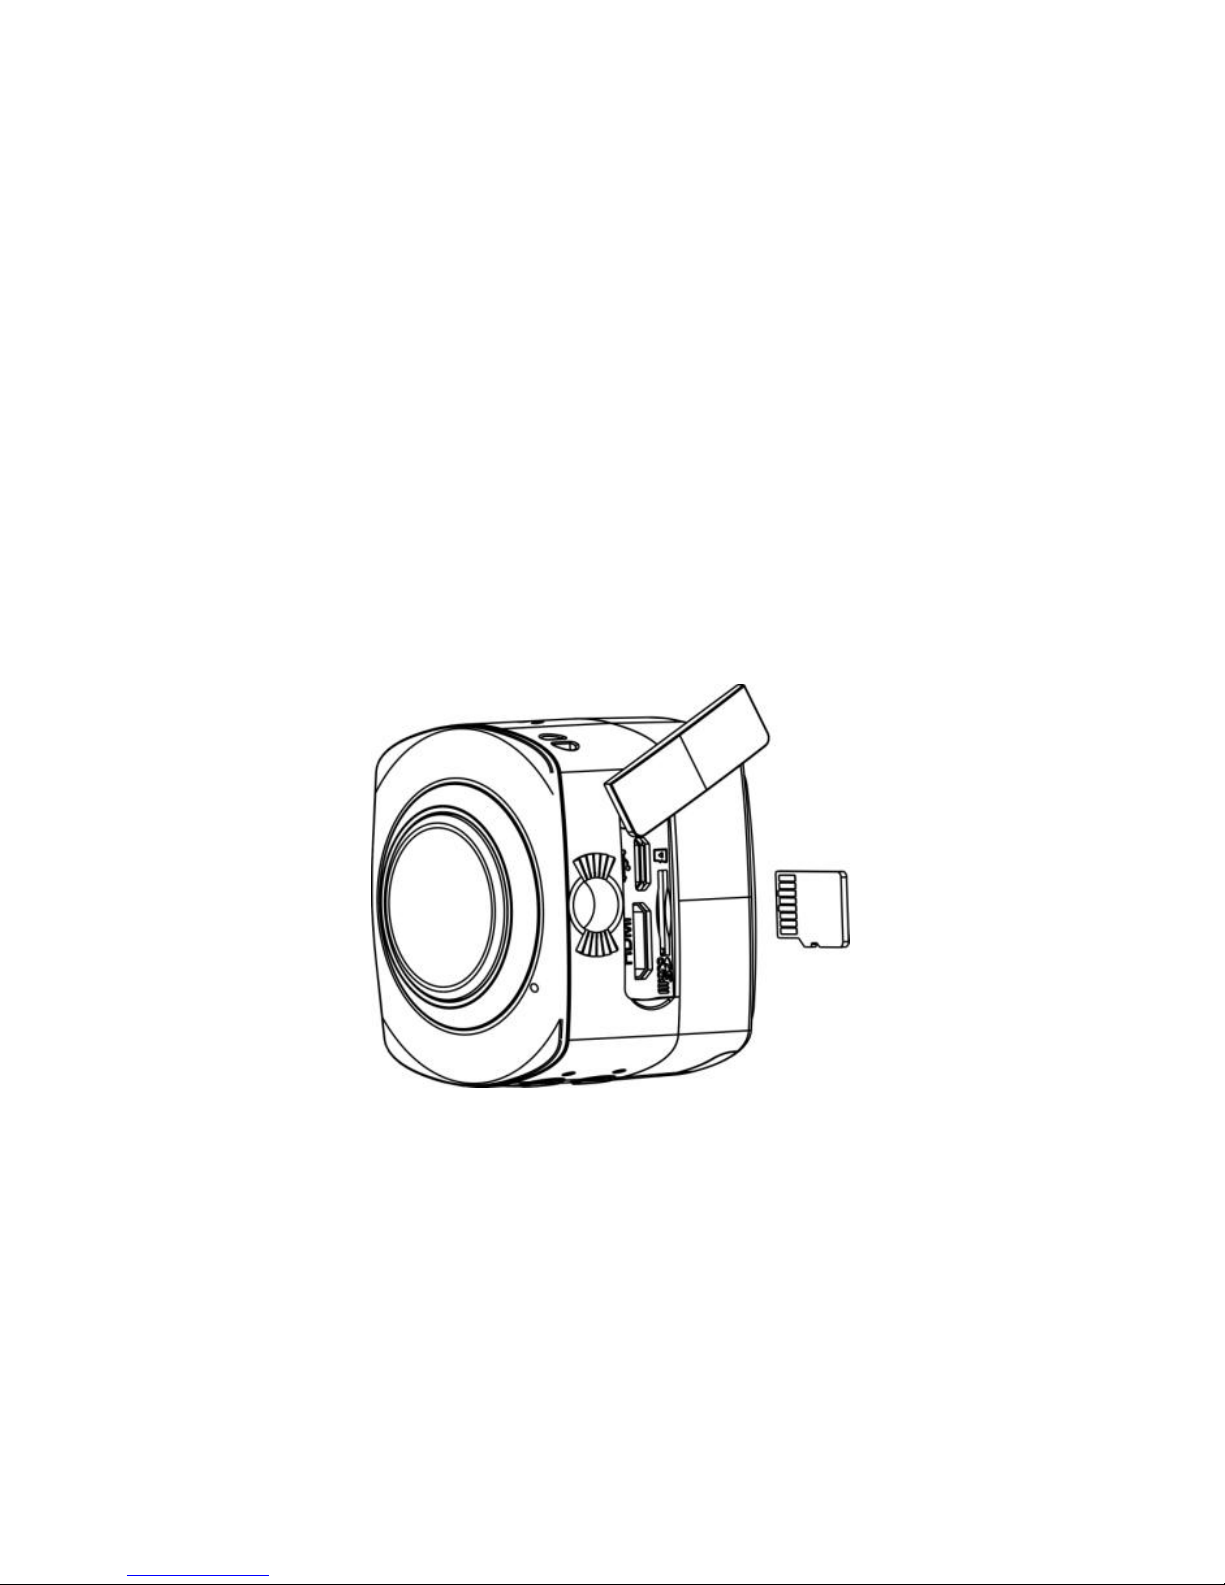
1. MEMORY INSTALLATION – CONTACTS FACING UP!
Install the microSD memory card as shown. Do not exceed 32GB card capacity. The camera’s
WiFi will not work unless a memory card is installed.
Note the HDMI and USB connectors are in the same location.
Be sure the camera is off before a memory card is installed or removed.

5
2. BATTERY INSTALLATION
Open the cover by pushing down on the arrow and sliding in the direction of the arrow.
(The camera’s serial number is located in this compartment.)
Make sure the battery contacts are aligned properly, and then put the cover back on.

6
3. CHARGING
With the power turned off connect the camera with the included cable to a USB power
source. We recommend 1 amp (1A) or higher. The charging indicator will be in blue when
charging and will turn off when charging is complete. It can take up to 4 hours to fully charge.
4. POWER ON/OFF
To turn the camera on or off press and hold the Power button for about 3 seconds.
When turned on, the status screen and activity indictor will illuminate.
5. POWER SAVING
To save power the status screen light will turn off after one minute of inactivity.
Press any button to turn the light back on.
After 3 minutes of inactivity, the camera will turn off automatically. In the settings menu, the
power saving mode can be adjusted to OFF, 1, 3 or 5 minutes.
7
6. MODE SELECTION
Monster Vision 360 has three modes, Video, Dash-Cam and Photo.
Modes are switched by pressing Power/Mode button or via app.
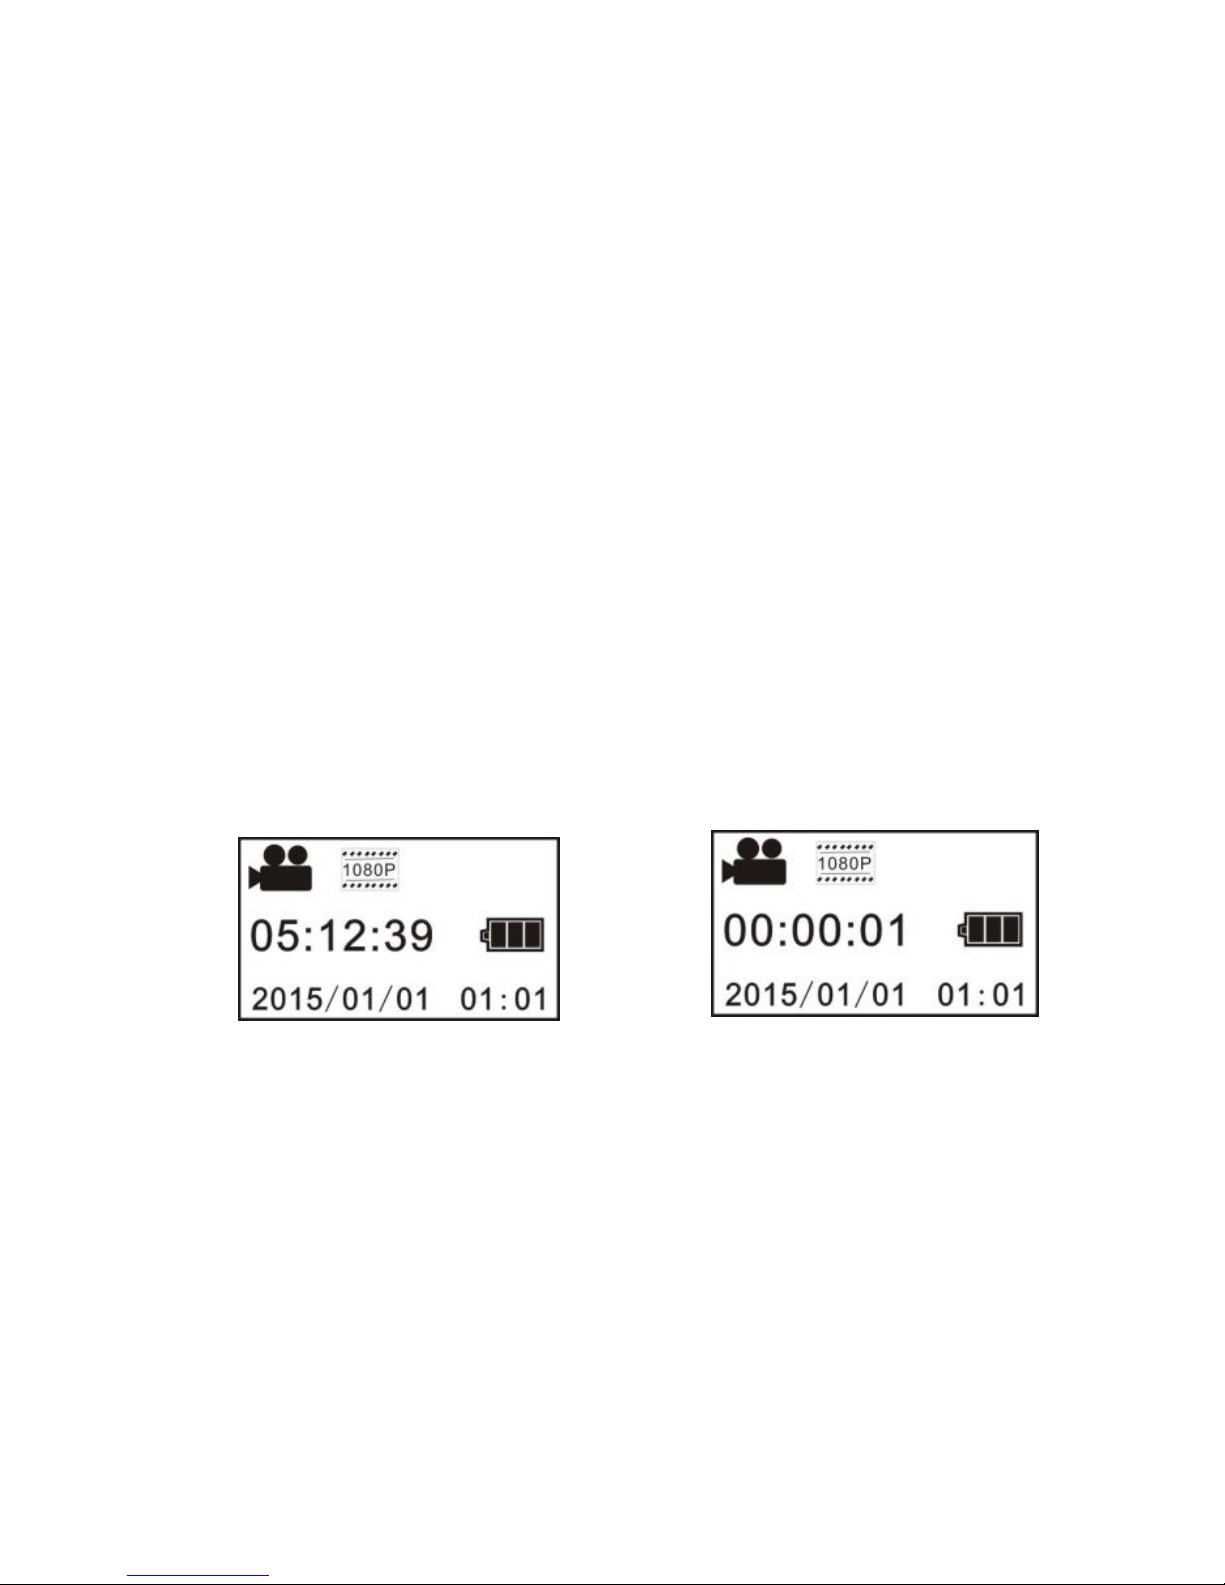
VIDEO MODE
The movie camera icon in the display’s upper left corner indicates status.
Press the Shutter button to start and stop recording.
When a recording is in progress the activity indicator will flash and the counter will advance.
Status Screen in Video Mode Status Screen in Video
Mode while recording
8
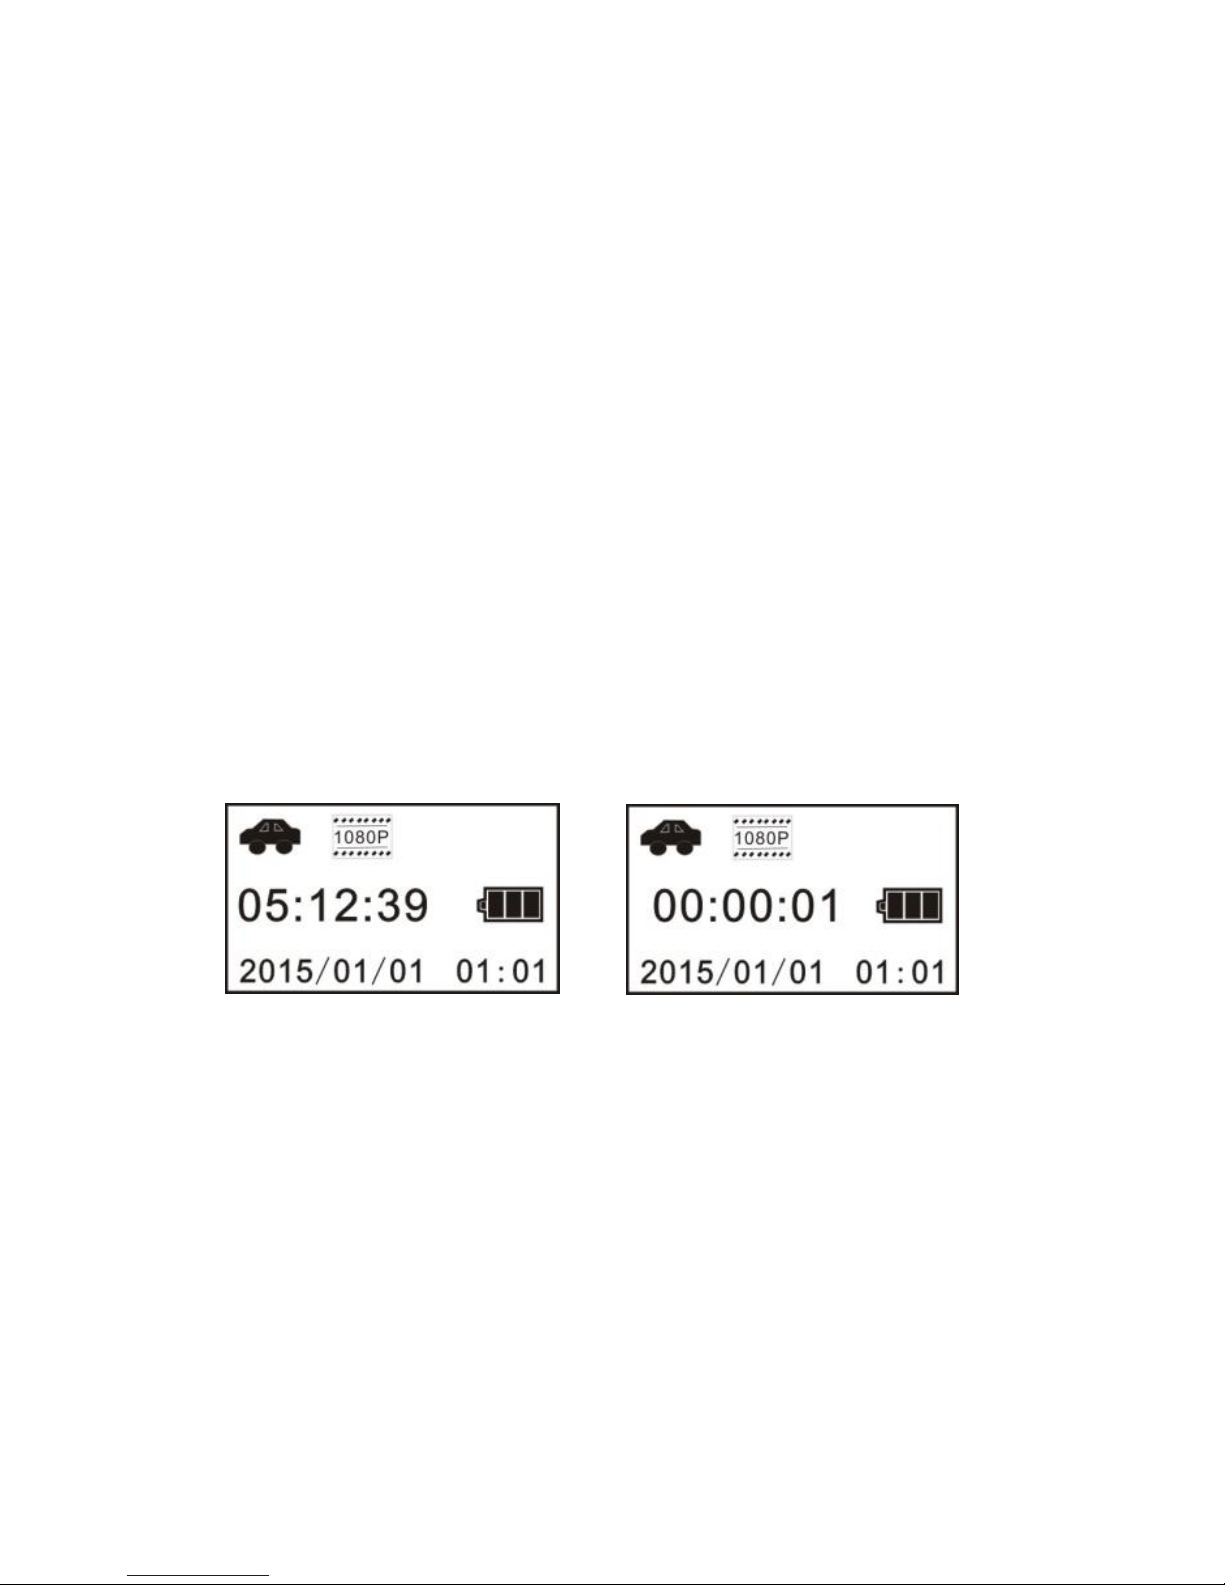
DASH-CAM MODE
The car icon in the display’s upper left corner indicates status.
When powered on, press the power/mode button to select dash-cam mode.
In dash-cam mode the camera continuously creates files three minutes long. When the
memory card is full, the oldest file will be overwritten, then the next etc. in a continuous loop.
DASH-CAM AUTO ON
After choosing dash-cam mode, turn the camera off. Connect a USB cable to the camera
and a switched power outlet that is on when the car is on. The camera will automatically
start recording when the ignition is turned on and stop when the ignition is off.
Status Screen in Dash-cam Mode Status Screen in Dash-cam
Mode while recording
9
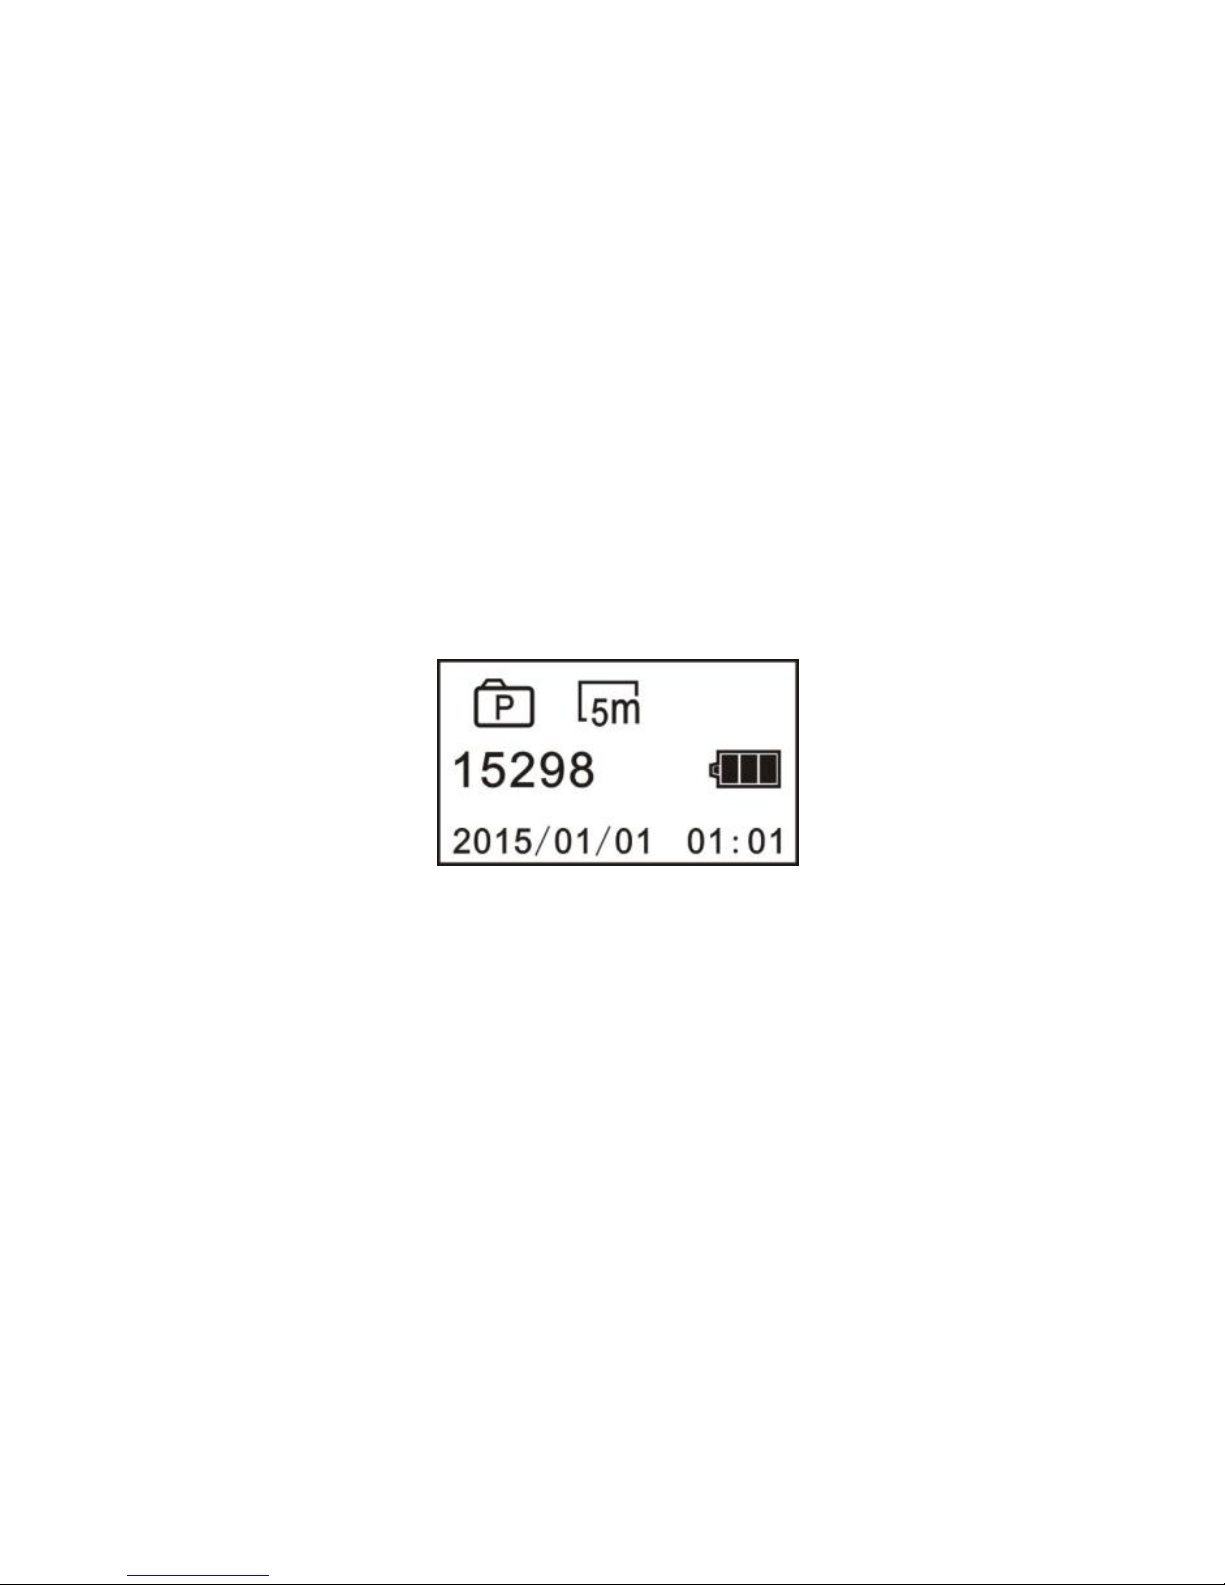
PHOTO MODE
After switching to Photo mode, press the Shutter button to take a picture. The number of
available photos will decrease by one after each photo is taken.
Status Screen in Photo Mode
 Loading...