

Page 1
USER’S MANUAL
PID 10530
May 14, 2013
1
Page 2

TABLE OF CONTENTS
1.0 INTRODUCTION ................................................... 3
2.0 FEATURES ............................................................ 4
3.0 SETUP ................................................................... 5
3.1 Plug It In ................................................................ 5
3.2 Setup Your iDevice .............................................. 5
3.3 Bluetooth Connection ......................................... 7
4.0 OPERATION .......................................................... 9
4.1 Basic Control ....................................................... 9
4.2 Near Field Control .............................................. 10
4.3 Schedule Timer .................................................. 11
4.3.1 Add New Timer ....................................................................... 12
4.3.2 Edit Timer ............................................................................... 13
4.4 Settings ............................................................... 13
4.4.1 Device Name .......................................................................... 13
4.4.2 Setting the Password (PIN Code) ........................................... 14
2
Page 3

1.0 INTRODUCTION
Installing a Home Automation solution is as easy as 1-2-3 with this Home Autom ation
Switch and your Apple iPhone® or iPad®!
This switch uses Bluetooth™ technology to allow for remote control of the device
using the free app and your iPhone or iPad. This provides for three valuable functions:
1. Remote Control - You can turn the switch on or off using the app. This prevents you
from having to bend over to reach the wall outlet to turn it on or off manually.
2. Multiple Timers - You can use the iPhone app to set multiple timers for control of
the power outlet. You can maintain multiple timers, which allows for a more complex
timer operations that can vary from day to day.
3. Full Automation - The switch uses the Near Field Communications standard to
allow for full automation of power outlet. By pairing your iPhone or iPad with the
switch, you can automatically power devices on or off based on the proximit y of your
phone or tablet to the switch. You can use the app to fine tune the proximity range so
the right devices turn on or off as you move through your home.
3
Page 4

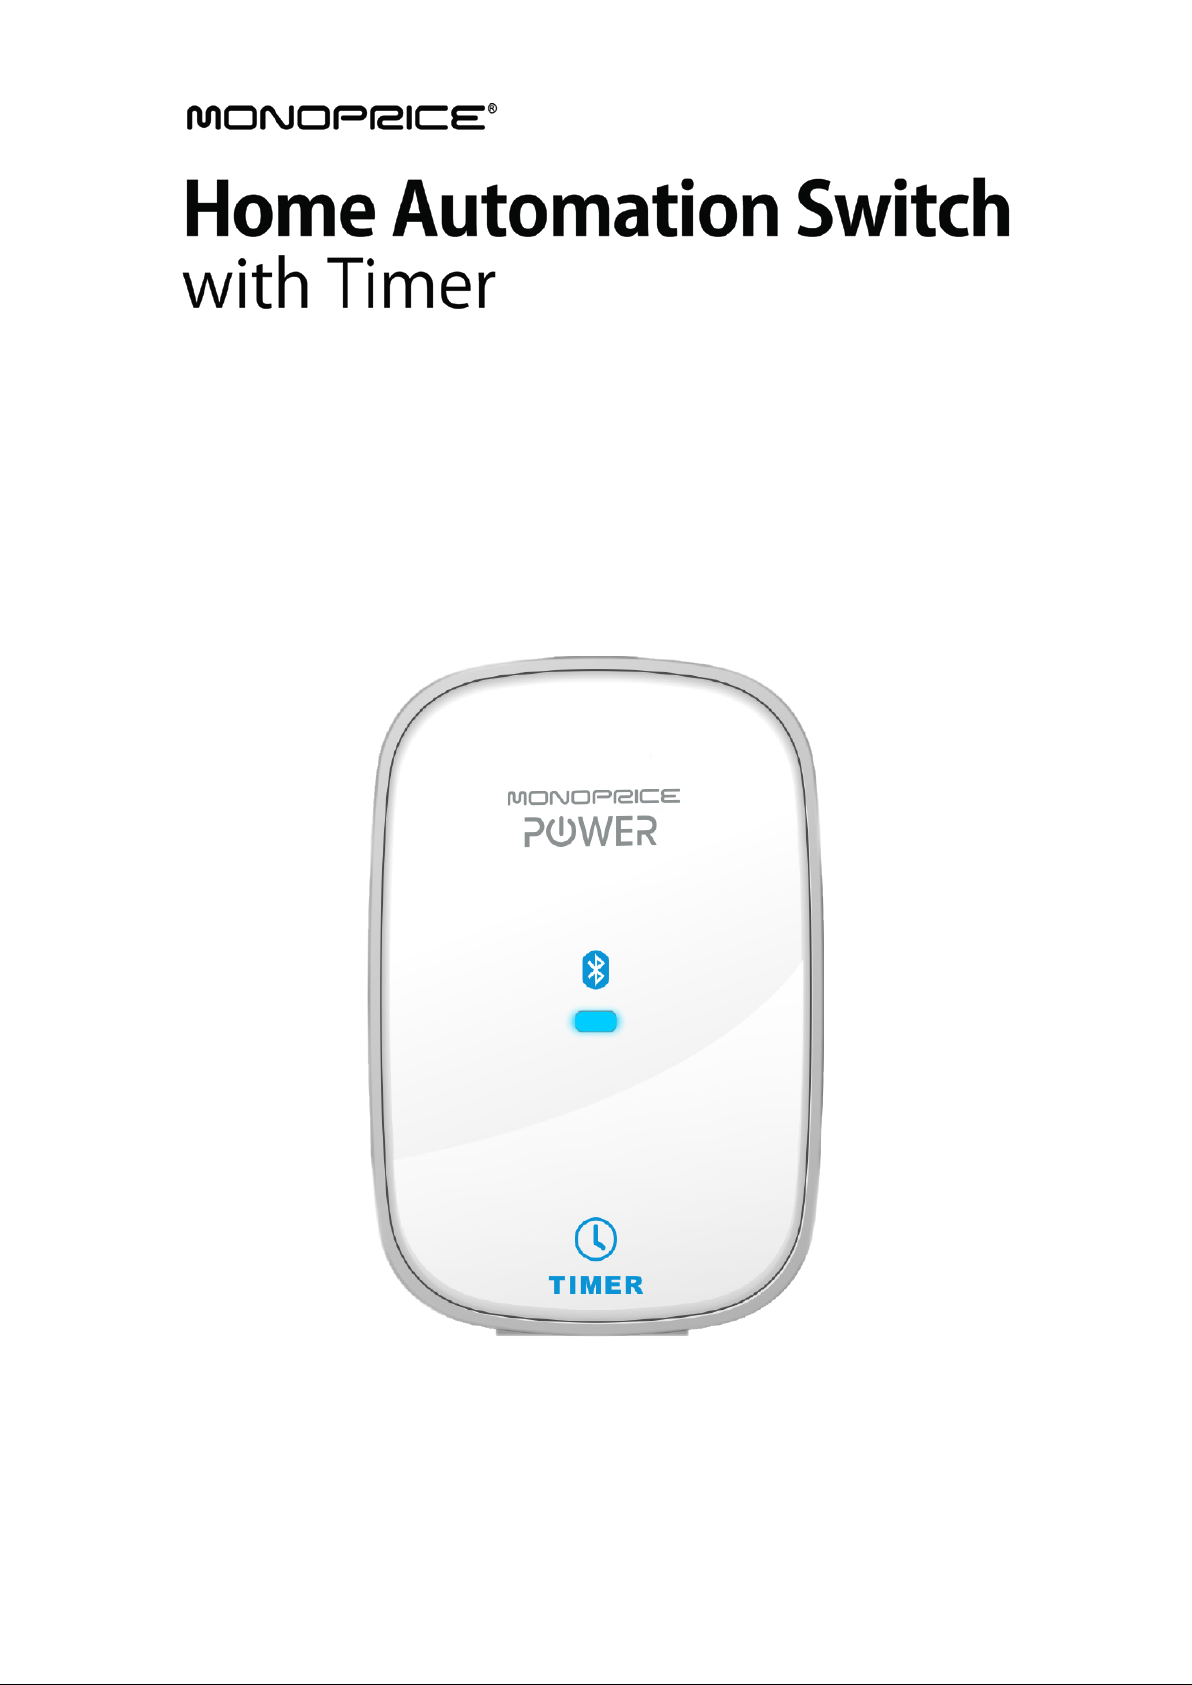
2.0 FEATURES
Home Automation Switch with Timer
Electrical Rating: 15A, 120VAC, 60Hz, 1800Watts Resistive.
Bluetooth: version 3.0 EDR Compliant
App Support OS: iOS 5.0 or higher
Near Field Control (NFControl) Support
Manual, Timed, or Remote Control of the Power Outlet
Wireless Range: up to 10 meters in open space
Multi-Function Timer: Weekly/Daily/Hourly
Bluetooth/Power
Indicator
Power Outlet
Manual On/Off Button (Reset)
4
Page 5
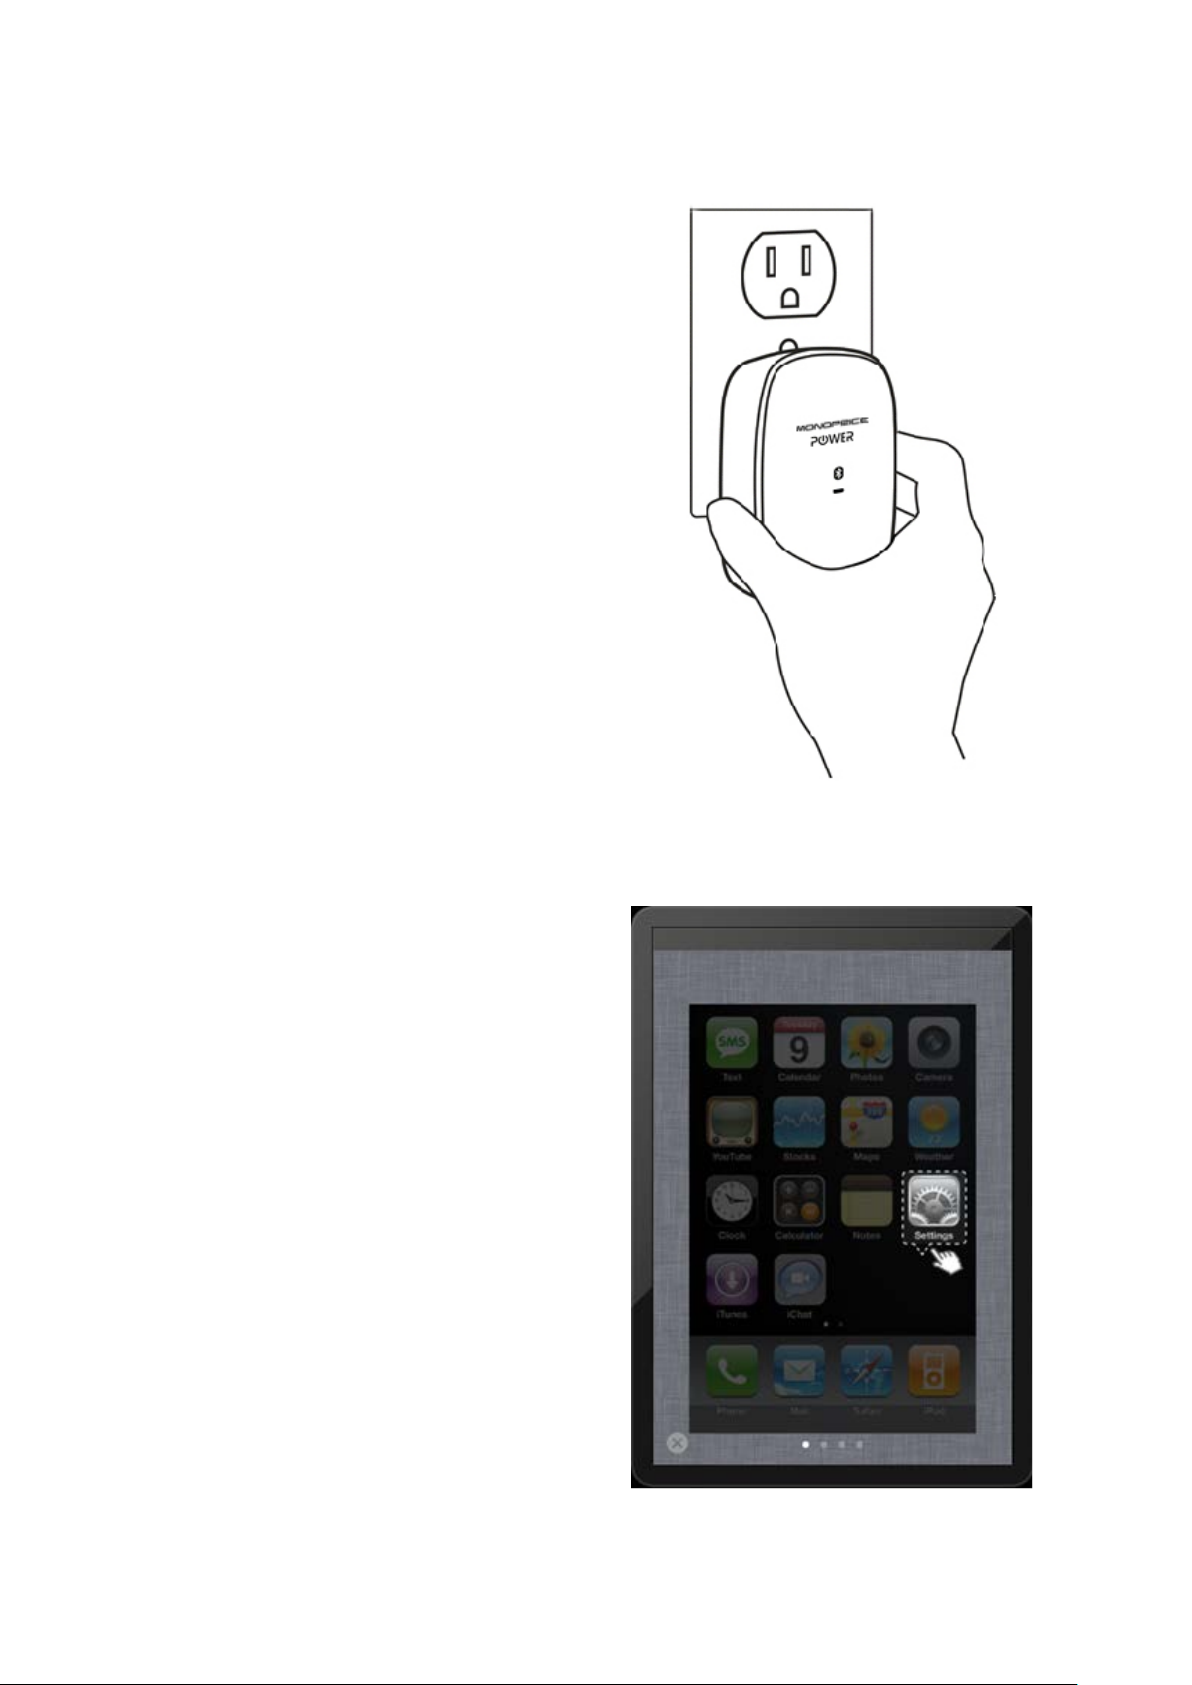
3.0 SETUP
3.1 Plug It In
Plug the switch into a wall outlet. Do not plug
it into another switch, surge protector, UPS,
or extension cord.
3.2 Setup Your iDevice
Open the Settings app on your iPhone or
iPad.
5
Page 6

6
Page 7

3.3 Bluetooth Connection
1. If it isn’t already enabled, turn the
Bluetooth function ON.
2. Search for nearby Bluetooth devices.
3. When the search is completed, select the
APPSPOWER_XX device.
7
Page 8

4. If you do not already have the app
installed, you will be notified that you
need to download and install the app.
Select Yes from the dialog to the right.
5. Follow the on-screen instructions to
download and install the app from the App
Store.
8
Page 9

4.0 OPERATION
4.1 Basic Contro l
Rather than relying on the NF Control to
activate the power outlet, you can turn it on or
off directly using the "INSTANT" button in the
app:
Using the "INSTANT" option does not delete
or change the settings you already have in
place for the Timer and NF Control functions.
OFF
ON
9
Page 10

4.2 Near Field Control
Click the NFControl button to enter
the NFControl Setting page.
When the NFControl (Near Field Control)
feature is enabled, the NF Control power
outlets will automatically turn on whenever
your iDevice comes within range and will
automatically turn off when your iDevice goes
out of range.
Use the slider to fine tune the range setting.
Use the slider to set the NFControl
proximity range.
10
Page 11

4.3 Schedule Timer
Click the Timer button to enter
the Timer setting page.
You can maintain several timers for control
of the Timer power outlets.
Click the slide button to turn the
preconfigured timers on/off.
11
Page 12

4.3.1 Add New Timer
Click the
Enter the Timer name, the Start and Stop T imes,
and the days on which you want to operate.
.button to create a new timer.
12
Page 13

4.3.2 Edit Timer
Click the
button to alter a timer's settings
or to delete individual timers.
4.4 Settings
Click the button to control the
switch’s device name and password.
4.4.1 Device Name
You can alter the switch’s Bluetooth name,
which is useful when using multiple home
automation switches.
13
Page 14

4.4.2 Setting the Password
(PIN Code)
You can secure access to the switch by
setting a password. The password
consists of a 4-digit PIN code.
To secure the device, slide the Enable
button to the ON position, then enter the
4-digit PIN code.
Note: The default PIN code is “1234”.
14
 Loading...