

Page 1
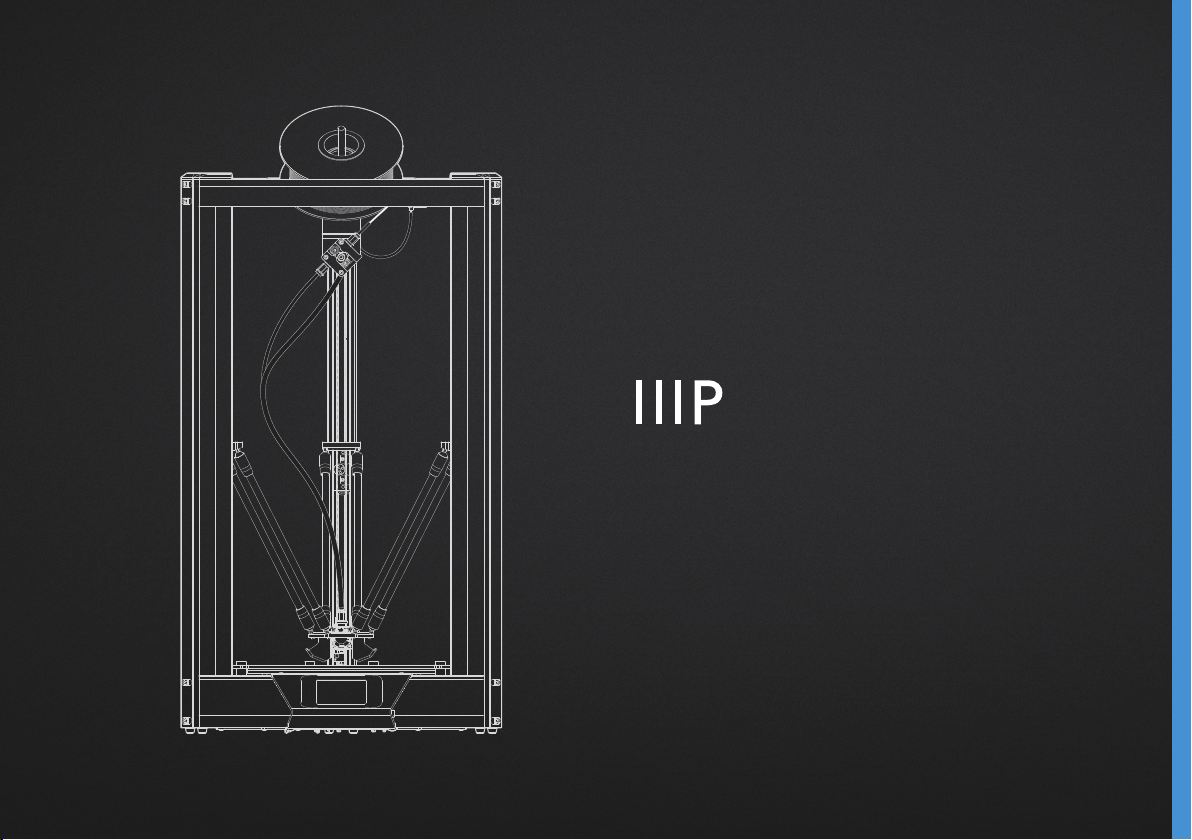
Monoprice Delta Pro 3D Printer
User's Manual
Page 2

Thank you, and congratulations on your purchase of the
Monoprice Delta Pro 3D printer! The Delta Pro is a world-class
desktop machine designed for speed, precision, and reliability.
We know you’ll love printing your designs on the Delta Pro, but
before you do, please read the manual thoroughly.
Page 3

MONOPRICE DELTA PRO MANUAL
CONTENTS
SAFETY WARNINGS AND GUIDELINES
CUSTOMER SERVICE
PACKAGE CONTENTS
SOFTWARE INSTALLATION AND SETUP
PREPARING TO PRINT
Auto-leveling
Cleaning the Build Plate
Loading Filament
Unloading Filament
Swapping Hotends
PREPARING TO PRINT
General Slicer Settings
Selecting a file
P. 4
P. 5
P. 5
P. 5
P. 6
P. 7
P. 8
P. 8
P. 8
P. 9
P. 9
CALIBRATING THE PRINTER
Calibrating Dimensional Accuracy
PID Tuning
CONNECTING TO WI-FI
CUSTOMIZING THE UI
UPDATING THE FIRMWARE
CARE AND MAINTENANCE
REGULATORY
P.10
P.10
P. 11
P. 11
P.12
P.13
P.14
Page 4

SAFETY WARNINGS AND GUIDELINES
Safety Warnings and Guidelines
1. Be careful not to damage the glass build plate.
2. Take care to avoid touching hot parts, including heat blocks,
nozzle, extruded filament, and the heated build plate.
3. Keep the printer and all accessories out of reach of small
children.
4. Do not remove or disconnect the USB cable when printing
from a computer.
5. Do not pull or twist the black cable harness at any time.
6. Do not force or tear anything during unpacking and setup.
This may cause damage to the printer and/or its accessories.
7. Do not reach inside the printer during operation. Always allow
the printer and extruded filament to cool before reaching
inside.
8. Ensure that the printer is turned off and unplugged from its
power source before making repairs or performing service.
9. Do not install this device on an unstable surface where it
could fall and cause either personal injury or damage to the
device and/or other equipment.
10. Do not subject the product to extreme force, shock, or
fluctuations in temperature or humidity.
11. This device is intended for indoor use only.
12. Do not expose this device to water or moisture of any kind.
Do not place drinks or other containers with moisture on or
near the device. If moisture does get in or on the device,
immediately unplug it from the power outlet and allow it to
fully dry before reapplying power.
13. Do not touch the device, the power cord, or any other
connected cables with wet hands.
14. Use only in a well-ventilated area. Do not use in confined
spaces.
15. Prior to operation, check the unit and power cord for physical
damage. Do not use if physical damage has occurred.
16. Before plugging the unit into a power outlet, ensure that the
outlet provides the same type and level of power required by
the device.
17. Unplug this device from the power source when not in use.
18. Take care to prevent damage to the power cord. Do not allow
it to become crimped, pinched, walked on, or become tangled
with other cords. Ensure that the power cord does not present
a tripping hazard.
19. Never unplug the unit by pulling on the power cord. Always
grasp the connector head to unlock it from the port.
4
Page 5

CUSTOMER SERVICE / PACKAGE CONTENTS / SOFTWARE INSTALLATION AND SETUP
Customer Service
The Monoprice Customer Service department is dedicated to
ensuring that your ordering, purchasing, and delivery experience
is second to none. If you have any problem with your order,
please give us an opportunity to make it right. You can contact a
Monoprice Customer Service representative through the Live Chat
link on our website www.monoprice.com during normal business
hours (Mon-Fri: 5am-7pm PT, Sat-Sun: 9am-6pm PT) or via email
at support@monoprice.com
Package Contents
Please take an inventory of the package contents to ensure you
have all the items listed below. If anything is missing or damaged,
please contact Monoprice Customer Service for a replacement.
• 1× Monoprice Delta Pro 3D Printer
• 1× MP Select PLA Plus Filament Roll (Black, 1 kg)
• 1× Spare PTFE-lined Nozzle
• 1× Spare All-metal Nozzle
• 1× Auto-level Sensor
• 1× Tool Kit (hex wrenches: 1.5 and 2 mm)
Software Installation and Setup
We recommend using KISSlicer for use with the Delta Pro. Please
visit the Delta Pro page of monoprice.com to download KISSlicer
and for instructions on installation. The installation package
comes with everything you need to get started.
• 1× Touchscreen Stylus
• 4× Bowden Clips
5
Page 6

PREPARING TO PRINT
Auto-Leveling
Before your first print, and anytime you remove the build plate,
you’ll want to run an auto-level to ensure that your parts adhere
well to the glass. Follow the procedure below to run an auto-level
and calibrate the Z-offset of your machine.
1. Ensure that the hotend is at room temperature.
2. Connect the auto-level sensor to the green wire from the
cable harness, and affix the the sensor’s foam ring to the
nozzle. NOTE: Use the minimum amount of force required
to affix the sensor to the nozzle. If the nozzle is touching
the plastic membrane, it may prematurely trigger the
switch.
3. On the LCD screen, tap
> >
Auto Leveling
4. Once the process is complete, remove the auto-level sensor.
Adjusting the Z-Offset
The Z-offset is the distance between the glass build plate and
the nozzle. The auto-level process ensures that this distance is
consistent across the entire surface of the build plate, but the
distance itself must be manually calibrated. You can do this easily
using a piece of clean, flat copy paper, which are usually about
100 microns thick.
1. Tap
>
2. Place the piece of copy paper on the build plate.
Green Wire
from Effect or
Wire Harness
6
Auto-l evel
Sensor Wire
Page 7

PREPARING TO PRINT
3. Tap the in the center of the circle.
4. Tap
or
to adjust the height of the nozzle up or down.
5. Adjust the height of the nozzle until it pinches the paper,
checking each time whether the paper can be moved. Once
the paper cannot be moved, return to the main menu and tap
testttto home the printer.
Cleaning the Build Plate
To prepare the build plate for printing, use rubbing alcohol or
another ammonia-free solvent and a soft, lint-free cloth to remove
any dust and oil from the surface of the glass while it is at room
temperature.
Loading Filament
1. Place the filament spool
on the holder so that the
working end of the filament
hangs down to the right.
2. Cut the end of the filament
at an angle as illustrated.
3. Gently straighten a
segment about 5 cm
(2”) from the end with
your fingertips to make it
easier to feed the filament
through the sensor and the
extruder.
4. Remove the filament
sensor from its holder and
feed the end of the filament
through the sensor in the
direction as indicated by
the arrow, then into the
tube on the right side of the
extruder.
5. Pinch the extruder idler
lever and push the filament
past the gear and into the
bowden tube just past the
pneumatic connector.
7
Page 8

PREPARING TO PRINT
6. On the LCD screen, preheat the nozzle to the material’s
working temperature e.g. for PLA, ≈200°C.
7. Once the nozzle is up to temperature, tap > > Load
Unloading Filament
1. On the LCD screen, preheat the nozzle to the material’s
working temperature e.g. for PLA, ≈200°C.
2. Once the nozzle is up to temperature, tap > > Unload
3. Hold the filament sensor and carefully rotate the spool while
the filament is unloading to avoid tangles.
4. IMPORTANT: When removing the end of the filament from
the sensor, carefully string the end through the hole in
the spool to avoid overlapping and tangles. These WILL
cause filament jams and failed prints.
Swapping Hotends
The Delta Pro’s hotend is easily swappable so you can print with
different materials at different temperatures. While we always
recommend using the default, PTFE-lined hotend for use with
PLA and many other low-temperature materials, the included allmetal hotend allows you to print with materials which require
temperatures hotter than what PTFE can handle. As always,
please remember to use your printer in a well ventilated area.
Removing and Replacing a Hotend
1. Preheat the hotend and unload the filament.
2. Cool down the hotend, then turn off the machine.
3. Remove the Bowden tube from the effector by removing the
plastic pneumatic connector clips and depressing the top of
the connector while pulling the tube.
4. Disconnect the heater and thermistor connectors from the
cable harness.
5. While holding the hotend, use a 1.5 mm hex wrench (included)
to loosen the two headless hex screws on the side of the
heat sink below the effector, and the hotend should be easily
removable.
6. Replace the hotend in the same orientation and tighten the
screws.
7. Reconnect the heater, thermistor, and Bowden tube, ensuring
that the tube is pushed all the way in.
8
Page 9

SLICING AND PRINTING
General Slicer Settings
If using any other slicer besides KISSlicer, you can follow
these guidelines and the guidelines on the Delta Pro webpage
to configure your preferred slicing software for use with your
machine. For the latest profiles and tips, please check the
product’s webpage and Facebook page regularly.
Machine Settings:
• Build Plate / Bed Diameter: 270 mm
• Build Envelope Height: 340 mm
• Firmware: 5D Absolute E
• File Extension: .gcode
• Fan On: M106 / Off: M107 (Fan can do PWM or blip to speed)
• Maximum Recommended Speed Settings:
• Bottom, Top, and Perimeter: 30 mm/s
• Loops and Infill: 60 mm/s
• Travel: 100 mm/s
• Z-speed: 50 mm/s
• Max Acceleration: 1000 mm/s
• For G-code pre-, and postfixes, visit the Delta Pro webpage
General Settings
(Note: These are general settings guidelines and fine
adjustments WILL need to be made for different materials):
• Extrusion Width: 0.4 mm
• Min. Flow Rate: 1 mm3/s
• Max. Flow Rate: 4 mm3/s
• Destring/Retraction Distance: 3-6 mm
• Destring/Retraction Speed: 100 mm/s
Selecting a File
To select a file, tap , then use the arrows to highlight your file,
ten tap OK and then tap Yes to begin printing.
9
Page 10

CALIBRATING THE PRINTER
Calibrating the Printer
Your Monoprice Delta Pro was calibrated before leaving the
factory to ensure great prints out of the box. However, sometimes
it may be necessary re-calibrate certain functions of the printer
over the natural course of use.
Calibrating Dimensional Accuracy
If you find that the dimensions of your prints differ from the
dimensions of your CAD model beyond 10 microns or so, you
may want to adjust the firmware to correct the discrepancy. Follow
the steps below to analyze the error and calibrate your machine
settings.
1. Go to the Delta Pro page at Monoprice.com and download the
calibration box G-code.
2. Print the calibration box G-code.
3. Carefully measure the part with calipers, aligning the jaws
with the layer lines and record the dimensions.
4. On the LCD screen, tap > Structure. Note the “Push Rod
Length.” Compute the new “Push Rod Length” value using
the following formula: New Value = Old Value × (Measured
Printed Dimension / 3D Model Dimension)
5. Tap Push Rod Length, erase the old value, and enter the
new value.
PID Tuning
If you find that your nozzle fails to maintain a stable temperature
or fails to reach the target temperature, you may run an autoPID tuning procedure to attempt to correct the issue. If nozzle
temperature issues persist after running an auto-PID tune, you
may need to replace your thermistor or heater. Follow the steps
below to run an auto-PID tune.
Note: The tuning process will vary slightly depending on the
nozzle hotend type and target temperature of the material you are
trying to print. For the PTFE-lined nozzle, turn the part cooling
fans (side fans) on 100% power before proceeding to tune the
PID. Leave the fans off for the all-metal nozzle and materials with
target temperatures higher than 260°C. You can turn on the fans
by tapping > . 100% is the default input. Then tap .
Turn to the next page.
10
Page 11

CONNECTING TO WI-FI
1. On the LCD screen, tap > Temperature > Hotend1
Settings > PID Settings > Auto PID Tuning
2. Wait for the process to complete.
3. Try preheating to your desired target temperature.
Connecting to Wi-Fi
The Delta Pro is equipped with Wi-Fi capabilities that allow you
to start and stop a print, and use other functions remotely from
its mobile app. For details and a link to download the mobile app,
please visit the Delta Pro webpage.
To connect the Delta Pro to Wi-Fi, place the machine in a room
with or nearby a Wi-Fi router. On the LCD screen, tap > >
ro utr, then use the arrow keys to select the nearest router and
tap .
Enter the password of the router and tap the . The LCD
screen will notify you whether the attempt to connect to the router
was successful.
Note: For the mobile app to work, it must be connected to the
same Wi-Fi network as the machine.
11
Page 12

CUSTOMIZING THE UI
Customizing the UI
The Delta Pro’s touchscreen LCD UI can be customized to your
preferences in the following categories.
Changing the Color
Change the color scheme of the LCD screen by tapping tete >
System > .
1Tap Preheat
You can change the 1Tap preheat target temperature by tapping
tete > Temperature > Preheat Setting > 1Tap Preheat and then
entering a target temperature value.
Maximum Temperatures
By default, the maximum temperatures allowed by the firmware
are set to the maximum safe operating temperature of the PTFE-
lined hotend, 260°C. If you would like to increase this while using
the all-metal hotend, tap > Temperature > Hotend 1 Setting
> Max Temperature and enter a value at least 5°C beyond your
desired target temperature to allow the PID to function properly.
12
Page 13

UPDATING THE FIRMWARE / CARE AND MAINTENANCE
Updating the Firmware
We recommend updating your machine to the latest firmware
before printing for the first time to ensure you have the latest
version. Monoprice will release updates to the Delta Pro’s
firmware from time to time on the Delta Pro’s webpage. Once
you’ve downloaded the latest firmware, unzip the files to a USB
drive and follow the steps below to perform the update.
1. On the LCD screen, tap > System >
2. Select the folder containing the .bin firmware file, then tap
Update.
3. Repeat steps 1 and 2 to update the .ui user interface file.
Care and Maintenance
Regular care and maintenance will keep your Delta Pro looking
and working like new for years. Please follow these care and
maintenance guidelines for each component of your machine.
• Clean the machine’s frame with a damp, lint-free cloth.
• Clean the glass build plate with rubbing alcohol or another
ammonia-free solvent and a soft, lint-free cloth such as
microfiber.
• Lubricate the magnetic control arms with PTFE or lithium
grease on at least a monthly basis. This can be done by
applying a small amount of grease onto the magnets of the
control arms which function as a lubricant reservoir. After a
few prints, wipe away any excess grease from the ball joints
with a lint-free cloth.
• The carriages have been factory calibrated to ensure many
thousands of hours of consistent, precision movement. If
after an extended period of time they seem loose or noisy,
they may require adjustment or lubrication.
• To adjust the wheel spacing,
• USE ONLY silicone lubricant on the wheels when they
seem noisy
• Use a dry brush to clean the extruder gear’s teeth when they
become clogged or when the gear starts to slip.
• Clean the LCD touchscreen display while the machine is
powered off using a soft cloth. DO NOT use any solvents or
cleaning fluids on the display.
13
Page 14

REGULATORY
Notice for FCC
This device complies with part 15 of the FCC Rules. Operation is
subject to the following two conditions:
1. This device may not cause harmful interference.
2. This device must accept any interference received, including
interference that may cause undesired operation.
Changes or modifications not expressly approved by the party
responsible for compliance could void the user's authority to
operate the equipment.
This equipment has been tested and found to comply with the
limits for a Class B digital device, pursuant to Part 15 of the
FCC Rules. These limits are designed to provide reasonable
protection against harmful interference in a residential
installation. This equipment generates uses and can radiate radio
frequency energy and, if not installed and used in accordance
with the instructions, may cause harmful interference to radio
communications. However, there is no guarantee that interference
will not occur in a particular installation. If this equipment does
cause harmful interference to radio or television reception, which
can be determined by turning the equipment off and on, the user
is encouraged to try to correct the interference by one or more of
the following measures:
• Reorient or relocate the receiving antenna.
• Increase the separation between the equipment and receiver.
• Connect the equipment into an outlet on a circuit different
from that to which the receiver is connected.
• Consult the dealer or an experienced radio/TV technician for
help.
Radio Notice for FCC
CAUTION: This FCC Part 15 radio device operates on a non-
interference basis with other devices operating at this frequency.
Any changes or modification to said product not expressly
approved by Monoprice, including the use of non-approved
antennas, could void the user’s authority to operate this device.
This device complies with Part 15 of the FCC Rules. Operation
is subject to the following two conditions: (1) this device may
not cause harmful interference, and (2) this device must accept
any interference received, including interference that may cause
undesired operation.
14
Page 15

Page 16

Address
11701 6th Street
Rancho Cucamonga, CA 91730, USA
Customer Service
support@monoprice.com
tech@monoprice.com
Call Us
Tel: 877.271.2592 Fax: 909.989.0078
Legal
legal@monoprice.com
 Loading...