

Page 1
INSTALLATION GUIDE
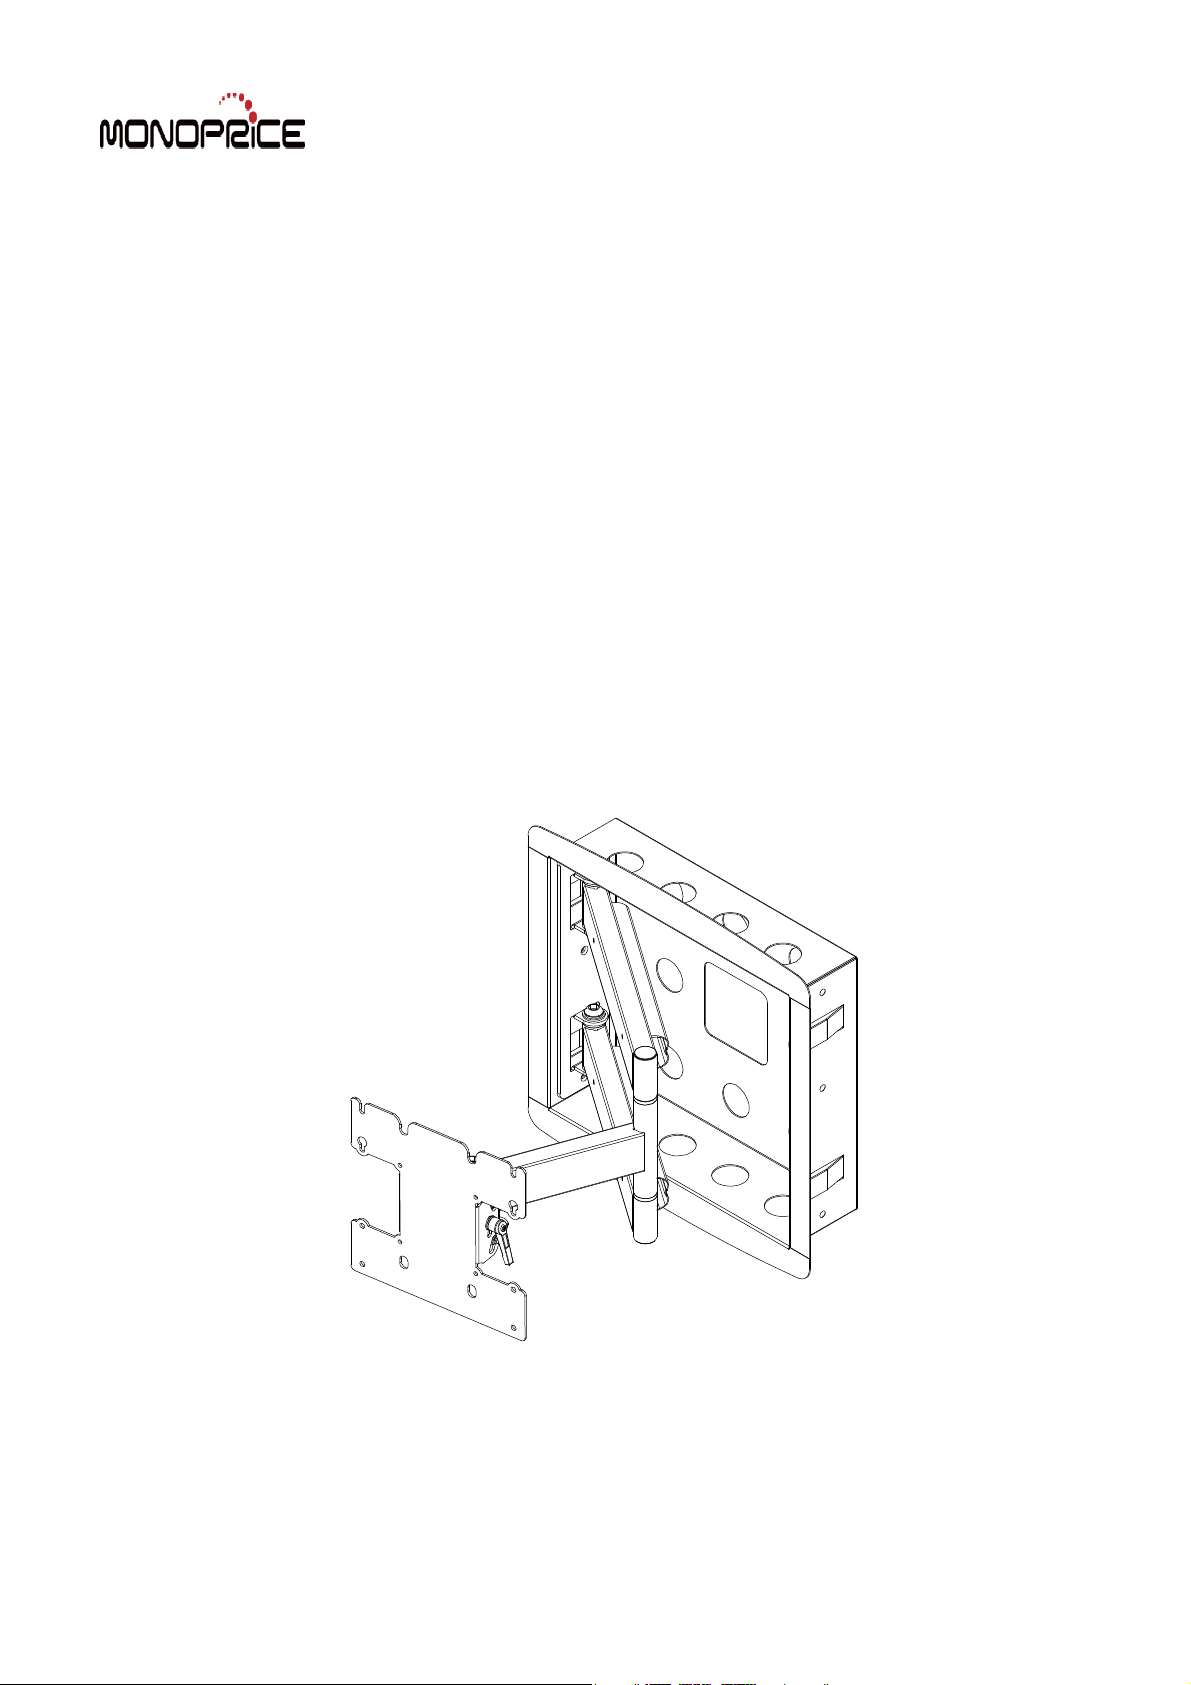
Flat Panel Arm Mount
MHAI-200
Support 24" to 40" Screens
Max Load Capacity: 80 lbs (36 kg)
VESA 100x100/200x100/200x200 compatible
Page 2
Note: Read entire instruction sheet before you start installation and assembly.
WARNING
Be sure to read this entire manual thoroughly and you fully understand all the instructions and warning before
attempting to begin your installation.
This product should only be installed by someone
and fully understands these instructions.
Make sure that the support surface will safely support the combined load of the mount, the display and all
attached hardware and components.
This wall bracket will only support flat panel displays(LCD,Plasma).The maximum load capacity is 80 pounds.
If mounting to a wall of wood stud construction, be sure that mounting bolts are anchored to the center of the
studs.
Always have someone assist you to lift and position your equipment.
Tighten screws and bolts firmly, but do not over tighten. Over tightening can damage the items and greatly reduce
their ability to hold. Please refer to suggested torque values where applicable in these instructions.
Tools Needed for Assembly
stud finder ("edge to edge" stud finder is recommended)
phillips screwdriver
pencil
drill
1/8"(4mm) drill bit for wood studs
level
tape measure
who has a basic knowledge of buiding construction,in stallations
Table of Contents
Parts List .......................................................................................................................................................................... 3
Installation in Wood Stud Wall
Installing Arm in In-Wall Box
Attaching mount(AA) to Screen with VESA
Adjustment of Flat Panel Screen
Cable Management ............................................................................................................................................................. 8
..........................................................................................
................................................................................
®
Mounting Patterns
...............................................................................................................
.................................................................................... 6,7
2 of 8
......................................... 4
.............................................. 8
.................................... 5
Page 3
A
B
C
D
E
F
G
H
AA
BB
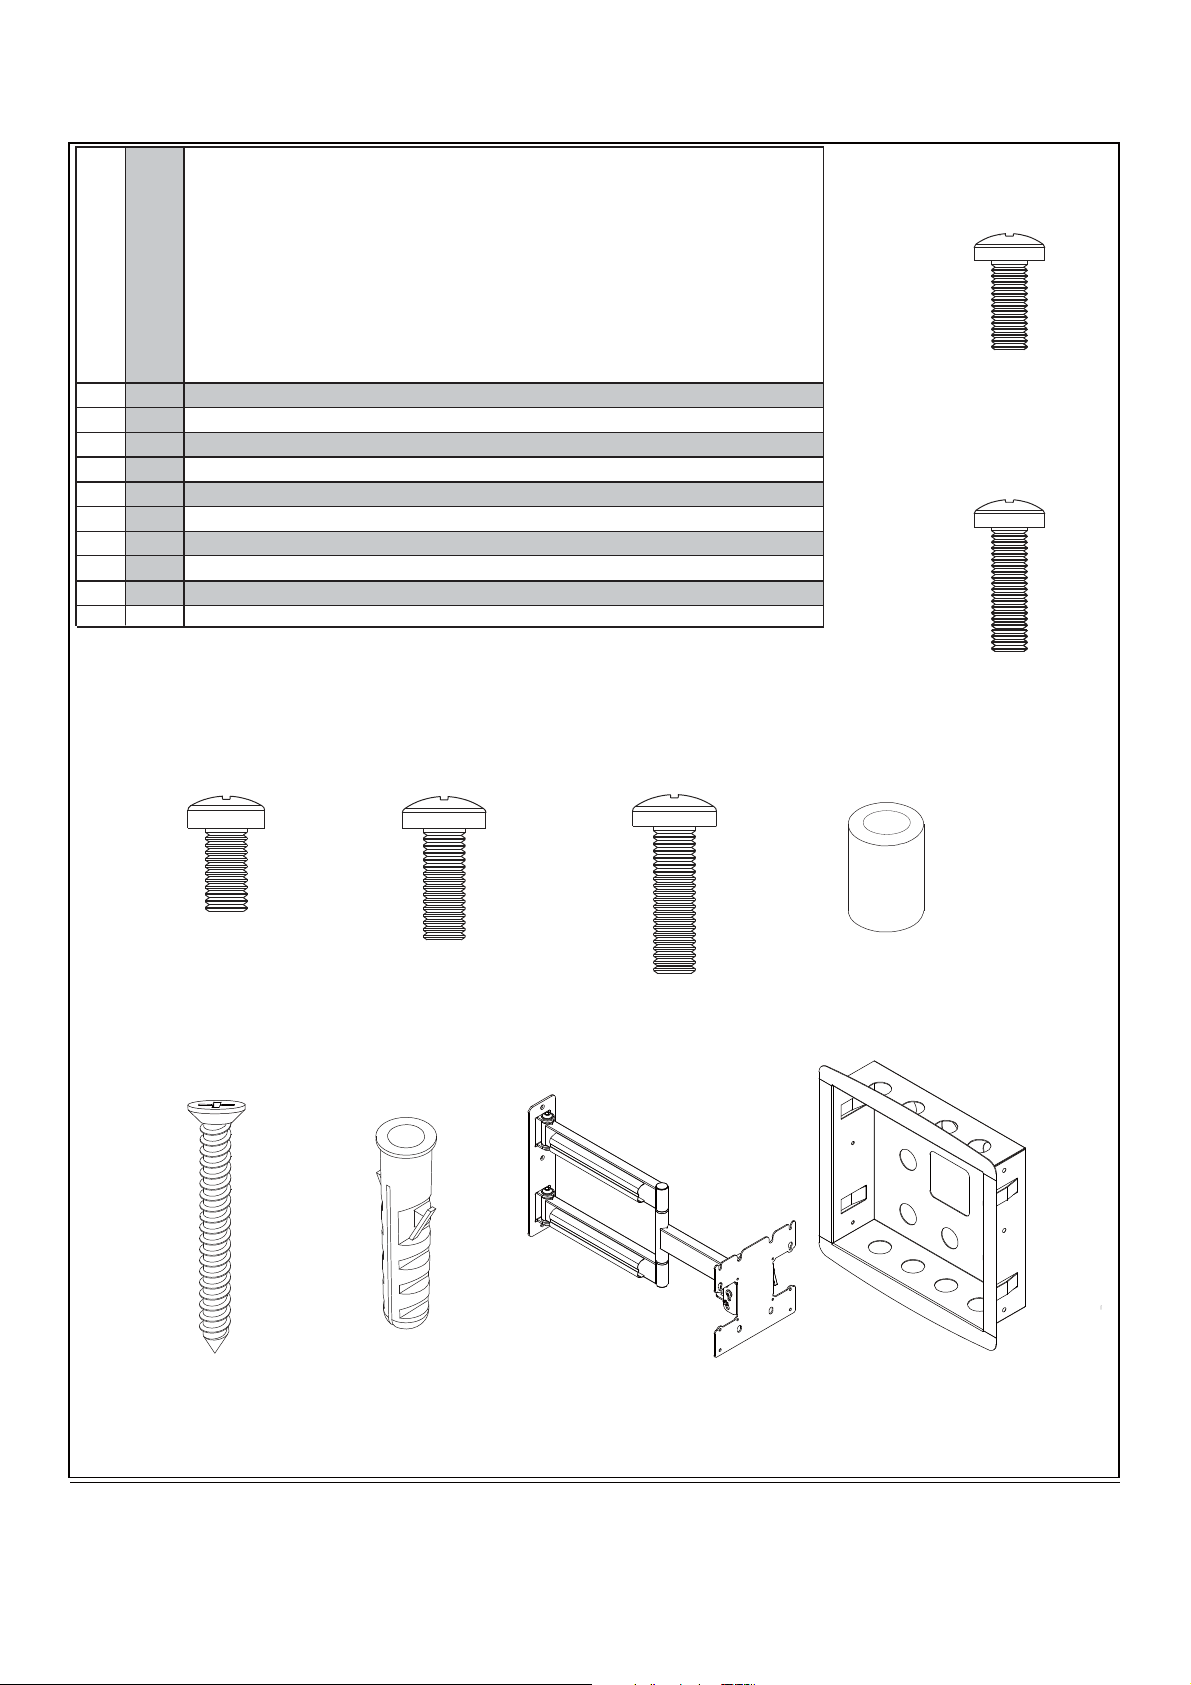
Before you begin, make sure all parts shown are included
with your product.
Parts may appear slightly different than illustrated.
Parts List
Description
philips pan head screw
philips pan head screw
philips pan head screw
philips pan head screw
philips pan head screw
spacer
Cross countersunk head screws
concrete anchor
mount
in-wall box
4
4
4
4
4
4
6
6
1
1
M4x0.7mmx10
M4x0.7mmx20
M6x12mmx1
M6x20mmx1
M6x30mmx1
12.7x6.0x12.7mm
M6x60
M6x40
A
B
C
D
GH
E
AA BB
F
3 of 8
Page 4

Installation in Wood Stud Wall
In-wall box (BB) can be installed between two studs 16" off center. Use a stud finder to locate the edges of the stud.
A
Use of an edge-to-edge stud finder is highly recommended. Based on its edges, draw vertical lines down in the inside
edges of stud’s. Mark desired center of screen between studs. Draw a horizontal line above desired center of screen
as indicated in figure A.1 Draw a second horizontal line 12.9" (328 mm) below this line to outline wall
opening between inside edges of studs. Remove drywall inside cut outline.
Screen center with models
JHAI200:
Center of adapter plate will be
located 6" (163 mm) below the
top cut line.
Note: Center of adapter plate
may not represent screen center.
Placement of in-wall box will
depend on the screen center and
location of screen mounting
holes in relation to adapter plate.
Note: Depending on right or left
side mount orientation shown in
figure A-1 in step 1.1, screen
center will be 5.51" (140 mm)
from the inside edge of stud.
fig. A.1
14.4"
(366 mm)
PP
CENTER OF
ADAPTER PLATE
TOP CUT LINE
PP
CENTER OF
ADAPTER PLATE
5.51"
(140 mm)
8.86"
(225 mm)
Installation in Wood Stud Wall (continued)
WARNING
Installer must verify that the supporting surface will safely support the combined load of the equipment and all attached
hardware and components.
Tighten wood screws so that wall plate is firmly attached, but do not overtighten. Overtightening can damage the
screws, greatly reducing their holding power.
Make sure that mounting screws are anchored into the center of the stud. The use of an "edge to edge" stud finder is
highly recommended.
Hardware provided is for attachment of mount through standard thickness drywall or plaster into wood studs. Installers
are responsible to provide hardware for other types of mounting situations.
A-1
In-wall box can be flipped for left of right side mount orientation as shown in figure A-1.1
Insert in-wall box (BB) into cut-out. Level in-wall box, and mark the center of the six mounting holes.
Make sure in-wall box is level, secure it using
six M6X60(H) concrete anchor
as shown in figure A-1.2
4 of 8
Page 5

NOTE
When inset In-wall box into wall ,mark installed holes with pen ,as picture A-1.2 After finishing above
process .take out In-wall box . Drill is six 5/32"(4mm) dia . holes are 3"(70mm) deep.
figA-1.1
RIGHT
ORIENTATION
5.51"
(140 mm)
8.86"
(225 mm)
LEFT
ORIENTATION
RIGHT
LEFT
8.86"
(225 mm)
5.51"
(140 mm)
figA-1.2
Installing Arm to In-wall Box
Insert In-wall box into wall again, install Cross countersunk head screws (G) in marked holes,Make sure
B
In-wall box is level.This process must be done by two or more people.
Install mount (AA)into in-wall box(BB).as shown in figure B.1 Make sure in-wall box and mount(AA)
is level.Fix them with six M6x60 (G)
Cross countersunk head screws.as shown in figure B.1
5 of 8
Page 6

NOTE
Make sure in-wall box(BB) and mount (AA) is level.
fig.B.1
AA
Attaching AA to Screen with VESA® Mounting Pattern
Choose hole pattern as shown in detail 3 for VESA mounting pattern. Begin with the shortest length screw, hand thread
C
through adapter plate into screen as shown in detail 4. Screw must make at least three full turns into the mounting hole
and fit snug into place. Do not over tighten. If screw cannot make three full turns into the screen, select a longer length
screw from the fastener pack. Repeat for remaining mounting holes. Securely tighten screws.
NOTE: Spacers may not be used, depending upon the type of screen.
Mounting Patterns
VESA
VESA
VESA
®
100 x 100
®
200 x 100
®
200 x 200
DETAIL 3
ADAPTER
PLATE
SCREEN
VESA
VESA
VESA
®
100 x 100
®
200 x 100
®
200 x 200
DETAIL 4
6 of 8
Page 7

For Flat Back Screen
C.1
fig C.1.1 fig C.1.2
SCREEN
SCREW
SCREEN
SPACER
OR
AA
Select the small,medium,large or extra large screws from the baffled .fastener pack then attach
screen brackets(AA) to screen following figure C.1.1 or C.1.2 on page 7.
C.2
Insert two screw bolts( A.B.C.D or E ) into swivel box
on adapter plate as shown in fig.C.2.1Leave approx.
1/4" of exposed thread.
Lift the display and hook it over the mounting head
by lowering the exposed portion of the top screws
down the open key slots.
AA
top screw
SCREW
Once in position, attach the bottom two screws
bolts(A.B.C.D or E ) to secure the display to the
mounting head as shown in fig.C.2.2
WARNING
Do not lift more weight than you can handle. Use
additional man power or mechanical lifting equipment
to safely handle placement of the screen.
CAUTION
Do not tighten screws with excessive force.
Overtightening can cause damage to mount.
( A B C
D or E )
fig.C.2.2
0.25"
fig.C.2.1
7 of 8
Page 8

Adjust tension knob on side of mount as shown infig.
D
D.1to desired tension to balance your screen size
and weight.
The tension knob, without changing the bracket tension,
can be pulled out, away from the bracket and turned
independently of the knob post for readjustment as
shown in
Push or pull from top or bottom of screen to adjust
tilt as shown. The tilt can be adjusted to a maximum
of -5° forward or +15°backward.
fig.D.2.
CAUTION
Be careful not to pinch fingers when opening and
closing mount from the wall.
fig. D.2
fig. D.1
Cable Management
E
Note: Make sure cords have enough slack to allow
full movement of the arm. Route cords inside
arm slots of wall arm assembly (AA) as shown
in fig.E.1.
has been omitted from the image.
For demonstration purposes, the wall
fig.E.1
WARNING
Do not remove or loosen screw while the mount is in use. Doing so may cause the
8 of 8
screen to fall.
 Loading...