

Monogram ZFSB25D SS, ZFSB26D SS Installation Instructions Manual

Installation
Instructions
If you have questions, call 800.GE-CARES or visit our website at: www.monogram.com
Free-Standing Side-by-Side
Stainless Steel Refrigerator
ZFSB25D SS
ZFSB26D SS
Monogram.
®
We bring good things to life.
Safety Information
BEFORE YOU BEGIN
Read these instructions completely and carefully.
• IMPORTANT - Save these instructions for
local inspector’s use.
• IMPORTANT - Observe all governing
codes and ordinances.
• Note to Installer - Be sure to leave these instruc-
tions with the Consumer.
• Note to Consumer - Keep these instructions with
your Owner’s Manual for future reference.
WARNING:
This appliance must be properly grounded. See
“Grounding the Refrigerator,” page 4.
AVERTISSEMENT
Cet appareil doit être correctement mis à la terre.
Consulter « Mise à la terre du réfrigérateur », page 4.
If you received a damaged refrigerator, you should
immediately contact your dealer or builder.
Skill Level - Installation of this refrigerator requires
basic mechanical, carpentry and plumbing skills. Proper
installation is the responsibility of the installer. Product
failure due to improper installation is not covered
under the GE Appliance Warranty. See the Owner’s
Manual for warranty information.
CAUTION:
Due to the weight and size of this refrigerator, and to
reduce the risk of personal injury or damage to the
product - TWO PEOPLE ARE REQUIRED FOR
PROPER INSTALLATION.
PRUDENCE
À cause du poids et de la taille de ce réfrigérateur et
pour réduire le risque de blessure et de dommages,
IL FAUT DEUX PERSONNES POUR FAIRE
L’INSTALLATION CORRECTEMENT.
WARNING:
• Use this appliance only for its intended purpose.
• Immediately repair or replace electric service cords
that become frayed or damaged.
• Unplug the refrigerator before cleaning or making
repairs.
• Repairs should be made by a qualified service
technician.
AVERTISSEMENT
• Il ne faut utiliser cet appareil que pour l’utilisation
appropriée.
• Réparer ou remplacer immédiatement tout cordon
électrique effiloché ou endommagé.
• Il faut débrancher le réfrigérateur avant le
nettoyage ou toute intervention.
• Les réparations doivent être faites par un
technicien qualifié.
CONTENTS
Planning Information
Product Dimensions and Clearances .............................. 3
The Installation Space...................................................... 3
Installation Instructions
Tools, Hardware, Materials .............................................. 4
Grounding the Refrigerator ............................................ 4
Step 1, Move Refrigerator Indoors ..................................5
Step 2, Install Water Line ................................................. 6
For Monogram local service in your area,
1-800-444-1845.
For Monogram service in Canada
1-888-880-3030
For Monogram Parts and Accessories, call
1-800-626-2002.
www. monogram.com
Step 2A, RO Water Line ................................................... 7
Step 3, Connect Water Supply .........................................7
Step 4, Connect Power ..................................................... 7
Step 5, Move Refrigerator Into Position ......................... 7
Step 6, Level Refrigerator ................................................ 8
Step 7, Level Doors........................................................... 8
Step 8, Start Icemaker ...................................................... 9
Step 9, Temperature Controls ......................................... 9
Step 10, Install Toekick .................................................... 9
2
Planning Information
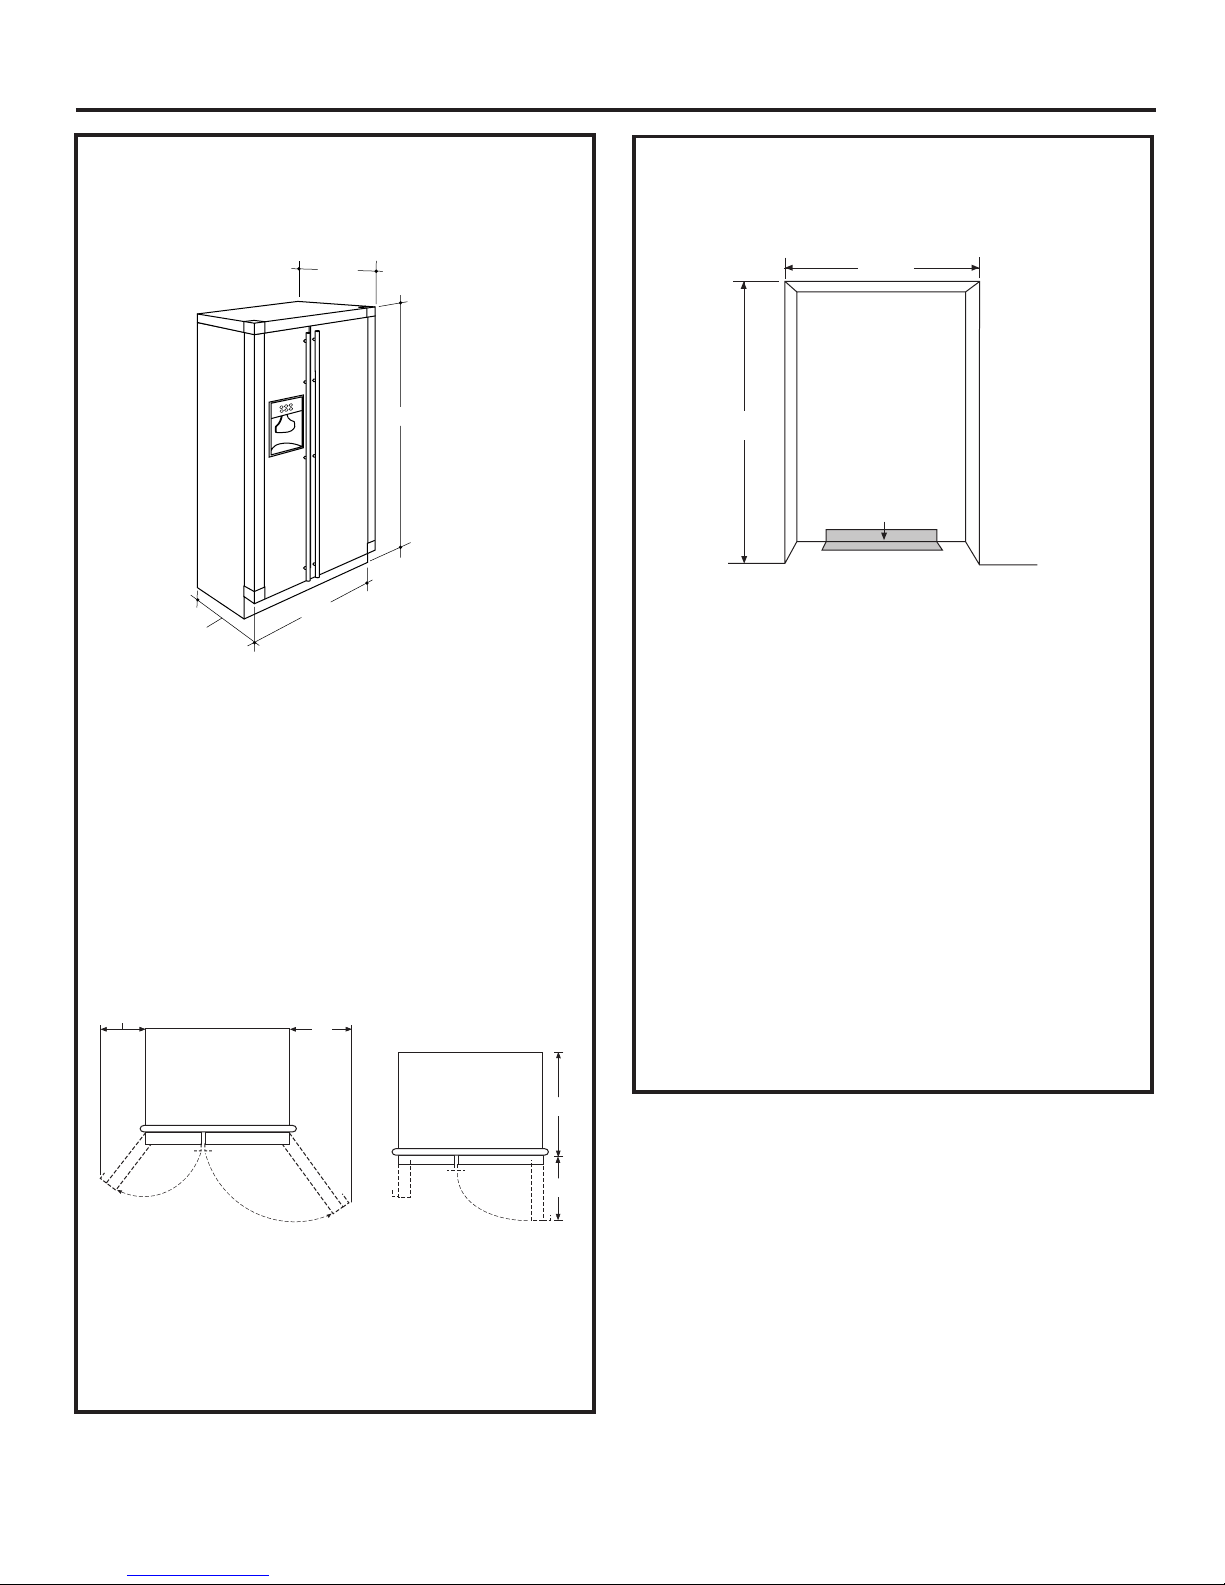
PRODUCT DIMENSIONS
AND CLEARANCES
32"
Case
Depth
72"
36"
34"
Including
Handles
This Monogram free-standing refrigerator requires
the following clearances for proper air circulation,
plumbing and electrical connections.
Air Circulation Clearances:
• 1/8" on each side
• 1" at the top
• 1" at the back
Installation in a corner:
• Allow 4" clearance on each side to an adjacent wall
for a 90° opening and access to drawers.
14-1/4"
160° Door Swing
19"
90° Door Swing
28"
THE INSTALLATION SPACE
The opening width must be 36-1/4".
36-1/2"
Wall View
Electrical
73" min.
Water And Electrical Locations
The opening must be prepared with the electrical and
water supply located as shown.
Additional Specifications
• A 115 volt 60Hz., 15 or 20 amp power supply is
required. An individual properly grounded branch
circuit or circuit breaker is recommended. Install a
properly grounded 3-prong electrical receptacle
recessed into the back wall.
Note: GFI (ground fault interrupter) is not recommended.
• Water line can enter the opening through the floor
or through an adjacent cabinet, as close to the back
wall as possible. The water line should be 1/4" O.D.
copper tubing between the cold water line and
water connection location at the rear of the refrigerator. Installation of an easily accessible shut off
valve in the water line is recommended.
Area
Water Supply
• On the freezer side, allow 14-1/4" min. clearance
for removal of ice bin.
• On the fresh food side, allow 19" min. clearance
to wall for removal of drawers.
22"
3
Installation Instructions
TOOLS REQUIRED
• Tinsnips to cut banding
• Stepladder
• Bucket
• Level
• Appliance Hand Truck
• Tubing cutter
• #2 Phillips screwdriver
• Drill and appropriate bits
• 3/8", 5/16" and 7/16" hex socket
• Safety glasses
MATERIALS REQUIRED
• 1/4 O.D. compression nut and 2 ferrules (sleeves)
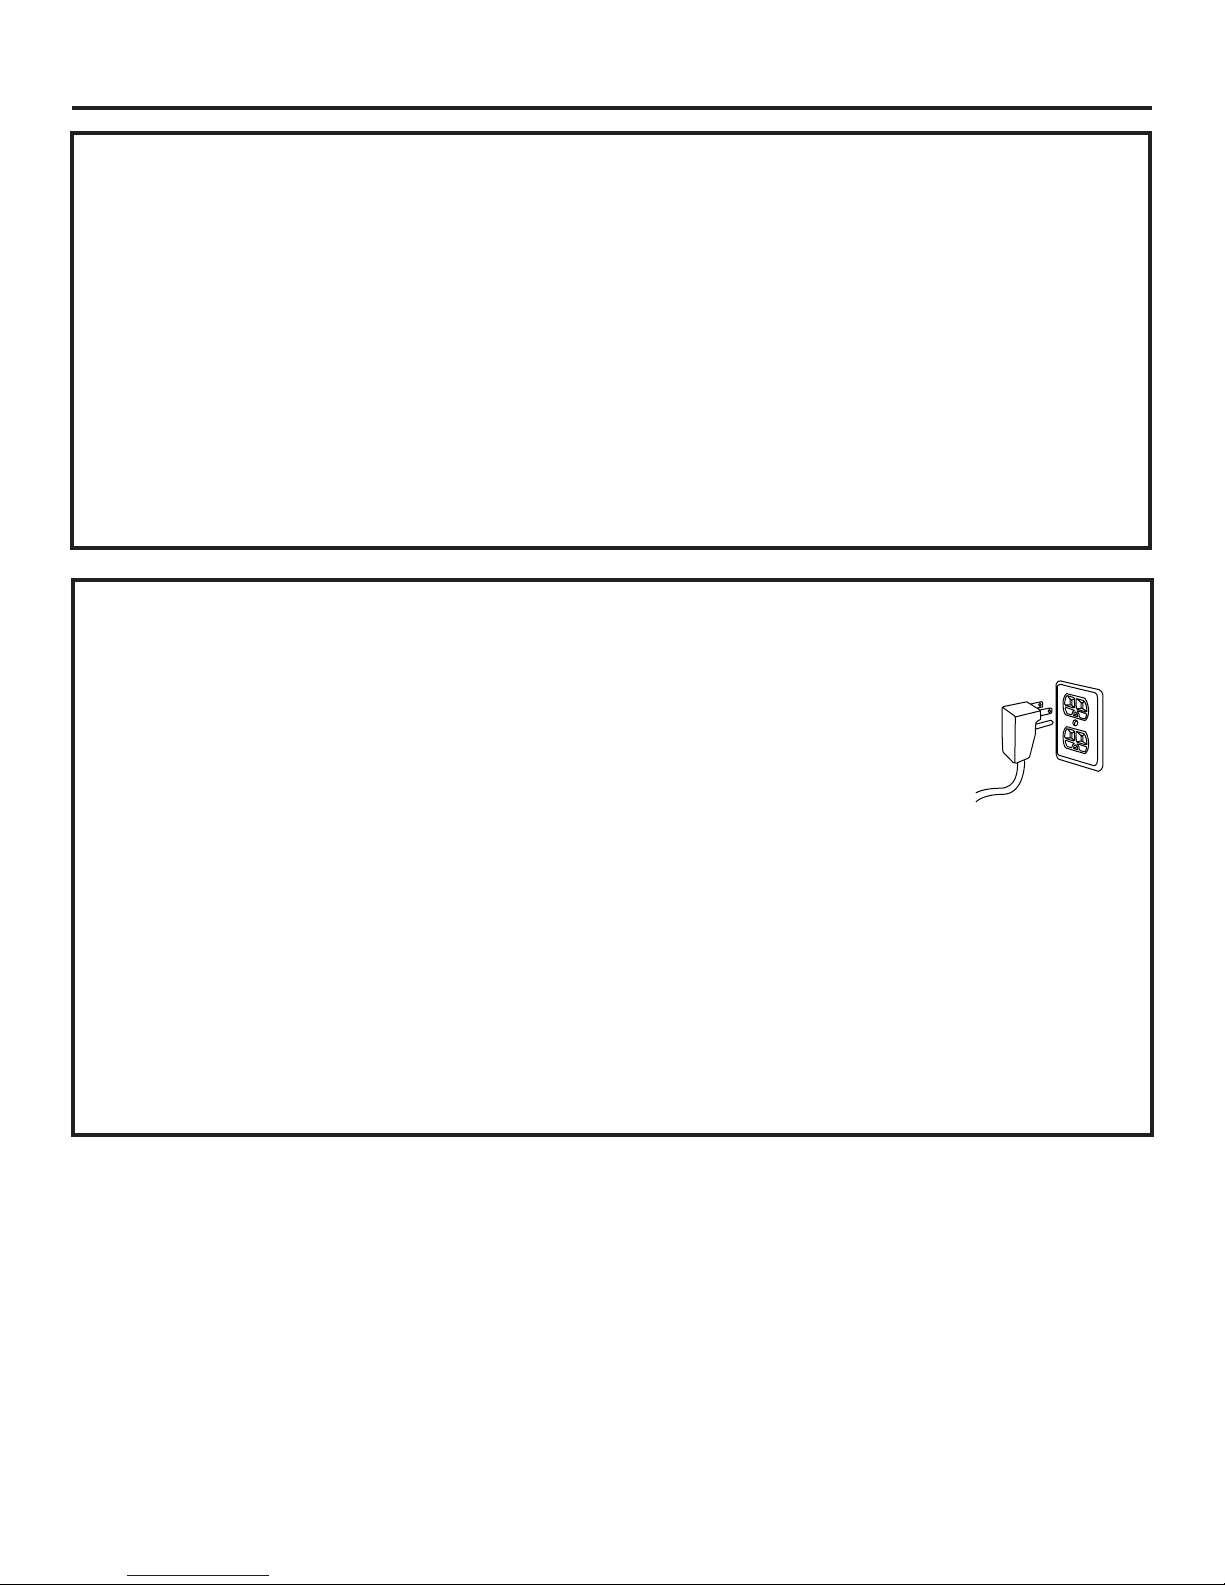
GROUNDING THE REFRIGERATOR
IMPORTANT - (Please read carefully)
FOR PERSONAL SAFETY, THIS APPLIANCE MUST
BE PROPERLY GROUNDED.
The power cord of this appliance is equipped with a
three-prong (grounding) plug which mates with a
standard three-prong (grounding) wall receptacle to
minimize the possibility of electric shock hazard from
this appliance.
FLOORING
For proper installation, this refrigerator must be placed
on a level surface of hard material that is at the same
height as the rest of the flooring. This surface should be
strong enough to support a fully loaded refrigerator.
IMPORTANT NOTE: Protect the finish of the flooring.
Cut a large section of the cardboard carton and place
under the refrigerator where you are working.
DO NOT, UNDER ANY
CIRCUMSTANCES, CUT
OR REMOVE THE THIRD
(GROUND) PRONG
FROM THE POWER CORD.
DO NOT USE AN ADAPTER PLUG TO CONNECT
THE REFRIGERATOR TO A 2-PRONG OUTLET.
Have the wall outlet and circuit checked by a qualified electrician to make sure the outlet is properly
grounded.
Where a standard 2-prong wall outlet is encountered,
it is your personal responsibility and obligation to
have it replaced with a properly grounded 3-prong
wall outlet.
DO NOT USE AN EXTENSION CORD WITH THIS
APPLIANCE.
4
 Loading...