

Monogram ZDP486LDPSS, ZDP484LGPSS, ZDP364NDPSS, ZDP364LDPSS, ZDP364NRPSS User Manual
...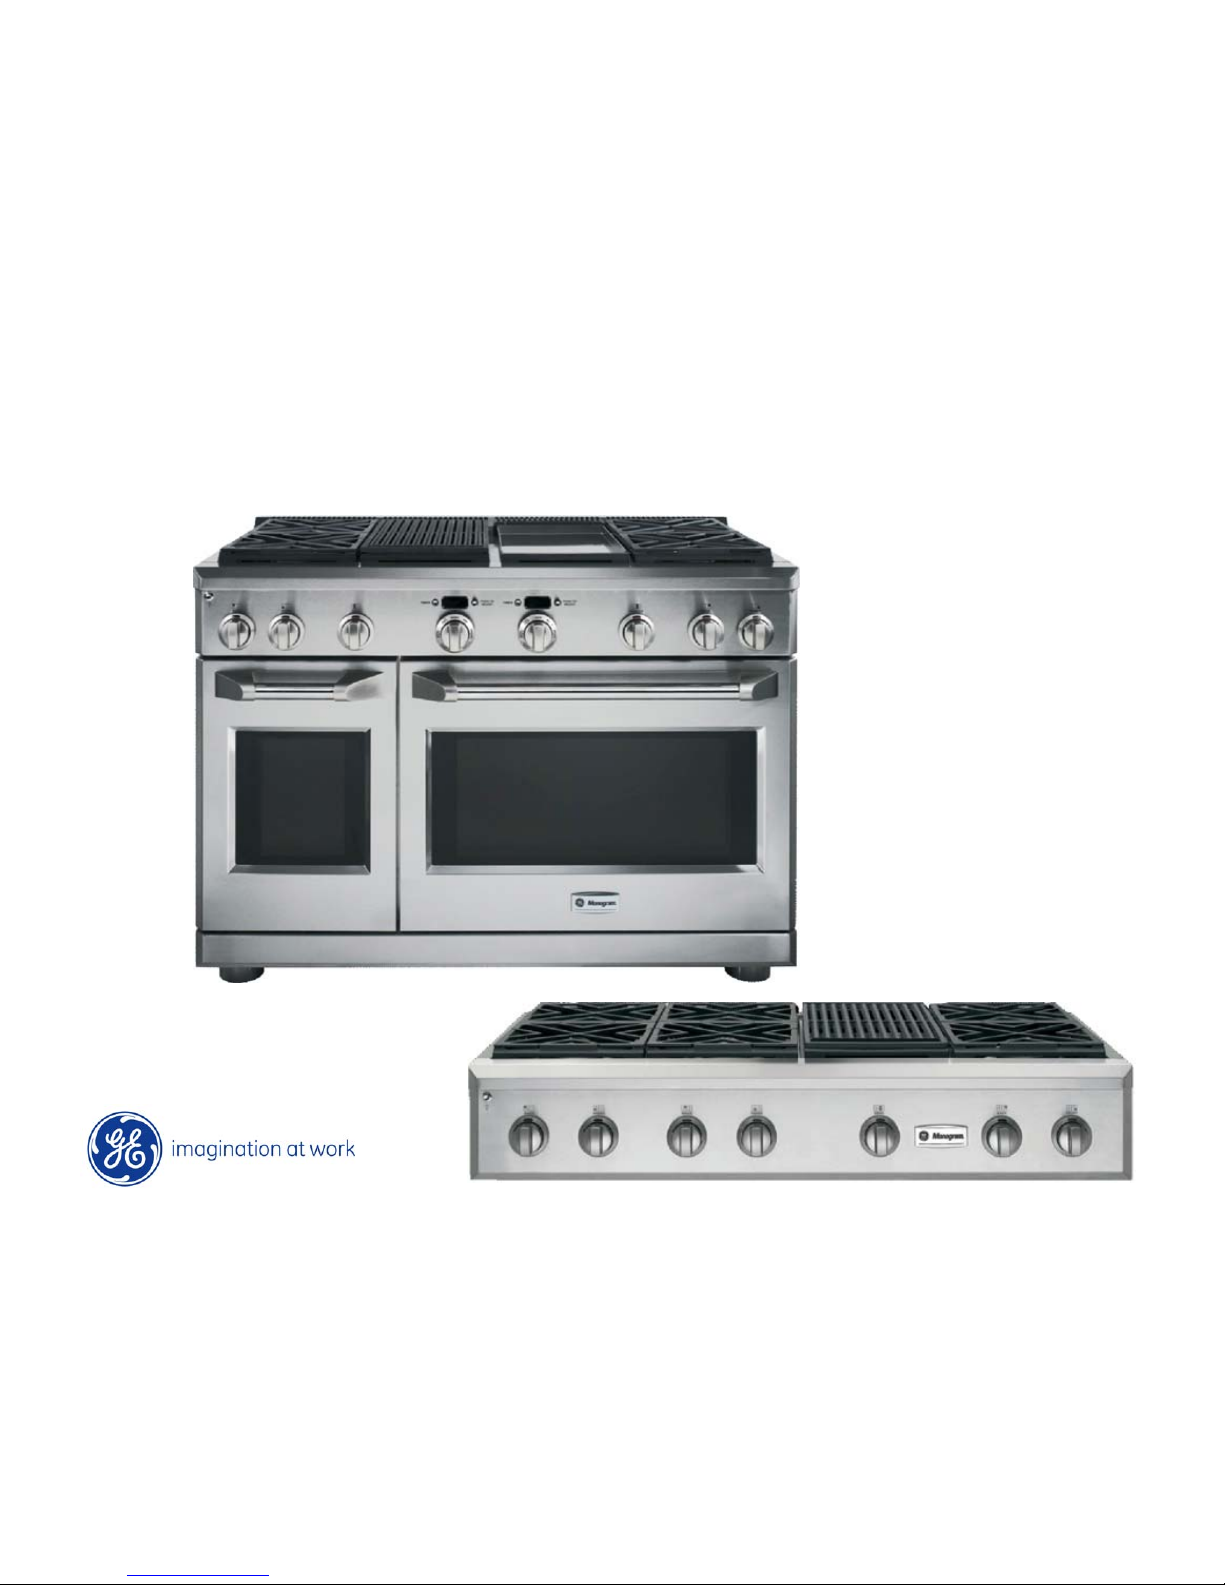
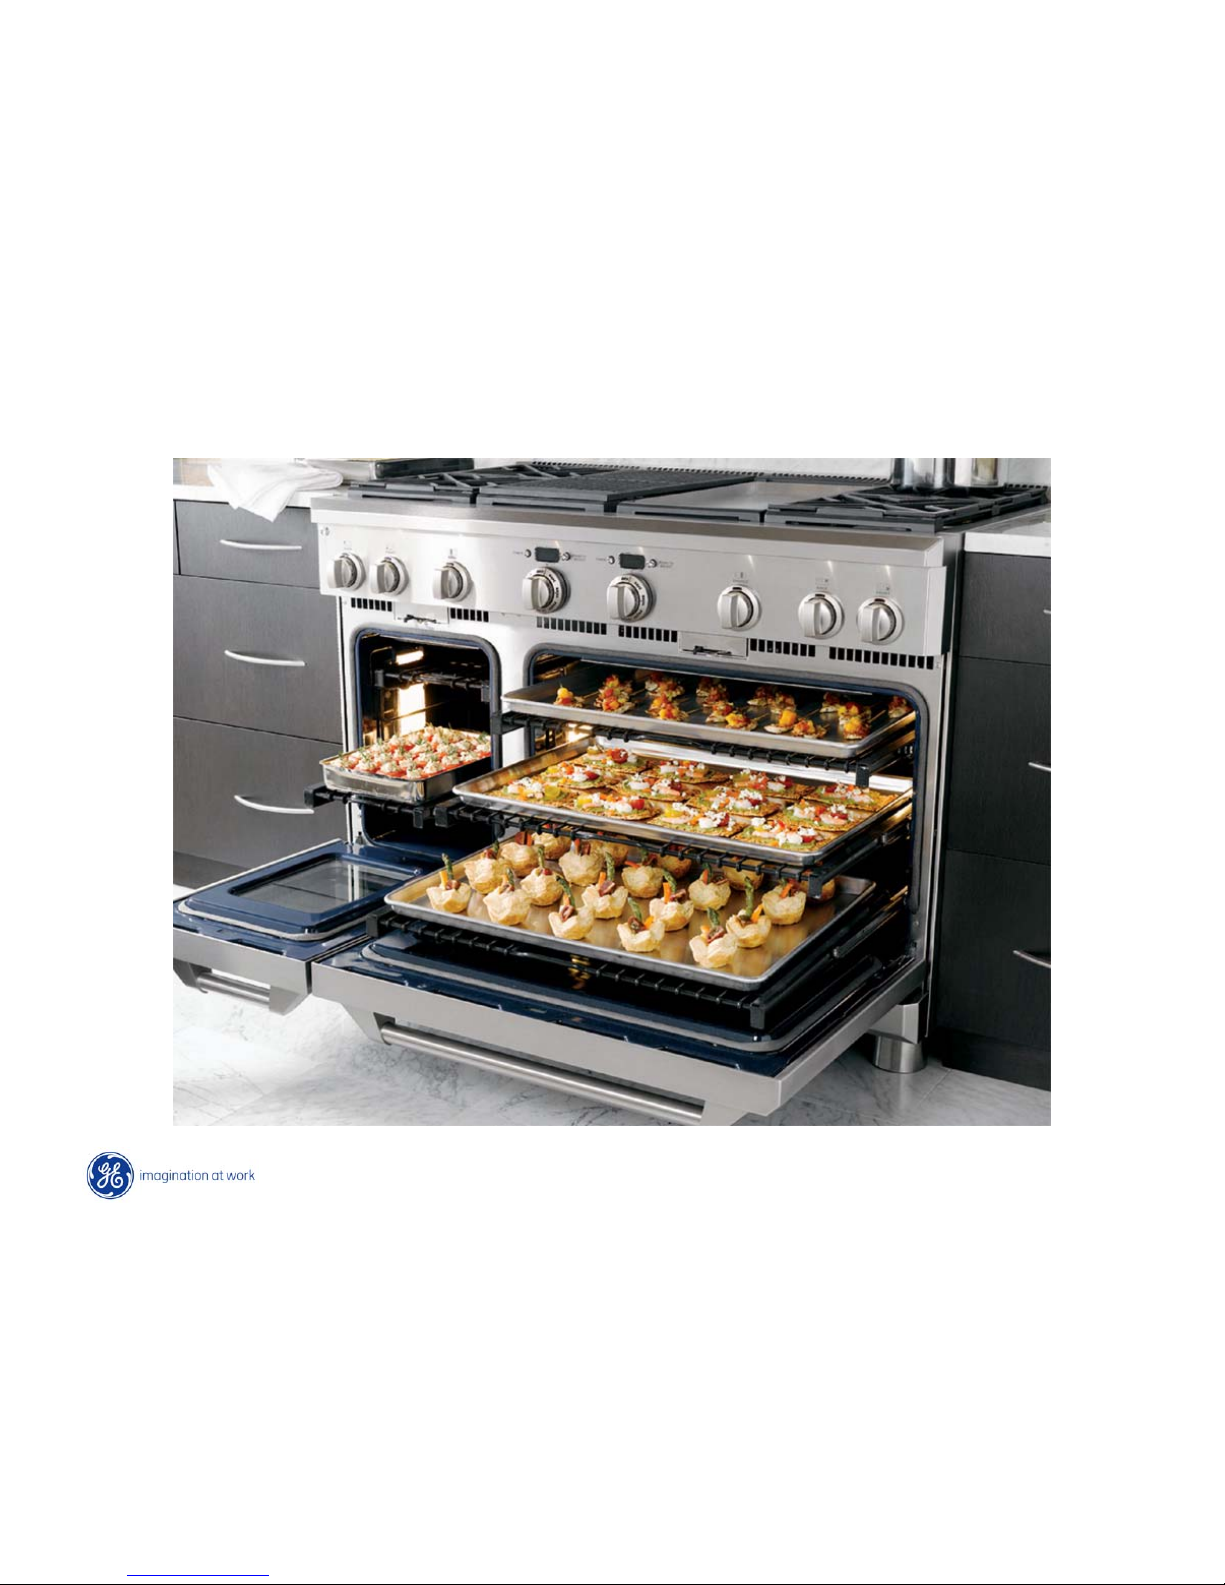
Monogram®Professional Range

2
IMPORTANT SAFETY NOTICE
The information in this presentation is intended for use by individuals
possessing adequate backgrounds of electrical, electronic, & mechanical
experience. Any attempt to repair a major appliance may result in
personal injury & property damage. The manufacturer or seller cannot be
responsible for the interpretation of this information, nor can it assume
any liability in connection with its use.
WARNING
To avoid personal injury, disconnect power before servicing this product.
If electrical power is required for diagnosis or test purposes, disconnect
the power immediately after performing the necessary checks.
RECONNECT ALL GROUNDING DEVICES
If grounding wires, screws, straps, clips, nuts, or washers used to complete
a path to ground are removed for service, they must be returned to their
original position & properly fastened.
3
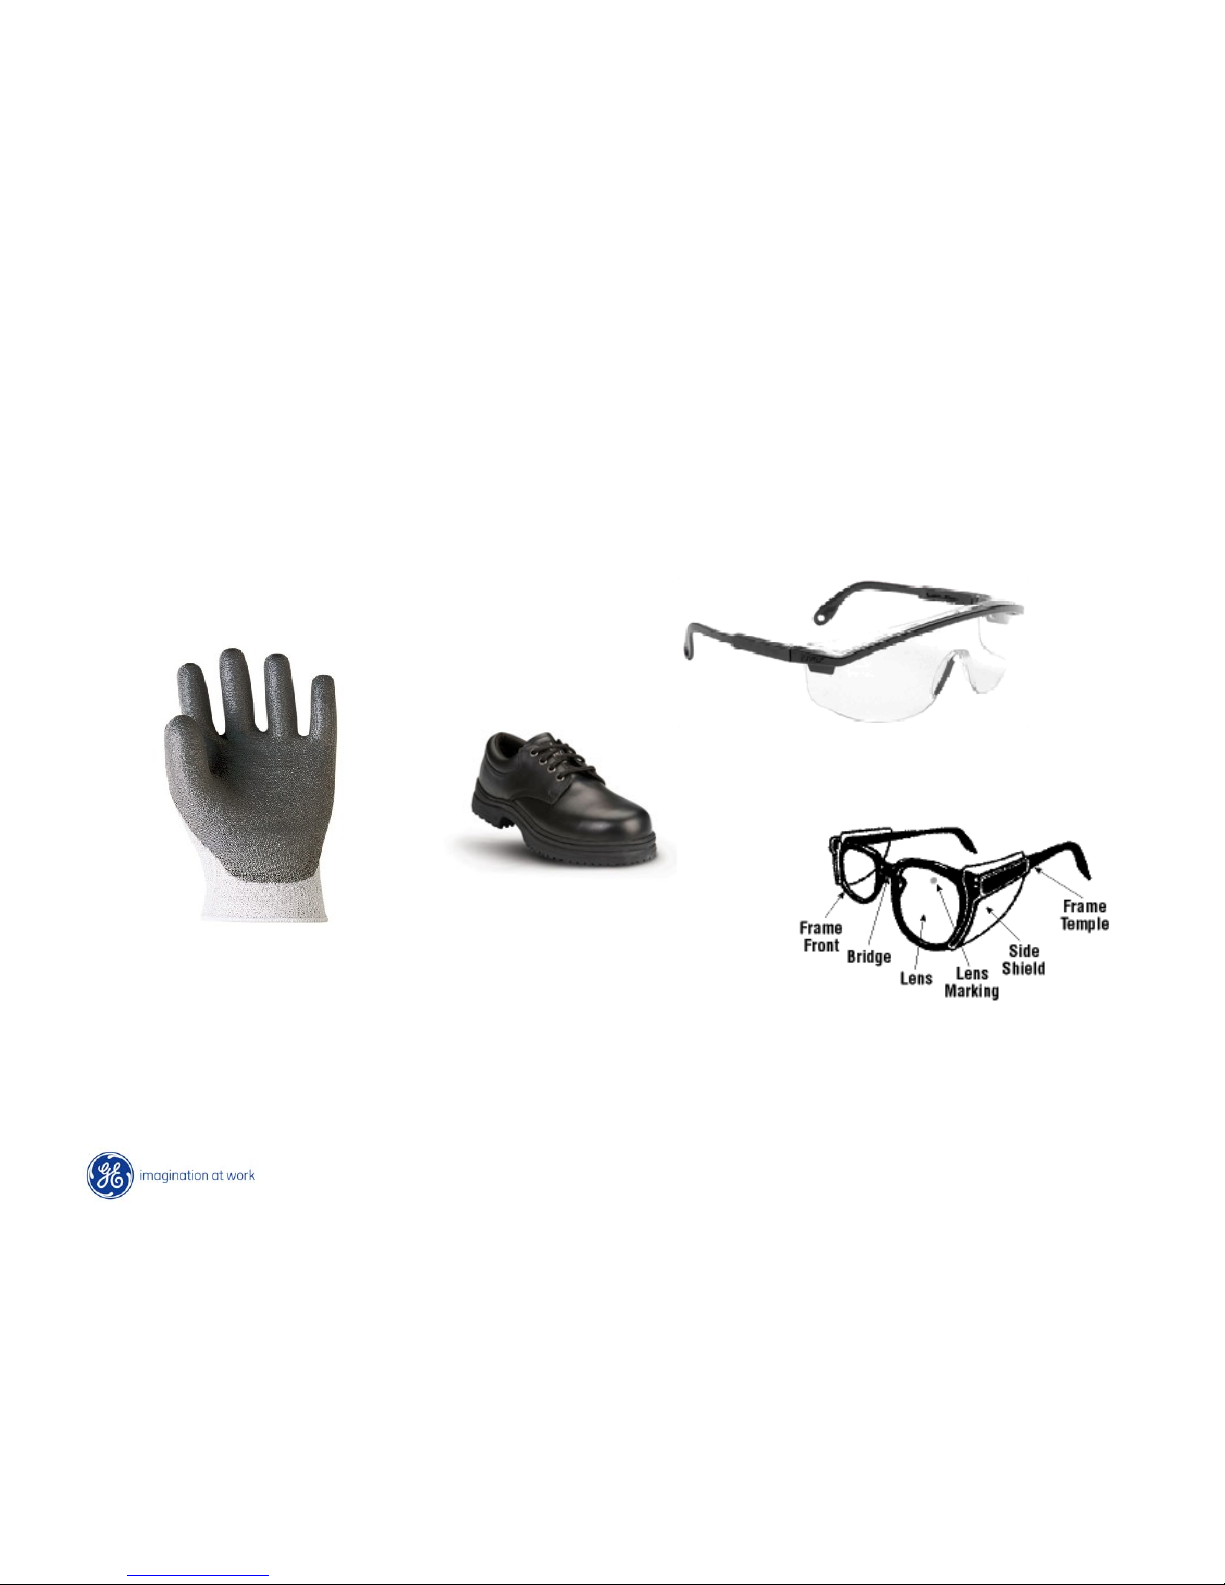
GE Factory Service Employees are required to use safety glasses with side
shields, cut resistant (Dyneema®) gloves & steel toe shoes for all repairs.
Dyneema® Cut
Resistant Glove
Safety Glasses must be compliant with
ANSI Z87.1-2003
Prescription Safety Glasses
Plano Safety Glasses
Steel Toe Shoes
4
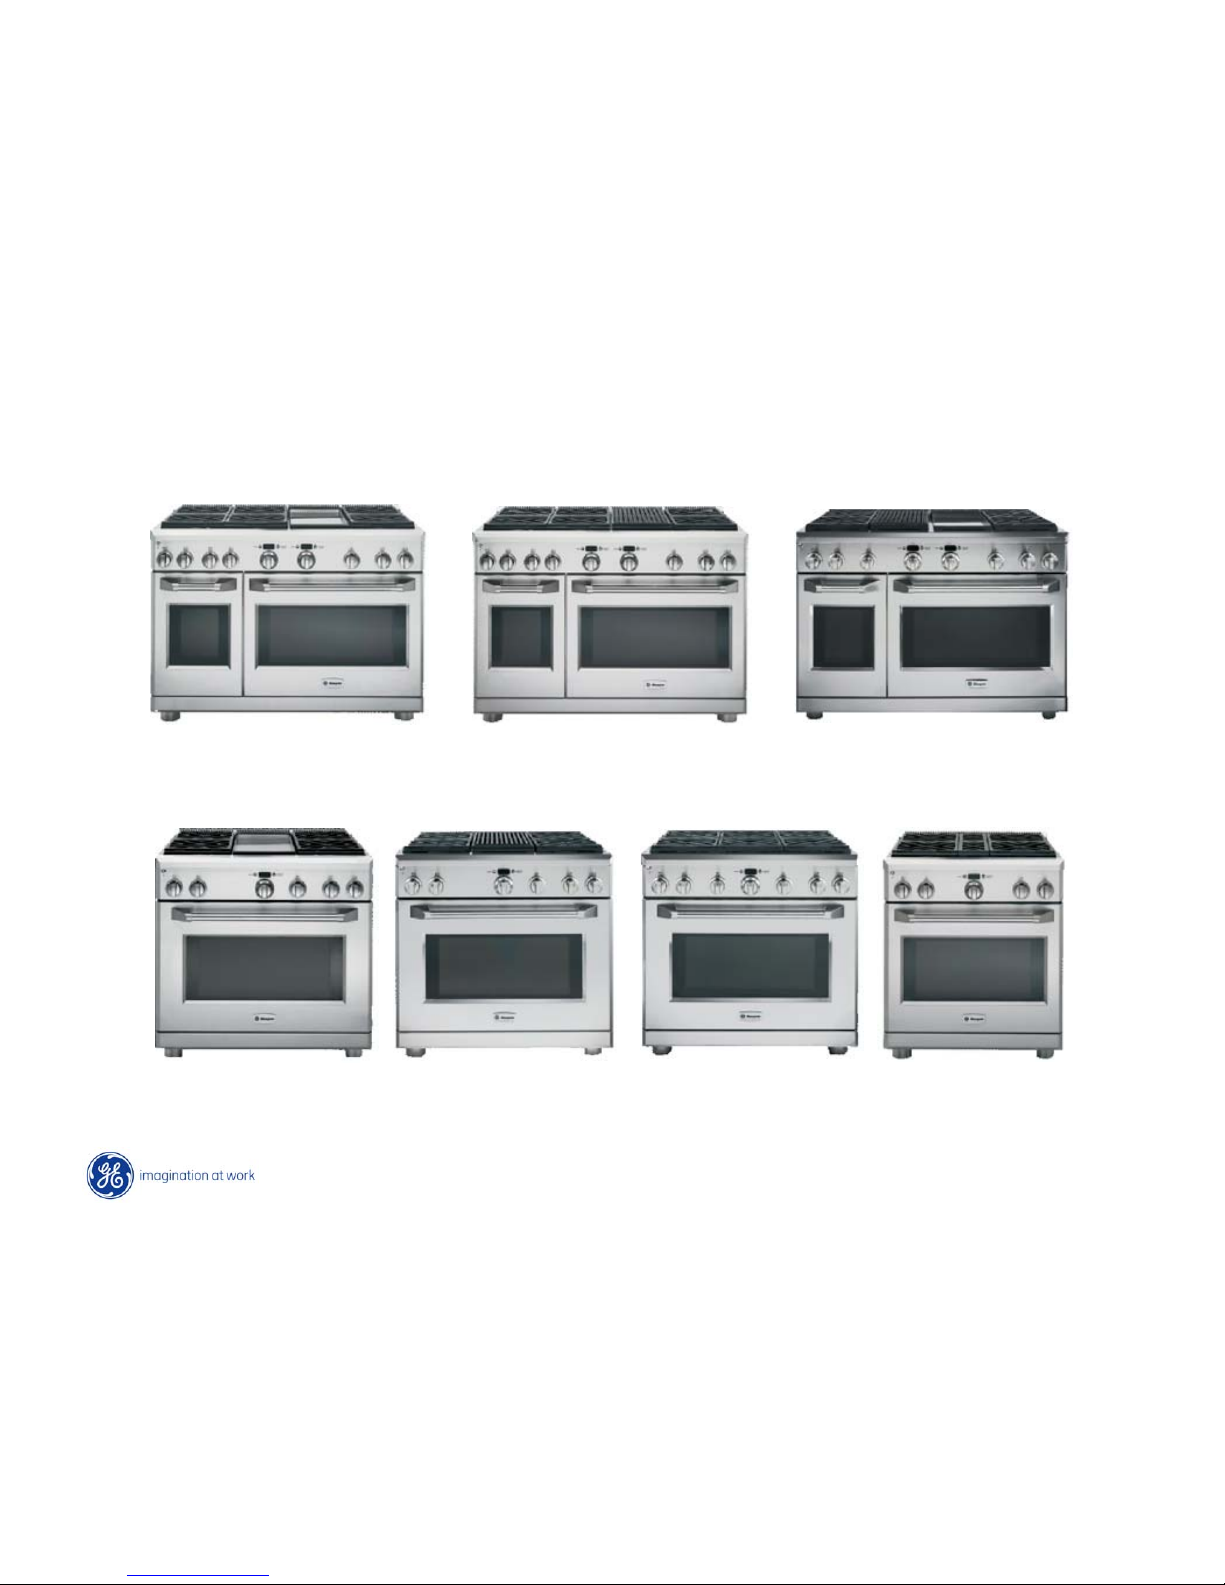
ZDP486NDPSS
ZDP486LDPSS
ZDP486NRPSS
ZDP486LRPSS
ZDP484NGPSS
ZDP484LGPSS
ZDP366NPSS
ZDP366LPSS
ZDP364NRPSS
ZDP364LRPSS
ZDP364NDPSS
ZDP364LDPSS
ZDP304NPSS
ZDP304LPSS
Pro Range Models
5
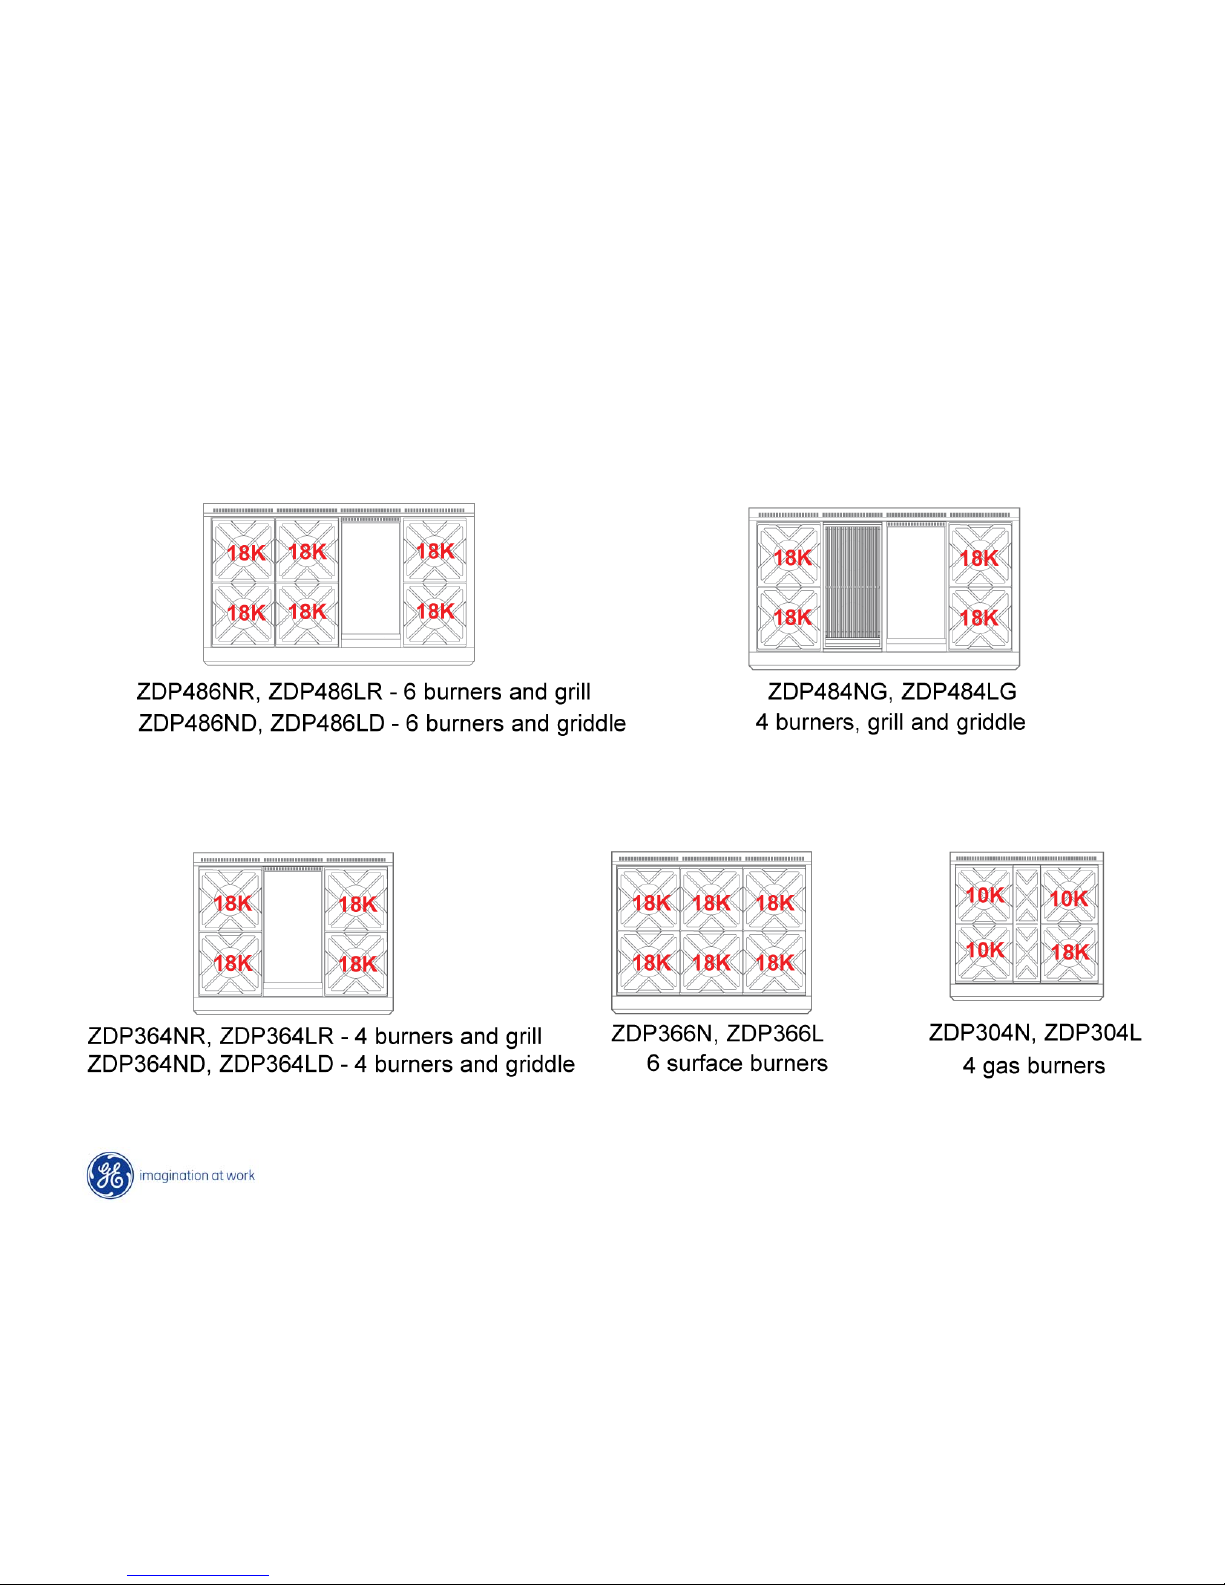
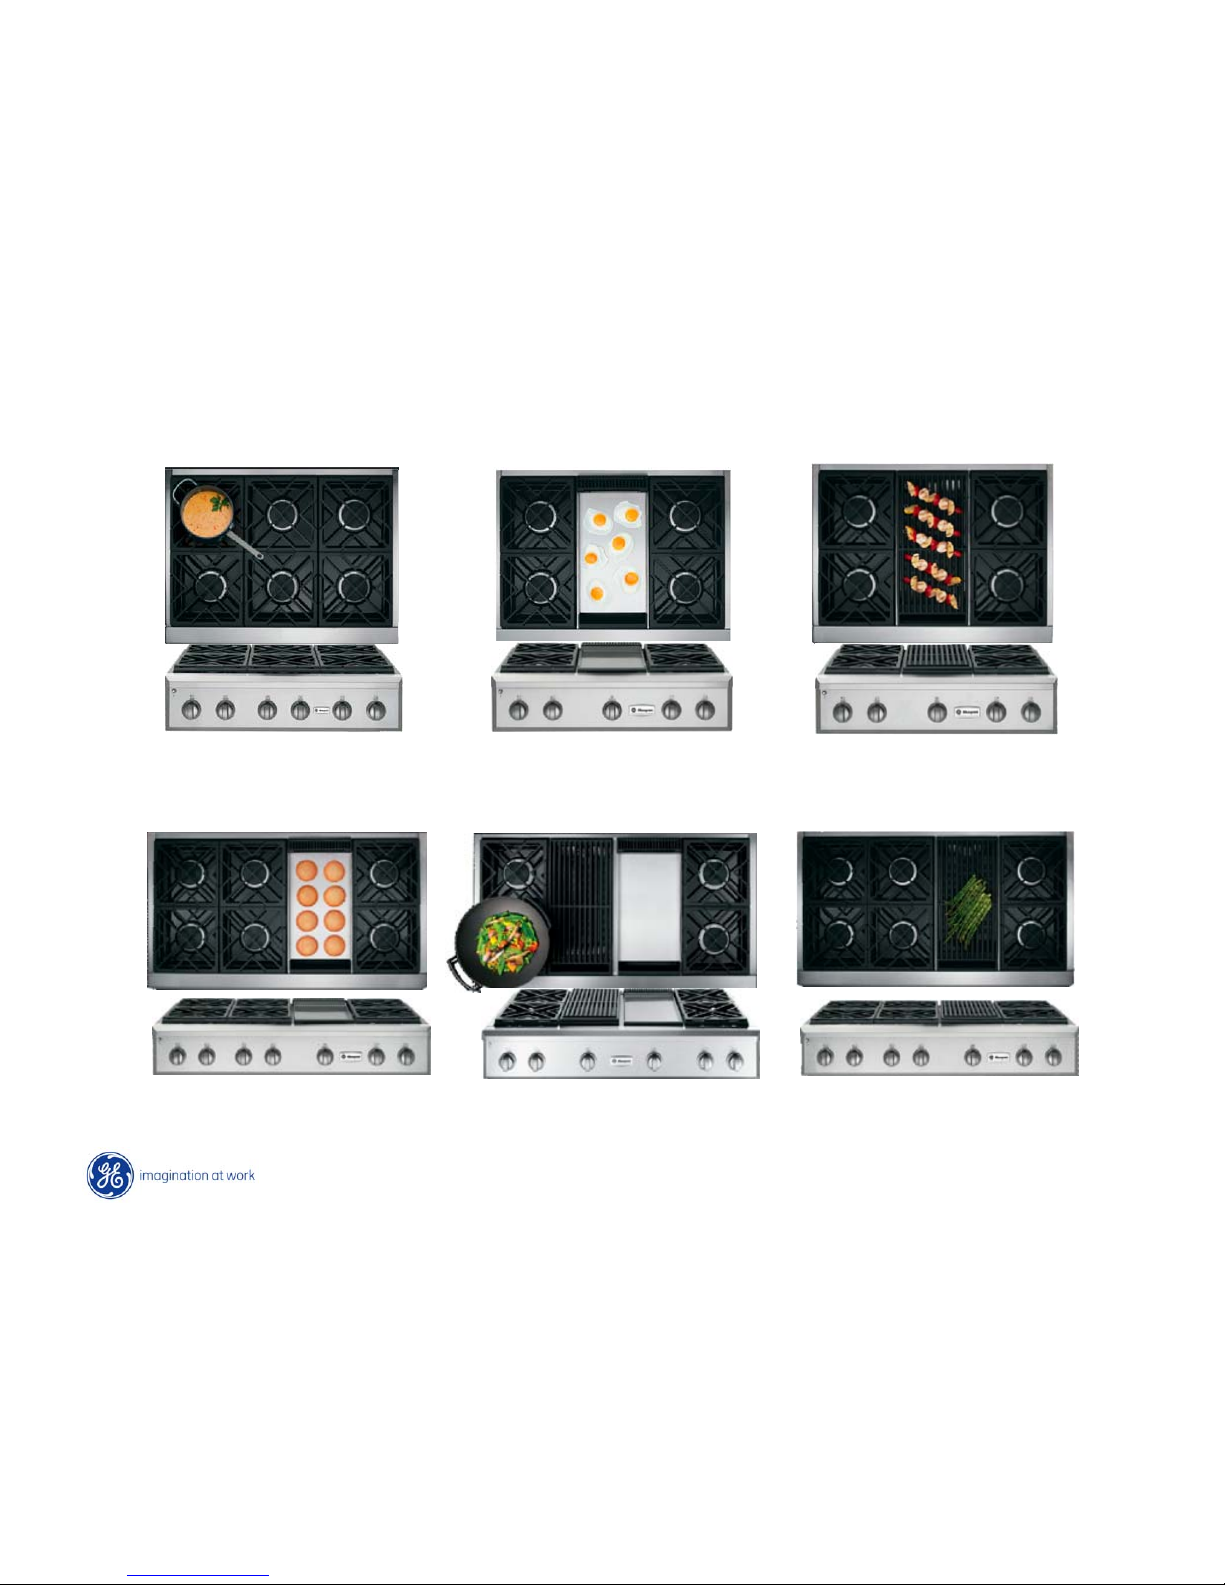
Burner Configurations
6
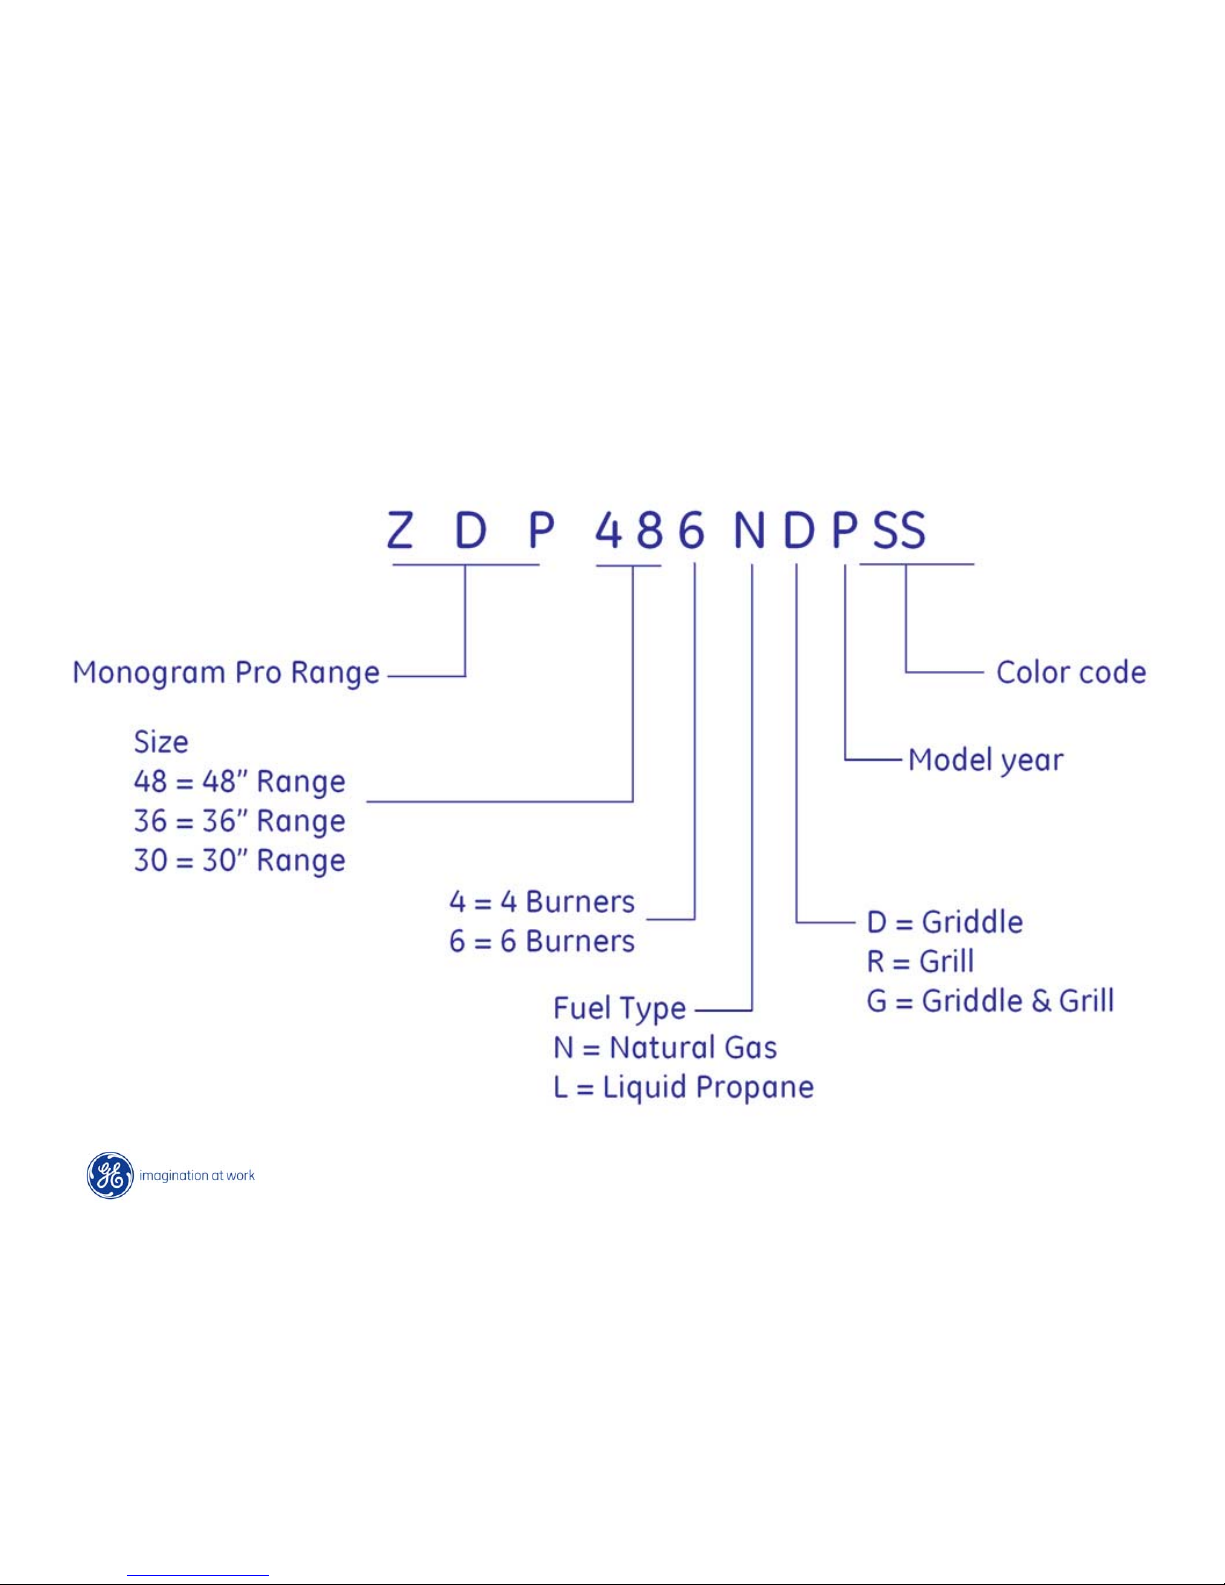
Pro Range Nomenclature
7
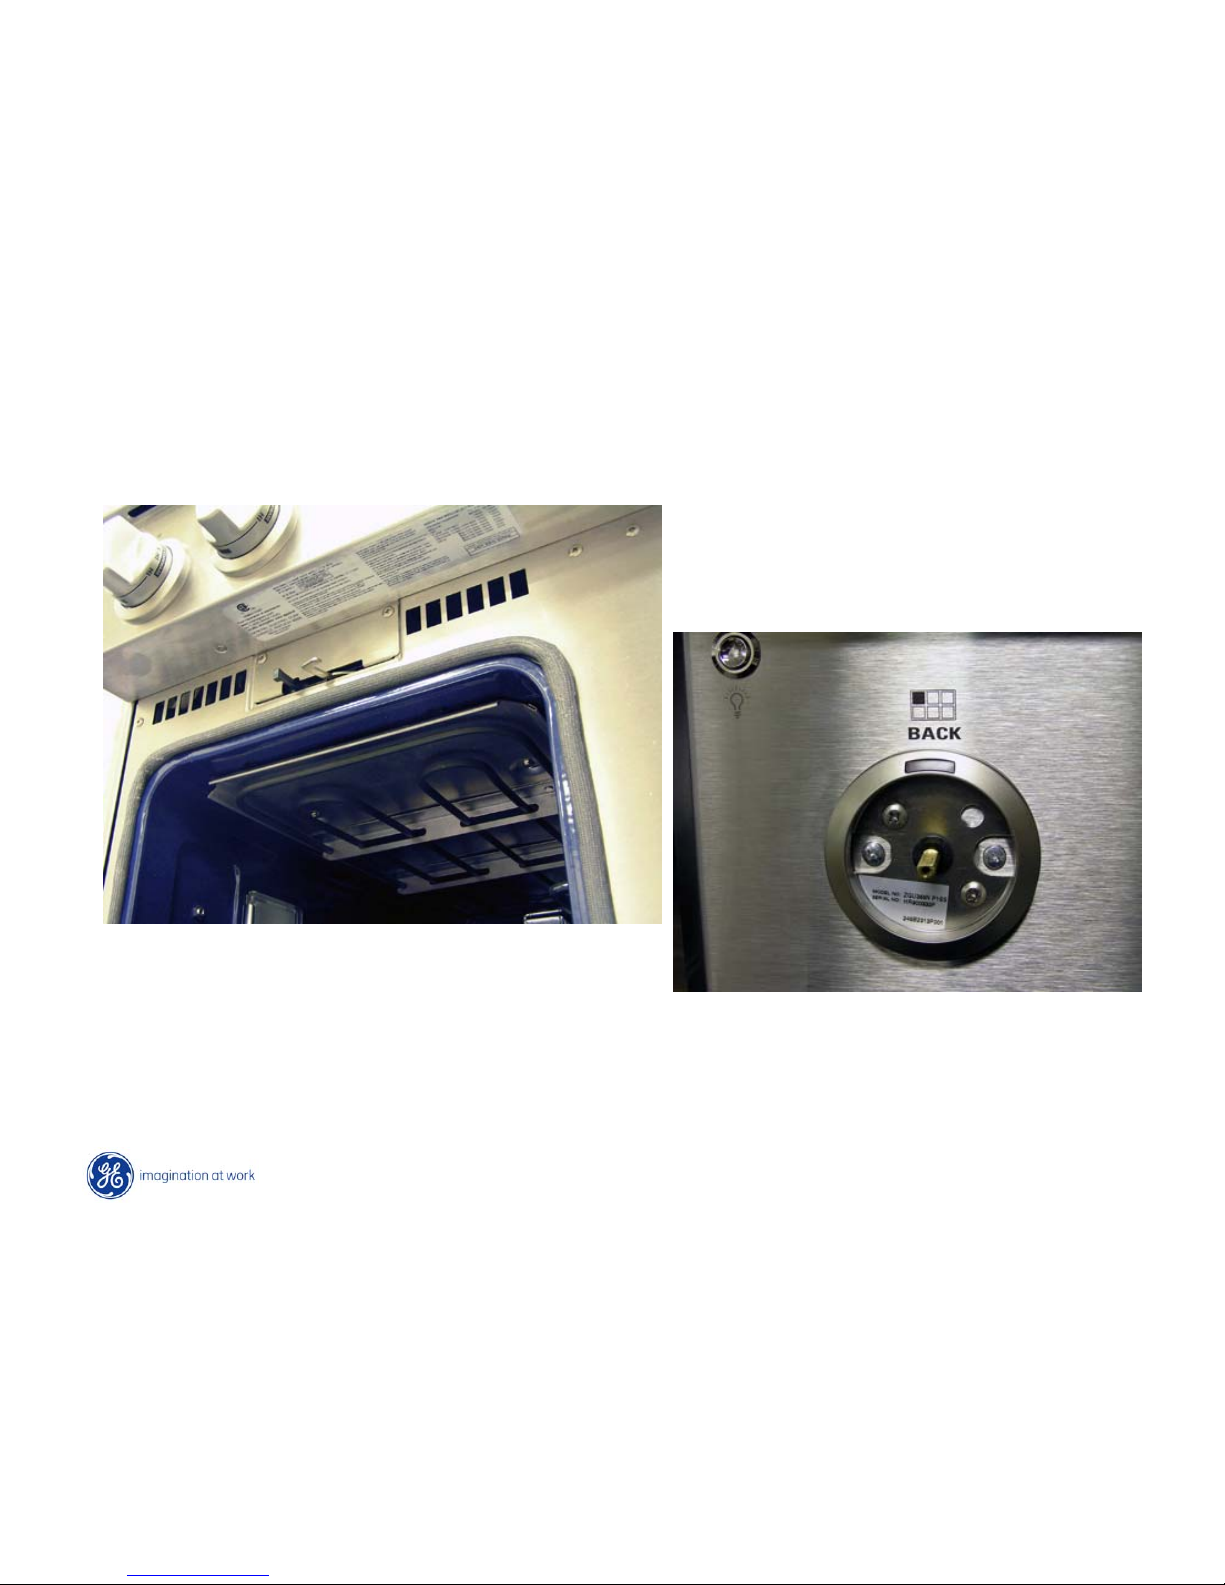
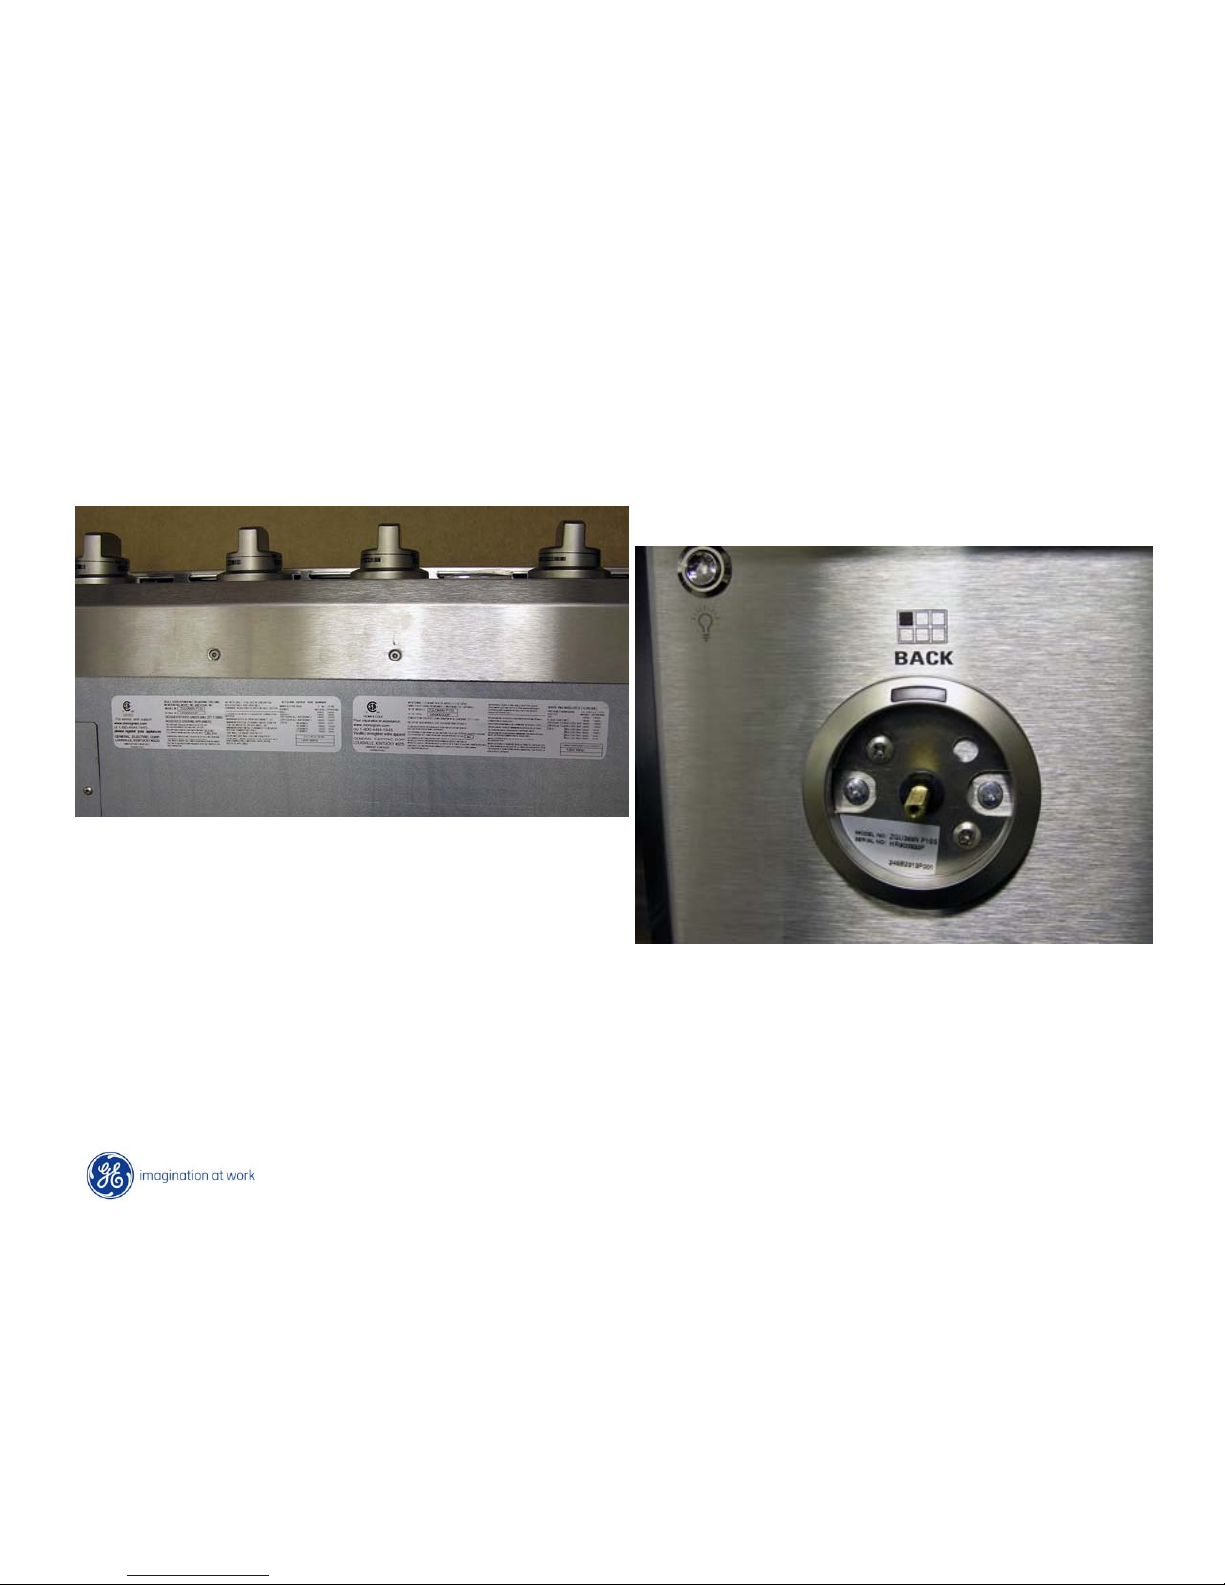
Pro Range Model Location
The model tag is located under the
front control panel on the left side.
The model and serial number is
also located behind the left front
knob on the bezel.
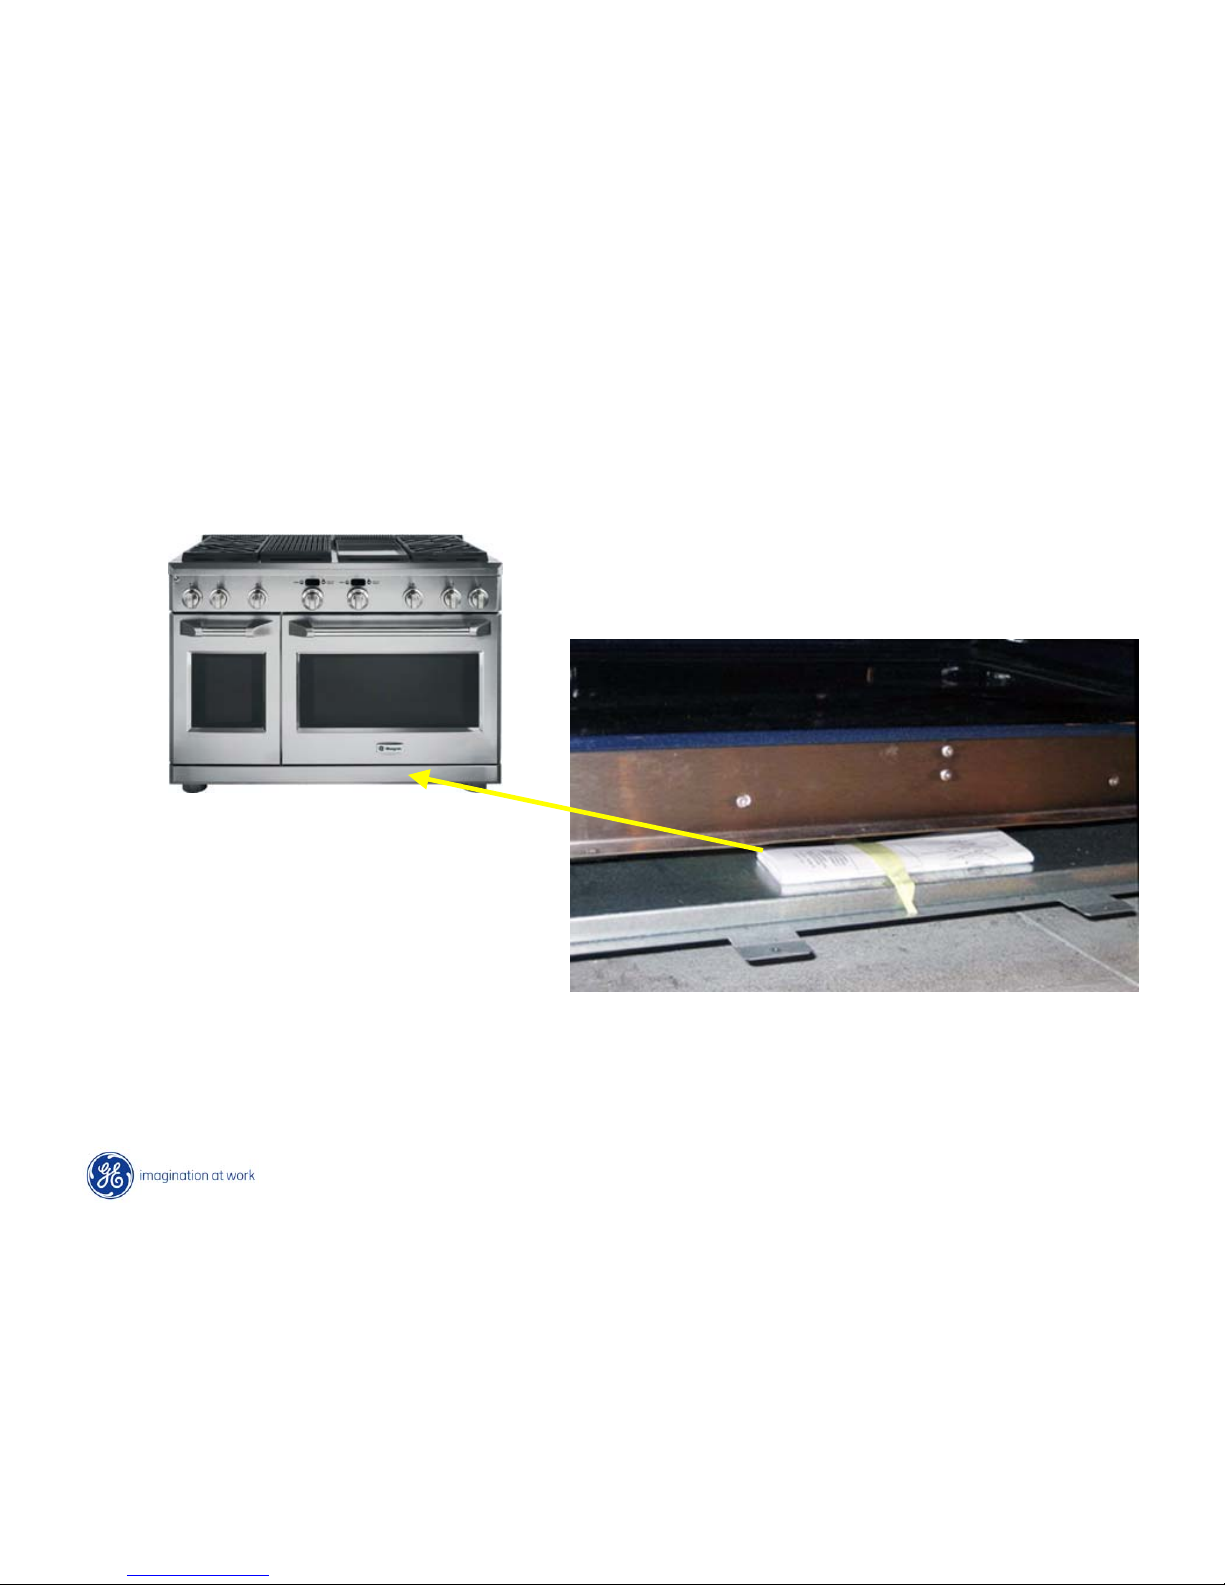
8
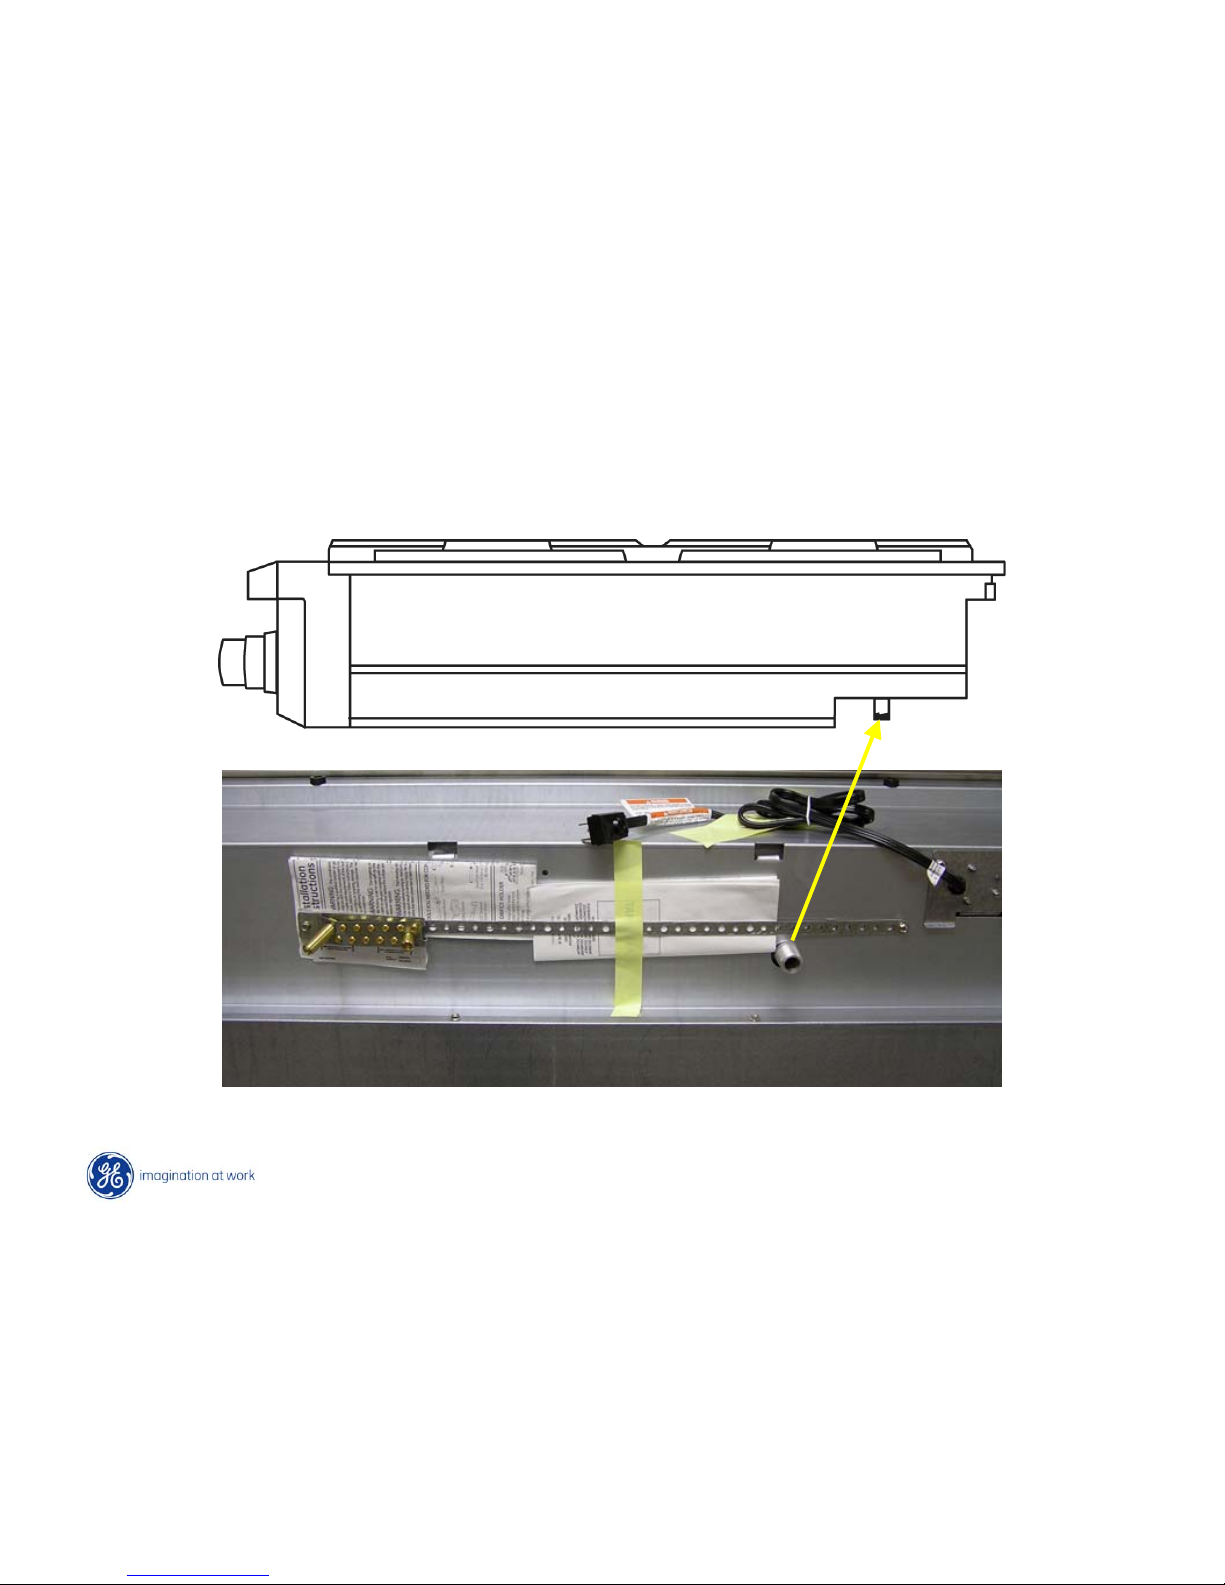
Mini-Manual Location
The mini-manual is located at the bottom behind the access panel
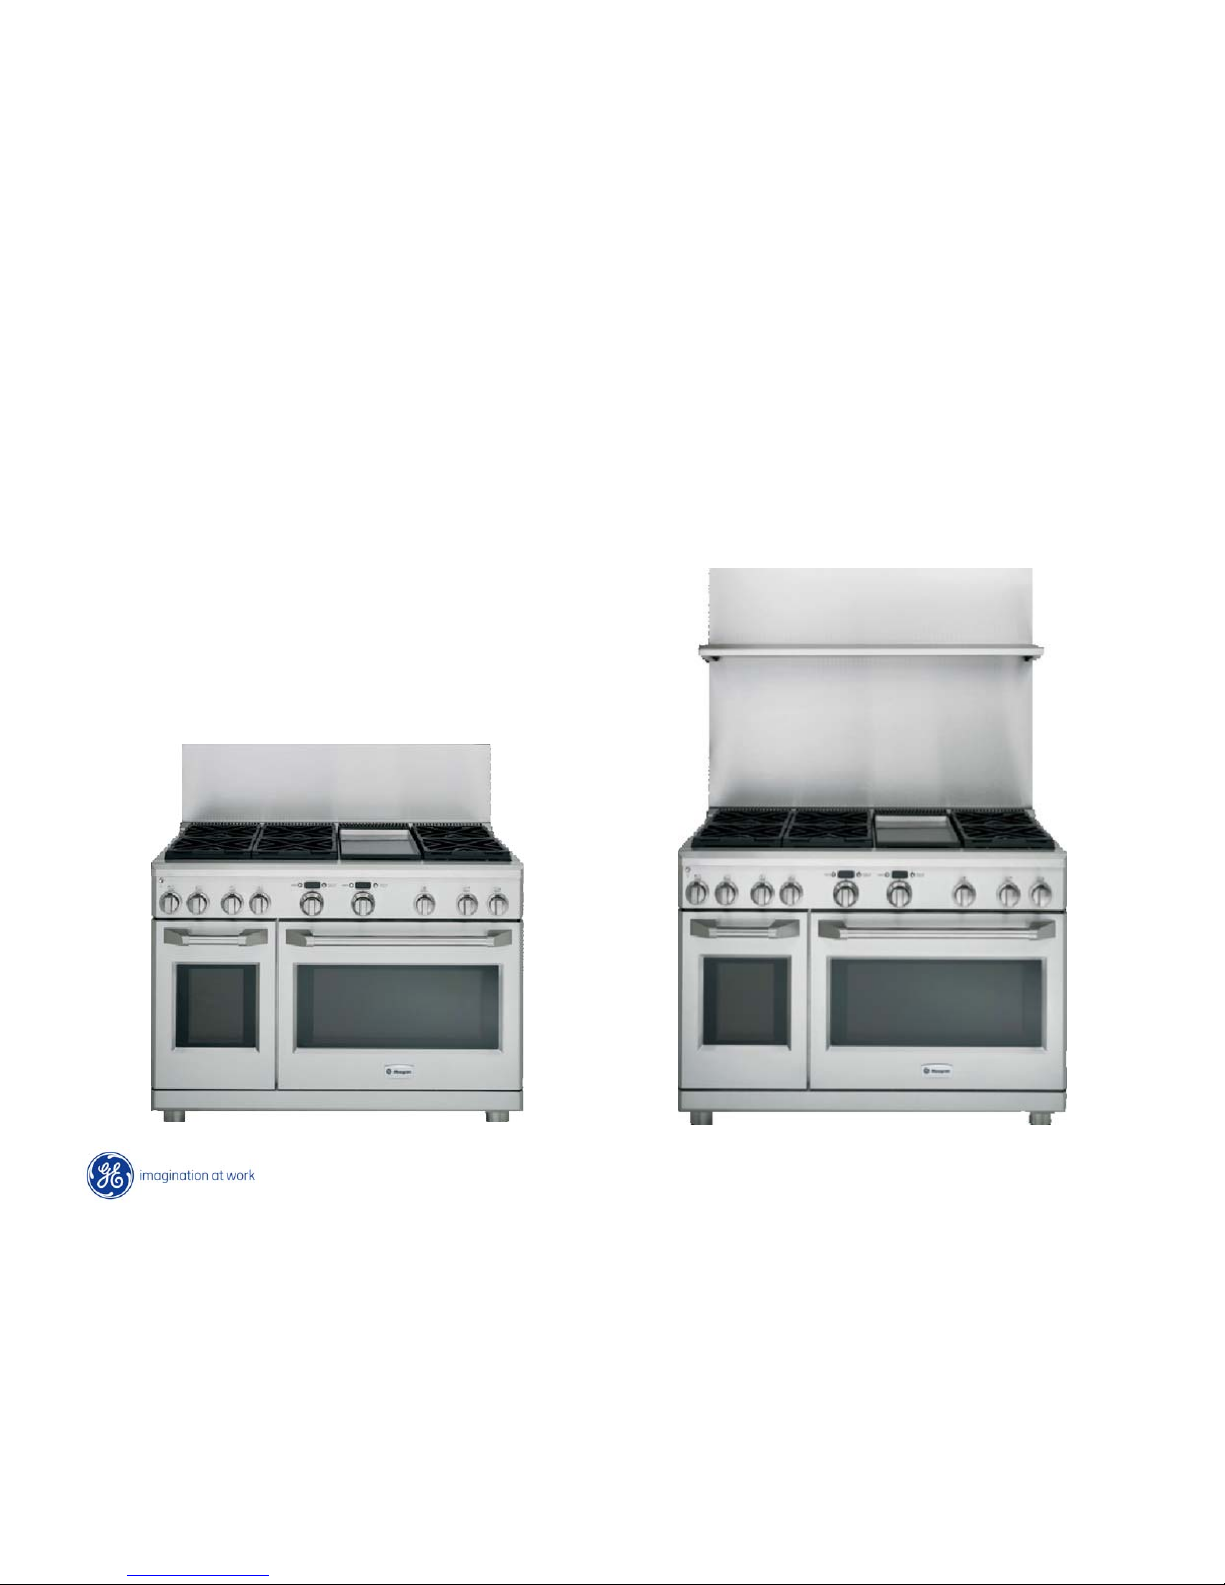
9
12” height
36” with adjustable height shelf
Backsplashes are available
in 30”, 36” and 48” widths
Optional Backsplash Kits
10
Pub Number 24-M488
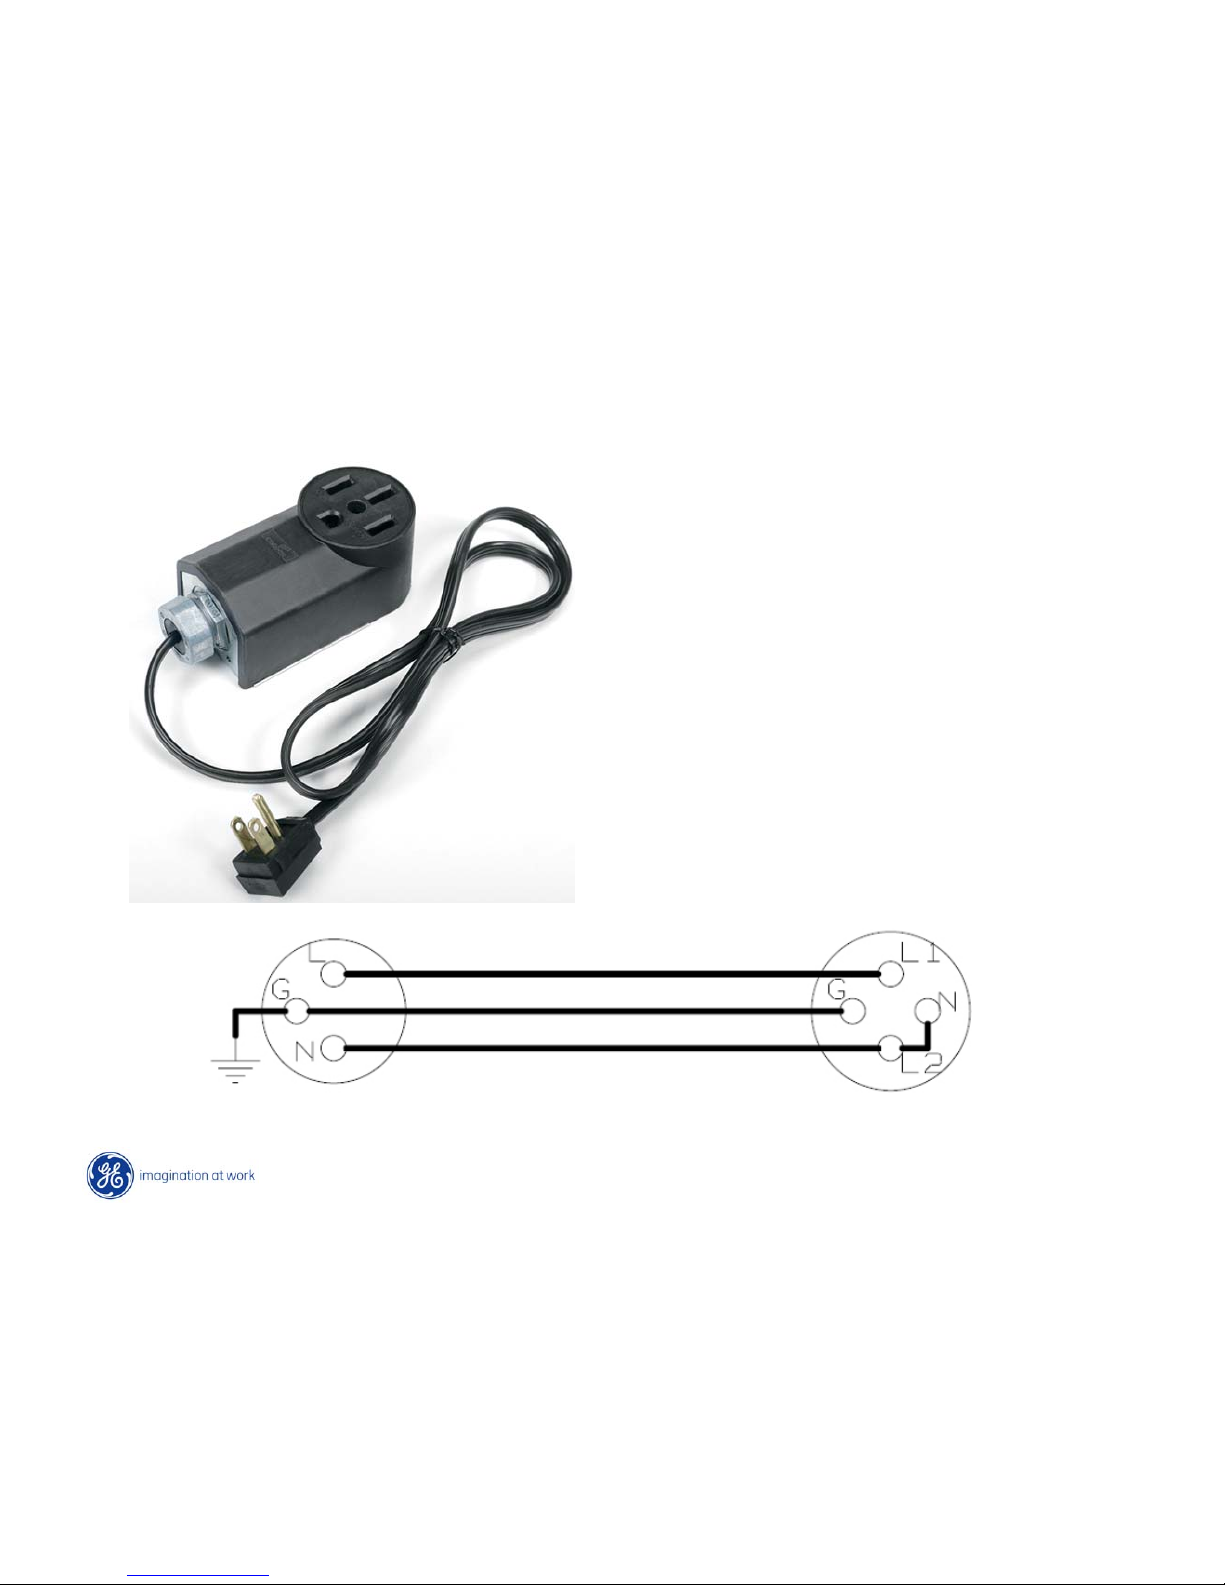
Activates all lights and control displays
Pro Range Sales Demo Kit
120V applied to L1 and L2 (note jumper L2-N)
11
ZGU366NPSS
ZGU366LPSS
ZGU364NDPSS
ZGU364LDPSS
ZGU364NRPSS
ZGU364LRPSS
ZGU486NRPSS
ZGU486LRPSS
ZGU484NGPSS
ZGU484LGPSS
ZGU486NDPSS
ZGU486LDPSS
New “Rangetop” Models

12
Rangetop Nomenclature
13
Rangetop Model Location
The model tag is located under the
cooktop.
The model and serial number is also
located behind the left front knob on
the bezel.
14
Mini-Manual Location
Mini-Manual
15
Pro Range Models
Pro Range Models ––
Part Number
Part Number
ZDP304N/LPSS - WB03K10268
ZDP366N/LPSS - WB03K10269
ZDP364N/LRPSS - WB03K10270
ZDP364N/LDPSS - WB03K10271
ZDP484N/LGPSS - WB03K10272
ZDP486N/LRPSS - WB03K10273
ZDP486N/LDPSS - WB03K10274
Rangetop Models
Rangetop Models ––
Part Number
Part Number
ZGU366N/LPSS - WB03K10275
ZGU364N/LRPSS - WB03K10276
ZGU364N/LDPSS - WB03K10277
ZGU484N/LGPSS - WB03K10278
ZGU486N/LRPSS - WB03K10279
ZGU486N/LDPSS - WB03K10280
Optional Black Knob Kits
16
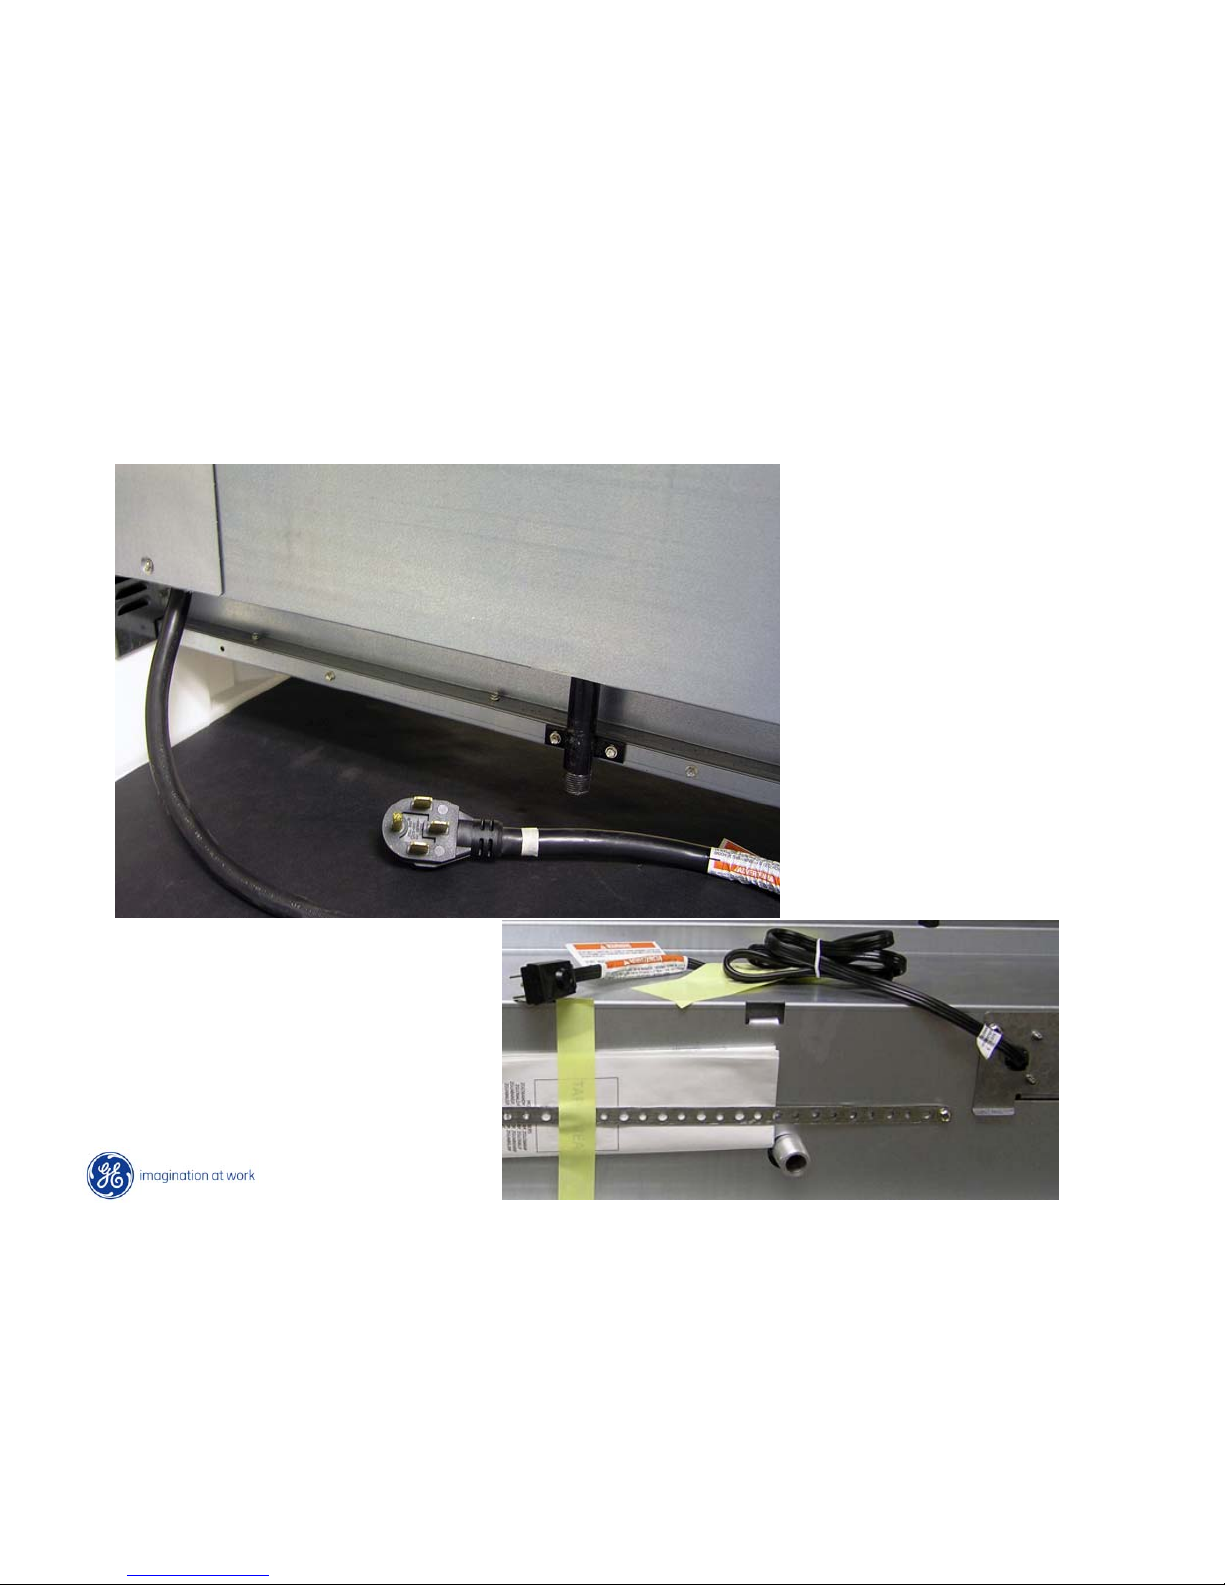
Supplied Power Cords
48” Range – 50 amp
30” & 36” Range – 30 amp
115V – 15 amp
17
Range Gas Conversion
Each model is shipped with the
appropriate gas conversion kit
and instructions.
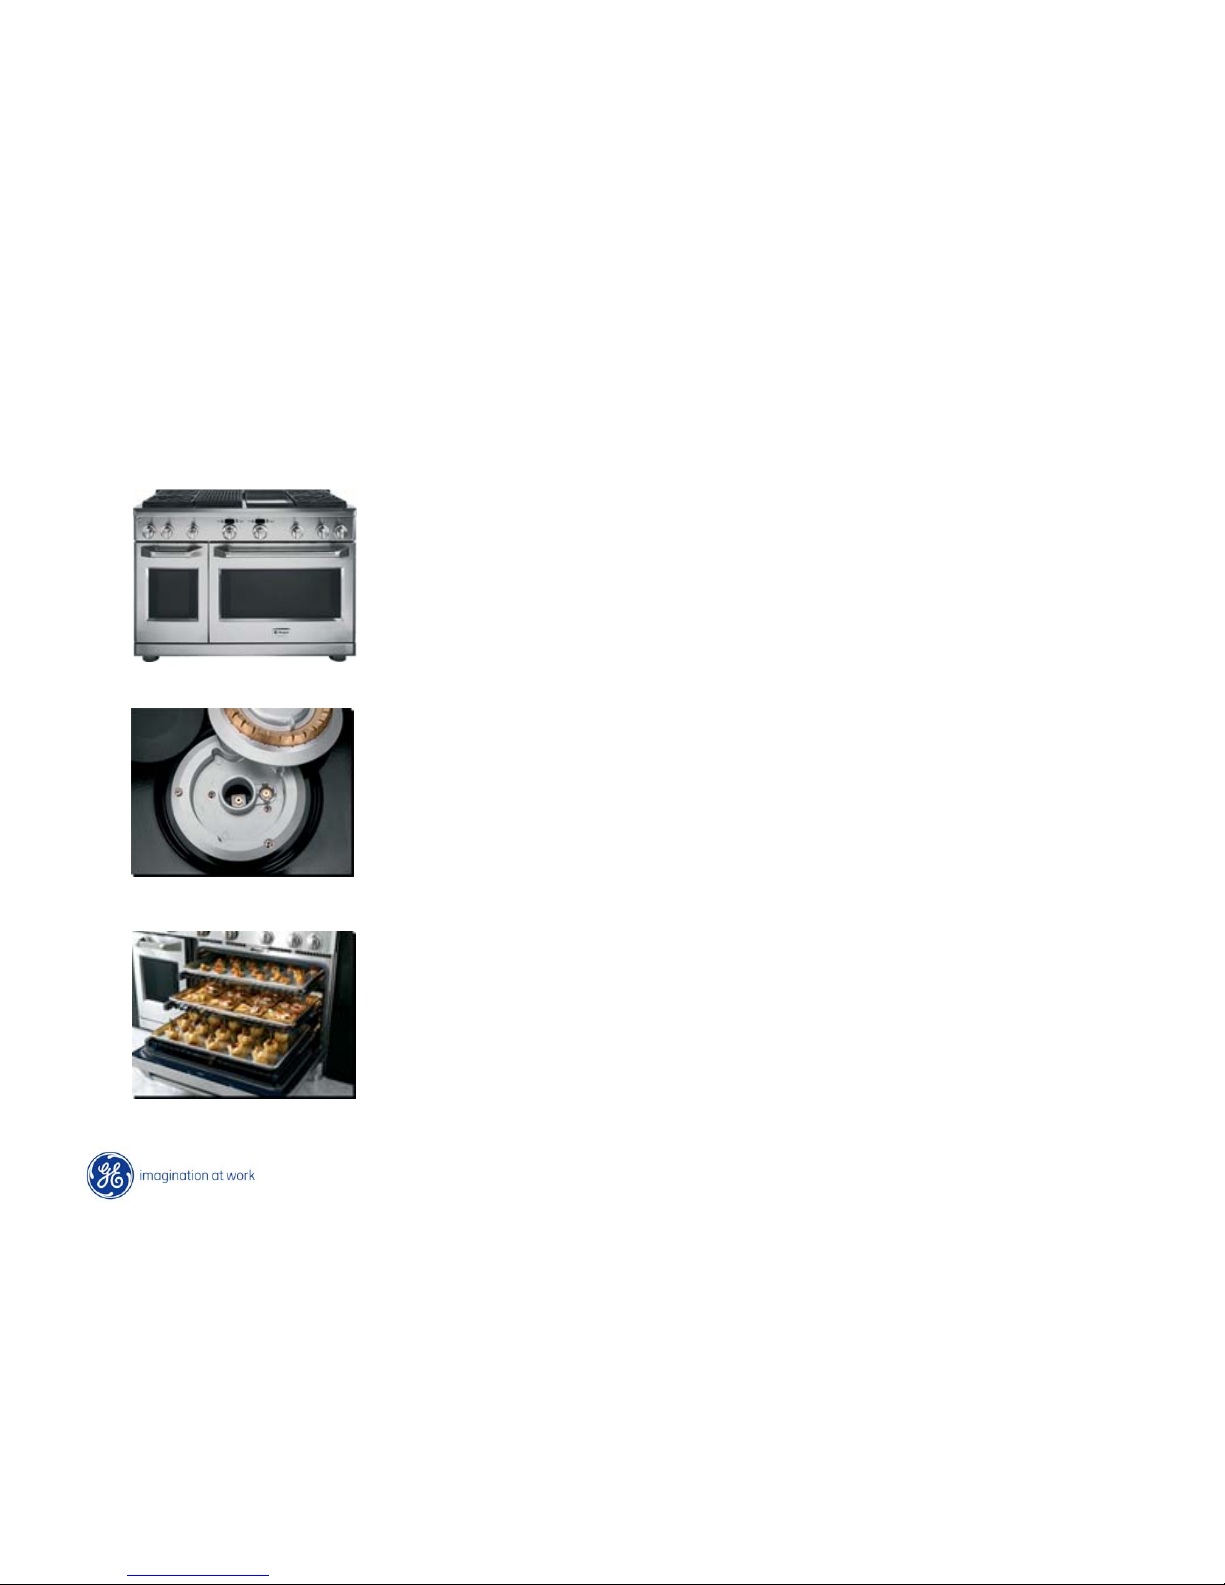
Grill
Griddle

18
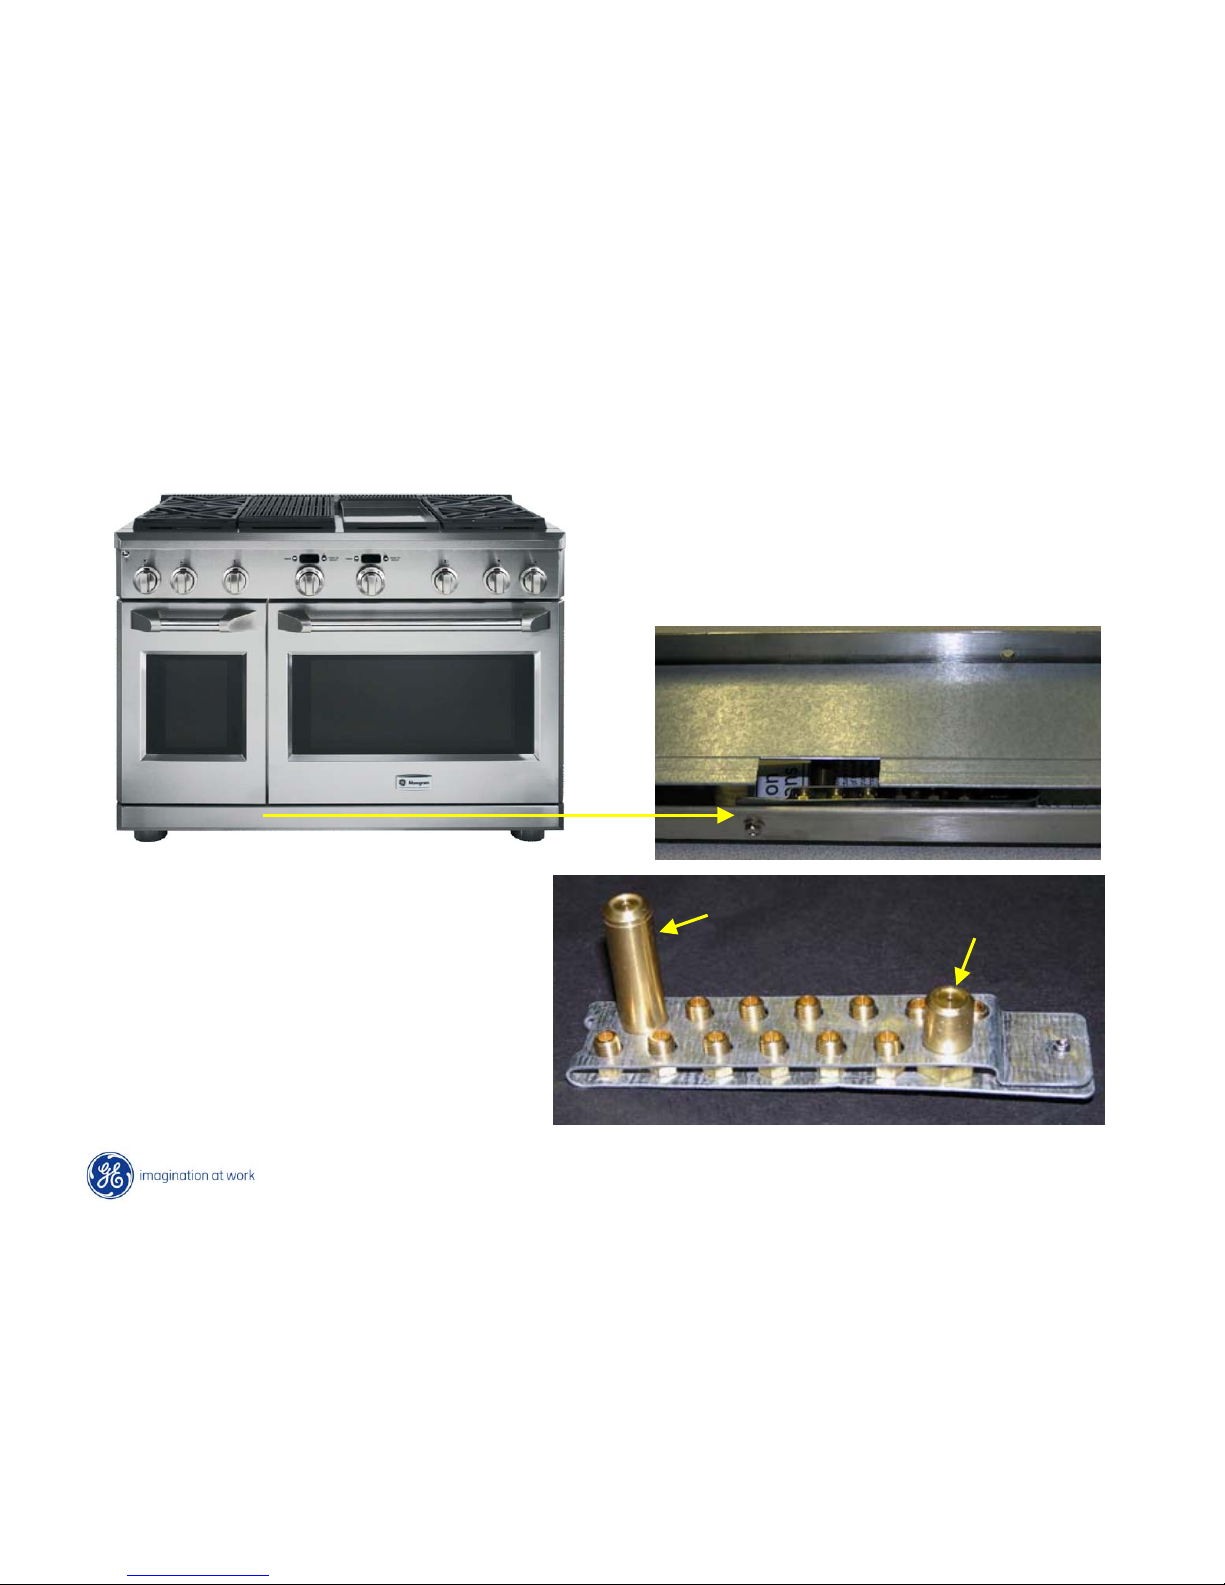
Rangetop Gas Conversion
Conversion Instructions
Orifice Kit
19
Limited lifetime
Limited lifetime
warranty
warranty --
Oven racks
Oven racks
(parts only)
(parts only)
55year limited warranty
year limited warranty --
Gas burners
Gas burners
(parts only)
(parts only)
(Grill and griddle burners not included)
(Grill and griddle burners not included)
22year warranty
year warranty --
Parts and labor
Parts and labor
Warranty
20
ZDP484NGPSS
21
22
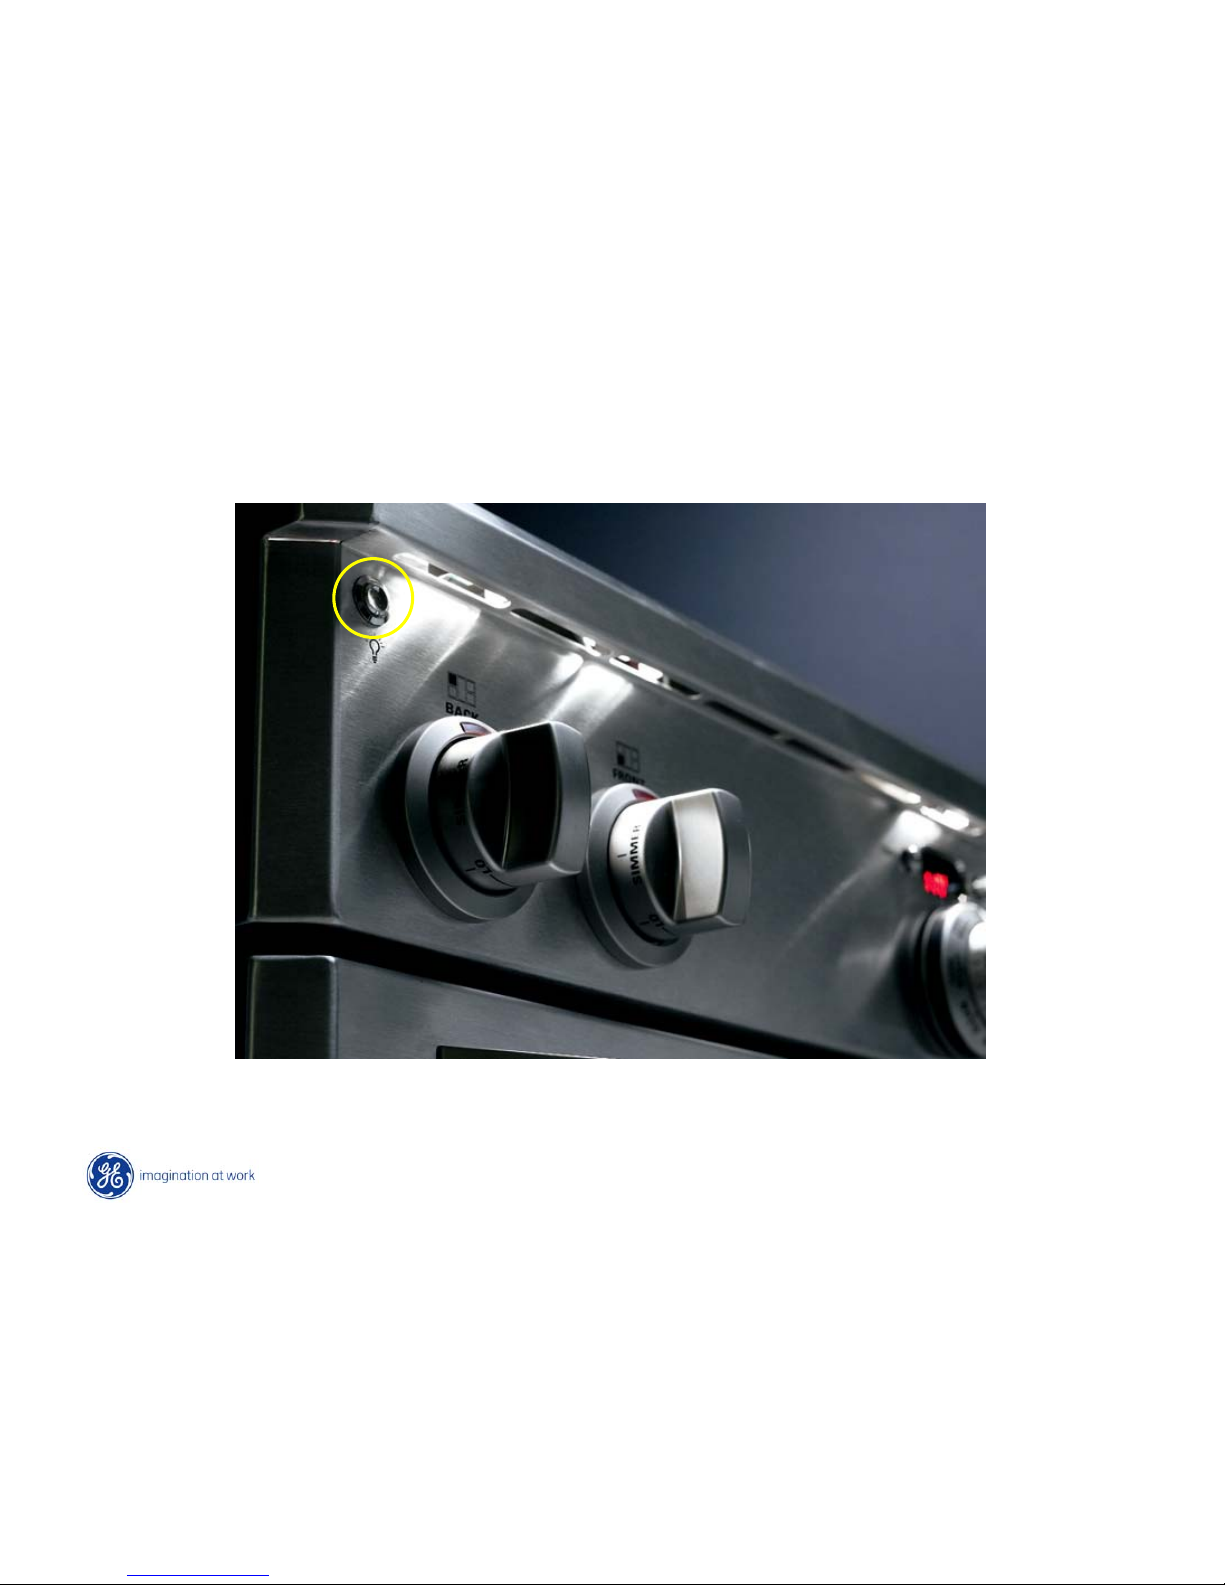
Control Panel Lighting
LED lighting on all models. On/Off switch on panel.
23
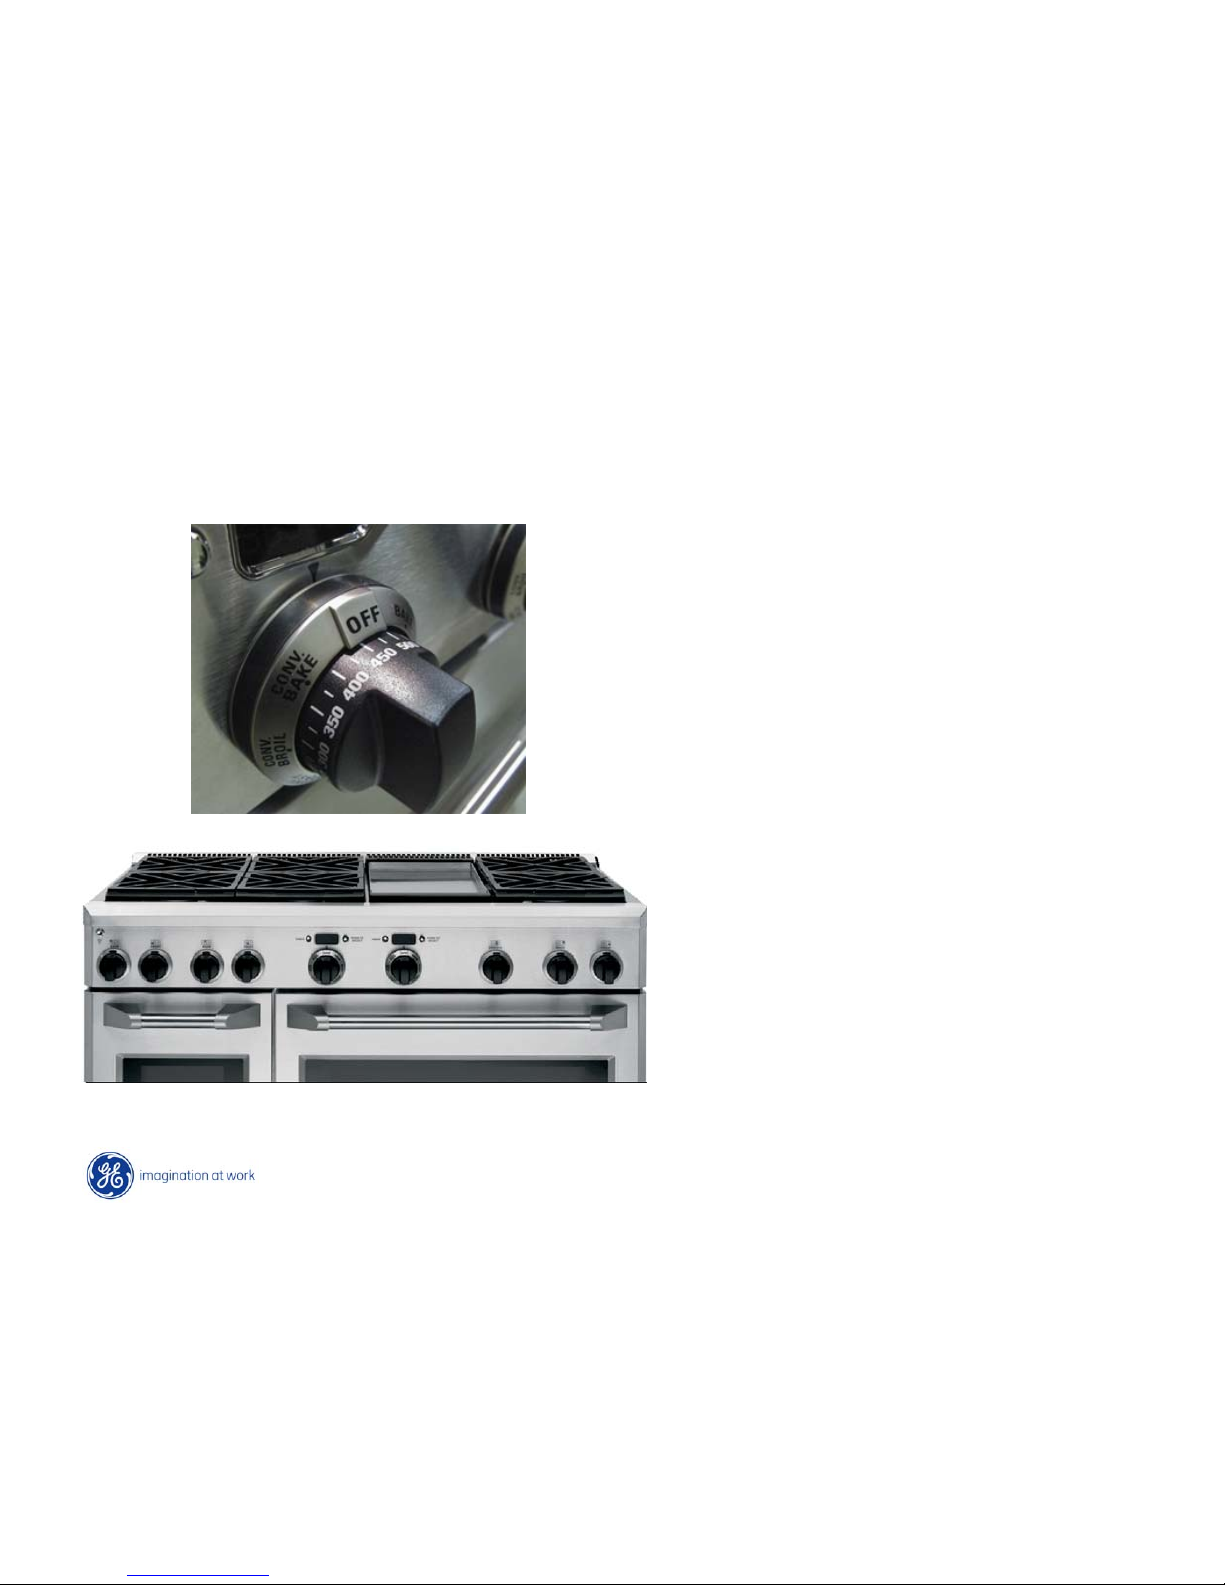
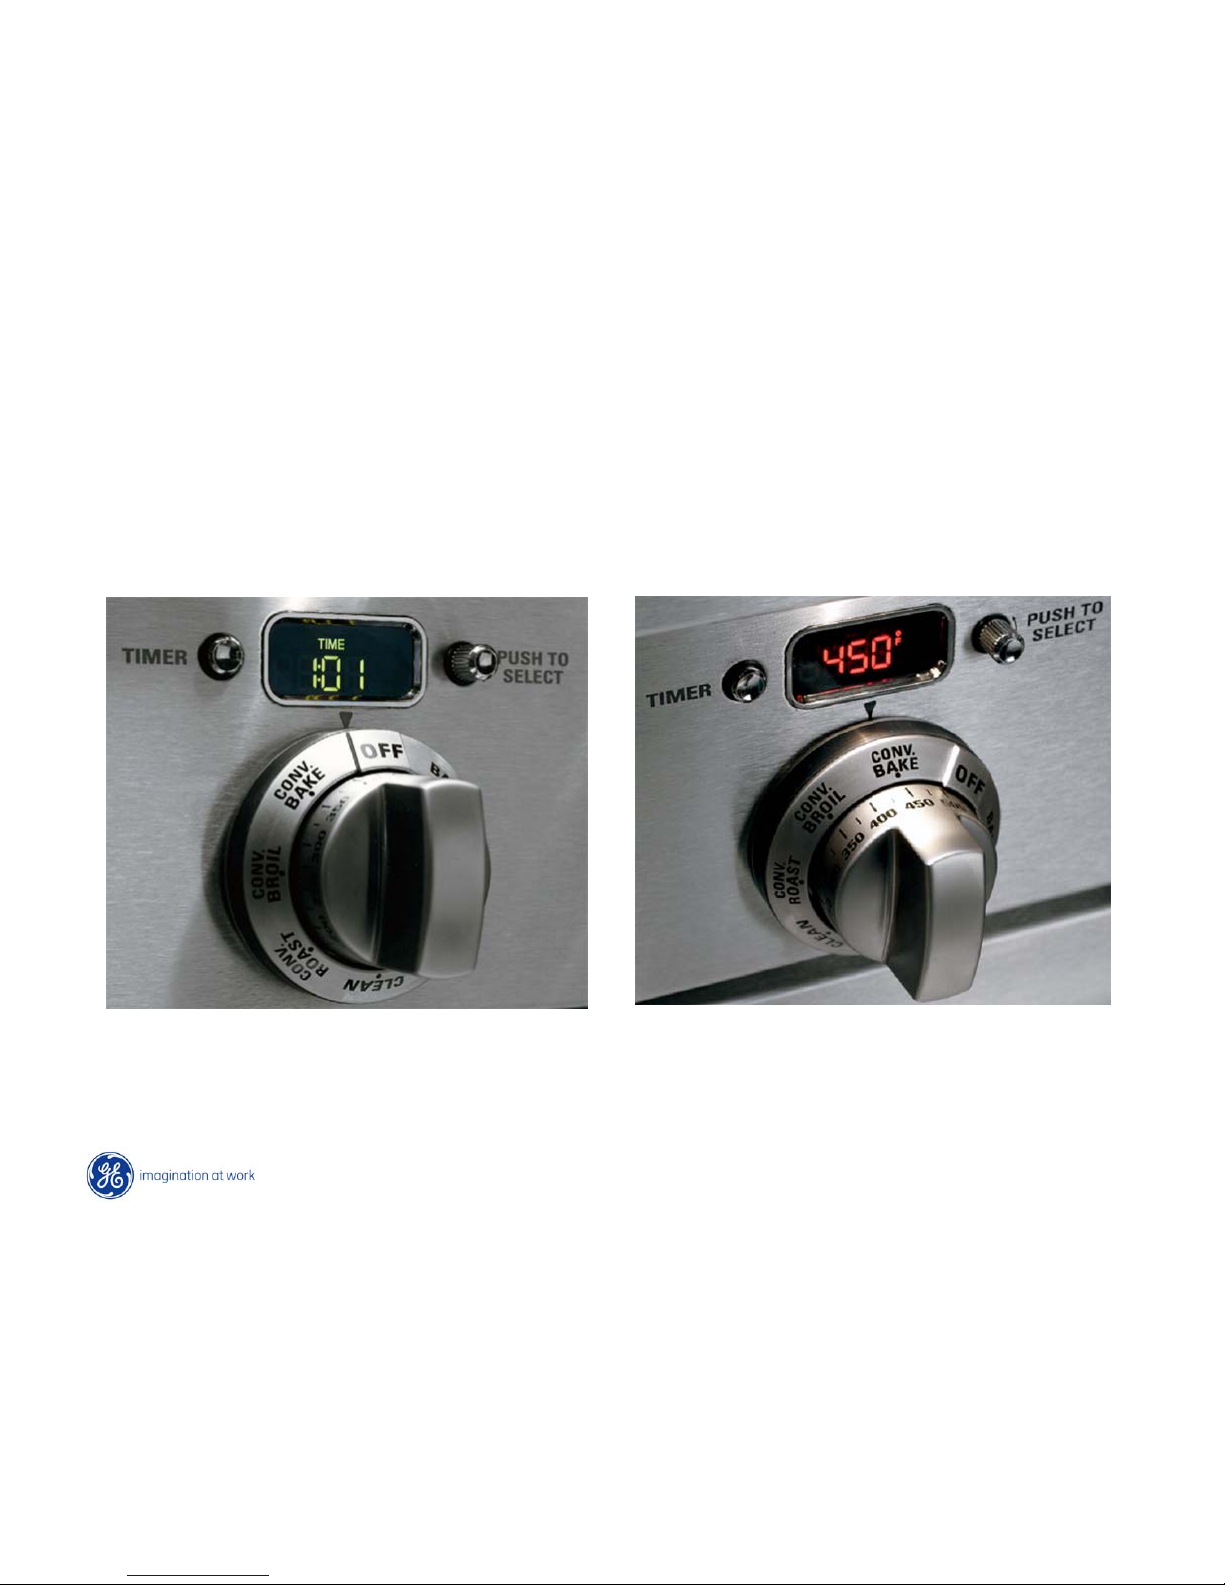
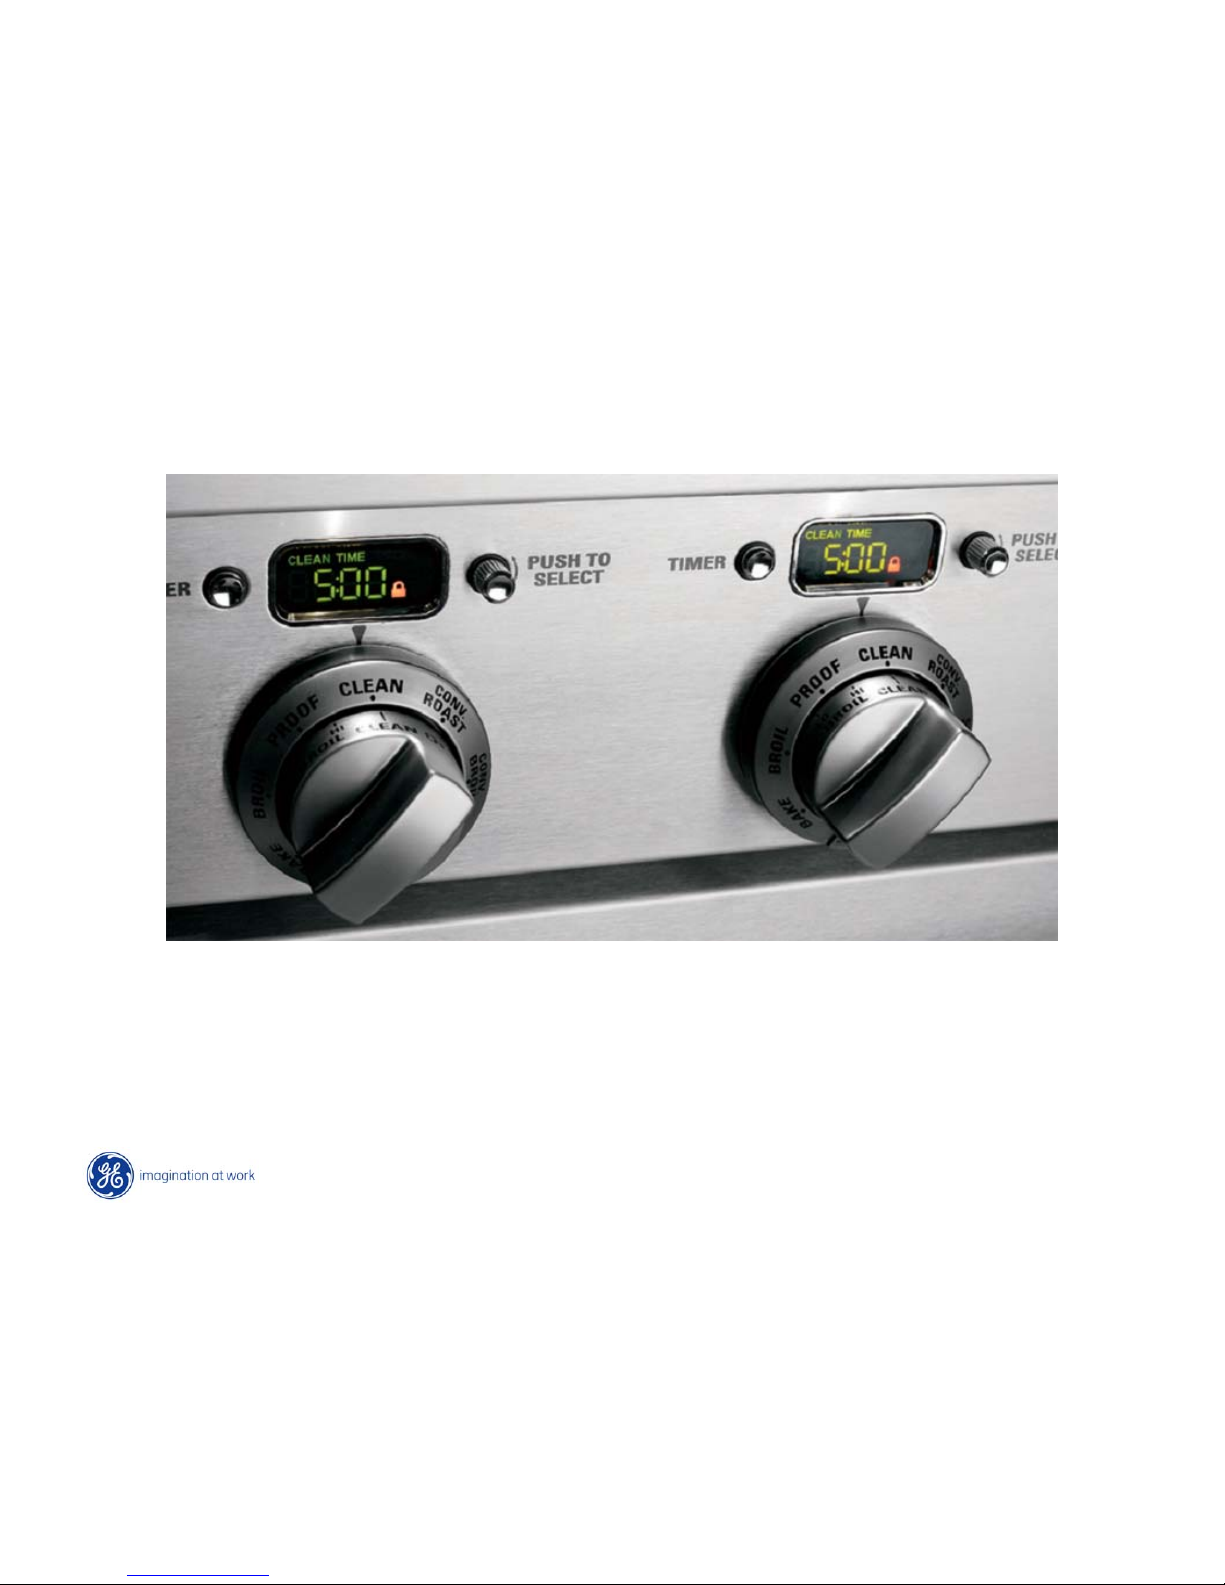
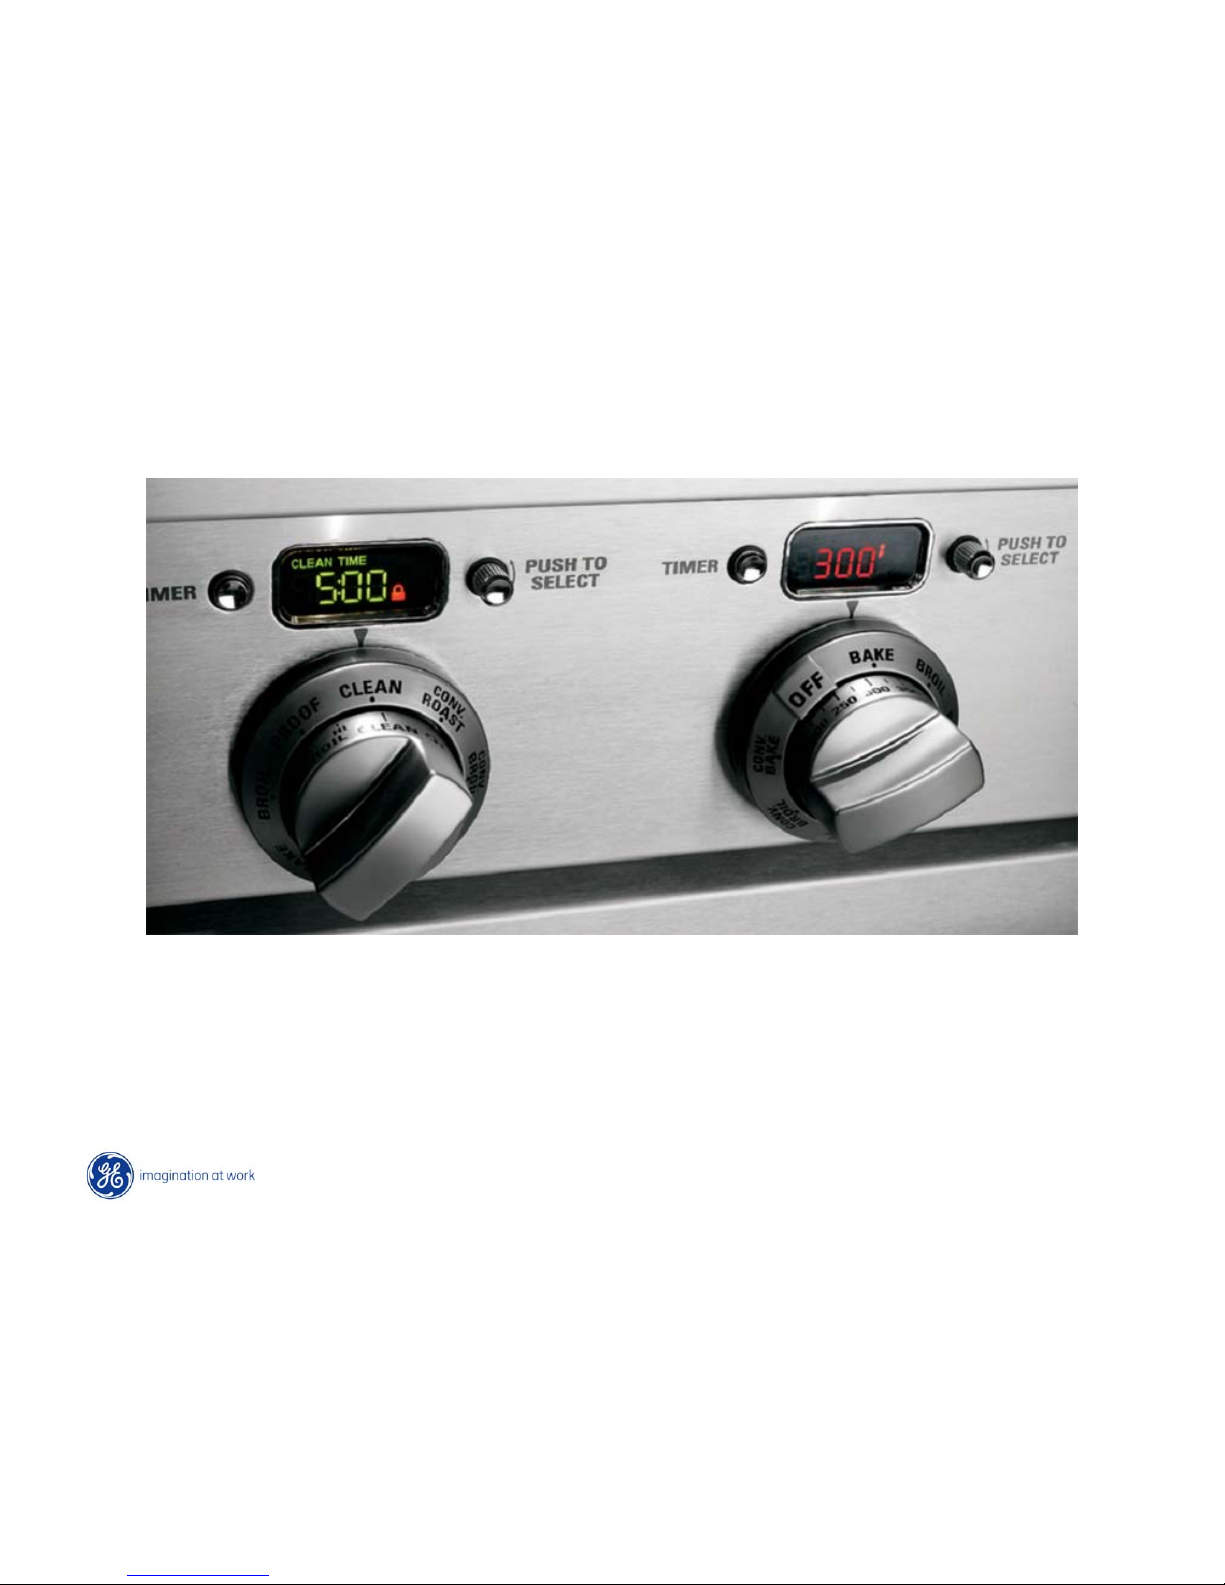
Oven Control Features
Electronic dial control. The larger outer bezel or dial controls the
cooking mode, while the center dial knob controls temperature.
A red font indicates a
temperature setting.
A green font indicates a
timer or display setting.
24
Self Clean Features
On double oven models, the ovens can be set to self clean in sequence.
The first oven set starts the cycle. Cleaning defaults to 5 hours, but can
be adjusted between 3 to 5 hours in 15 minute increments. The control
will display “End” when the self-clean cycle is complete.
25
On double oven models, one oven can be used for cooking functions while
the other oven is cleaning (not recommended for Proof Cycle). All range top
functions – surface burners, grill and griddle can be used while cleaning.

26
All oven racks, surface burner wok grates (not the grate frame),
the griddle vent trim and the grill grate (not the grate frame) can
be cleaned in the self-clean cycle. The grease troughs cannot.
27
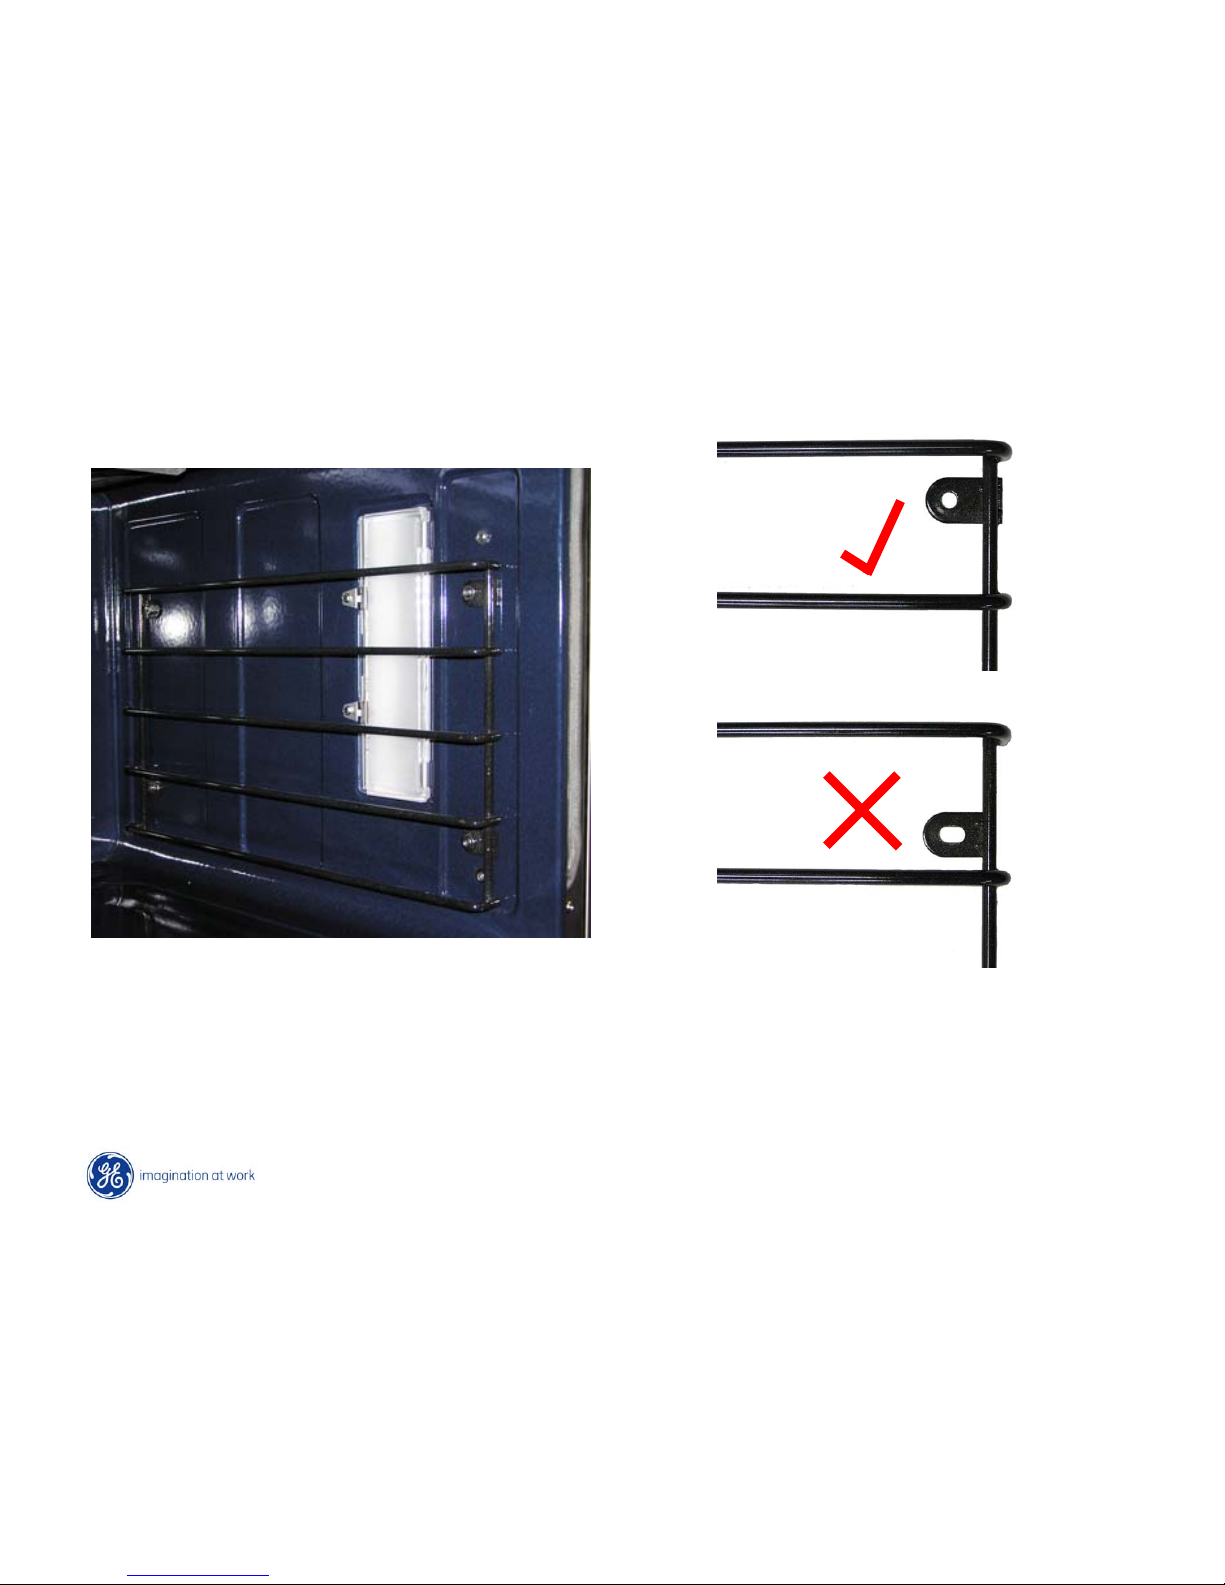
Rack Ladders
Correct
Incorrect
The rack ladders can be installed incorrectly, which will cause the
oven racks to be located at the wrong height. Make certain the
mounting bracket is located at the top, as shown above.
28
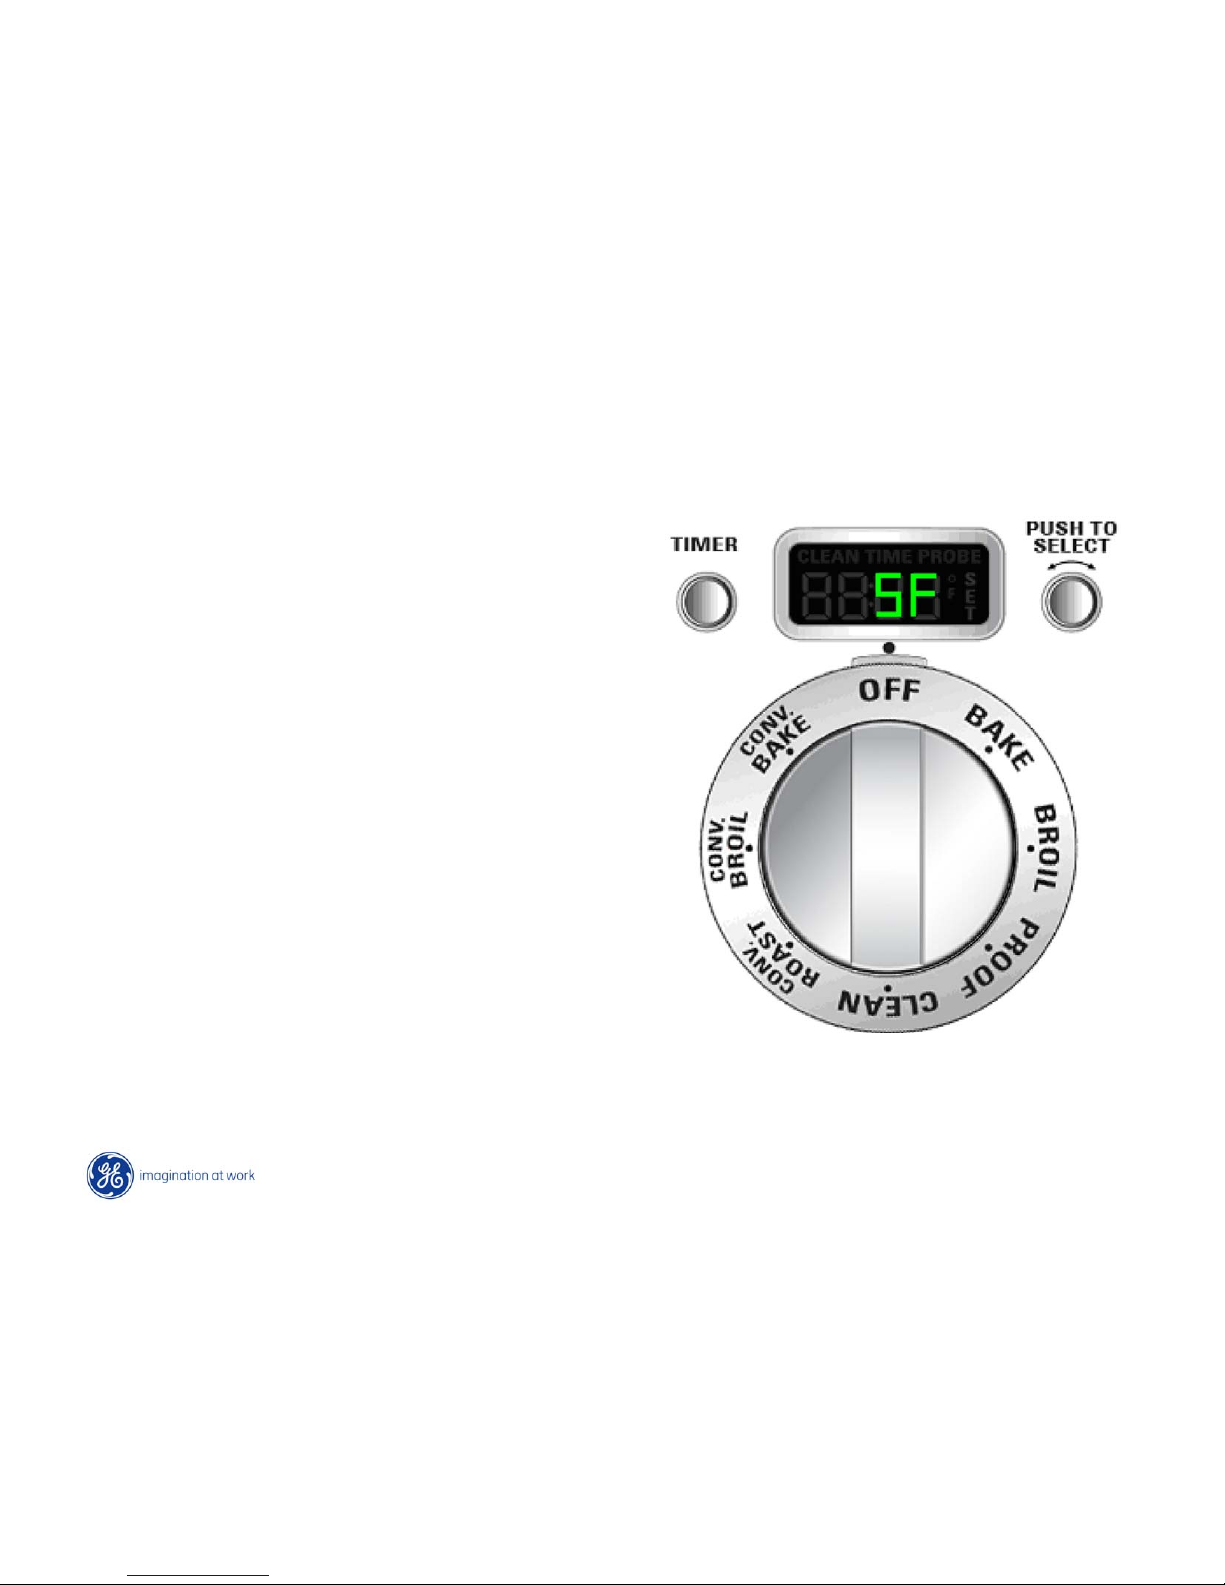
Special Features
Oven thermostat adjustment (displayed
as OFFSEt) and Sabbath mode
(displayed as SAbbAth) can be accessed
through the Special Features control.
Press and hold both the Timer and the
Push to Select knobs on the main oven
for approximately 4 seconds. The
display will show SF.
Choose a feature by rotating the Push
to Select knob clockwise or counterclockwise and pushing the knob.
If a feature isn’t selected in 60 seconds,
the Special Features mode is cancelled.
29
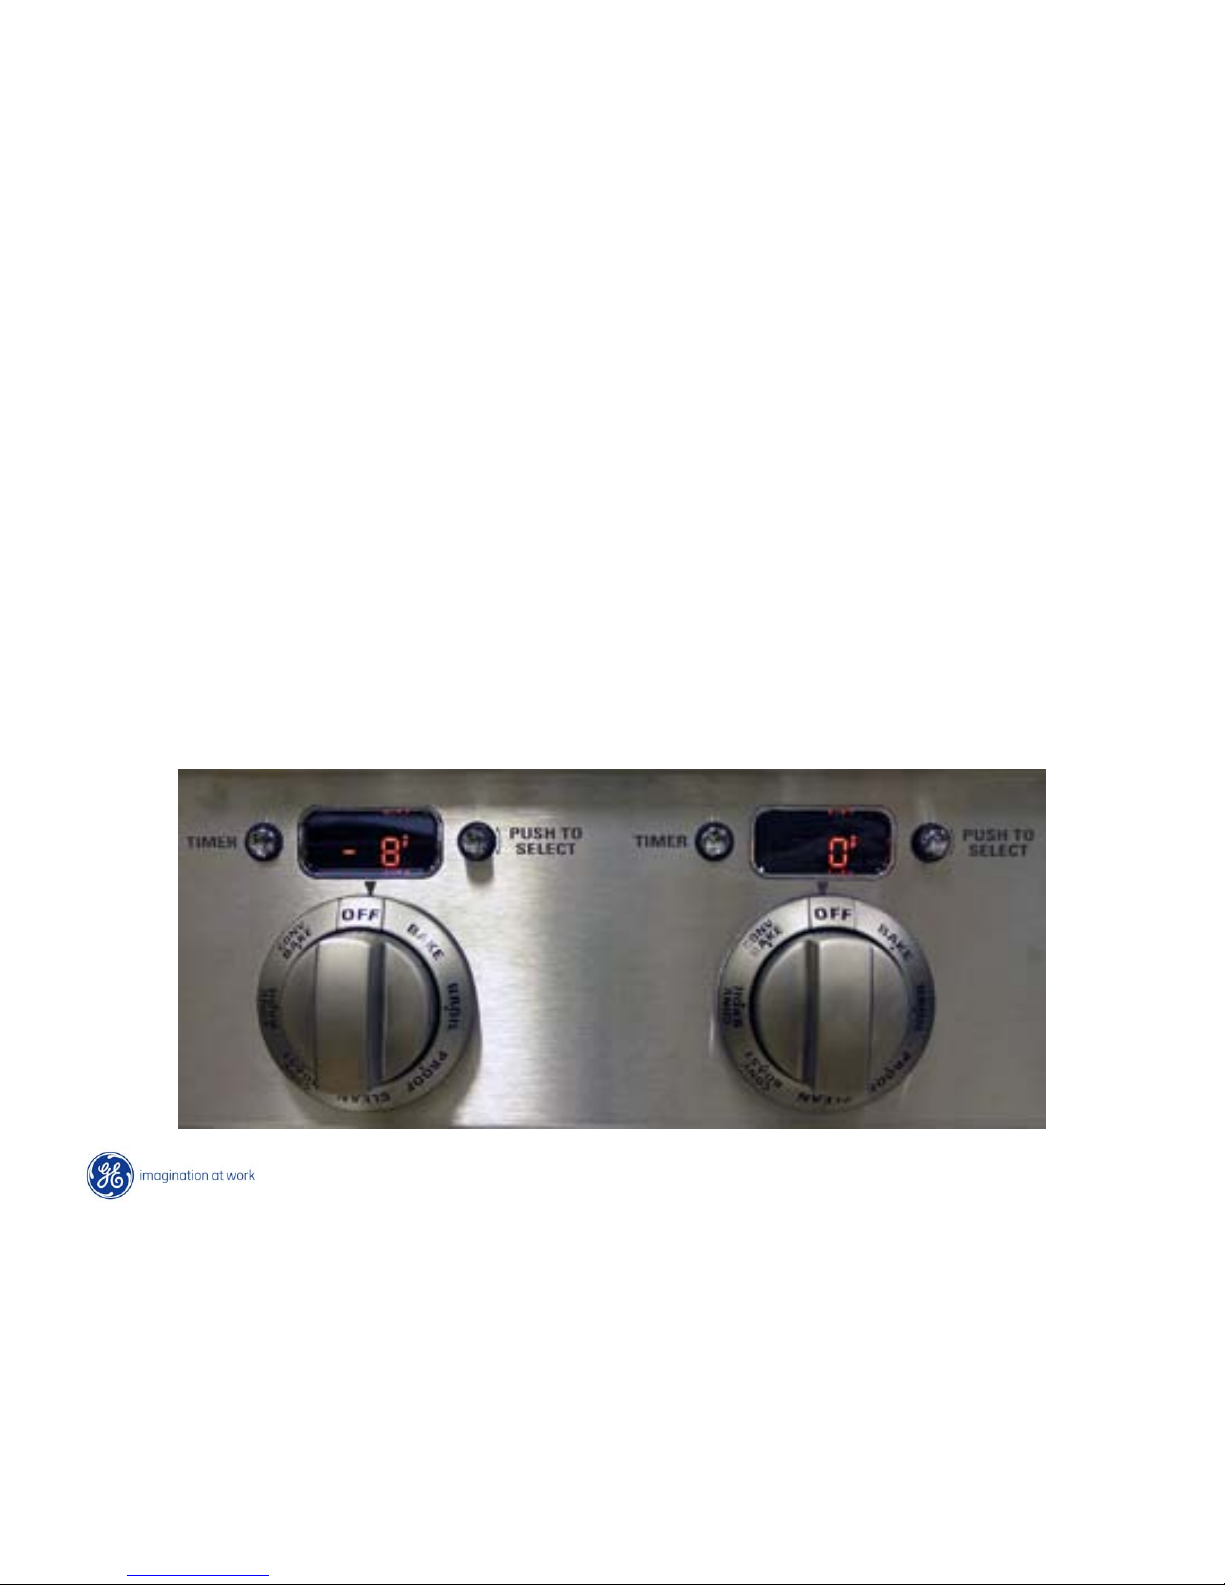
Temperature can be offset by +/- 35°F in 1°F increments. The adjustment
will only affect Bake, Convection Bake and Convection Roast. It does not
affect broiling or self-cleaning temperatures. The adjustment will be
retained in memory after a power failure. The large oven control
changes the setting in both ovens. Rotate the Push to Select knob to
adjust setting. For both ovens, push the large oven’s Push to Select to
set the temperature.
Offset Mode
30
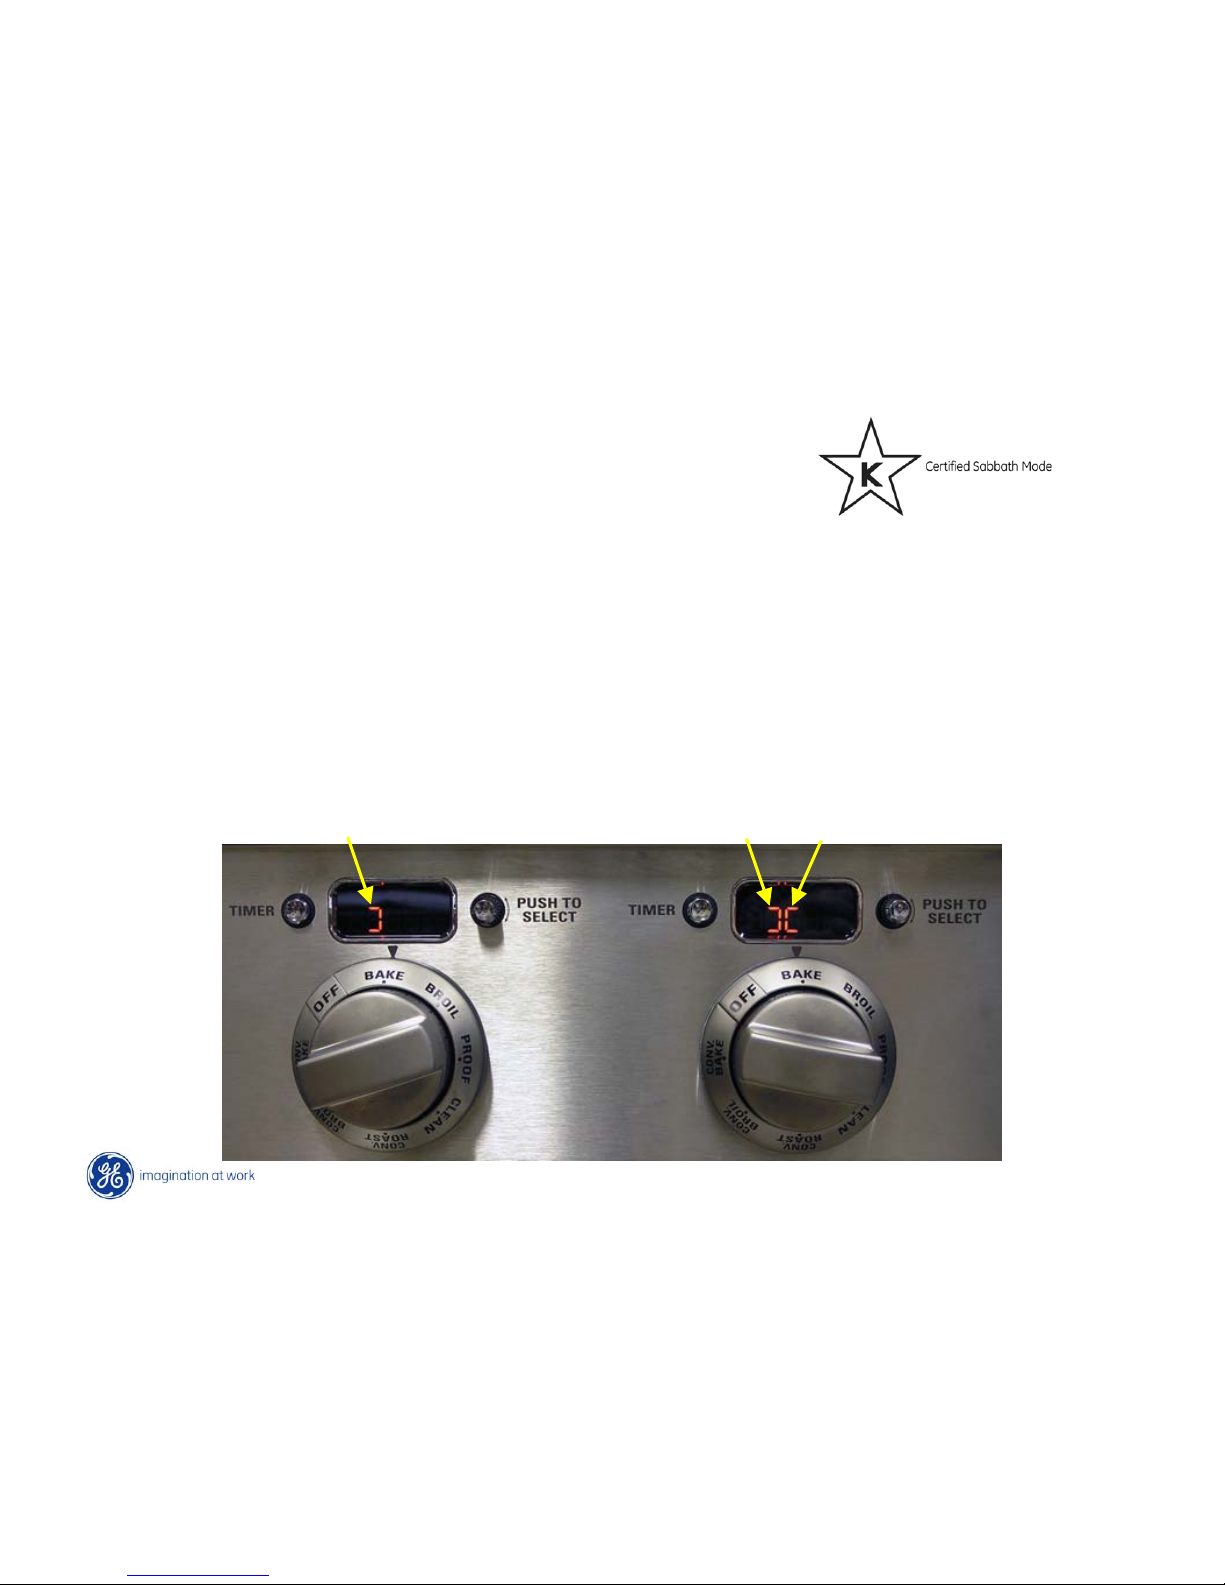
Sabbath Mode
Sabbath mode can be used for baking only.
When the Sabbath feature is set, the oven lights, convection fan and all
audible beeps will be disabled.
The feature will also provide a random delay period, of approximately 30
seconds to 1 minute, before the oven will turn on once it is set to BAKE.
The main oven control will control both ovens. The Sabbath feature
symbol will appear in both oven display windows.
Sabbath set Sabbath set
Oven in a position
other than off
 Loading...