


Moneris® VX 520
Reference Guide
(12/17)

Need help?
Web: moneris.com/support-VX520
Toll-free: 1-866-319-7450
Record your Moneris merchant ID here:
____________________________________

Contents
Setting up your terminal ...............................................................................................4
Before you get started ................................................................................................................................ 5
Hardware setup ......................................................................................................................................... 6
Completing the hardware setup ......................................................................................................................... 7
Tips for moving through the menus on the terminal ......................................................................................... 8
Setting up the terminal password ...................................................................................................................... 9
Communications setup ............................................................................................................................. 10
Using dynamic IP ..............................................................................................................................................10
Using static IP ...................................................................................................................................................10
Using dial communications as backup for IP (optional) ...................................................................................11
Using dial ..........................................................................................................................................................11
Entering the initialization phone number ..................................................................................................................... 12
Entering merchant IDs and terminal IDs .................................................................................................... 13
Initialization and logon ............................................................................................................................. 14
Additional options .................................................................................................................................... 15
Changing the terminal language .......................................................................................................................15
Enabling tipping, cashback, or invoice number ................................................................................................15
For basic tip processing ................................................................................................................................................ 15
For cashback option ...................................................................................................................................................... 16
For invoice number ....................................................................................................................................................... 16
Password protection on manual entry .............................................................................................................16
Enabling password protection on manual entry........................................................................................................... 16
Changing manual entry options .................................................................................................................................... 17
Enabling Gift & Loyalty programs .....................................................................................................................17
Gift & Loyalty initialization ........................................................................................................................................... 17
Dial communications setup .......................................................................................................................................... 18
Using your terminal .................................................................................................... 20
Moneris VX 520 ........................................................................................................................................ 21
Terminal keys and hardware ............................................................................................................................22
Card types ................................................................................................................................................ 23
Magnetic stripe card .........................................................................................................................................23
Chip card ...........................................................................................................................................................23
Contactless card ...............................................................................................................................................23
Cardholder verification ............................................................................................................................. 24
Cardholder verification methods (CVM) ..........................................................................................................24
Cardholder verification limit .............................................................................................................................24
Card entry options .................................................................................................................................... 25
Insert: Chip cards ..............................................................................................................................................25
Wave/Tap: Contactless cards ...........................................................................................................................25
Maximum Contactless Dollar Value (CDV) .................................................................................................................... 25
Swipe: Magnetic stripe cards ...........................................................................................................................26
Manual card entry ............................................................................................................................................26
Transactions ............................................................................................................................................. 27
Moneris® VX 520: Reference Guide 1

General guidelines ............................................................................................................................................27
Purchase ...........................................................................................................................................................27
Partially Approved Purchase ............................................................................................................................27
Advice ...............................................................................................................................................................27
Pre-authorization ..............................................................................................................................................28
Pre-auth Completion ........................................................................................................................................28
Refund ..............................................................................................................................................................28
Correction .........................................................................................................................................................29
Delete Pre-auth ................................................................................................................................................29
Balance Inquiry .................................................................................................................................................30
Merchant and customer prompts ....................................................................................................................30
Merchant prompts ........................................................................................................................................................ 30
Customer prompts ........................................................................................................................................................ 32
Receipts ................................................................................................................................................... 36
Signing credit card receipts ..............................................................................................................................36
Merchant copy .............................................................................................................................................................. 36
Cardholder copy ........................................................................................................................................................... 36
Reprinting receipts ...........................................................................................................................................36
Card masking ....................................................................................................................................................36
Signatureless transactions ................................................................................................................................37
Maximum Signatureless Dollar Values (SDV)................................................................................................................ 37
Receipt samples ................................................................................................................................................37
Credit/Debit card Purchase receipt .............................................................................................................................. 37
Partial Approval receipt sample.................................................................................................................................... 38
Useful codes ................................................................................................................................................................. 38
Reports .................................................................................................................................................... 39
Masking on reports ...........................................................................................................................................39
Transaction Inquiry ...........................................................................................................................................39
Merchant Sub-totals report ..............................................................................................................................39
Pre-auth Transactions report ...........................................................................................................................40
Tip report ..........................................................................................................................................................40
Stored Transactions report ...............................................................................................................................40
Deposit Totals report ........................................................................................................................................41
Clerk Sub-totals report .....................................................................................................................................41
EMV Parameters report ....................................................................................................................................42
Batch History report .........................................................................................................................................42
Administrative transactions ...................................................................................................................... 43
Logon ................................................................................................................................................................43
Logoff ................................................................................................................................................................43
Re-initialization .................................................................................................................................................43
Batch Reclaim ...................................................................................................................................................44
End-of-day process ................................................................................................................................... 45
Merchant close .................................................................................................................................................45
System close .....................................................................................................................................................45
Troubleshooting ....................................................................................................................................... 47
Error messages .................................................................................................................................................47
Equipment issues ..............................................................................................................................................52
Moneris® VX 520: Reference Guide 2

Merchant support ....................................................................................................... 53
Moneris® VX 520: Reference Guide 3

In this section, we go over everything you need to
terminal
Setting up your terminal
Setting up
your
know to set up your VX 520 terminal.
You can also view our setup videos online at
moneris.com/support-VX520
Moneris® VX 520: Reference Guide 4

VX 520 TERMINAL
WITH MAGIC BOX
PAPER ROLL
Before you get started
1. Use the table below to confirm that you received all the necessary items in your Welcome Kit.
POWER CABLE
ALL-IN-ONE CONNECTION CABLE
2. If your terminal will communicate with the Moneris host over high-speed Ethernet, review the Moneris IP
Readiness Checklist (available at moneris.com/checklist) to ensure that your Ethernet service is ready to
support your terminal.
3. Make sure you have the following information:
Your 13-digit Moneris Merchant ID (found in your “Important information” email).
Settlement responsibility (found in your Welcome Email): System Close (Moneris closes your batch at
the end of each day), or Merchant Close (you are responsible for closing your batch at the end of each
day).
Optional features e.g., gift cards, loyalty cards, Ernex Terminal ID (found in your Moneris Gift & Loyalty
Welcome letter).
If any of the above required elements are missing, please call Moneris Customer Care toll-free at
1-866-319-7450.
ETHERNET CABLE AND/OR DIAL CABLE
Moneris® VX 520: Reference Guide 5

Hardware setup
Follow these instructions to set up your terminal hardware.
1. Connecting the cables to the Magic Box on the all-in-one cable
a. Insert the Ethernet cable into the ETH port.
b. Insert the dial cable into the dial port (marked
with the symbol).
c. Insert the power cable into the power port
(marked with the symbol).
Important: You must use the exact power cable
provided by Moneris to work with the Moneris
VX 520 terminal. Failure to do so may affect the
operability of, or cause damage to, the
equipment.
d. Proceed to Completing the hardware setup on page 7.
Moneris® VX 520: Reference Guide 6
Completing the hardware setup
2. Connecting the other ends of the cables
a. Plug the other end of the Ethernet cable into the router/switch/hub/internal wiring – whatever is
applicable to the high-speed Internet service at your specific location (please refer to the Moneris
IP Readiness Checklist if necessary; available at moneris.com/checklist).
b. Plug the other end of the dial cable into an analog phone jack.
Recommendations: Use a dedicated phone line for the terminal. Sharing the line with another
device can cause communication problems on the terminal. If using a splitter, test both devices
and note that the terminal and the other device cannot use the phone line at the same time.
c. Plug the other end of the power cable into a wall jack.
Recommendation: Use an extension cord with surge protection.
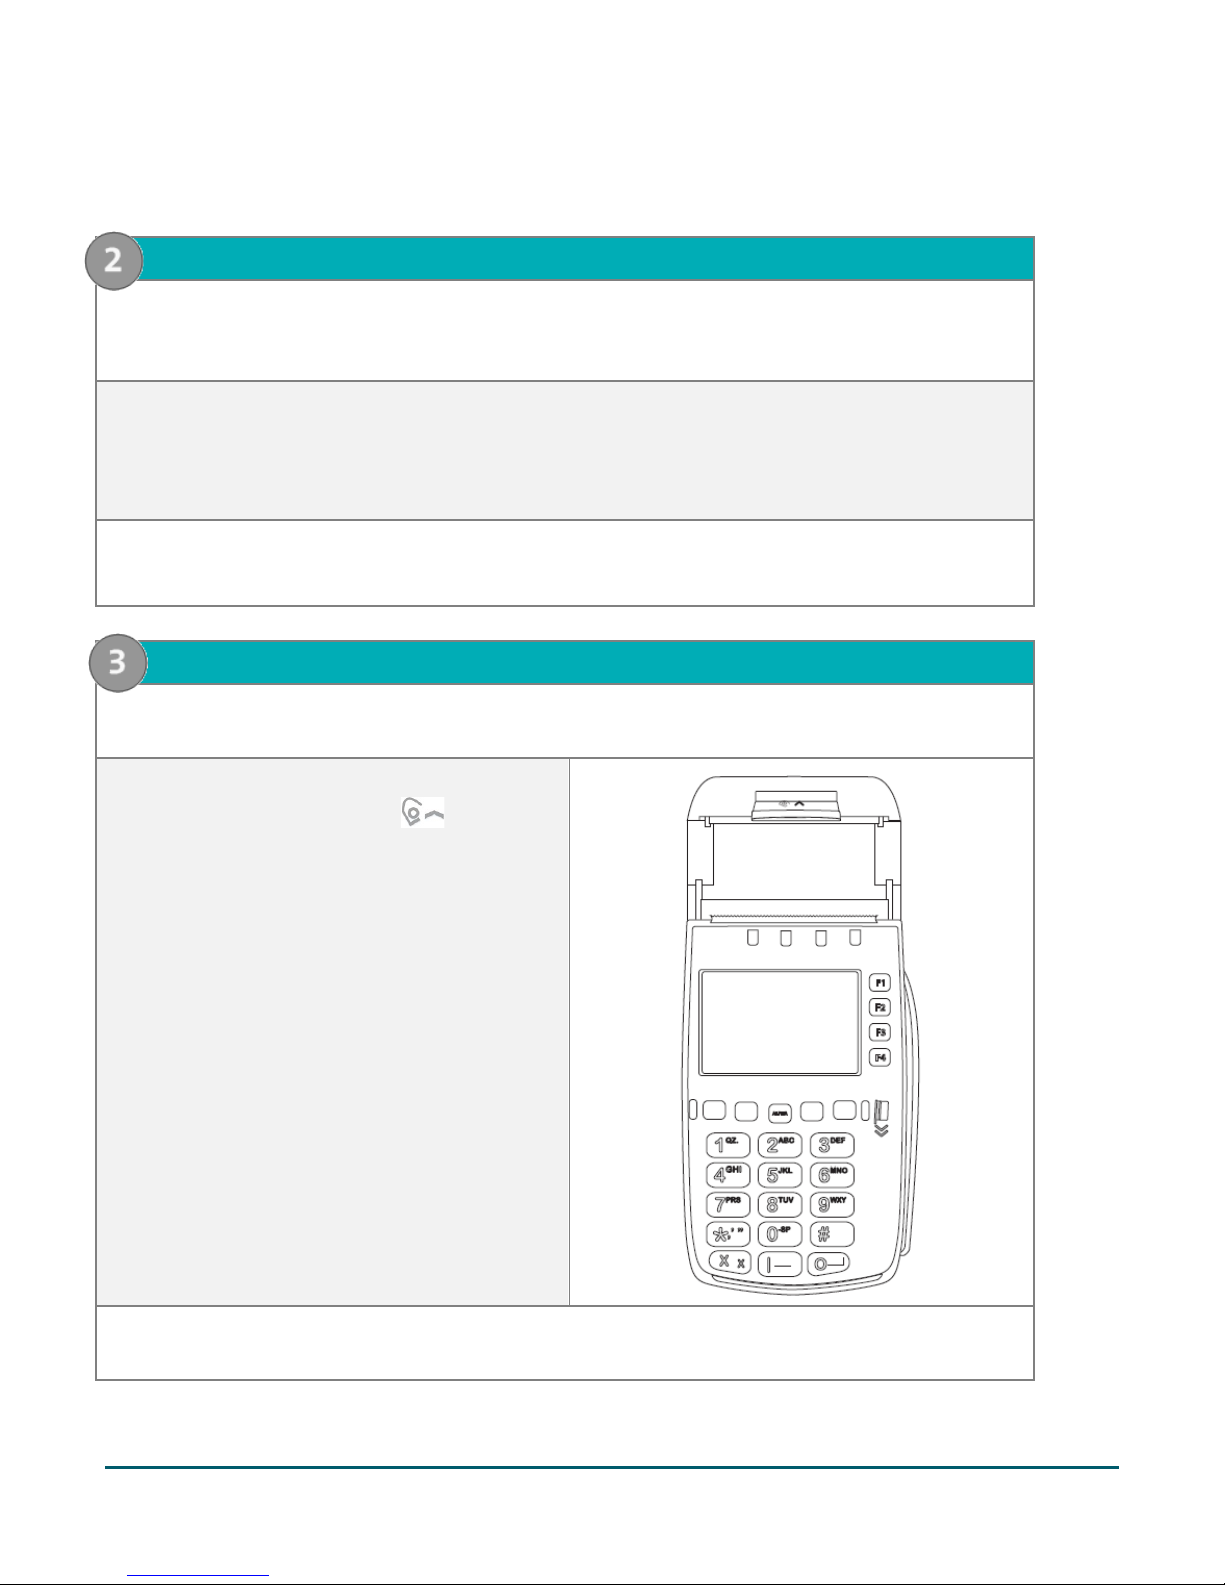
3. Load paper
Note: You must use thermal-sensitive paper rolls. Shop for point-of-sale supplies and paper online at
shop.moneris.com.
a. Open the paper well (located above the
display screen): Look for the symbol on
the dark plastic latch, gently pull up on the
latch, then lift the paper well lid up and back.
b. Prepare the new paper roll: Remove the sticker and unwind the roll past any sticker residue on
the paper, then tear off the unwound portion of the paper.
Moneris® VX 520: Reference Guide 7

c. Place the paper roll into the paper well so
that the paper rolls out from the underside of
the roll.
d. Pull the leading edge of the paper up until any glue residue on the paper roll is past the cutting
teeth of the printer.
e. Close the printer cover and lock it by gently pressing directly on it until it clicks shut.
f. Tear off the loose end of the paper by pulling it down then sideways across the metal teeth.
g. From the applications menu, select DEBIT & CREDIT, and then press the 3 key to feed paper
through the printer to ensure it is working properly.
h. Press the * (asterisk) key to return to the applications menu.
i. Proceed to Setting up the terminal password on page 9.
Tips for moving through the menus on the terminal
To scroll down or up, press the first purple key on the left. The arrow above the key indicates the direction
(e.g., if the arrow points down, you can scroll down).
To change the direction of the arrow, press the yellow key.
To select a menu item, press the grey function key (F1, F2, F3 or F4) that it appears beside.
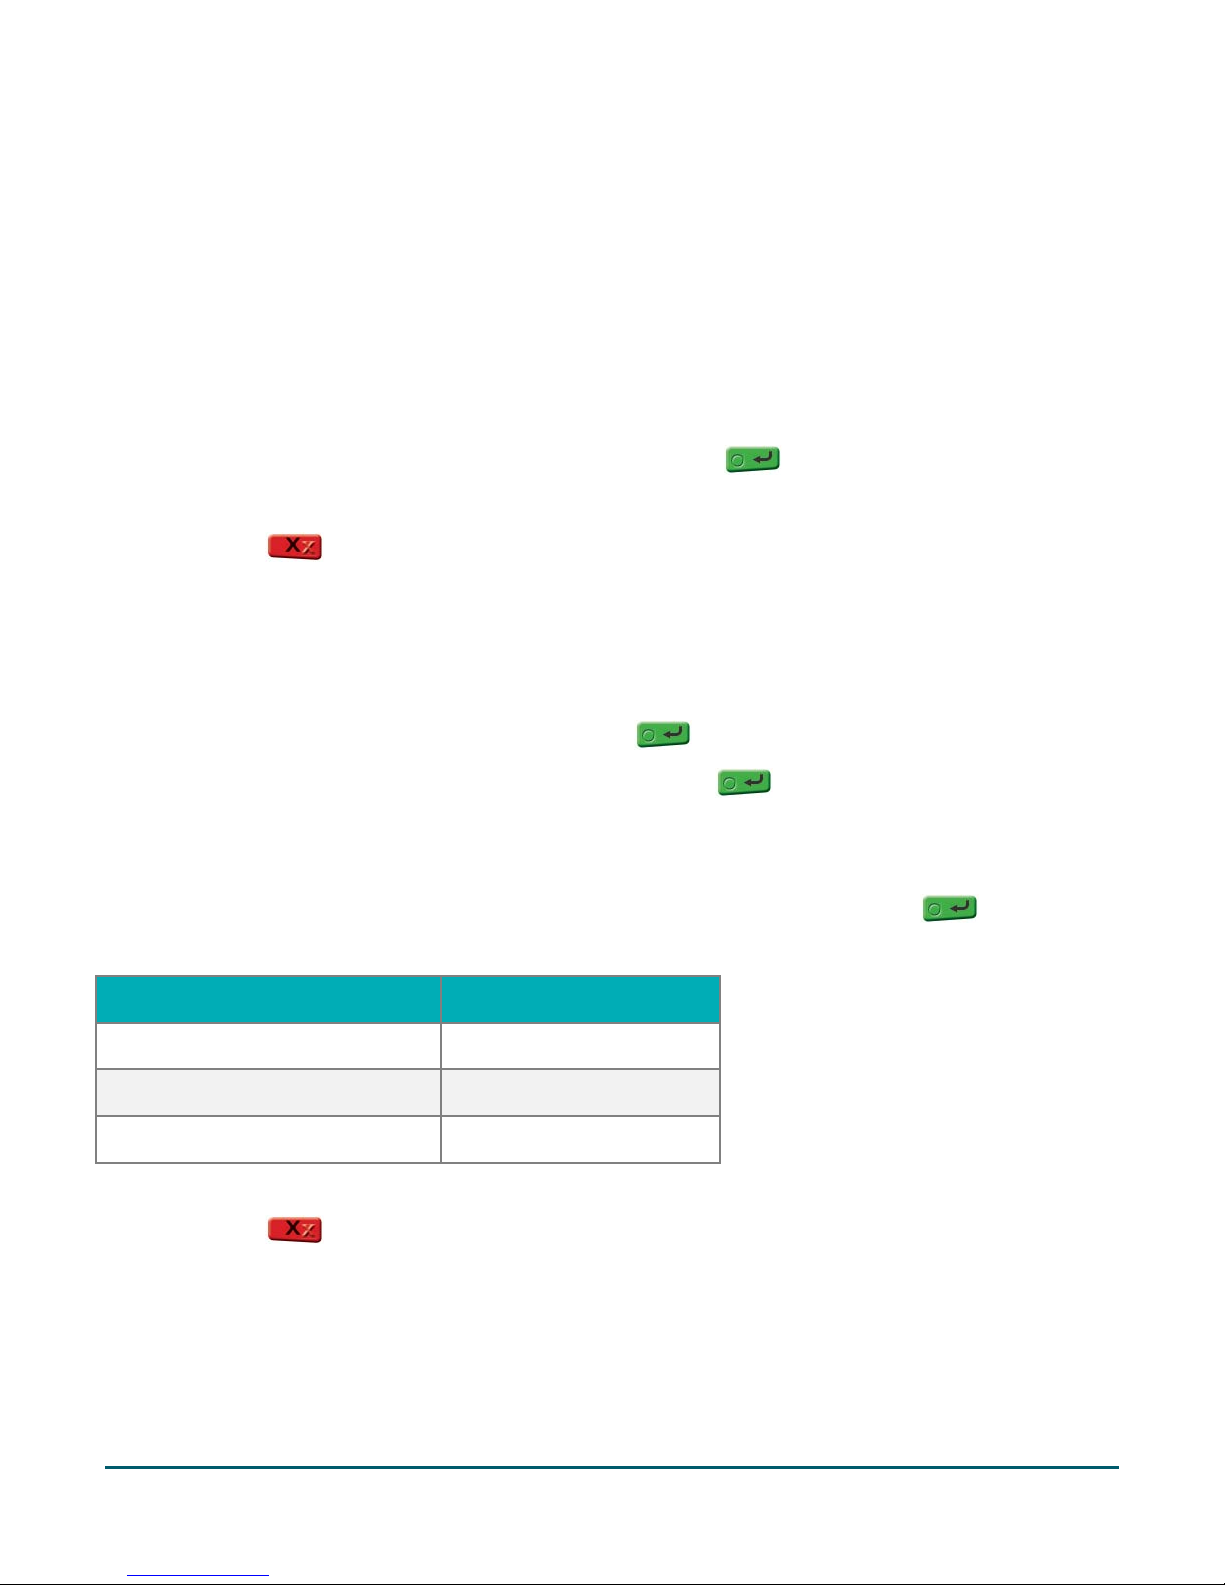
To finish entering information and move on to the next step, press the green key.
Moneris® VX 520: Reference Guide 8

Setting up the terminal password
Important: You will need to use this password every time you log on and whenever you need to change
settings, so be sure to create a password you can remember that is difficult for others to guess.
Note: If the manager password is entered incorrectly five times in a row, the terminal will lock and will be
unable to perform transactions. To unlock the terminal, contact Moneris Customer Care at 1-866-319-7450 and
request a password reset.
1. At the applications menu, select DEBIT & CREDIT.
The Change Password menu appears.
2. At the “New Password:” prompt, key in a password to be used as your manager password and press the
green key.
Note: The password must be 5-10 digits long and must consist of numbers only.
The “Confirm:” prompt appears.
3. Re-key the manager password and press the green key.
The applications menu appears.
4. Proceed to Communications setup on page 10.
Moneris® VX 520: Reference Guide 9

Communications setup
Your terminal must be configured to communicate with the Moneris host.
1. Ensure the communications cables are properly connected to the all-in-one cable based on your
communications type before proceeding with these steps. Refer to Hardware setup on page 6 for more
information.
2. Do one of the following based on your requirements:
If you are using dynamic IP as default, proceed to Using dynamic IP below.
If you are using static IP as default, proceed to Using static IP below.
If you are using dial as default, proceed to Using dial on page 11.
Using dynamic IP
The terminal is already configured for dynamic IP communications. Proceed to Using dial communications as
backup for IP (optional) on page 11.
Using static IP
Important: Disconnect the Ethernet cable from the all-in-one cable BEFORE completing these steps.
1. From the applications menu, press the 2 key.
The VCS Ethernet screen appears.
2. Press the first purple key on the right (below the icon).
The Ethernet Config menu appears.
3. On the Ethernet Config menu, select IP.
The IP Configuration menu appears.
4. On the IP Configuration menu, at the “IP Settings” prompt, select Edit.
5. Select Static.
6. If your Ethernet network requires the parameters listed below, perform steps 7 and 8 for each parameter.
Otherwise go to step 9.
Note: Contact your Internet Service Provider (ISP) to determine the addresses for these parameters.
IP Address
Subnet mask
Gateway IP Address
DNS1 IP Address
DNS2 IP Address
7. Select Next to view these parameters.
Moneris® VX 520: Reference Guide 10

8. Select Edit to key in the address for each of these parameters. To key in a period (.), press the 1 key, then
the press the ALPHA key once. Press the green key when finished entering each parameter.
9. Once all five static IP parameters have been entered, select Exit, then select Yes to save changes.
The system repairs the connection and prompts you to press any key.
10. Press any key on the keypad to return to the Ethernet Config menu.
11. Press the red key, then press the * (asterisk) key to return to the applications menu.
12. Re-connect the Ethernet cable to the ETH port on the Magic Box (see page 6).
13. Proceed to Entering merchant IDs and terminal IDs on page 13.
Using dial communications as backup for IP (optional)
When you have finished setting up communications for IP:
1. Plug in the dial cable: Follow the Connecting the cables to the Magic Box on the all-in-one cable steps on
page 6.
2. On the applications menu, select DEBIT & CREDIT.
3. When the transactions menu appears, press the green key to access the CONFIGURATION menu.
4. Select Setup, key in the manager password and press the green key.
5. Scroll down and select Host.
6. Select Next until “Backup Support” appears.
7. Select Edit, select Next until “Auto Backup” appears, and then select Slct.
8. Select Exit, then select OK to save changes.
9. Press the red key, then press the * (asterisk) key to return to the applications menu.
Using dial
Ensure the dial communication cable is properly connected to the all-in-one cable before proceeding with these
steps. Refer to Connecting the cables to the Magic Box on the all-in-one cable on page 6 for more information.
1. From the applications menu, select DEBIT & CREDIT.
2. When the transactions menu appears, press the green key to access the CONFIGURATION menu.
3. Select Setup, key in the manager password and press the green key.
4. Scroll down and select Host.
5. At the “Comm Link Type” prompt, select Edit, select Next until “Dial” appears, then select Slct.
6. Select Next until “Settle Comm Type” appears.
Moneris® VX 520: Reference Guide 11
7. At the “Settle Comm Type” prompt, select Edit, select Next until “Dial” appears, then select Slct.
8. Select Exit, then select OK to save changes.
The Setup menu appears.
9. If you need to dial a prefix (for example, a 9) to connect to an outside line, complete the steps below. If not,
go to step 10.
a. On the Setup menu, scroll down and select Terminal.
b. Select Next until “PABX Code” appears.
c. Select Edit, key in the prefix (e.g., 9) and press the green key.
d. Select Exit, then select OK to save changes.
10. Press the red key, then press the * (asterisk) key to return to the applications menu.
11. Proceed to Entering the initialization phone number on page 12.
Entering the initialization phone number
1. From the applications menu, select DEBIT & CREDIT.
2. When the transactions menu appears, press the green key to access the CONFIGURATION menu.
3. Select Setup, key in the manager password and press the green key.
4. Scroll down and select Comm.
5. On the Edit CPT menu, select Next until “Pri Init Phone” appears.
6. Select Edit, key in the initialization phone number as follows, and then press the green key.
Note: Do not enter dashes (-) or spaces between the numbers.
If your merchant ID begins with: Key in:
00301 1-888-699-7299
00302 1-888-358-8602
00304 1-888-332-8433
7. Select Exit, then select OK to save changes.
8. Press the red key, then press the * (asterisk) key to return to the applications menu.
9. Proceed to Entering merchant IDs and terminal IDs on page 13.
Moneris® VX 520: Reference Guide 12

Entering merchant IDs and terminal IDs
1. From the applications menu, select DEBIT & CREDIT.
2. When the transactions menu appears, press the green key to access the CONFIGURATION menu.
3. Select Setup, key in the manager password and press the green key.
4. Scroll down and select Merchant.
“Term Id” appears.
5. Select Edit, key in the Moneris Terminal ID (the eight-digit number starting with “M2” found on the side of
the terminal, e.g., M2123456) and press the green key.
Note: To key in the letter M, press the 6 key, then press the ALPHA key once.
6. Select Next until “Merch Num.” appears.
7. Select Edit, key in your 13-digit Moneris Merchant ID (e.g., 0030123456789) and press the green key.
8. Select Exit, then select OK to save changes.
9. Press the red key, then press the * (asterisk) key to return to the applications menu.
10. Proceed to Initialization and logon on page 14.
Moneris® VX 520: Reference Guide 13

Initialization and logon
Before processing any transactions, you must initialize your terminal with the Moneris host, and then logon.
1. From the applications menu, select DEBIT & CREDIT.
2. When the transactions menu appears, press the green key to access the CONFIGURATION menu.
3. Scroll down and select Initialize.
4. When “Retain ID?” appears, select Yes.
5. When “Transmitting…” and “Receiving…” appear, please wait while the terminal communicates with
Moneris.
6. When the initialization is finished, “Init Successful” appears on the terminal, then the transactions menu
appears.
7. On the transactions menu, press the green key to access the CONFIGURATION menu.
8. Scroll down and select Host Logon.
9. At the “Password:” prompt, key in the manager password and press the green key.
“Logon Success” appears, then the transactions menu appears.
Your terminal is ready to process transactions.
Moneris® VX 520: Reference Guide 14

Additional options
There are several options that you can choose to enable on your terminal to enhance its functionality.
Note: All instructions in this section begin at the applications menu.
Changing the terminal language
Note: The terminal language can only be changed AFTER the terminal has been successfully initialized (see
Initialization and logon on page 14).
1. From the applications menu, select DEBIT & CREDIT.
2. When the transactions menu appears, press the second purple key from the left.
The Set Language screen appears.
3. Select ENG (English) or FRN (French).
The transactions menu reappears in the selected language.
Enabling tipping, cashback, or invoice number
1. From the applications menu, select DEBIT & CREDIT.
2. When the transactions menu appears, press the green key to access the CONFIGURATION menu.
3. Select Setup, key in the manager password and press the green key.
The SETUP menu appears.
For basic tip processing
To enable basic tip processing (where the terminal only prompts the customer to enter an amount), follow the
steps below.
1. From the SETUP menu, select Terminal.
2. Select Next until “Tip Processing” appears.
3. Select Edit, select Next until “On - Prompt” appears, then select Slct.
4. Select Exit, then select OK to save changes.
The terminal returns to the SETUP menu.
Other tipping options include Enhanced Tip, Guided Tip, TipNone, and Default Tip. For information on
configuring these tipping options, refer to the “Tip Processing” topic in the VX 520 Webhelp available at
moneris.com/support-VX520.
Moneris® VX 520: Reference Guide 15

For cashback option
To change the default values for cashback and to optimize dial communications for use with cashbacks, please
refer to the VX 520 Webhelp available at moneris.com/support-VX520.
1. From the SETUP menu, select Terminal.
2. Select Next until “CashBack Option” appears.
3. Select Edit, then select On.
4. Select Exit, then select OK to save changes.
The terminal returns to the SETUP menu.
For invoice number
1. From the SETUP menu, select Merchant.
2. Select Next until “Ask Inv Num?” appears.
3. Select Edit, then select On.
4. Select Exit, then select OK to save changes.
5. Press the red key, then press the * (asterisk) key to return to the applications menu.
Password protection on manual entry
These parameters allow the merchant to control the manual entry of card information on the terminal keypad.
Enabling password protection on manual entry
Important: Moneris strongly recommends using the default value of “On” to help reduce the risk of fraudulent
transactions which can later be disputed and charged back.
1. From the applications menu, select DEBIT & CREDIT.
2. When the transactions menu appears, press the green key to access the CONFIGURATION menu.
3. Select Setup, key in the manager password and press the green key.
4. Select Terminal.
5. Select Next until “Manual Password” appears.
6. Select Edit.
7. To enable password prompting on manual card entry, select On (recommended).
OR
To disable password prompting on manual card entry, select Off.
8. Select Exit, then select OK to save changes.
9. Press the red key, then press the * (asterisk) key to return to the applications menu.
Moneris® VX 520: Reference Guide 16
 Loading...