

Mondo Plast 8CH, 4CH Quick Installation Manual
Quick Installation Guide
Franchiser:
Specifications
Item List
Item Name
Quantity
1 Mouse
1
2 CD
1
3 Remote control 1
4 Power Adapter
1
5 Quick Installation Guide
1
6 Digital Video Recorder
1
Model 4CH 8CH
Video Input
4CH x960H,BNC 8CH x D1,BNC
Audio Input 4CH 4CH
Video Code Resolution 960H video code D1 video code
Synchronous playback 4CHx 960H 4CH x D1
CVBS Output
1CH,BNC;Resolution:PAL:720 x 576(D1) NTSC:720 x 480(D1)
HDMI Output
1 CH,HDMI ;Resolution:1920x1080P/60Hz
VGA Output
1 CH,VGA ;Resolution:800x600P/60Hz
Audio Output
1 CH,RCA
Video Compression
Standard
Standard H.264
Video Frame Rate
PAL: 25 fps;NTSC :30 fps
Video Code Rate
64 Kbps -- 2.0 Mbps,10 ranges optional
Data Stream Type
Audio and video steam / video steam,support variable bit rate
(VBR) / constant bit rate (CBR)
Dual-Stream Support
Audio Compression
Standard
ADPCM
Data Storage Type
One SATA interface (support ESATA) ,Each interface can support HDD
with maximum capacity of 4TB.
Backup Method USB
Network Interface RJ45 10M / 100M Auto-adapt Ethernet port
Voice intercom input
1 CH,RCA
USB Interface Two USB2.0 interfaces
Serial interface
1 CH,RS485
Power consumption
Working Temperature
-10℃ — 55℃
Dimensions
Weight
Operating System Embedded Linux operating system
Equipment control Infrared remote control and mouse
Power Input DC +12 V / 2A
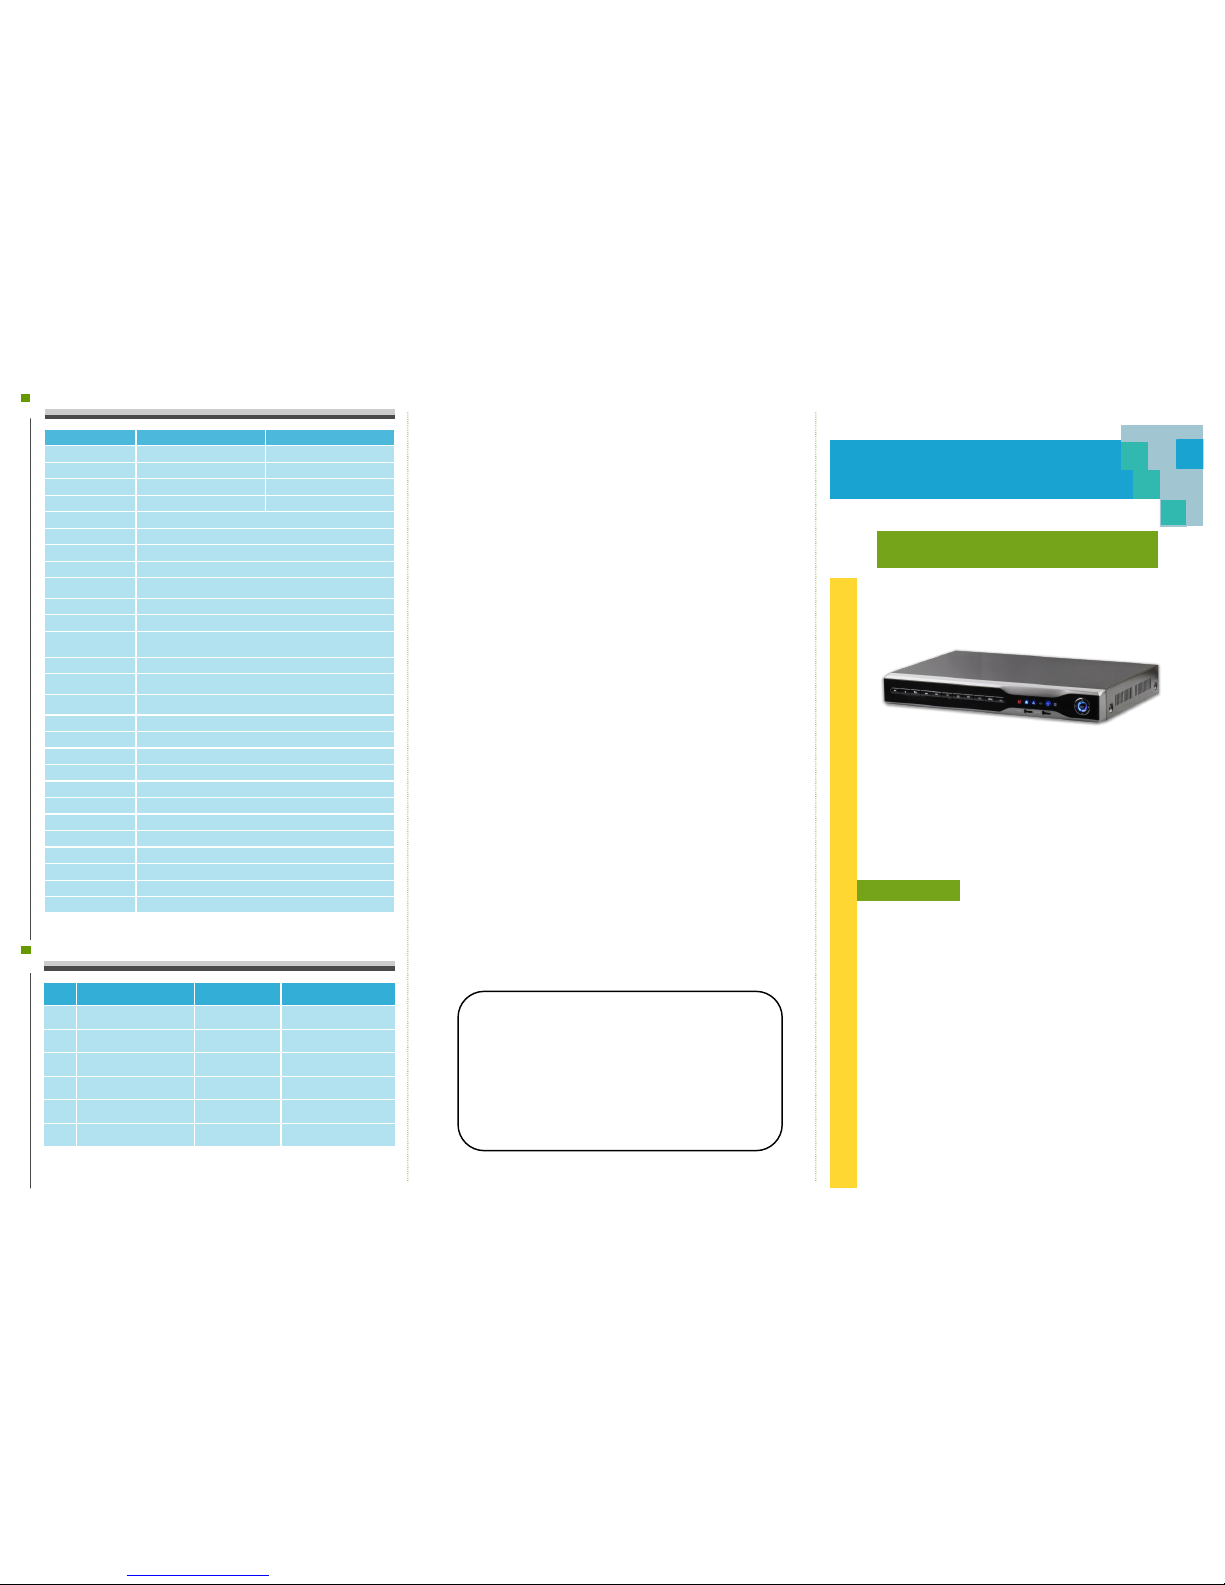
Digital Video Recorder
Thank you for using our product, please read this
manual carefully before use. We shall not take any
financial or legal responsibility to the loss due to
wrong operation.
Instructions
◆This equipment should be installed in a well-ventilated
environment at proper distance away from the ground for
heat dissipation. Do not block the vents and please avoid
heat.
◆This equipment should be kept horizontal during in-
stallation and avoid installing in locations subject to excessive vibration.
◆Please keep it dry in case a short-circuit may cause
fire or other hazard. This equipment is not weatherproof.
◆To meet the needs of reading and writing extensive
data in the long run, please select the hard disk recommended by manufacturer, which is suitable for the DVR,
and purchase it from the formal channels to guarantee its
quality.
◆This product can not bear heavy weight, please do not
place heavy objects on it or pile up.
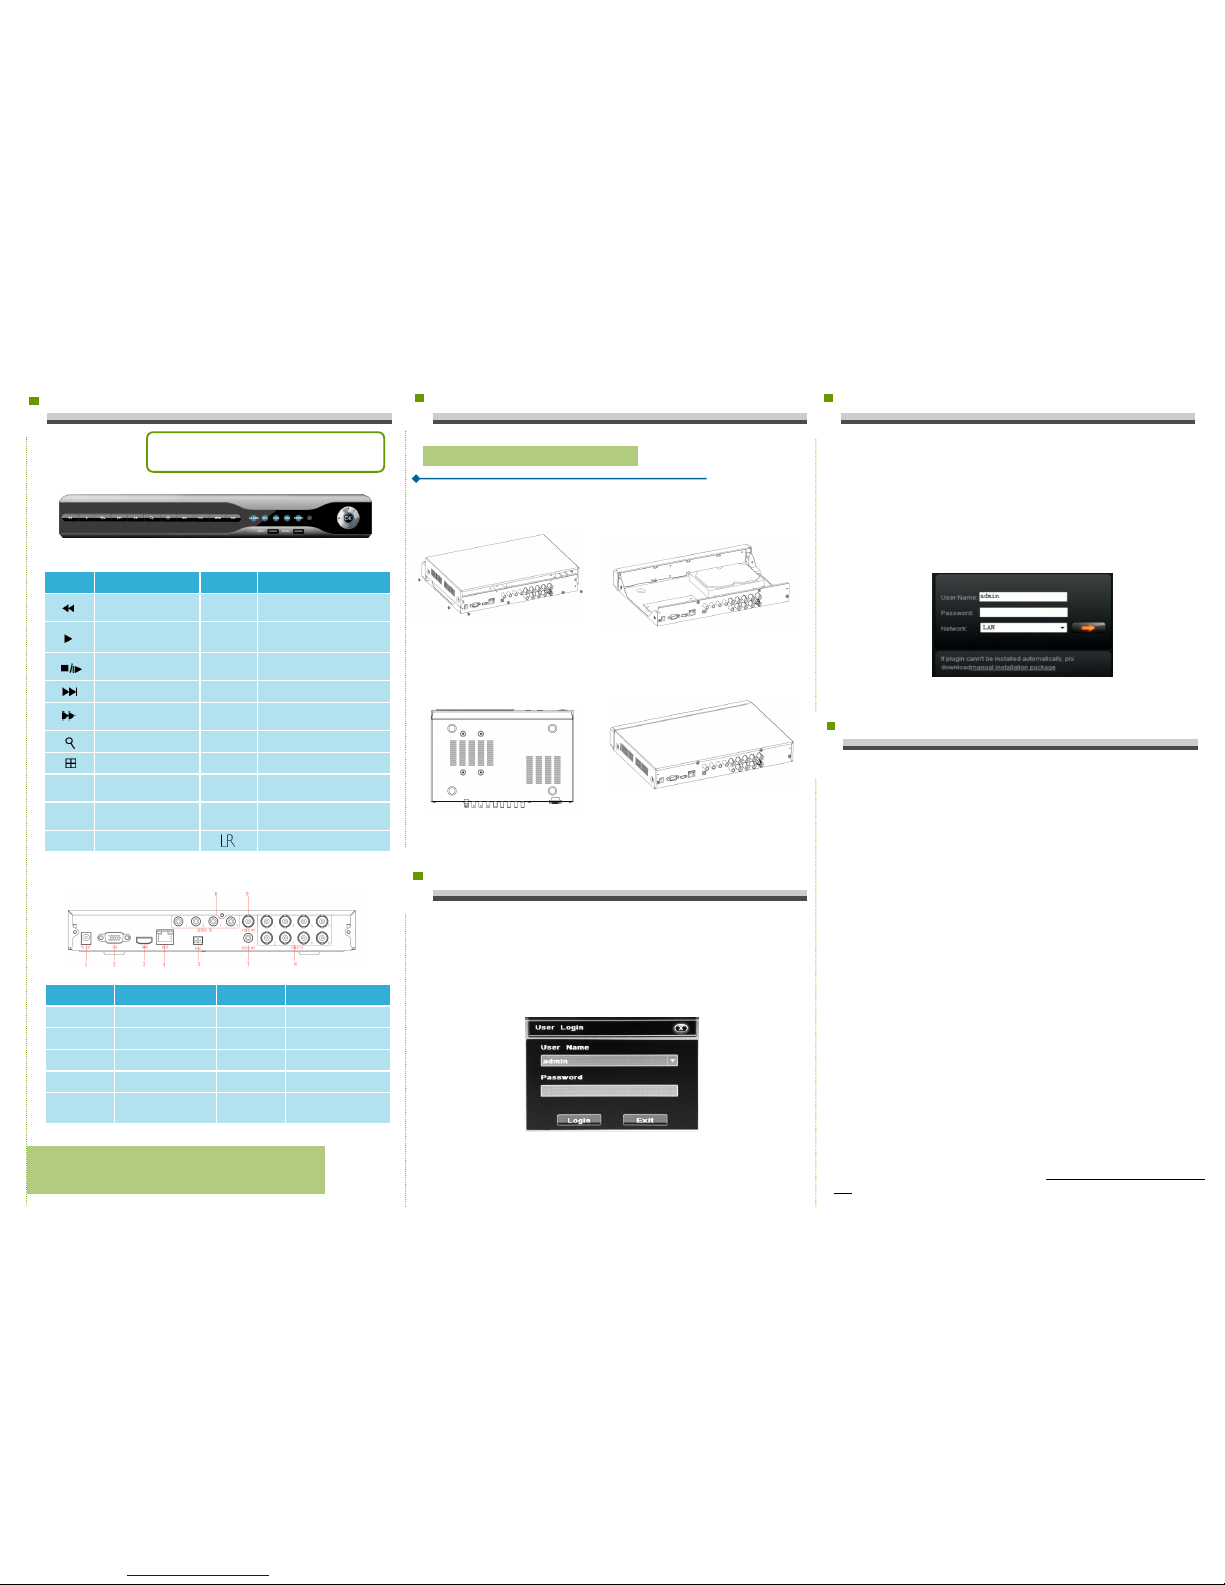
1. Product Appearance Introduction
2. Hard Disk Installation
3.Local System Login
Note:
As for specific methods of operation, please refer to the
disc's instruction manual.
After the normal startup, click the right mouse button and there will be
a login dialogue. Then enters the user name and password in the input
box. In the factory default state, there are t wo users: admin and guest,
and the password is blank. Admin is the default high-privileged user and
guest is the default low-privileged user, only with privileges of monitoring
and playback, etc.
Name Function Name Function
Increase reverse playback
speed
PTZ Enter the PTZ
Press to start playback
USB/
MOUSE
USB storage devices and the
mouse
To pause or play the
image frame by frame
REC Video
Slow play images ESC Exit the current menu
Rapid display image POWER
Steady light when the power
connection works.
Search ALARM Often bright when alarming
Display mode switch REC Video always bright
MENU Enter the main menu LINK
Steady or flashing light when the
network connection works.
Navigation
Direction and direction of
PTZ control menu
HDD Steady light when the HDD works.
OK Confirmation
IR receiver for the remote control
Take the following model as an example
Interface Name Interface Function Interface Name Interface Function
1.DC-12V
Power input
6.AUDIO IN
Audio input interface
2.VGA
VGA output interface
7.AUDIO OUT
Audio output interface
3.HDMI
HDMI output interface
8.VIDEO IN
Video input interface
4.RJ45
Ethernet interface
9.VIDEO OUT
Video output interface
5.Port
RS485 connection
PTZ
1.DVR Top Cover
Note:The appearance of products, including buttons,
interfaces and layout, are for reference only, and the
actual delivered goods shall prevail.
2.DVR Rear Panel
① Loosen the screws on the base
plate.
② Align the screw holes on the hard
disk with screw holes on the base
plate.
③ Turn the device and use screws
to tighten the hard disk to t he
bottom.
④ Plug in the hard dri ve cable and
power cable.
hard disk
4.Web Login
5. Common Problems and Troubleshooting
If the problems you meet are not as follows, please contact the local
customer service center or the customer service headquarter. We would like
to serve you wholeheartedly .
1.When turned on the DVR, it cannot normally boot up.
.Incorrect power input.
.Switch Mode Power Supply (SMPS) is broken.
.The program upgrade in error.
2. DVR will restart automatically a few minutes after startup or frequently crashes.
.Input voltage is unstable or too low.
.The hard disk has bad sector or the hard drive cable is broken .
.Switch Mode Power Supply is under capacity.
.Bad heat dissipation, dusty or poor working condition.
.DVR hardware failure.
3. Single-channel, multi-channel or all videos have no output.
.Please check whether the power cable connected to the camera is loos-
en.
.Please check if the video input or output cables through the DVR rear
panel are ok.
.Directly insert the video source into the display device and see if either of
them is defective.
.Check the screen brightness, if the luminance values are all zero, please
restore default settings.
.The video input signal is too week or no input signal.
4.Web cannot log on.
.Confirm whether the network is connected and check whether the panel
LINK or 100M LED displays properly. Use ping xxx.xxx.xxx.xxx ( the DVR IP)
to check if the network is connected.
.If the ActiveX control is blocked, please manually install the ActiveX control.
If t he plug-ins cannot be loaded, you need to set IE as follows: Tools
—>Internet Options—>Custom Level—>ActiveX controls and plug-ins, to
enable all, and click OK.
Enter the IP address of the recorder in the browser address bar, and
connect. After a successful connection, it will pop up an input box as
shown below.
Enter the user name and password The factory default administrator
user name is admin, no password. After the successful login, please reset
an administrator password in time.
 Loading...