

Page 1
π H-991
M O N A R CH 1131
ONE LINE LABEL GUN
1-800-295 -5510
uline.com
INSTRUCTIONS
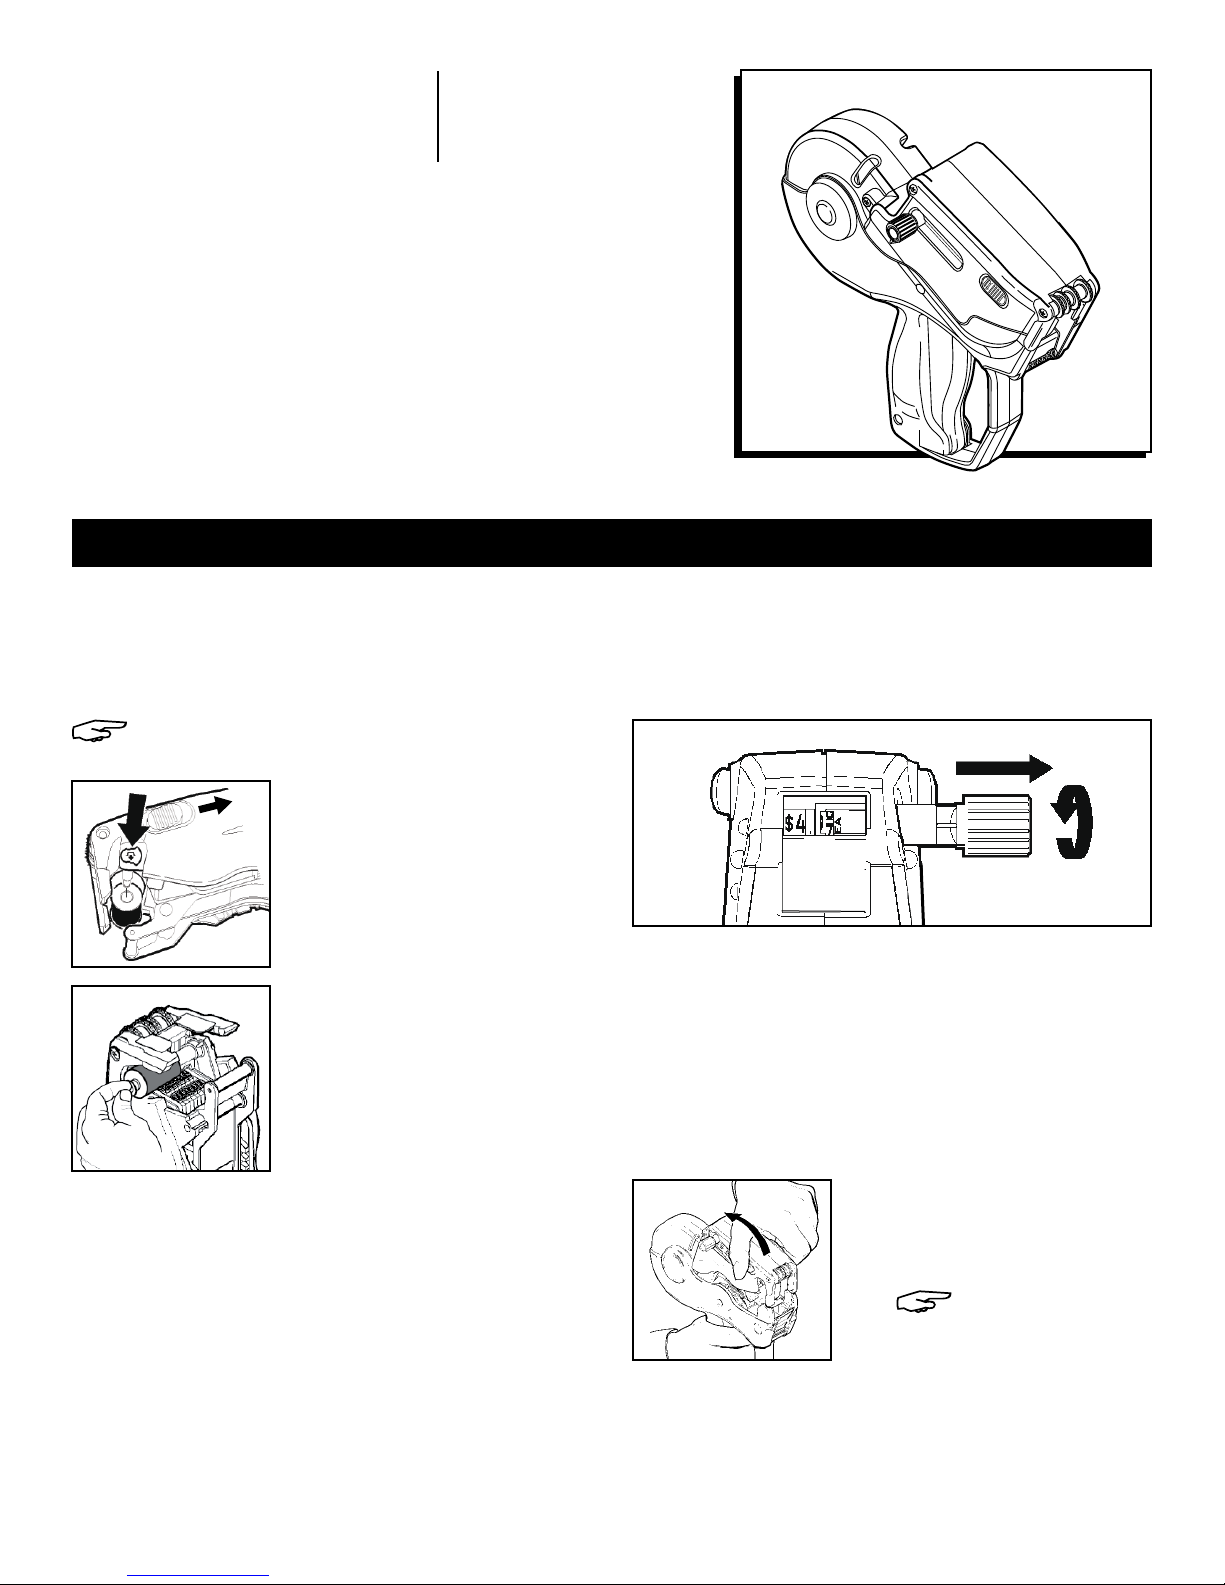
CHANGING THE INK ROLLER
1. Pull the latches back and swing the cover open
completely. You should hear a click.
NOTE: Do not force the cover past the click
position.
2. Hold the labeler sideways
over a trash can while
pushing the button to
release the ink roller.
(See Figure 1)
Figure 1
Figure 2
5. Close the cover completely.
PAGE 1 OF 3 0612 IH-991
3. Hold the new ink roller by
the stem. (See Figure 2)
4. Slide it onto the post,
snapping it into place.
(See Figure 2)
SETTING PRINT CHARACTERS
1. Pull the knob until the indicators are on the desired
band.
Figure 3
2. Turn the knob until the desired character appears
black on a white background between the
indicators. To print a blank, select the blank space
for that band. (See Figure 3)
3. Repeat steps 1-2 for each band.
4. Push in the knob when you are done.
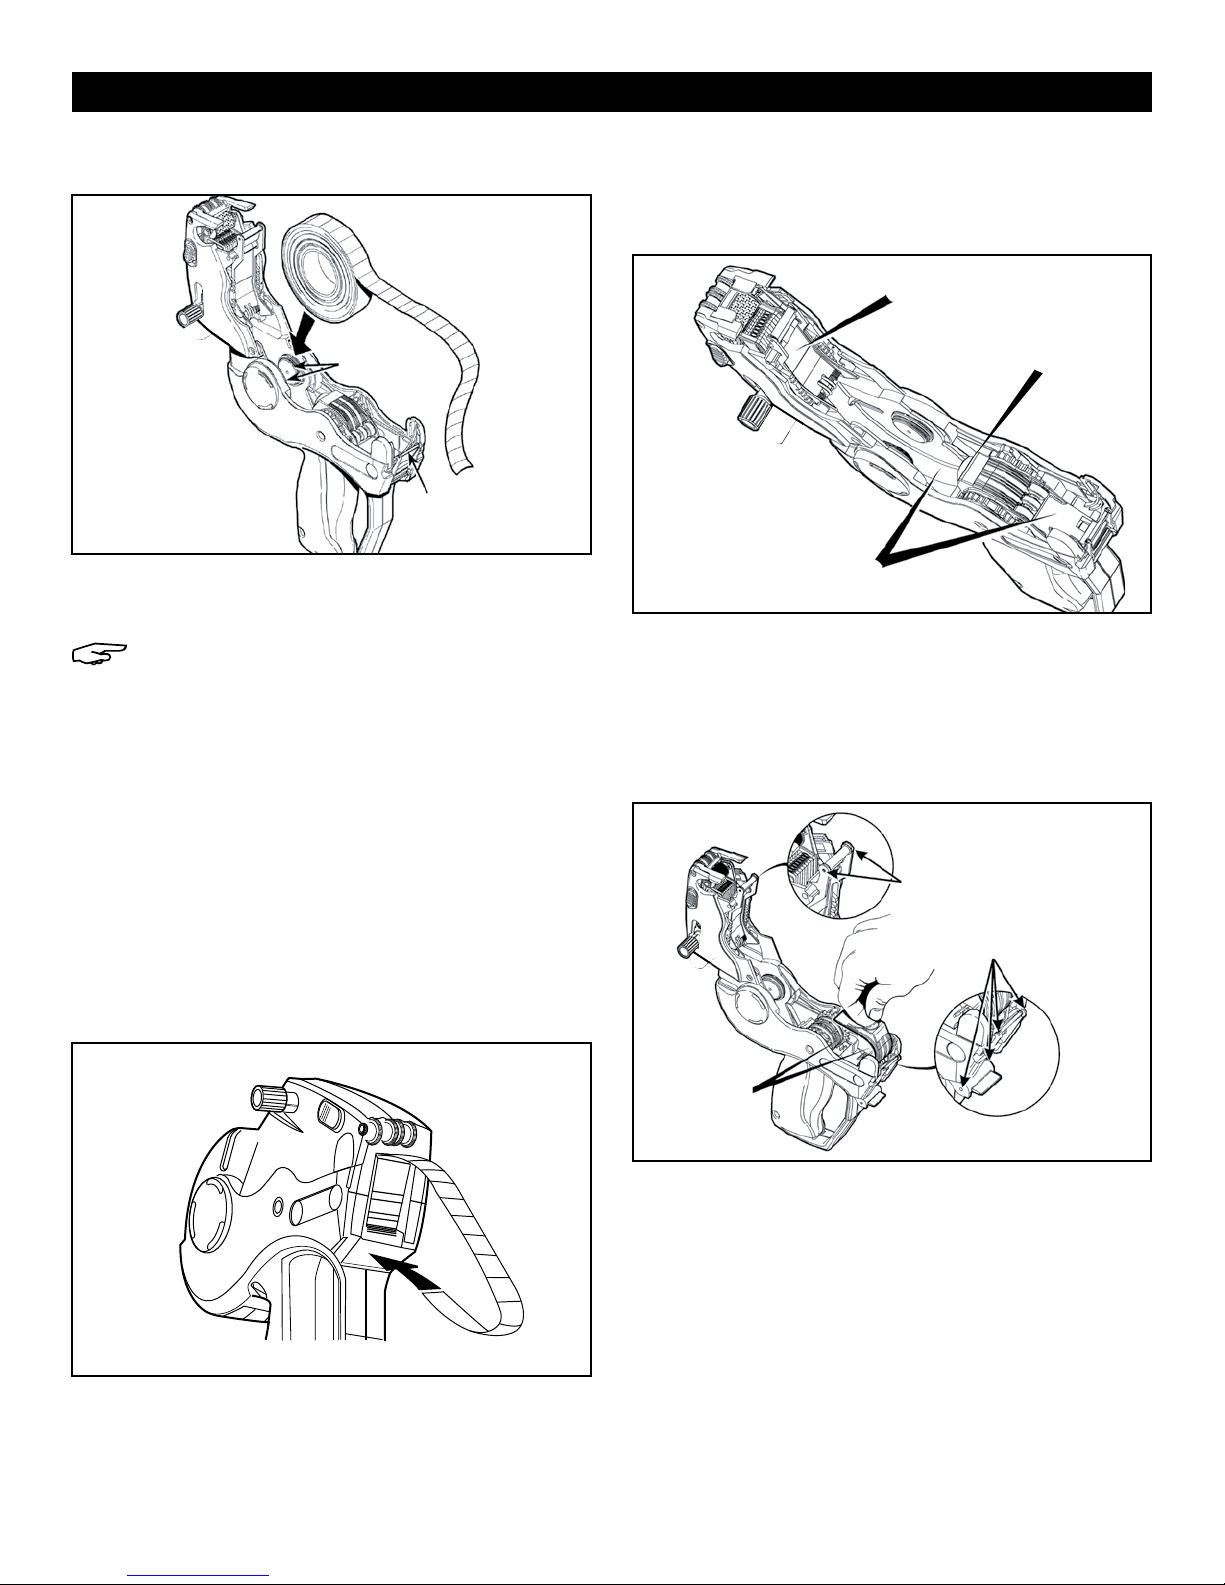
LOADING LABELS
Figure 4
2. For loading a new roll of labels, tear off and discard
the first 10 inches of label and liner.
3. To prevent jamming, peel the first 12 labels from liner
and discard.
1. Pull the latches back and
swing the cover open
completely. You should
hear a click. (See Figure 4)
NOTE: Do not force
the cover past the
click position.
Page 2
INSTRUCTIONS CONTINUED
LOADING LABELS CONTINUED
Figure 5
4. Place the label roll between the hubs and click into
5. Drape the supply across the labeler and center it
6. Close the cover.
7. Squeeze and hold the trigger while feeding the
8. Hold the strip in place and squeeze the trigger eight
9. Remove any loose labels.
Figure 6
HUBS
PEEL BAR
place. (See Figure 5)
NOTE: Do not thread label strip through any
rollers.
over the peel bar. The supply should hang out 5-6
inches past the peel bar.
label strip under the roller and into the large slot
above the arrow until it stops/hits the back. (See
Figure 6)
times or until the label strip feeds through the rear exit.
CLEARING LABEL JAMS, CLEANING AND
LUBRICATION
1. Open the cover and remove the label roll.
Figure 7
LOOK
HERE
SUPPLY
GUIDE
LOOK
HERE
2. Remove any loose labels from the inside of the
labeler. (See Figure 7)
3. Pull up on the supply guide to expose the backing
paper path and remove loose labels. (See Figure 8)
4. Snap the supply guide back into place.
Figure 8
Apply 1 drop of a commercial
100% silicone lubricant here.
LOOK
HERE
5. Use a commercial adhesive solvent to clean
adhesive buildup.
6. Remove the ink roller to expose the print bands and
brush them off with a toothbrush.
7. Reload, then close the cover.
PAGE 2 OF 3 0612 IH-991
Page 3

CHARACTER KEY
π
PAGE 3 OF 3 0612 IH-991
CHICAGO • ATLANTA • DALLAS • LOS ANGELES • MINNEAPOLIS • NYC/PHILA • SEATTLE • MEXICO • CANADA
1-800-295-5510
uline.com
 Loading...