

Page 1
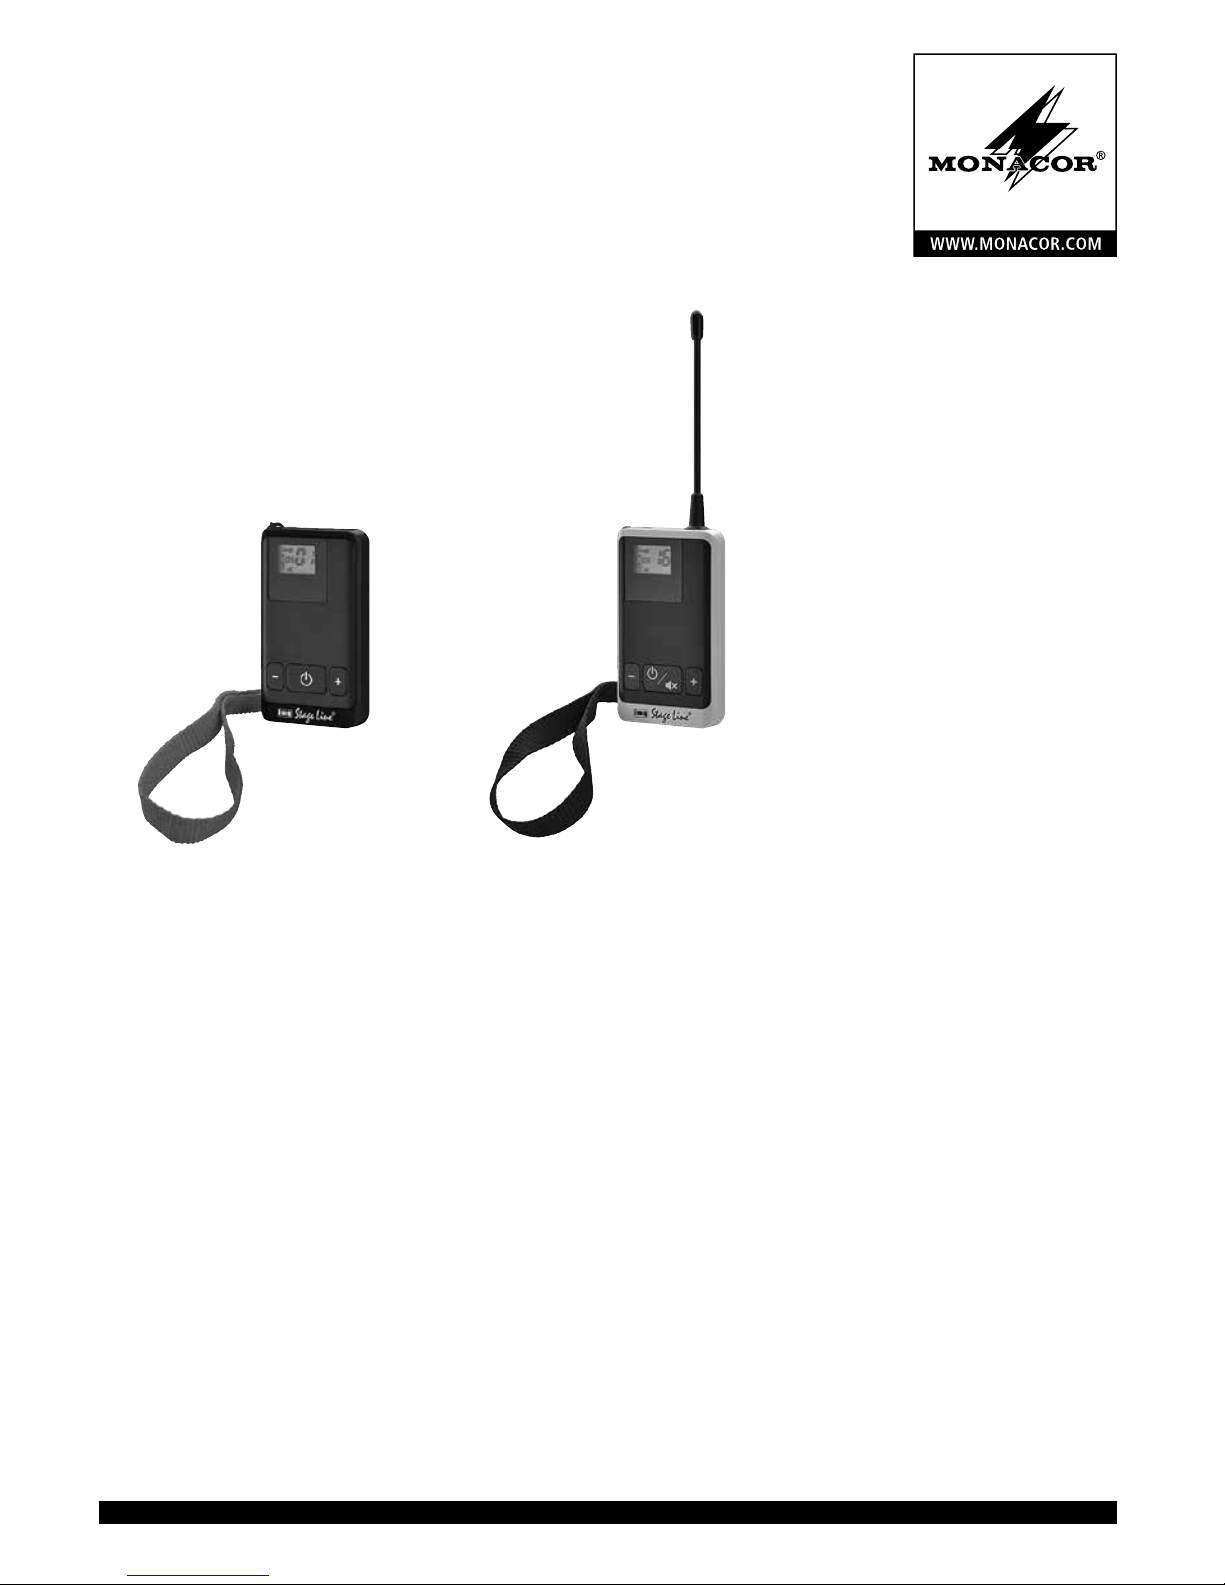
Sprach-Übertragungssystem
Voice Transmission System
ATS-22R
Bestellnummer 25.7110
ATS-22T
Bestellnummer 25.7120
BEDIENUNGSANLEITUNG
INSTRUCTION MANUAL
MODE D’EMPLOI
ISTRUZIONI PER L’USO
MANUAL DE INSTRUCCIONES
INSTRUKCJA OBSŁUGI
ELECTRONICS FOR SPECIALISTS ELECTRONICS FOR SPECIALISTS ELECTRONICS FOR SPECIALISTS ELECTRONICS FOR SPECIALISTS
Page 2
2
Technische Daten Specifications Caractéristiques techn. Dati tecnici Especificaciones Specyfikacja ATS-22R / ATS-22T
Übertragungsfrequenz Transmission freq. Fréq. de transmission Freq. di trasmissione Frecuencia de transm. Częstotliwości pracy 863 – 865 MHz
Sendeleistung Transmission power Puissance émission Potenza di trasmissione Potencia de transmisión Moc nadajnika ≤ 10 mW (EIRP)
Reichweite, ca. Range, approx. Portée env. Portata, ca. Rango, aprox. Zasięg, około 100 m
Max. Eingangsspannung
Max. input voltage Tension d‘entrée max.
Tensione d‘ingresso
max.
Voltaje de entrada
máximo
Max napięcie
wejściowe
900 mV (Line)
70 mV (Mic)
Mikrofonspeisung Power supply of mic. Alimentation micro Alimentazione micro Alimentación del mic. Zasilanie mikrofonu 2 V
Lithium-Ionen-Akku
Ladedauer, ca.
Lithium-ion battery
Charging time, approx.
Accu lithium-ion
Durée de charge env.
Batteria ricaricabile
agli ioni di litio
Durata di ricarica, ca.
Batería Li-Ion
Tiempo de carga, aprox.
Bateria litowo-jonowa
Czas ładowania, około
3,7 V, 600 mAh
6 h
Maße ohne Antenne Dimensions w/o ant. Dimensions sans ant. Dimensioni senza ant. Dimensiones sin ant. Wymiary bez anteny 40 × 70 × 12 mm
Gewicht Weight Poids Peso Peso Waga 37 g
Kanäle • Channels • Canaux • Canali • Canales • Kanały
CH 01 02 03 04 05 06 07 08 09 10 11 12 13 14 15 16
MHz 863,060 863,560 864,060 864,560 863,185 863,685 864,185 864,685 863,310 863,810 864,310 864,810 863,435 863,935 864,435 864,935
CH
1
3
5
6
7
8
2
CH
3
5
6
7
8
2 4
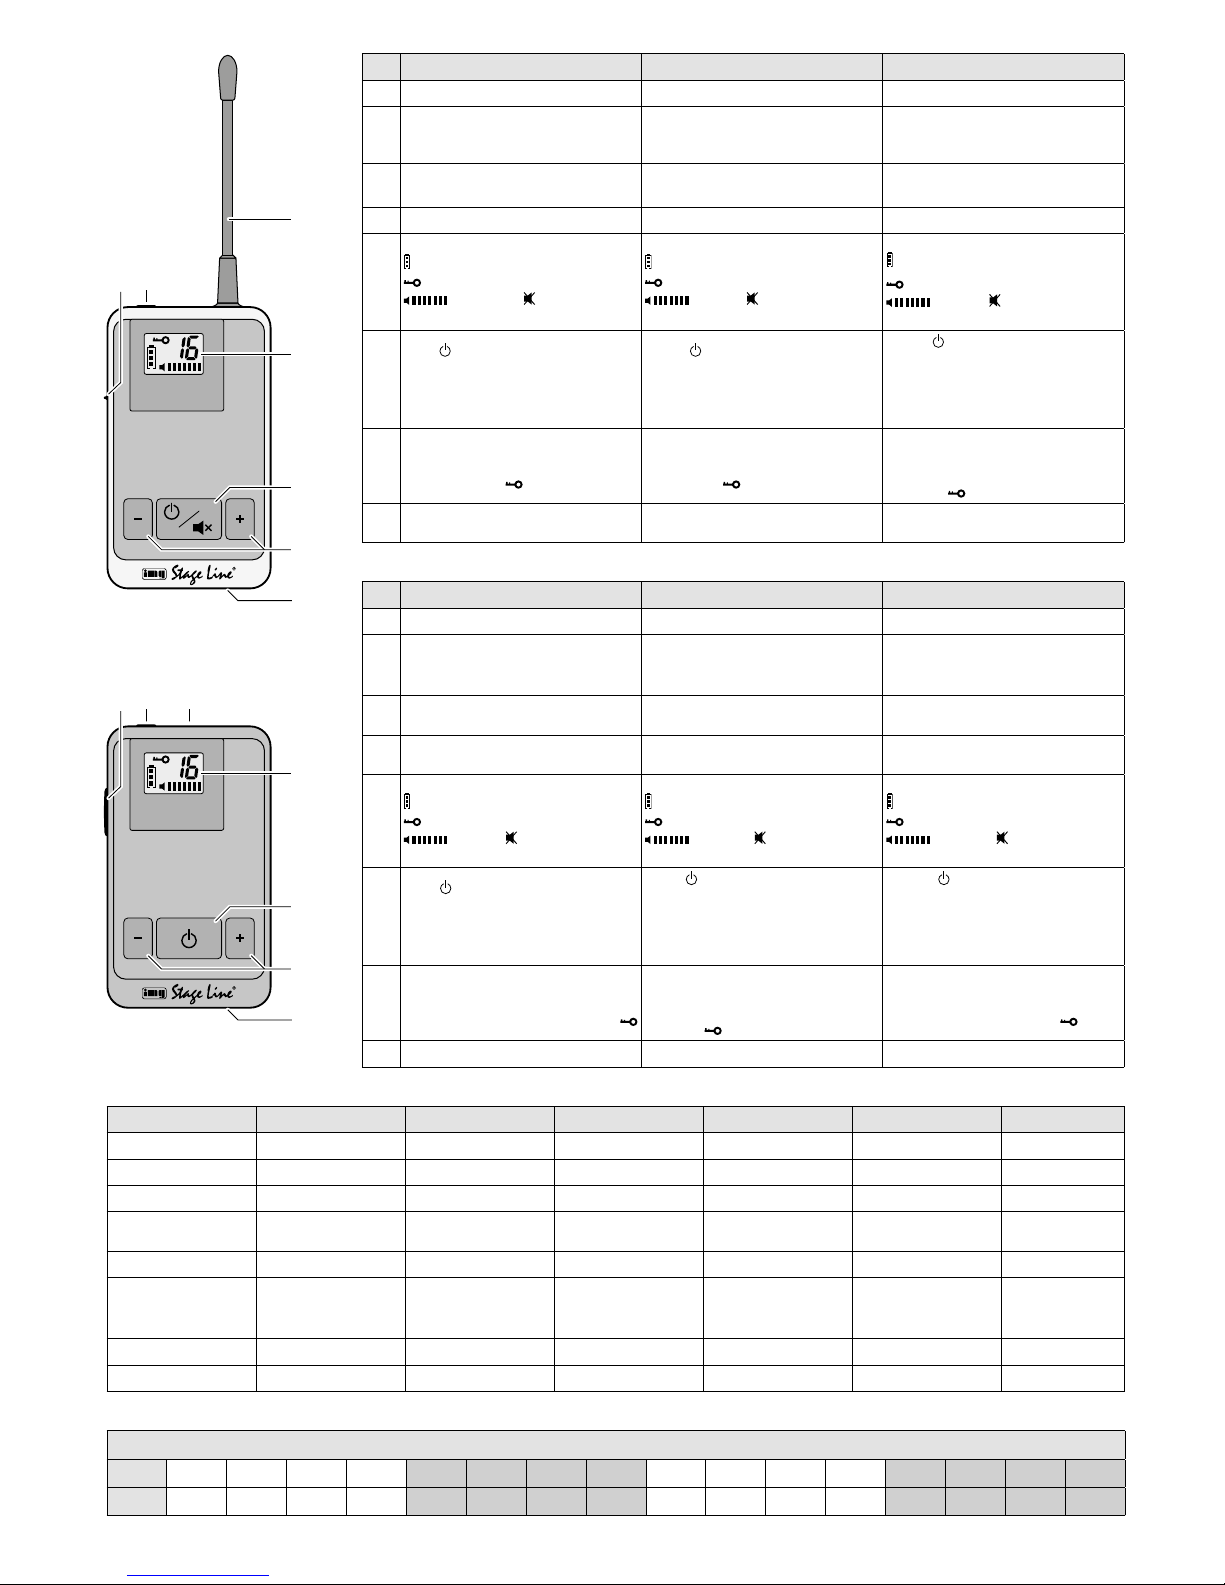
ATS-22T
Sender • Transmitter
ATS-22R
Empfänger • Receiver
Pos. Deutsch English Français
1 Antenne Antenna Antenne
2
ATS-22T: Gegensprechen ein/aus
ATS-22R: Sprechtaste
ATS-22T: two-way communication
on/off
ATS-22R: talk button
ATS-22 T : Fonction interphone on/off
ATS-22R : Touche parole
3
ATS-22T: Mikrofon-/Ohrhörerbuchse
ATS-22R: Ohrhörerbuchse
ATS-22T: microphone/earphone jack
ATS-22R: earphone jack
ATS-22 T : Prise microphone/écouteur
ATS-22R : Prise écouteur
4 Gegensprech-Mikrofon Microphone for two-way communica. Microphone interphone
5
Display für
Ladezustand des Akkus
Kanalverriegelung
Lautstärke ( = Ton aus)
CH 01 … 16 Übertragungskanal
Display for
battery charge status
channel lock
volume ( = muting)
CH 01 … 16 transmission channel
Affichage pour
Etat de charge de l‘accu
Verrouillage de canal
Volume ( = son coupé)
CH 01 … 16 Canal de transmission
6
Taste zum Ein- und Ausschalten
(Taste 2 s gedrückt halten)
zusätzlich bei ATS-22T:
Stummschalten (Taste kurz drücken)
Button for switching on/off
(keep button pressed for 2 seconds)
Additional feature for ATS-22T:
Muting (briefly press button)
Touche pour allumer et éteindre
(maintenez la touche enfoncée 2 sec.)
En plus sur ATS-22T :
Coupure du son (maintenez la touche
enfoncée brièvement)
7
Lautstärke und Kanal* einstellen
* zuerst beide Tasten gedrückt halten,
bis das Symbol erlischt
Adjusting volume and channel*
* first keep both buttons pressed until
the symbol disappears
Réglage du volume et canal*
* maintenez tout d‘abord les deux
touches enfoncées jusqu‘à ce que le
symbole s‘éteigne
8
Micro-USB-Buchse
zum Aufladen des Akkus
Micro USB port to charge the battery
Port micro USB
pour charger l‘accumulateur
Pos. Italiano Español Polski
1 Antenna Antena Antena
2
ATS-22T: Funzione citofono on/off
ATS-22R: Tasto voce
ATS-22T: Comunicación de dos vías
on/off
ATS-22R: Botón de habla
ATS-22T: włącznik komunikacji
dwukierunkowej
ATS-22R: przycisk talk
3
ATS-22T: Presa microfono/auricolare
ATS-22R: Presa auricolare
ATS-22T: Toma de micrófono /auricular
ATS-22R: Toma de auricular
ATS-22T: gniazdo dla mikro./słuchawki
ATS-22R: gniazdo słuchawki
4 Microfono citofono
Micrófono para la comunicación de
dos vías
Mikrofon do komunikacji
dwukierunkowej
5
Display per
Stato di carica della batteria ricaricabile
Blocco canale
Volume ( = audio off)
CH 01 … 16 Canali trasmissione
Visualizador para
estado de carga de la batería
bloqueo de canal
volumen ( = silencio)
CH 01 … 16 canal de transmisión
Wyświetlacz
stan naładowania baterii
blokada kanału
głośność ( = wyciszenie)
CH 01 … 16 kanał transmisji
6
Tasto per accendere e spegnere
(tener premuto per 2 s)
in più per ATS-22T:
messa in muto (premere brevemente)
Botón para conexión/desconexión
(mantenga pulsado el botón durante
2 segundos)
Función adicional para el ATS-22T:
Silencio (pulse el botón brevemente)
Przycisk do włączania/wyłączania
(wcisnąć na 2sekundy)
Dodatkowa funkcja ATS-22T:
Wyciszenie (wcisnąć przycisk
na krótko)
7
Impostare volume e canale*
* prima tener premuti entrambi i tasti
fino allo spegnimento del simbolo
Ajuste de volumen y canal*
* Primero mantenga pulsados ambos
botones hasta que desaparezca el
símbolo
Do ustawiania głośności oraz kanału*
* Najpierw przytrzymać wciśnięte oba
przyciski aż zniknie symbol
8 Presa Micro-USB per ricaricare la batteria Puerto USB micro para cargar la batería Port micro USB do ładowania baterii
Page 3

4
Voice Transmission
System
These instructions are intended for
users without any specific technical
knowledge. Please read the instructions carefully prior to operation and
keep them for later reference.
1 Applications
In combination with one or multiple receivers ATS-22R, the transmitter ATS-22T
provides a mobile digital wireless system
for transmitting spoken language, e. g.
for guided tours, lectures in different
languages or wireless command transmission. For wireless transmission, 16 channels are available in the frequency range
863 – 865 MHz; four of these channels may
be used at the same time without mutual
interference. The transmission range depends on local conditions and may reach
100 m as a maximum.
2 Important Notes
The units correspond to all relevant directives of the EU and are therefore marked
with .
•
The units are suitable for indoor use
only. Protect them against dripping
water and splash water, high air humidity and heat (admissible ambient temperature: 0 – 40 °C).
•
For cleaning only use a dry, soft cloth;
never use water or chemicals.
•
No guarantee claims for the units and no
liability for any resulting personal damage or material damage will be accepted
if the units are used for other purposes
than originally intended, if they are not
correctly connected or operated, or if
they are not repaired in an expert way.
If the units are to be put out
of operation definitively, take
them to a local recycling plant
for a disposal which is not harmful to the environment.
2.1 Conformity and approval
Herewith, MONACOR INTERNATIONAL
declare that the voice transmission system
(ATS-22R and ATS-22T) is in accordance
with the directive 2014/53/EU. The declaration of conformity is available on request
from MONACOR INTERNATIONAL.
The units are generally approved for
operation in EU and EFTA countries; they
are licence-free and require no registration.
3 Setting the System into
Operation
3.1 Charging the battery
For mobile operation, the units are
equipped with a rechargeable lithium battery. With a fully charged battery, the operating time of the receiver will be approximately 15 hours and the operating time
of the transmitter approximately 12 hours.
It is recommended to charge the battery before longer use or when the battery
symbol on the display starts flashing. To
charge the battery, the transport bags ATS12CB and ATS-35CB are ideally suited; these
bags are equipped with a charging section.
The units also offer a micro USB port (8).
This port can be used to connect a power
supply unit with micro USB plug or to connect the USB port of a computer by means
of a suitable USB cable.
As soon as the charging process starts,
the transmitter/receiver is switched off, but
the charging process can be checked via
the battery status indication . The charging time is approximately 6 hours.
3.2 Connecting the microphone,
earphone and audio unit
1) The talker will be provided with the
transmitter (white housing). Connect the
microphone /earphone combination supplied with the system to the jack / (3)
of the transmitter. Use the clip to attach
the microphone to your clothes (e. g. tie,
lapel) and, if two-way communication is
required, attach the earphone to your
ear.
2) The transmitter can also be used for
transmitting audio signals fed in, for example, from a CD/MP3 player or a radio.
Connect the audio unit to the 3.5 mm
jack of the microphone.
For transmitting the signal of the
audio unit only, set the sliding switch of
the microphone to the position “MUTE”.
In the position “MIC”, both the microphone signal and the signal of the audio
unit will be transmitted.
3) Each listener will be provided with a
receiver (black housing). Connect the
earphone supplied with the system to
the jack (3) of the receiver and attach
it to your ear.
4 Operation
To switch on or off, keep the button (6)
pressed for 2 seconds until the display (5)
lights up or is extinguished.
4.1 Setting the transmission channel
1) First switch on the receiver only: As long
as no signal is received, the display will
keep flashing. If no signal is received
after 20 minutes, the receiver will be
switched off automatically to save the
battery.
2) Set the receiver to a free transmission
channel: Keep the two buttons + and –
(7) pressed for 2 seconds: The symbol
on the display will disappear and only
the letters CH and the symbol will
keep flashing. Use the button + or – to
set the channel. To confirm the setting,
press the button or wait for 5 seconds:
The symbol will reappear and all indications will start flashing.
The display must keep flashing. If it
stops flashing, interference or signals
from other transmitters are received. In
this case, use a different channel.
3) If multiple ATS-22 systems are used at
the same time for transmitting different kinds of information or different
languages, set a different transmission
channel for each separate system. You
will be able to make four voice transmissions at the same time if you use
the following channels:
1 – 4 or 5 – 8 or 9 – 12 or 13 – 16
4) Switch on the transmitter and set it to
the transmission channel of the receiver.
Once a signal is received, the display of
the receiver will stop flashing.
Note: The minimum distance between
the transmitter and the receiver must
be 20 cm; otherwise, the receiver will be
muted and its display will keep flashing.
Hint: To set multiple receivers to the
same channel at the same time, keep
the buttons , + and − on the transmitter and on all receivers pressed until the
units are switched off. Then switch on
the units again: All units have been set
to channel 00. If you now set the transmitter to the desired channel, all receivers will also be set to the same channel.
After that, it will also be possible to
change the channel on the transmitter
during transmission (e. g. in case of interference); all receivers that have been
switched on will follow automatically.
Important!
1. For transmission from the transmitter to
the receiver, set the sliding switch (2)
on the transmitter to the position “off;
otherwise, the two-way communication
will be activated (chapter 4.3). To indicate activation of this feature, the volume indication will keep flashing.
2. For microphone announcements, set the
sliding switch of the microphone to the
position “MIC”.
4.2 Adjusting the volume
1) As long as the symbol is shown on the
display, the buttons + and − (7) of the receiver can be used to adjust the volume
for the earphone.
Caution! Never adjust a very high volume. Permanent high volumes may
damage your hearing.
2) Use the buttons + and − on the transmitter to adjust the volume of the microphone or the audio unit. Four volume
levels are available ( to ). The
level should be as high as possible without causing distortion.
3) To mute the transmitter, e. g. during intervals, briefly press the button / (6).
The symbol will keep flashing to indicate the muting feature. To unmute,
press the button once again.
4.3 Two-way communication
Via the integrated microphone (4), a listener will be able to speak to the talker provided with the transmitter and to all other
participants provided with a receiver:
1) Set the sliding switch (2) on the transmitter to the position “on”. The volume
indication will start flashing. Use the
buttons + and – (7) to adjust the volume
for the earphone of the transmitter.
2) Keep the talk button (2) on the receiver pressed and speak into the microphone. While someone is speaking,
two-way communication will not be
available for any of the other receivers.
Subject to technical modification.
English
 Loading...