

Page 1
Meri
INSTALLATION GUIDE
TM
Page 2

2
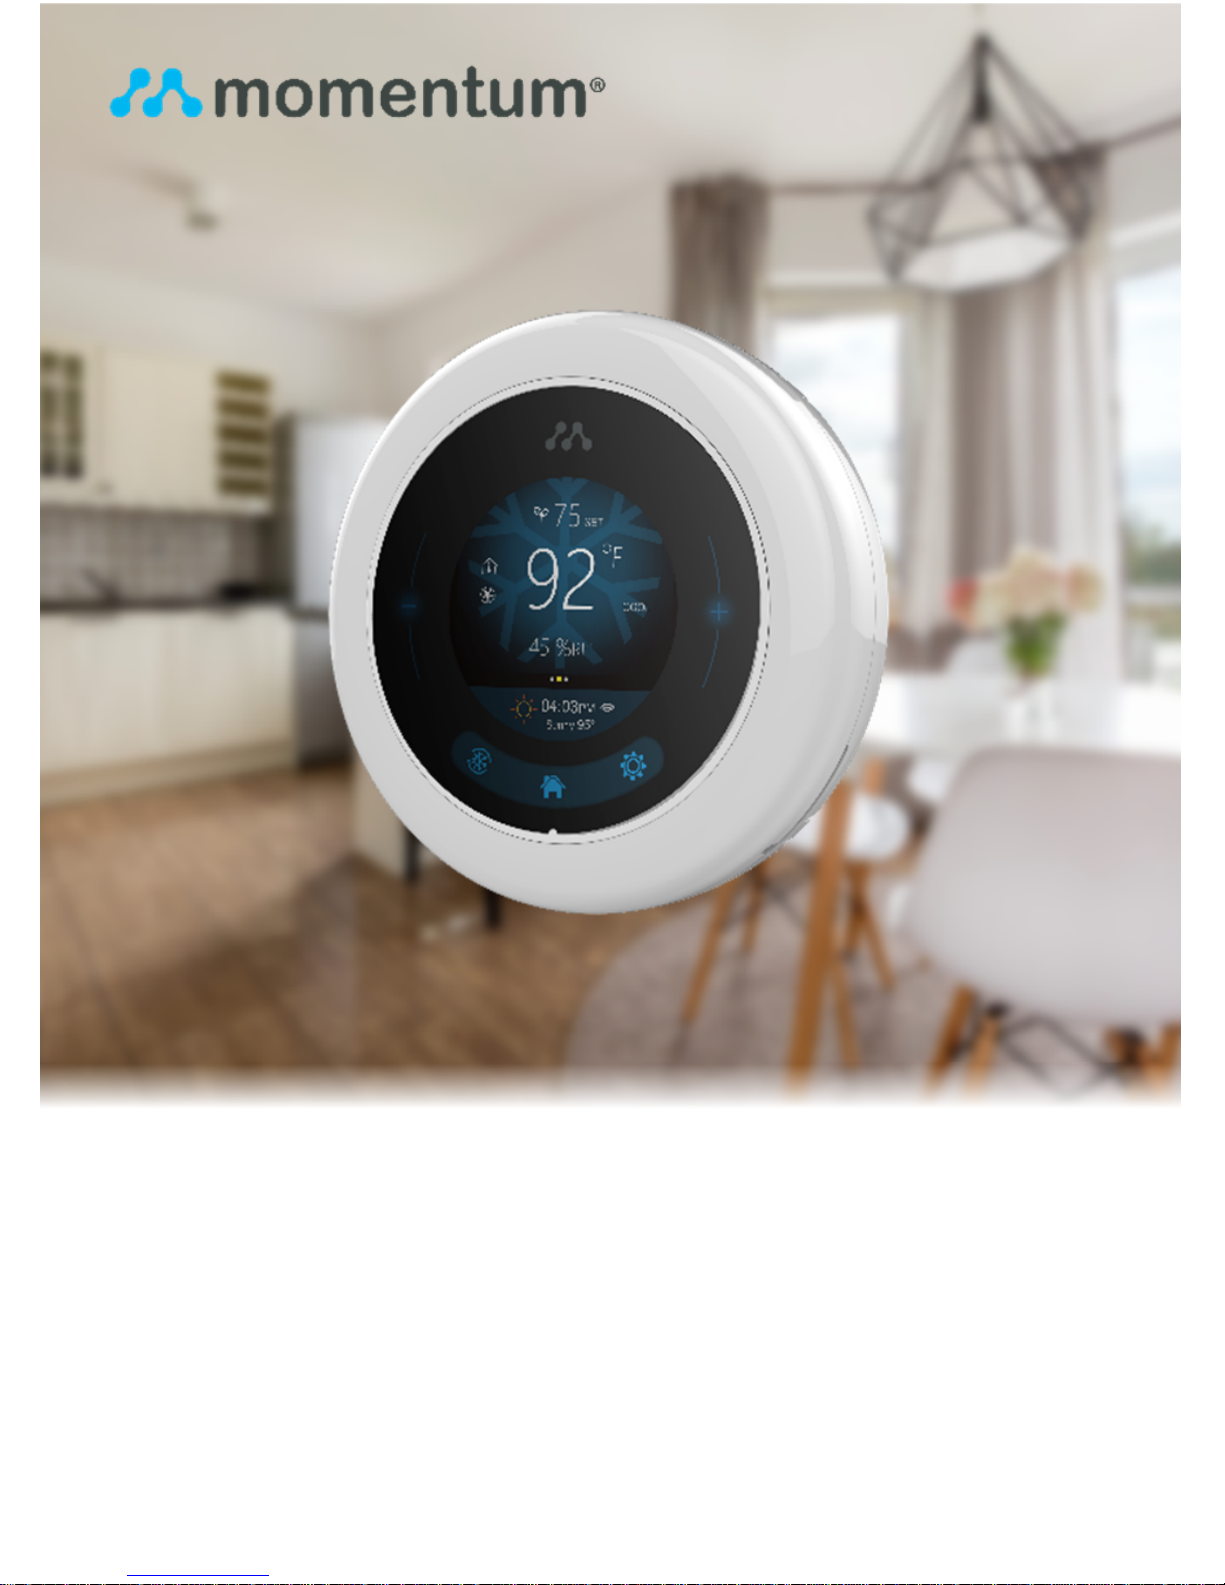
Introduction
The Meri™ Smart WiFi Thermostat allows you remotely
control and schedule your home’s temperature with ease.
It can support most conventional heating and cooling
systems with up to 3 heating and 2 cooling stages.
Key Features
By connecting to the app, you can control your
cooling and heating systems from anywhere.
Control your temperature.
Set energy saving modes.
Create timed schedules to automatically set your
thermostat and home temperature.
Manually control the thermostat straight from the
device’s touchscreen display.
Page 3
3
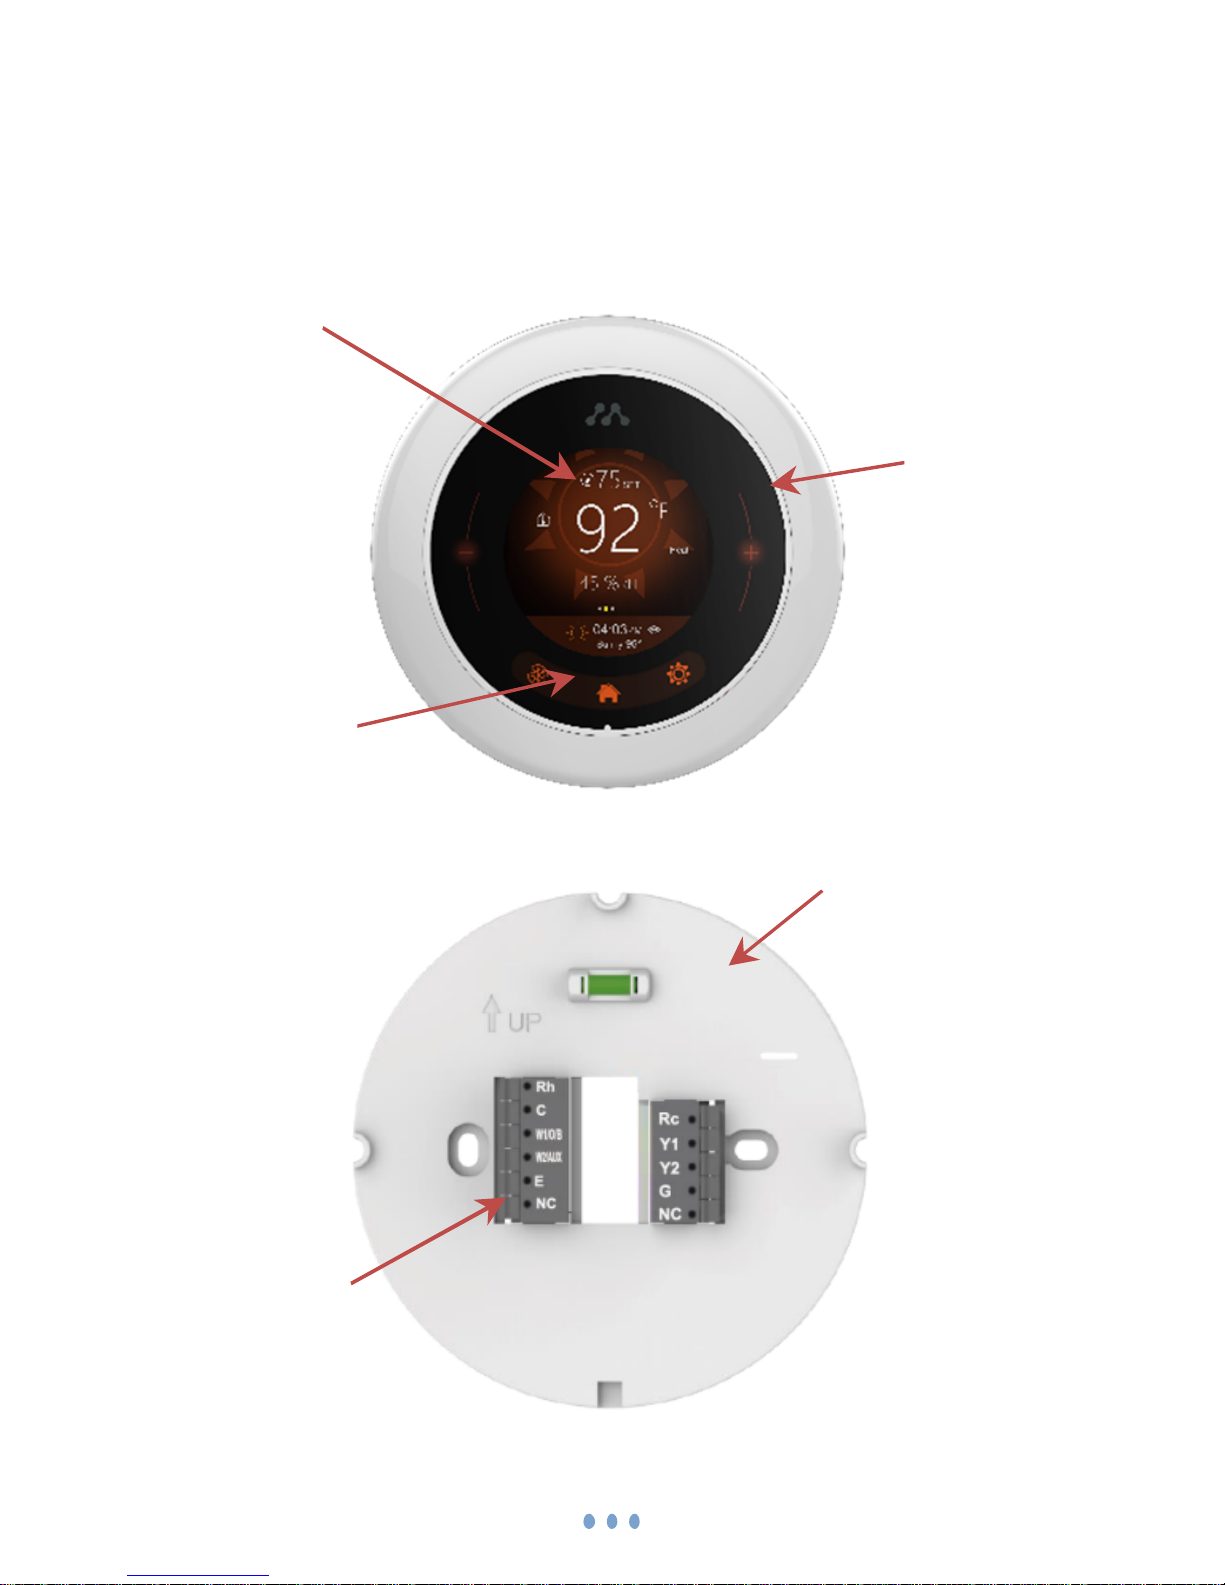
Product Features
Main display
screen
Wall Plate
Wire terminals
Setting controls
Control buttons
Page 4
4
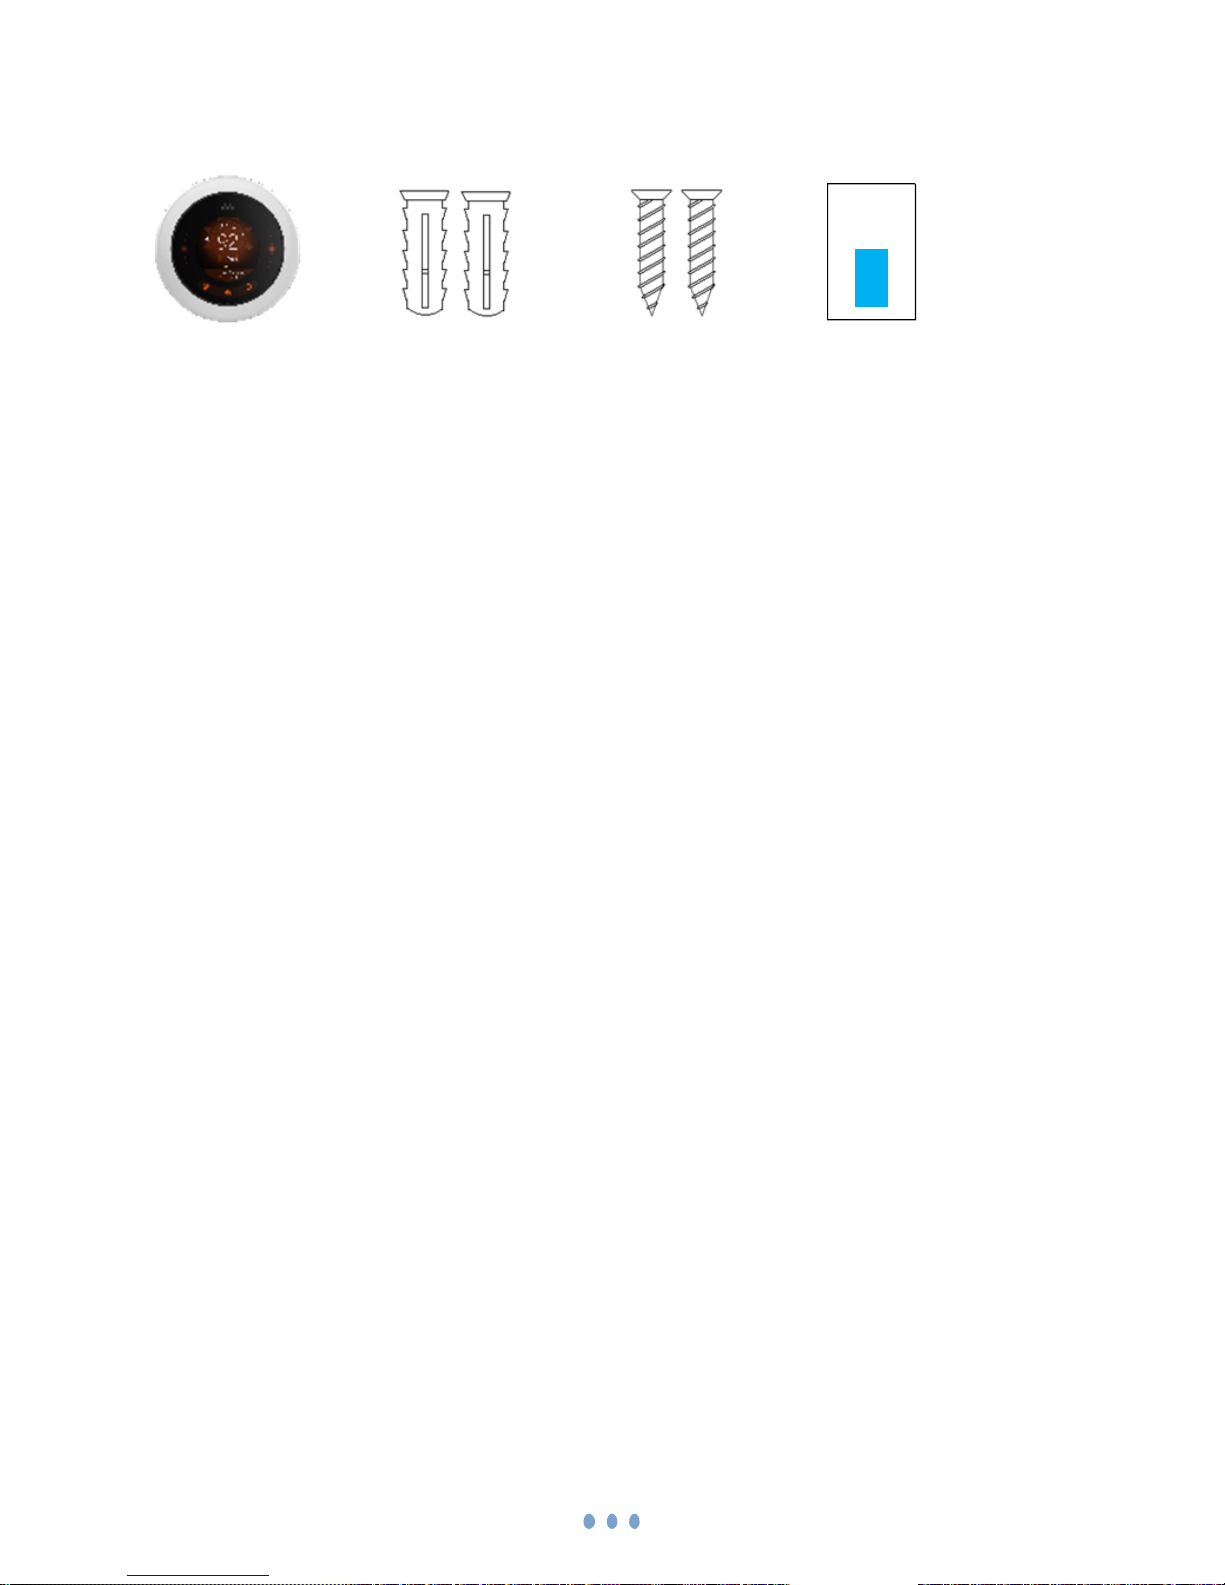
What’s Included
Additional tools you’ll need:
Screwdriver
Pen or pencil (to mark drilling holes)
Additional tools you MIGHT need:
Needle-nose pliers
Wire stripper
Drill and drill bit (7/32”)
Meri Smart
Thermostat
Wall Anchors
(x2)
Screws
(x2)
Wire Label
Stickers
Page 5

5
Compatibility
Compatible with most heating, cooling and heat
pump systems.
Required: 24 VAC power (“C” wire).
Does not work with electric baseboard heat (120-
240V).
Does not work with millivolt systems.
Android or iOS smart phone, table or device.
2.4GHz (802.11b/g/n) for WiFi connectivity
WiFi Requirements
The Meri requires 2.4GHz (802.11b/g/n) for WiFi
connectivity. This is a standard home WiFi router. You will
need your WiFi name and password when connecting
your Meri thermostat to your home WiFi network.
Page 6

6
Installation
The Meri WiFi Thermostat should be mounted in a
suitable location.
It is recommended to install the thermostat about
5 ft above the floor and in an open area with
good air circulation.
Do not install in locations that may affect the
temperature reading, such as:
- Drafty areas or poorly circulated areas.
- Near ducts or appliances that blow hot or
cold air.
- Concealed pipes and chimneys.
- Unheated (uncooled) areas such as an
outside wall behind the thermostat.
WARNING: Failing to shut off the power could result in
a serious injury, electrical shock, and/or risk of fire.
Page 7

7
1. Turn OFF power.
Important: You MUST shut off the power at the breaker
box that controls your heating/cooling system.
2. Test to make sure the power is off.
Sometimes there’s some residual power in the thermostat
so it could take up to 5 minutes for your old thermostat to
turn completely off.
3. Remove your old thermostat.
Most thermostats allow you to just pull off the unit from its
wall plate. However please make sure you’re familiar with
your old thermostat and the removal process as you can
potentially damage your wall if done incorrectly.
Do NOT remove any wires yet from the old thermostat’s
wall plate.
4. Make sure the wires you have are supported.
If you have thick black wires, wire nuts connected on the
wires coming from the wall, or uses 120V or higher, then
your system is not compatible with the Meri thermostat.
Page 8

8
5. Take a picture of your current wiring setup.
Use your smartphone to take a picture of the wiring and
connectors with the letters. You will use this as a
reference when connecting to the Meri thermostat.
6. Attach the included label stickers to the wires.
Wrap the label stickers around the appropriate wires. This
will help when connecting them to the Meri thermostat’s
connectors.
7. Disconnect the wires and remove the old wall plate.
You may now start disconnecting the wires from the old
thermostat’s wall plate connectors. Make sure the wires
do not fall back into the wall as they may be difficult to
retrieve. Then, unscrew the wall plate from the wall to
remove it.
8. Insert the wall anchors (optional).
You may choose to use the wall anchors to insert into the
wall first before applying the new wall plate. First, hold the
Meri wall plate onto the wall where you’ll be installing it
Page 9

9
and use a pen or pencil to mark the screw holes on the
wall. Take off the wall plate and use a 7/32” drill bit to
create the hole for the wall anchor, then insert the wall
anchors.
9. Bring the wires through the Meri wall plate.
Bundle the wires together and through the middle hole of
the Meri wall plate. Also check to make sure there is
enough exposed wiring (at least ¼ inch) for each wire so
they can insert into the wall plate connectors easily.
Page 10

10
10. Connect your R wire(s).
Depending on your heating/cooling system you may have
an R, Rh, and/or Rc wire(s). The Meri thermostat can
accommodate for these three wires but some
configurations require a “jumper” to connect the power.
The jumper switch is located on the back of the thermostat
as shown in the image below.
Page 11

11
To determine the switch position, use the follow chart as a
guide.
Turn the switch ON if:
Turn the switch OFF if:
Page 12

12
11. Connect the remaining wires.
Match your wires to the appropriate connectors on the
wall plate. You will be connecting to the same labeled
terminals as your old thermostat connections.
You may use the images below as a reference according to your
heating/cooling system.
Note: Your wire colors mary differ from the images shown below.
Conventional
Heat only
Conventional
Cool only
Conventional
1 Stage Heat and Cool
1 Stage
Heat Pump
With Aux
Page 13

13
1 Stage Heat Pump
with Aux and Emer
Conventional
2 Stage Heat and Cool
2 Stage Heat Pump
with Aux and Emer
2 Stage Heat Pump
with Aux
Page 14

14
12. Attach your Meri WiFi Thermostat.
Firmly attach the Meri thermostat to the wall plate.
13. Turn the power back ON.
Turn ON the power at the breaker box.
14. Follow on-screen instructions
Once the power is back on, there will be a sequence of
instructions to connect the WiFi, enter zip code, and app
pairing.
Page 15

15
© 2016 Momentum
Momentum is a registered trademark in the United States. Apple and iPhone
are registered trademarks of Apple Inc. Google, Google Play, and Android are
trademarks of Google LLC. All other brands and product names are or may
be trademarks of their respective owners.
Note: Screen shots and procedures described in this manual are subject to
change without notice. The latest Momentum User Guide is always available
on our website at http://www.momentumcam.com.
FCC Compliance
This device complies with part 15 of the FCC Rules. Operation is
subject to the following two conditions:
1. This device may not cause harmful interference, and
2. This device must accept any interference received, including
interference that may cause undesired operation.
Apollo Tech USA, Inc.
8608 Utica Ave. #220,
Rancho Cucamonga, CA 91730
Customer Service: +1 888 818 0436
E-mail: help@momentumcam.com
Version 1.0
 Loading...