

Page 1
Installation Requirements
The SpectraMax® L Luminescence Microplate Reader should be unpacked and positioned on a level
surface before performing any of the installation procedures. Perform the procedures in the following
order:
• Unpacking the instrument
• Installing the Wash Bottles, Reagent Containers, and Waste Bottle
• Installing the Software
• Preparing the Instrument for use
This Article is limited to Unpacking the Instrument. For all other procedures refer to the User Guide
provided with the instrument.
Unpacking the instrument
The SpectraMax L Luminescence Microplate Reader is packed in a specially designed shipping
container. Retain the container and the packing materials. If the instrument requires repair, you must
return the instrument to Molecular Devices in the original packaging. If the container has been damaged
in transit, you must retain it for inspection by the carrier.
To unpack the instrument
1. Open the shipping container and remove any foam blocks used to prevent movement of the
assemblies during shipping.
Caution! Do not touch or loosen any screws or parts other than those specifically described in
the instructions. Doing so may cause misalignment and voids the instrument warranty.
2. Place the instrument on a level surface, away from direct sunlight, dust, drafts, vibration, and
moisture.
Caution! Leave at least three inches between the back of the instrument and the nearest objects
or surfaces to ensure proper ventilation and cooling
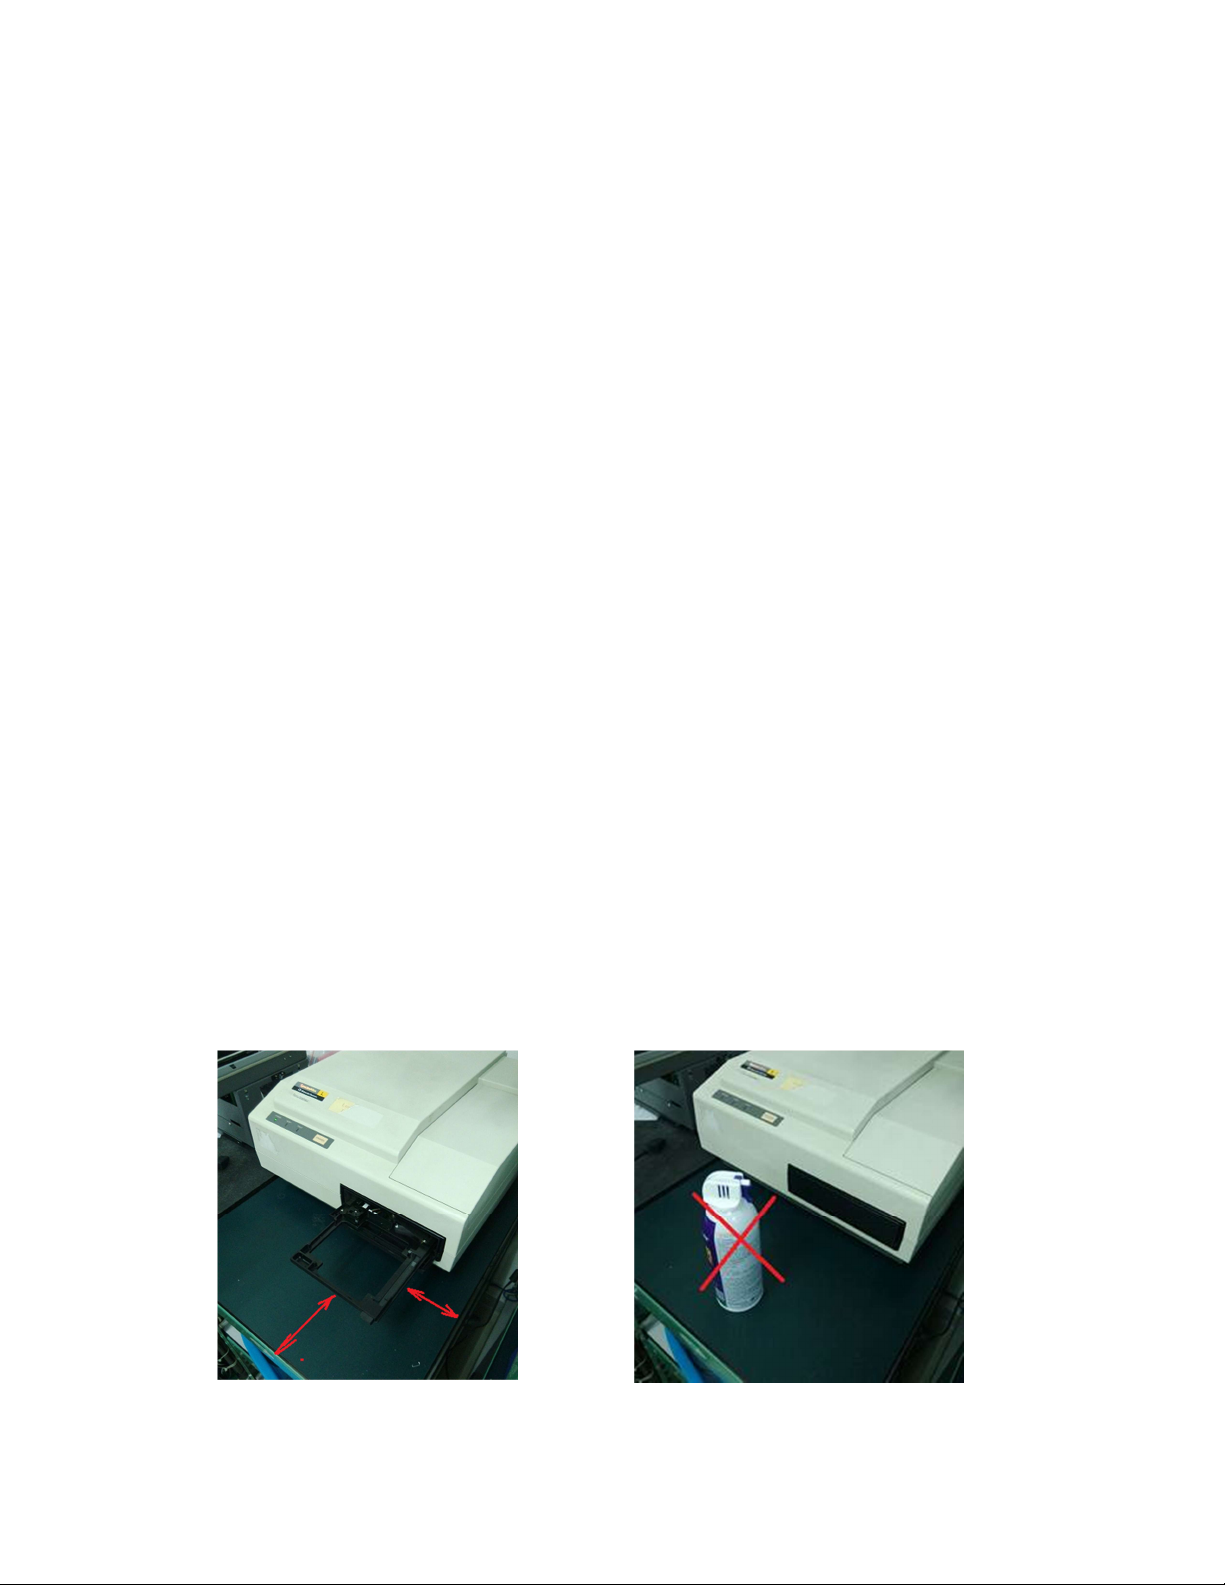
Leave sufficient space in front of the instrument so the extended plate carriage is not exposed
beyond the edge of the bench. Accidentally bumping into the plate carriage may cause
misalignment.
Do not place any objects in front of the plate carriage
Page 2

3. Connect the USB cable to the USB Type B port on the back panel of the instrument. Connect the
other end of the cable to the USB Type A port on the control computer.
4. Plug the main power cable into the connection on the back panel of the instrument.
5. Connect the mains power cable to the AC adapter, and then connect the other end of the power
cable into the lab’s power outlet.
Molecular Devices recommends you use a surge protector between the power cable and the
grounded outlet.
6. If you have purchased one or both external injector modules, plug the module’s main power cable
into the connection on the back of the module, connect the power cable to the AC adapter, and
then plug the other end of the power cable into the lab’s power outlet.
Molecular Devices recommends you use a surge protector between the power cable and the
grounded outlet.
7. If you purchased one or both external injector modules, you must connect each module’s
communication cable.
For further information refer to the User Guide.
 Loading...