

Mojave Dirty Boy User Manual
Dirty Boy User Manual
WARNING: Please read ALL the safety and other instructions contained
inside this User Manual BEFORE your first use of the product. Failure to
do so may result in serious personal injury or death and/or permanent
damage to the product. Keep these instructions for future reference.
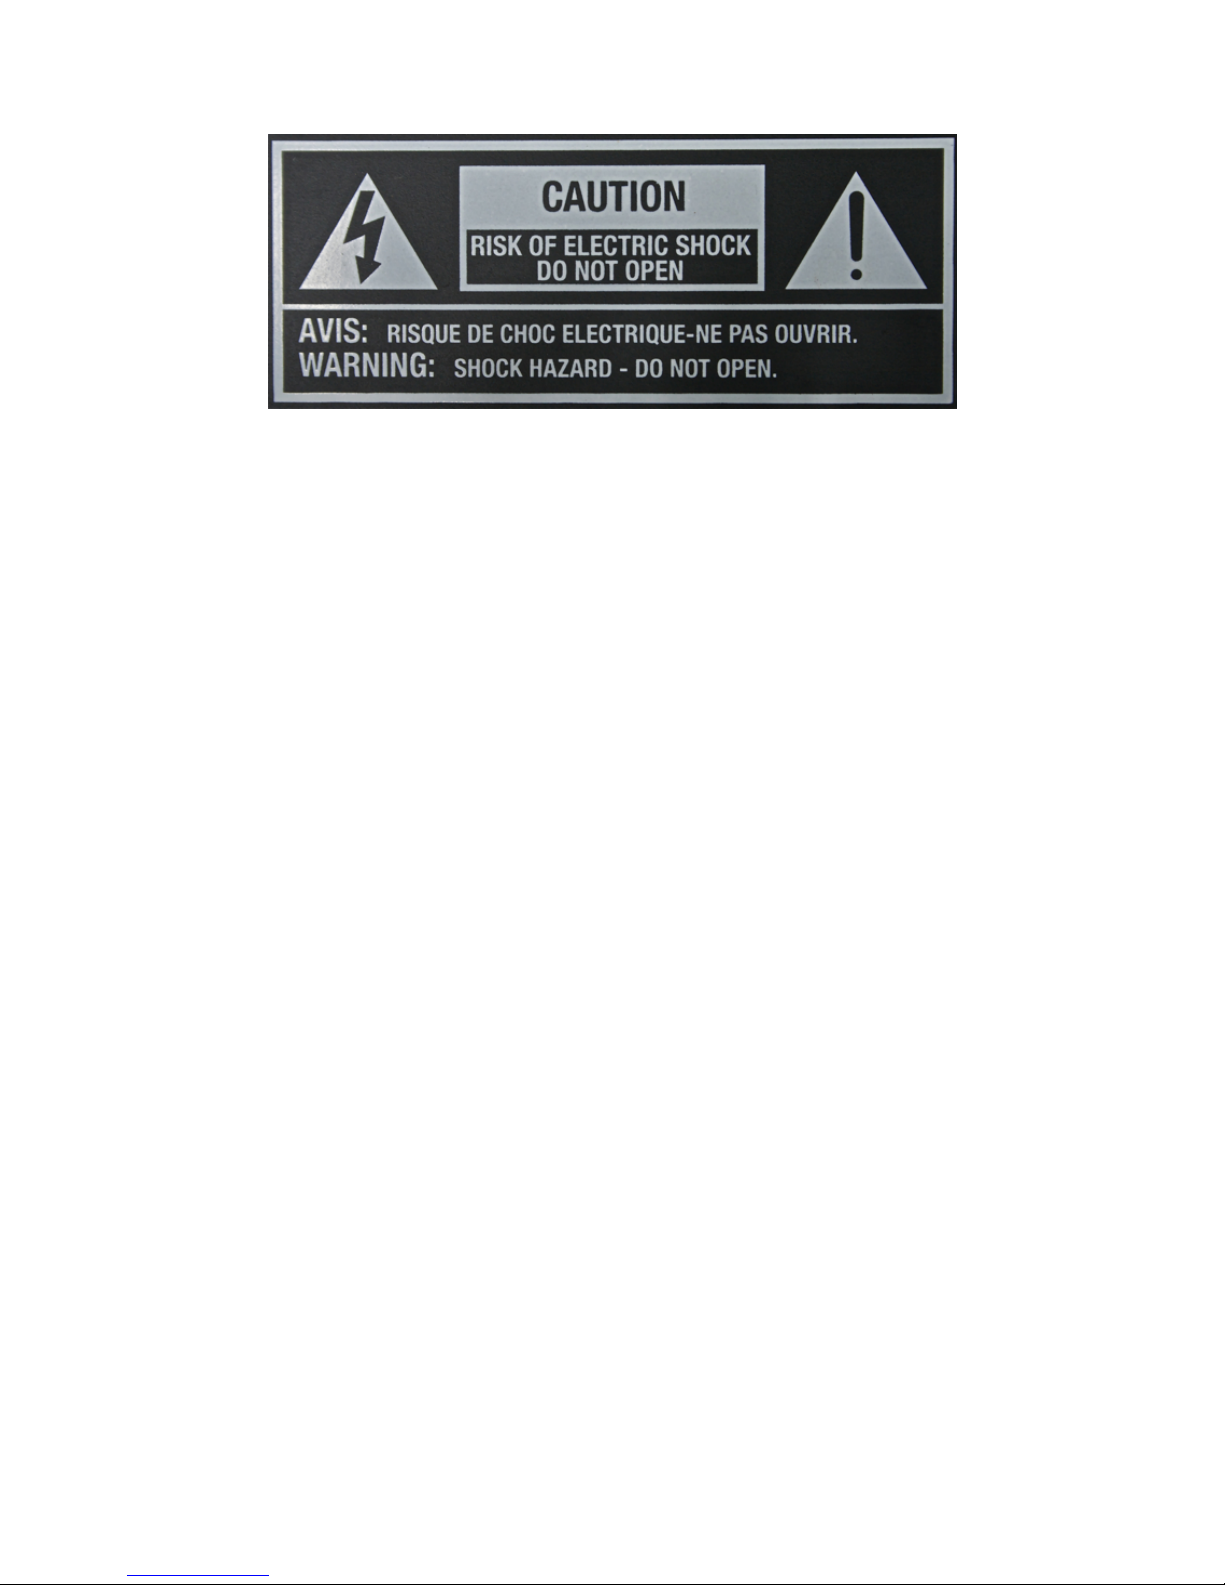
The lightning flash with arrowhead symbol, within an equilateral triangle, is
intended to alert the user to presence of uninsulated “dangerous voltage”
within the product’s enclosure that may be of sufficient magnitude to
constitute a risk of electric to persons.
The exclamation point, within an equilateral triangle, is intended to alert the
user to the presence of important operation maintenance (servicing)
instruction in literature accompanying the appliance.
WARNING: TO REDUCE THE RISK OF ELECTRIC SHOCK, DO NOT
REMOVE COVER (OR BACK). NO USER-SERVICEABLE PARTS INSIDE.
REFER SERVICING TO QUALIFIED SERVICE PERSONNEL.
WARNING: TO REDUCE THE RISK OF FIRE OR ELECTRIC SHOCK,
DO NOT EXPOSE THE APPLIANCE TO RAIN OR MOISTURE.
NOTICE: Operation is subject to the following two conditions: (1) This device may not
cause harmful interference, and (2) this device must accept any interference received,
including interference that may cause undesired operation.

Dirty Boy User Manual
Thank you for your purchase of the Dirty Boy, handcrafted by Mojave Ampworks LLC.
Your new Dirty Boy amp comes with the following:
1. Power Cord
2. Owners Manual
3. Registration information
4. Boost on/off Pedal (Optional)
5. Boost Pedal Cable (Optional)
Overview: We are very pleased to offer the Dirty Boy for your musical enjoyment.
The Dirty Boy amp is truly a one of kind amplifier and likely very different from most any
amp you have ever played. We expect you will find this User Manual useful to get you
started. Please follow our start-up recommendations (see Section 1: Powering Up the
the Dirty Boy) to help preserve and prolong the life of your tubes. Proper operation of
the Dirty Boy will give you many years of trouble free service, and when used correctly,
you will find the Dirty Boy to be one of the most reliable amps available. Please carefully
review the entire User Manual before attempting to use this amp.
The Dirty Boy is 100% Made in America with 100% American parts save the tubes. We
have endeavored to provide a true piece of great American craftsmanship and all the
products from the transformers, to the chassis to the tube sockets themselves are
American made.
Section 1: Powering Up the Dirty Boy.
1. Tube Installation. To protect against damage during shipping, the Dirty Boy’s ten
(10) tubes are shipped uninstalled and in their original boxes carefully packed within
the head’s internal cavity. NOTE: DO NOT DISCARD YOUR TUBE BOXES or,
alternatively, write down and save the information contained thereupon for future
reference. You must install these tubes in the order indicated in this User Manual to
ensure proper operation.
Step 1: Remove the four (4) screws holding the head’s rear panel and grill in
place and carefully set them aside.
Step 2: Carefully remove the tube boxes, the metal tube caps and all the
packing material from inside the head and carefully set them aside. Your tube boxes
will be grouped in (3) three bunches consisting of two (2) 5-U4G rectifier tubes; four
(4) EL34 power tubes; and (3) three 12AX7 and one (1) 12AT7WC pre-amp tubes.
Step 3: Identify the 12AX7 / 12AT7WC pre-amp tube bunch and locate the
reference number on the top of each individual tube box identifying the tube’s
installation order (i.e., “V1” through “V4”). Remove the 12AX7 tube in the box marked
“V1” and install it in the first tube socket on the right side of the amp head as viewed
from the rear of the amp. To install the tube, carefully line up the pins and tab on the
tube with the corresponding slot and pin holes in the amp’s tube socket and with firm,
even pressure, push the tube into the socket until it is completely seated. Repeat
this process with each of the remaining pre-amp tubes making sure that each

Dirty Boy User Manual
successive pre-amp tube is installed in the corresponding socket moving from right
to left (i.e., V2 in the 2nd socket, V3 in the 3rd socket, etc.)
Step 4: Once all the pre-amp tubes are installed, install a metal cap over each of
the preamp tubes. To install a cap, carefully line-up the tab on the tube socket with
the corresponding gap on the metal cap. Once aligned, carefully push the metal cap
over the tube, depressing the spring inside the cap. Once the cap is seated, twist
the cap slightly so the tab and the gap are no longer aligned and the cap remains
seated.
Step 5: Identify the EL34 tube bunch, and locate the reference number on the
top of each individual tube box identifying the tube’s installation order (i.e., “1”
through “4”). Remove the EL34 tube in the box marked “#1” and install it in the fifth
(5th) tube socket (which is the first open socket after the pre-amp tubes). To install
the tube, carefully line up the pins and tab on the tube with the corresponding slot
and pin holes in the amp’s tube socket and with firm, even pressure, push the tube
into the socket until it is completely seated. Repeat this process with each of the
remaining EL34 tubes making sure that each successive tube is installed in the
corresponding socket moving from right to left (i.e., #1 in the 5th socket, #2 in the 6th
socket, etc.)
Step 6: Identify the remaining 5-U4G rectifier tubes and install them in the
remaining two sockets in either order using the same process noted above.
Step 7: Re-install your amp’s rear panel and grill.
2. Selecting the Correct Impedance For Your Speaker Cabinet: Using a _______
cable only, plug one end of the cable into the appropriate impedance input (located in
the rear of your amp) to match your speaker cabinet’s impedance. It is critical that
you select the correct impedance option for your particular speaker cabinet. The
Dirty Boy should be connected to one of the following selections:
a. If you are using a single speaker cabinet at 8 ohms, set your Dirty Boy
impedance to 8 ohms.
b. If two speaker cabinets are being used, both 8 ohm cabinets, your Dirty
Boy should be set to 4 ohms.
c. If you are using a 4 ohm cabinet, set your Dirty Boy speaker impedance
selector to 4 ohms.
WARNING: You cannot use two 4 ohm cabinets with the Dirty Boy. That will result in a
total load of only 2 ohms, which can damage the amplifier. Additionally, you cannot use
a single 16 ohm cabinet. However, if you have two (2) 16 ohm cabinets, you may use
them both together plugged into the Dirty Boy amp as the end impedance will be 8
ohms. Please select 8 ohms on the Dirty Boy for this application. Also note that you
cannot mix impedances such as 4 ohm and 8 ohm together. The cabinets must be
equally matched, for example, two 16 ohm cabinets, two 8 ohm cabinets, etc.
3. Before You Turn ON the Power: Make sure your power and standby controls are
both in the up position. Plug your power cord into the Dirty Boy. Set your Variac to
“0”. Set the Bias control to “COLD.”. Set your volume on the amplifier to 0. Be
sure your guitars volume control is turned up.

Dirty Boy User Manual
4. Turning the Dirty Boy ON: Once the Variac and the Bias controls are set to “0” and
COLD, move the power switch on the front of your Dirty Boy to the “ON” position.
Allow at least sixty (60) seconds for warm up, which is the minimum recommended.
Note that longer warm up allows the tubes to stabilize. If you have the luxury of
allowing your amp to warm up for 5 minutes, this would be optimal. Once the Dirty
Boy has sufficiently warmed up as indicated, move the “STANDBY” switch to the
OFF position (down). The Dirty boy will become operational.
5. Initial Tone and Feel Adjustments: We suggest turning the boost OFF for your first
power up test. Once the amp is operational, we suggest turning up the guitar volume
while SLOWLY rotating the Variac to the appropriate power level test your sound..
You can then adjust your Bias to the desired tone and feel and set your volume.
Note that setting the Variac to 100% and the Bias between 70-75% is a normal
operational setting. Also note that when the bias control is set to “COLD” the Dirty
Boy power amp section is effectively cut-off at low power levels. Adjust the bias at
low power levels until desired sound quality is obtained. At higher power levels DO
NOT run the amp at full hot unless your playing the amp clean. See the Bias control
section below for further explanation.
Section 2: Operating the Dirty Boy.
1. Understanding the Variac. At the heart of the Dirty Boy amp is the Variac. The
Variac is an adjustable power transformer used to vary the power on the EL34
power tube section of the Dirty Boy amp. It’s purpose is to allow a combination of
power level changes and sound texture results from the resulting power level
differences. The power supply rectifier tubes (5U4) are controlled by the Variac. In
turn, the Variac should not be dialed rapidly back and forth. Doing so may cause
damage to the rectifier tubes and or the EL34 power tubes. We STRONGLY
recommend you use common sense and treat the Variac with high a degree of
carefulness. If you rotate the Variac slowly, you will get better results form the amp
and safer operations on your power supply tubes as well as audio power output
tubes. Additionally, we suggest at anytime when you have powered your amp down,
that you also set your Variac to 0 volts. This allows the amp to be powered back up
from 0 to your previous setting.
2. Understanding the Division Lines. We will describe the Dirty Boy Control settings
in percentages. Looking at the Dirty Boy control panel, you will see the smaller
division lines. These smaller division lines are equal to 5%. There are also five
longer thick lines on the dial. They are referenced at 0%, 25%, 50%, 75% and 100%.
The larger divisions are spread equally along the control panel and are separated by
the smaller 5% division lines. Basically, you have a control dial that reads from
0-100%. The Variac is also 0-100% but its divisions are set at 2% increments. 100%
Variac equates to 120VAC power to the rectifier tubes. 50% Variac would equate to
60 VAC power fed to the rectifier tubes. Therefore, the Variac does not equate to
power or voltage levels in the direct sense. If you set the Variac at 75%, the actual
voltage is not 75 volts, but rather 75% of 120 VAC, which is actually 90 VAC. This

Dirty Boy User Manual
should be kept in mind as the Variac does not provide power to any part of the
amplifier other then the power section of the amplifier. The heaters for all the tubes,
including the power tubes, are all provided on an auxiliary basis. This means you do
not have to worry about under powered heater voltage on your tubes in the Dirty
Boy. The heater voltage on the 5U4 power tubes is also provided separately from the
Variac and allows the rectifiers to operate at the correct temperature.
3. Understanding How the Variac, Bias and Feedback Affect Your Sound. As noted
above, for safety of the power tubes, you would be better served using a slow ramp
up rather then an instant application of high voltage to the power tubes. The reason
for ramping up the power tubes rather then switching the amp on and off with power
applied to its high voltage section is that the bias is allowed time to catch up. The
Bias on the Dirty Boy is developed on the high voltage section. The power tube
rectifiers are considered a slow power supply. This creates a unique “behavior” from
the power supply. This behavior on the part of the power supply is also a contributing
feature to the Dirty Boy’s over all character and sound. The power amp section will
distort more when the power supply is running at lowered settings on the Variac.
Anything under 50% Variac power will exhibit a slower recharge time of the power
supply capacitors. The slower recharging of the power supply will create an effect that
sound like the amp is “catching its breath” so to speak. This is normal at drastically
low power settings. The replenishing of the power supply capacitors will be quicker
when the Variac is set higher or over 50%. The “breathing” effect is also partly
influenced by both the Feedback and Bias settings. You can experiment with this by
adjust the Variac, Feedback, guitar volume and Bias controls. The overall demands
on the amp when used at lower power levels will yield some very interesting and
unique results; the possibilities are very diverse.
3. Understanding the Dirty Boy’s Power Tube Based Distortion. The Dirty Boy
employs power tube based distortion. This statement holds true for many vintage
guitar amplifiers that are non-master volume. Most non master volume amplifiers
need to be turned up to full power in order to reach the threshold of the desired
overload sound or power tube distortion. The power tubes are distorting because the
power amps are exhausting the power supply of its ability to provide “gas” or power,
thus you get a distorted signal in the power tube. The only problem with this scenario
is the power section generates a tremendous amount of power and, therefore, a lot of
volume. The Dirty Boy is no exception since it was designed to be used as a live
amp or for recording with the amp powered up past the 50% Variac level for optimal
tone. The exception that the Dirty Boy can be adjusted to a lower power levels by
way of the adjustable Variac should not be confused with the concept that the sound
will be identical at the lower settings. There are a number of factors at play when the
Variac is adjusted. The first is the Bias; as the Variac is decreased so will the bias on
the power tubes or the Bias will become “cold”. This means the tubes are not going to
act on the input signal as easily and it may actually get cold enough to “cut off” the
power tubes. This is not a problem and can be very desirable. You will have to
experiment with this feature. If the Bias is set to fully COLD while the Variac is at a
power setting of over 50%, you will hear the amp go completely quiet. This is the fully
“cut off” state and your guitar signal will need to be of sufficient levels to over come
 Loading...