

Page 1
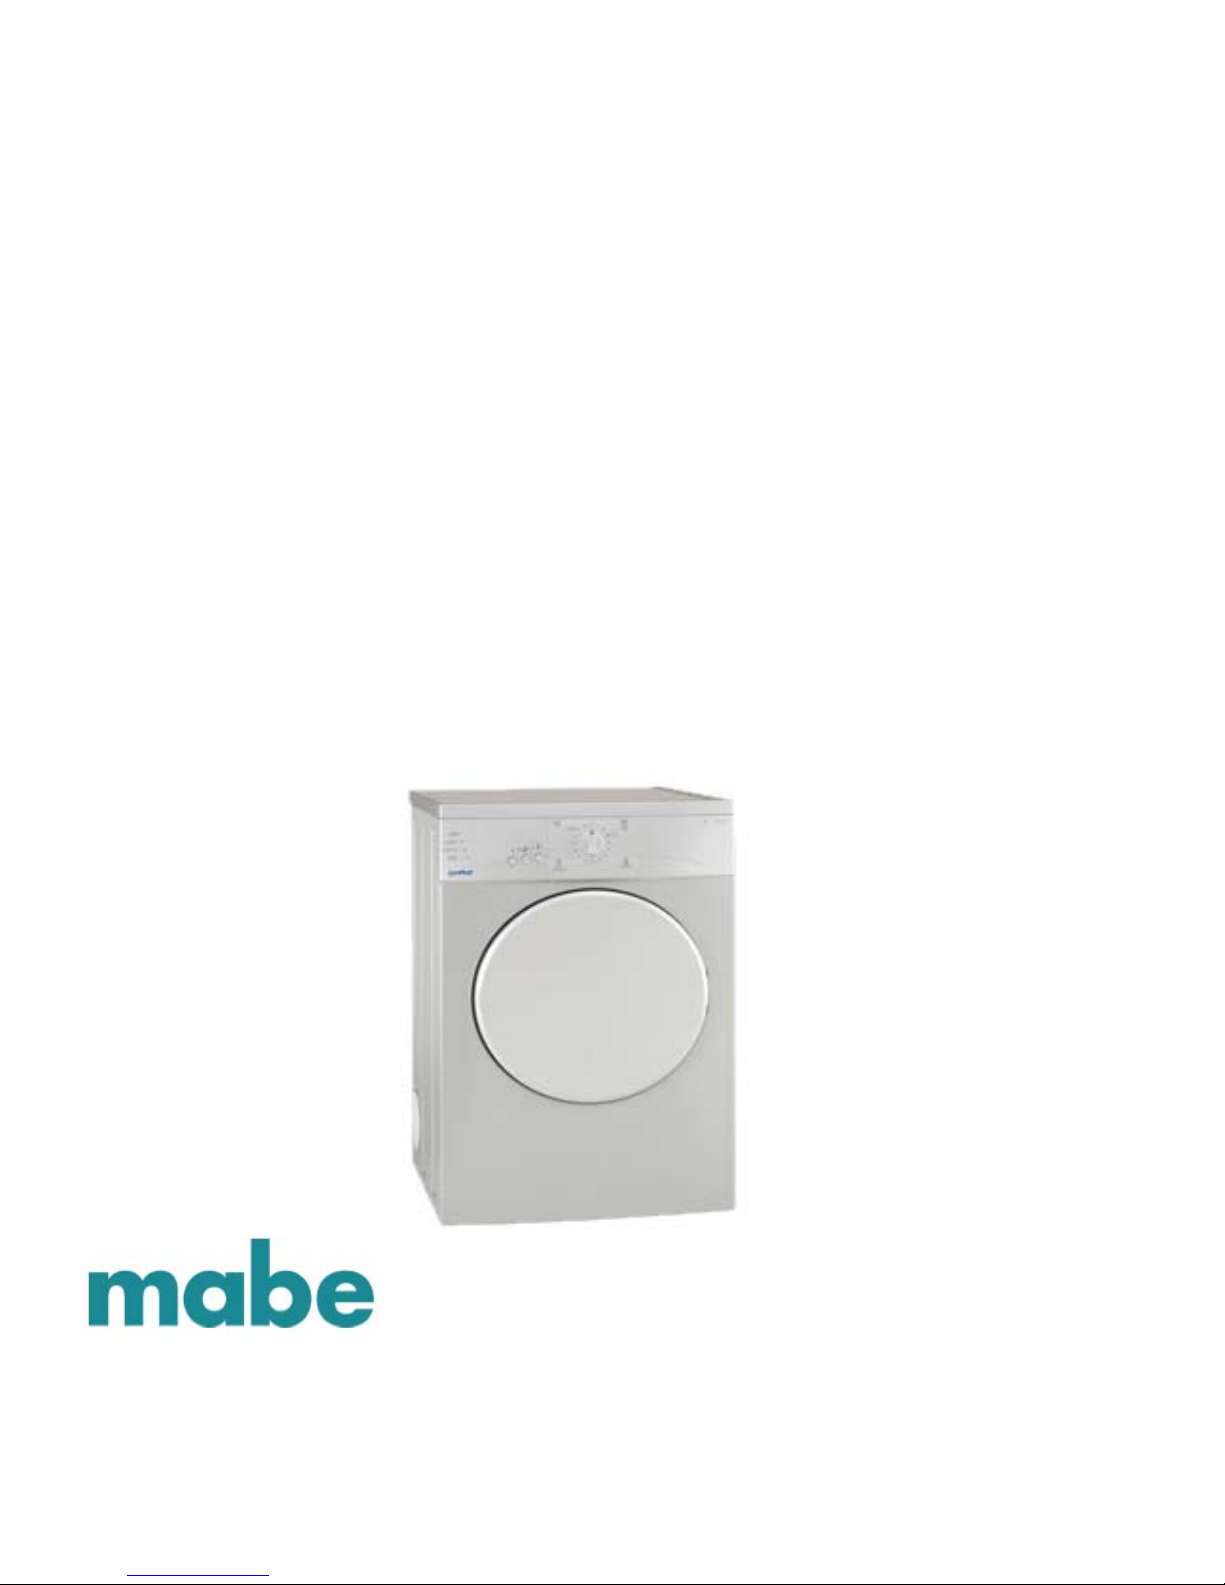
NEW MOFFAT DRYER
RCKH315EH
07-MAN-DR-01
Page 2

2
IMPORTANT SAFETY NOTICE
The information in this presentation is intended for use by individuals
possessing adequate backgrounds of electrical, electronic, and
mechanical experience. Any attempt to repair a major appliance may
result in personal injury and property damage. The manufacturer or
seller cannot be responsible for the interpretation of this information,
nor can it assume any liability in connection with its use.
mabe CONFIDENTIAL AND PROPRIETARY INFORMATION-NOT FOR PUBLIC DISCLOSURE.. JANUARY 2007
Page 3

3
Features
• 3.6 cubic foot capacity
• Sensor drying
• Automatic end of program signal
• Stainless steel drum
• Care +
• 4 dryness levels
• Reverse tumble action - at the end of the drying cycle, during the
cooling cycle, the motor will stop and restart in the opposite direction.
With this feature, the clothes will not be tangled.
• This dryer operates on 240 volts, there is no 120 volts, the white wire
at the dryer’s electrical entrance is not connected.
mabe CONFIDENTIAL AND PROPRIETARY INFORMATION-NOT FOR PUBLIC DISCLOSURE.. JANUARY 2007
Page 4

4
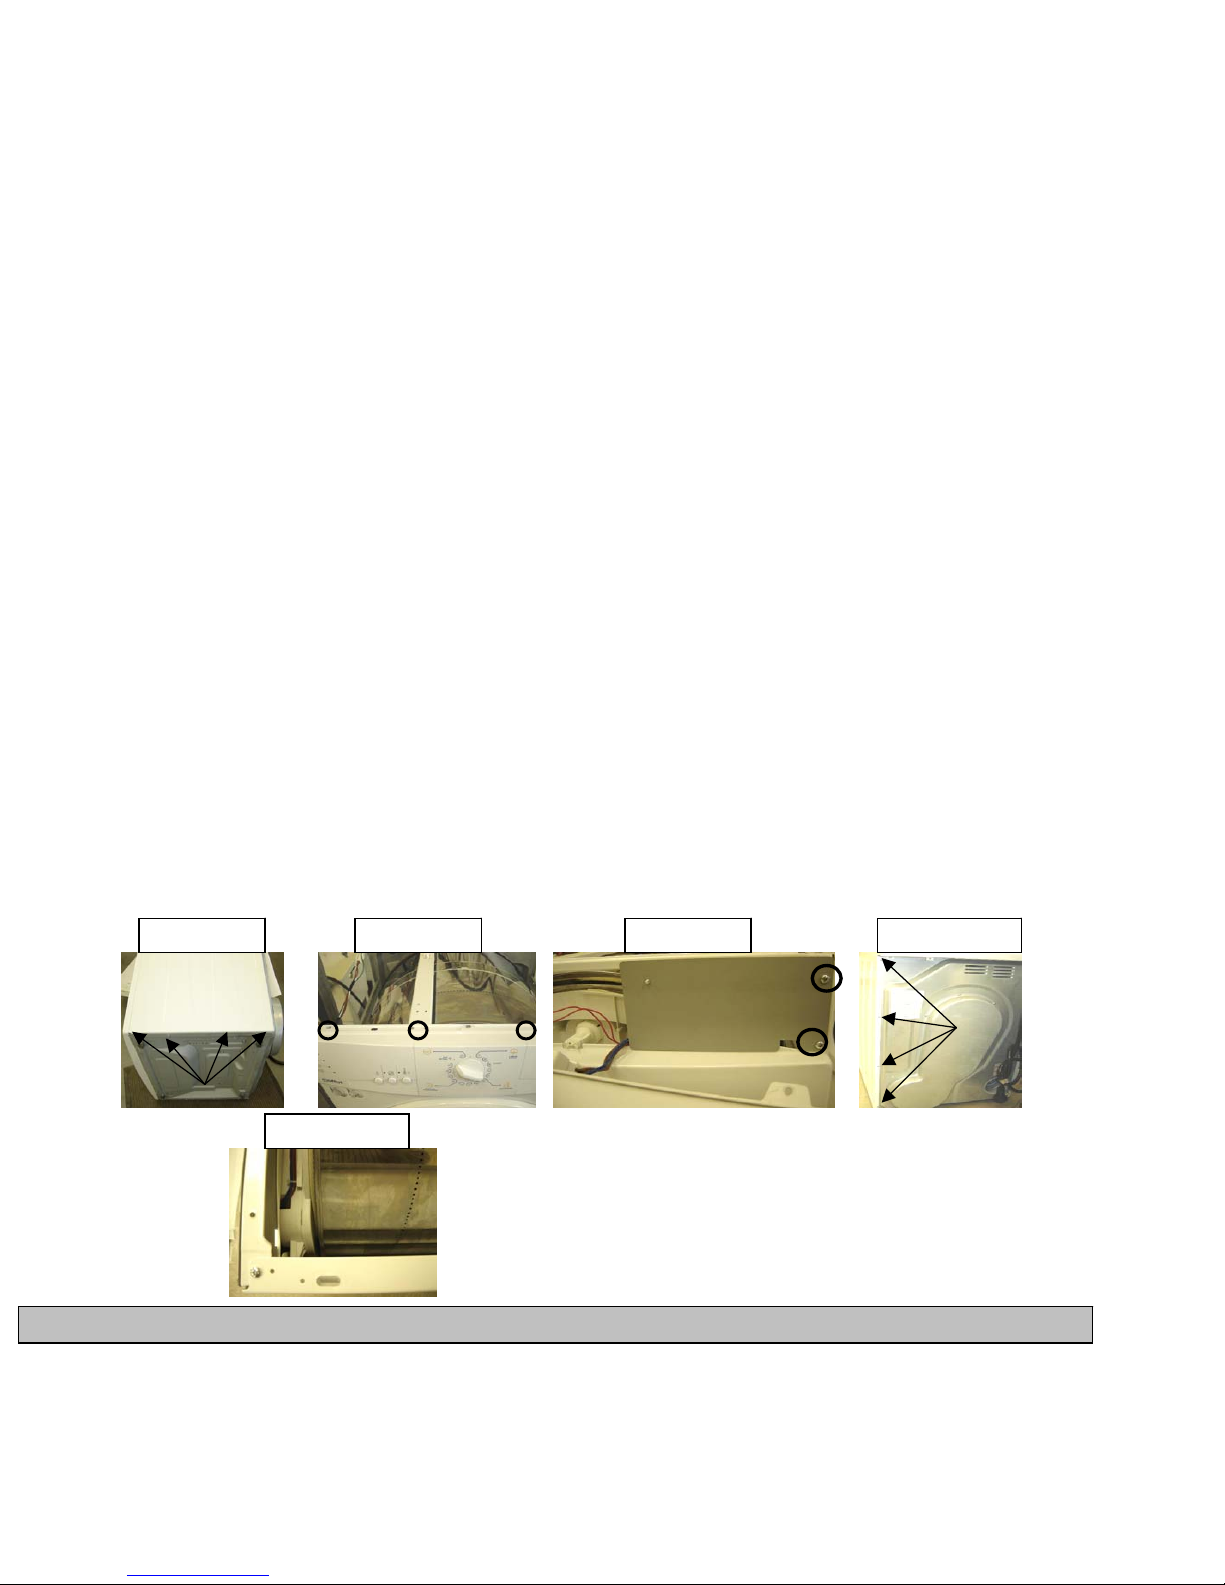
How to remove the top
Remove the two screws that hold the top to the rear and pull
toward you to disengage.
mabe CONFIDENTIAL AND PROPRIETARY INFORMATION-NOT FOR PUBLIC DISCLOSURE.. JANUARY 2007
Page 5
5
How to access the motor
Remove the right side panel.
a) Remove the four screws under the dryer for side panel. (Figure 1)
b) With the dryer upright remove the top panel.
c) Remove the three screws holding the control panel and remove the control. (Figure 2)
d) This will expose two screws on each side holding the side panel. (Remove). (Figure 3)
e) Remove the side panel. (One screw on the top and four at the back, then lift up the panel by ¼ each
and remove). (Figure 4A, 4B and 4C
f) Now you have the access for the motor.
(Figure 1) (Figure 2) (Figure 3) (Figure 4A)
(Figure 4B)
mabe CONFIDENTIAL AND PROPRIETARY INFORMATION-NOT FOR PUBLIC DISCLOSURE.. JANUARY 2007
Page 6
6
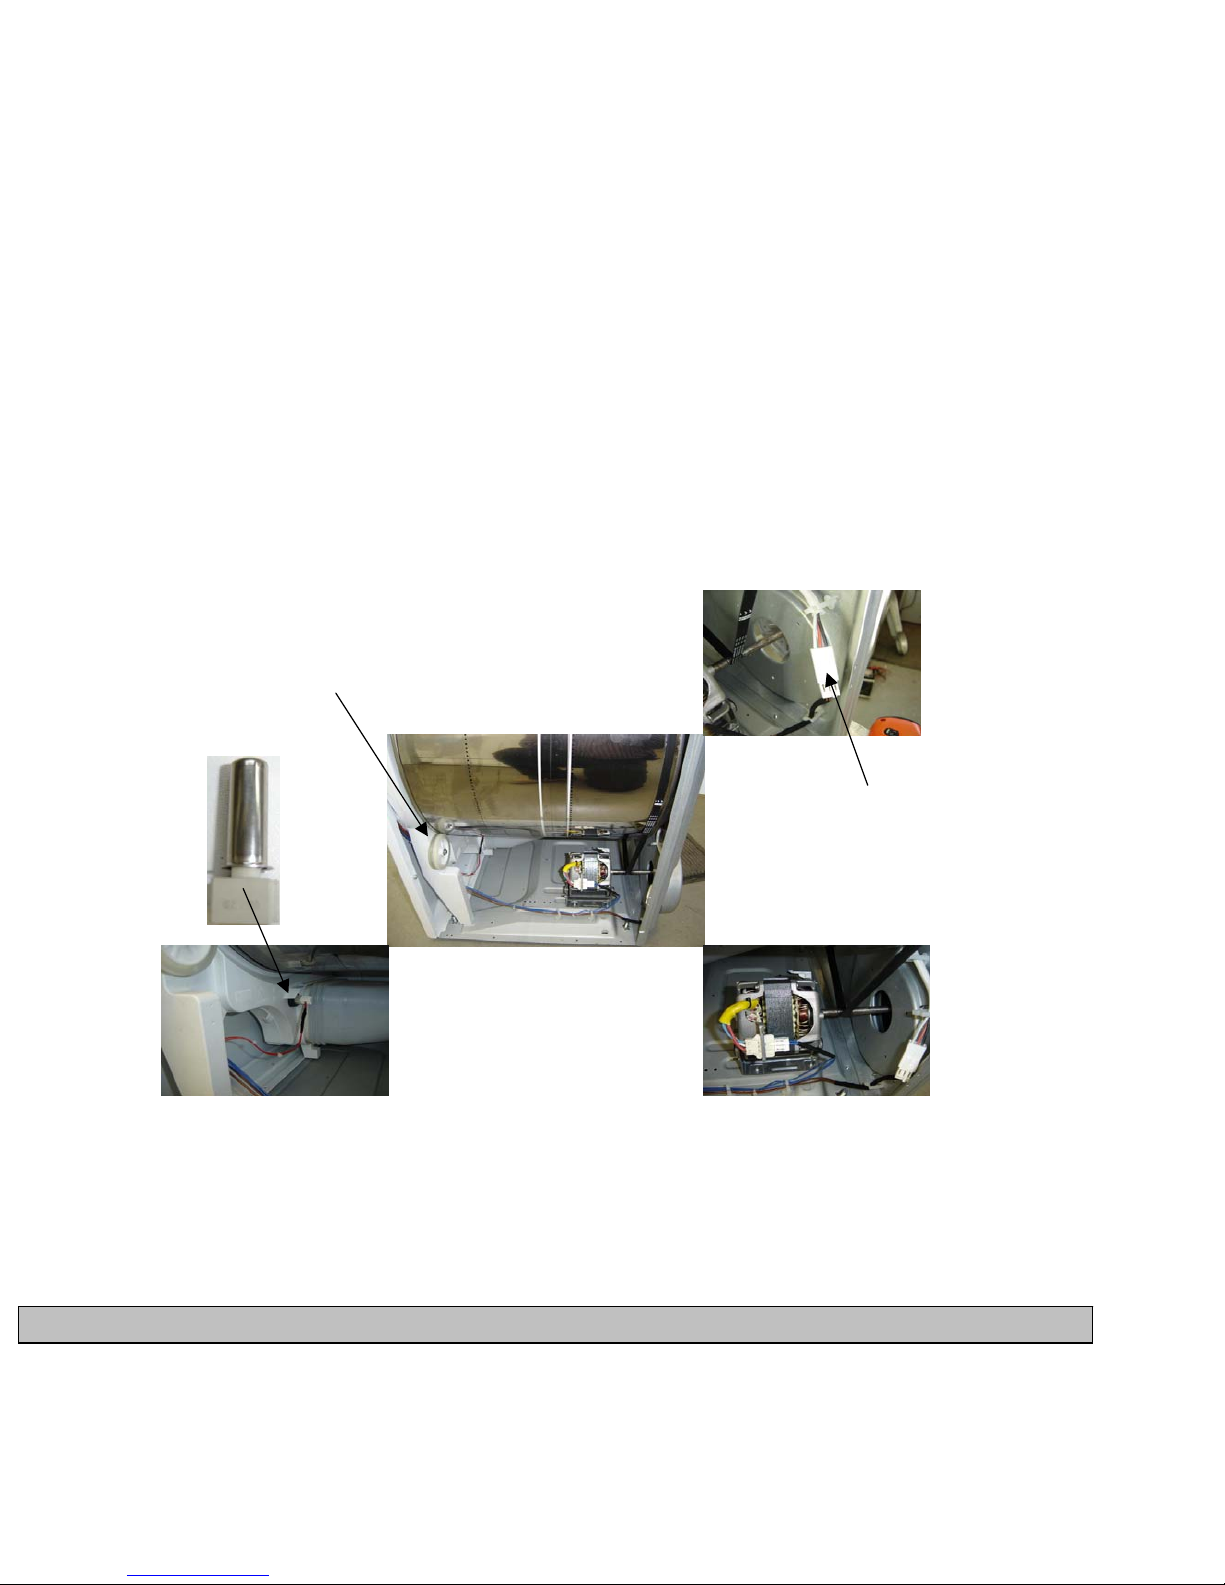
How to access the motor (cont.)
Sensor
Drum roller
Motor
Heater connection
Once the panel from the right side is removed, you can access the motor, the sensor,
the heater connection and the drum rollers.
mabe CONFIDENTIAL AND PROPRIETARY INFORMATION-NOT FOR PUBLIC DISCLOSURE.. JANUARY 2007
Page 7
7
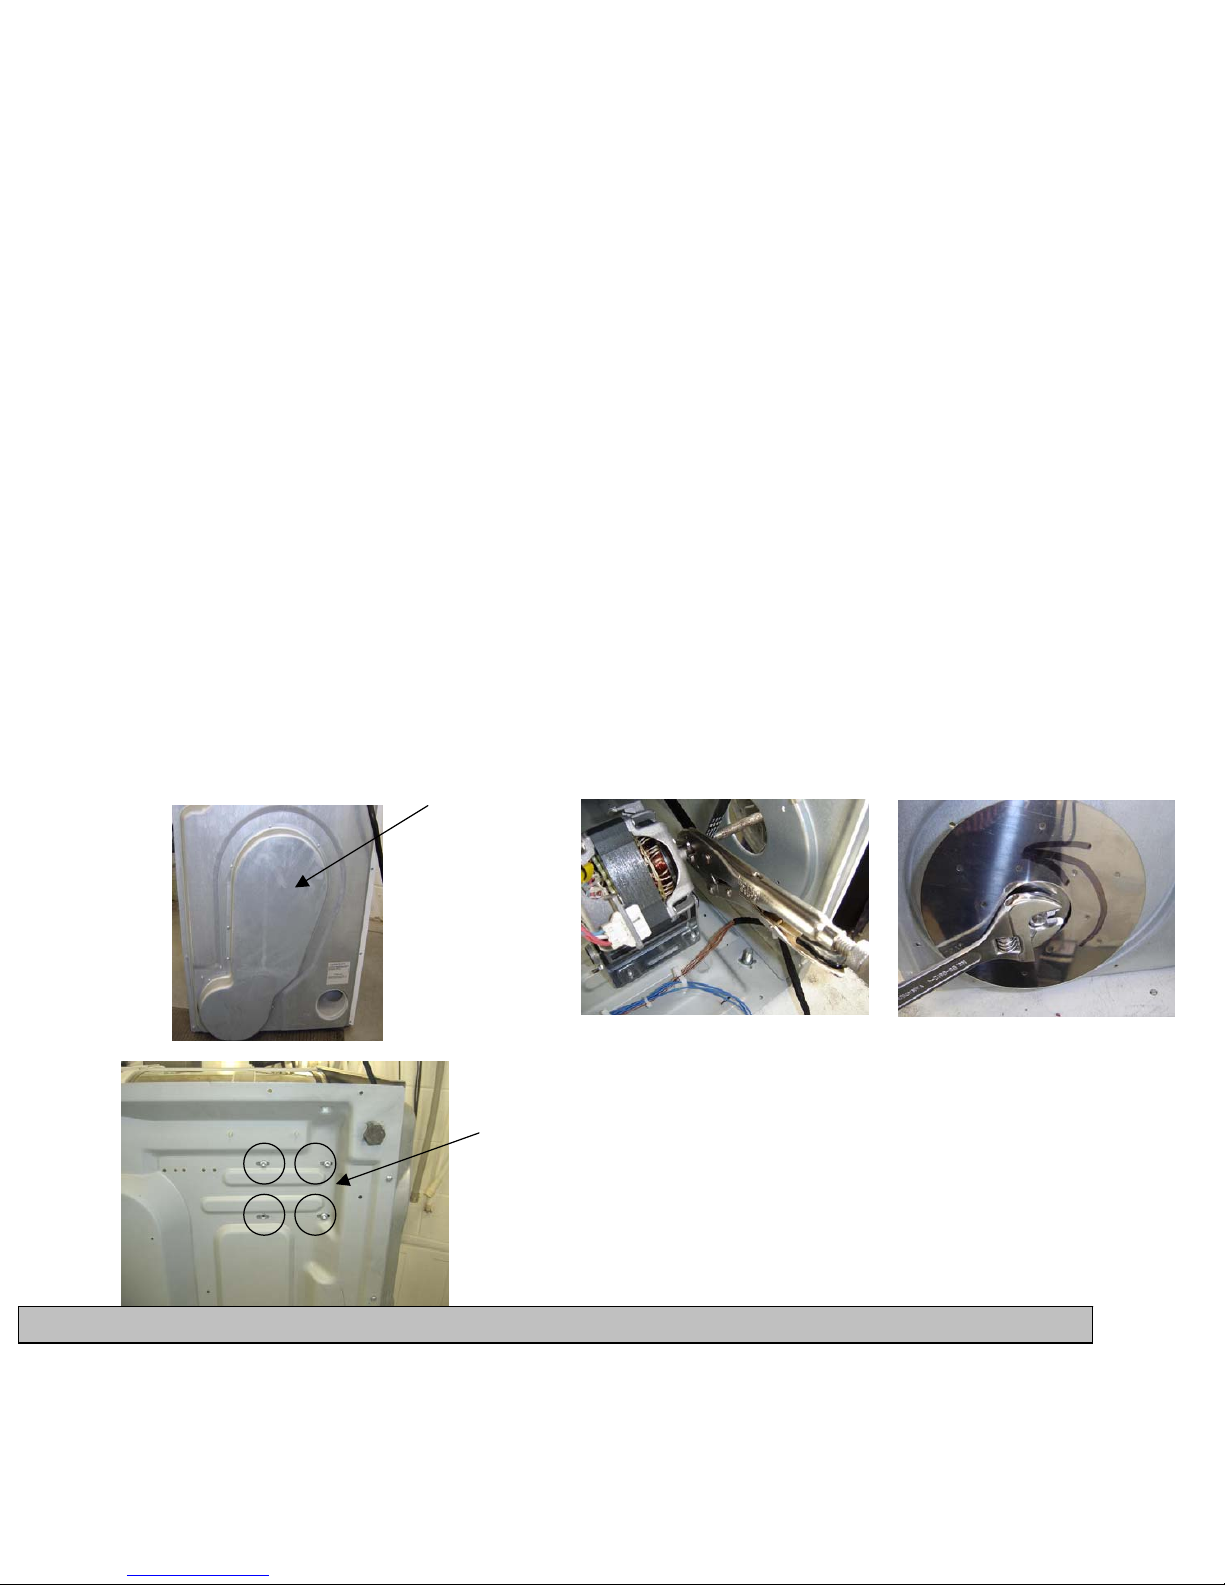
How to remove the motor
Remove the panel from the right side.
Remove the blower; you must hold the
motor shaft from the inside and unscrew
the blower nut.
Remove the rear panel, there are
13 screws that hold it in place
.
You must tilt the dryer to remove the four screws that
hold the motor.
mabe CONFIDENTIAL AND PROPRIETARY INFORMATION-NOT FOR PUBLIC DISCLOSURE.. JANUARY 2007
Page 8

8
How to remove the motor (cont.)
To check the motor coils, check between the red
and the white, the value is 39 Ω. Between the
red and the blue, the value is 78 Ω and between
the white and the blue, the value is 39 Ω.
mabe CONFIDENTIAL AND PROPRIETARY INFORMATION-NOT FOR PUBLIC DISCLOSURE.. JANUARY 2007
Page 9

9
How to remove the heater
Remove the panel from the right side. Remove the rear panel, there are
13 screws that hold it in place.
Thermostat 145 °C
293 °F
Thermostat 110 °C
230 °F
Remove the screws from the
heater assembly housing.
mabe CONFIDENTIAL AND PROPRIETARY INFORMATION-NOT FOR PUBLIC DISCLOSURE.. JANUARY 2007
Page 10

10
How to remove the heater (cont.)
Remove the heater’s harness protector located
at the rear of the dryer.
Disconnect the plug from the heater.
Remove the wiring from the element. You can now replace the heater.
mabe CONFIDENTIAL AND PROPRIETARY INFORMATION-NOT FOR PUBLIC DISCLOSURE.. JANUARY 2007
Page 11

11
How to check the temperature sensor
The temperature sensor is located at the
ventilation outlet under the drum. It
controls the temperature inside the drum.
To replace it you must remove the right
side panel. At room temperature, the
resistance is 20 KΩ.
If you increase the sensor temperature the resistance will decrease. You
can verify the temperature sensor at the electronic control or directly under
the drum.
mabe CONFIDENTIAL AND PROPRIETARY INFORMATION-NOT FOR PUBLIC DISCLOSURE.. JANUARY 2007
Page 12

12
Humidity sensor
This dryer has a humidity sensor located over the drum. Each baffle has a
humidity detector that touches the drum. When the humidity detectors no longer
detect humidity, the information will be transmitted to the electronic control by
the humidity sensor.
Humidity sensor
Baffle
Metal rod attached to the
humidity detector on the baffle.
Humidity detector
mabe CONFIDENTIAL AND PROPRIETARY INFORMATION-NOT FOR PUBLIC DISCLOSURE.. JANUARY 2007
Page 13

13
How to remove the drum
1. Remove the top, see page 4.
2. Remove the right side panel and the left side panel and remove the motor,
see pages 4 to 8.
3. Remove the control panel.
4. Remove the rear panel.
5. Remove the retainer from the ground on the drum.
6. You must be careful once the retainer is removed because there is a small
spring and a metal rod which is inserted in the drum shaft.
Metal rod
Spring
mabe CONFIDENTIAL AND PROPRIETARY INFORMATION-NOT FOR PUBLIC DISCLOSURE.. JANUARY 2007
Page 14

14
How to remove the drum (cont.)
7. Remove the nut from the drum.
8. Remove the control panel and the wiring from the electronic control.
There are three screws on the top which hold the control panel.
mabe CONFIDENTIAL AND PROPRIETARY INFORMATION-NOT FOR PUBLIC DISCLOSURE.. JANUARY 2007
Page 15

15
How to remove the drum (cont.)
9. Remove the front panel,
there are three screws
under the dryer which
hold the front panel.
10. Remove the screw from
each side of the top part
of the front panel.
mabe CONFIDENTIAL AND PROPRIETARY INFORMATION-NOT FOR PUBLIC DISCLOSURE.. JANUARY 2007
Page 16

16
How to remove the drum (cont.)
11. Remove the 6 screws around the
door opening, remove the front
panel and remove the retainer from
the drum roller support.
12. Remove the drum.
mabe CONFIDENTIAL AND PROPRIETARY INFORMATION-NOT FOR PUBLIC DISCLOSURE.. JANUARY 2007
Page 17

17
Door switch
To remove the door switch you
must remove the front panel.
Please note that if the door stays open more than 5 minutes and no setting is
selected, the lighting will shut off.
mabe CONFIDENTIAL AND PROPRIETARY INFORMATION-NOT FOR PUBLIC DISCLOSURE.. JANUARY 2007
Page 18

18
Error codes
ERROR SHORT DESCRIPTION ERROR DESCRIPTION
F0 If there is an error regarding ROM / EEPROM / FLASH / LCD
F1 Improper operation of the temperature sensor
- sensor circuit open or short circuit
- This error appears if the connection with the temperature sensor is
open or there is a short circuit between the connections.
- Program finishes immediately.
F2
not active in
venting
Improper heater operation
- heater failure
- control unit failure
- dirty filter
- The error appears if the temperature does not reach 35
0
C at least
once in the first 20 minutes of operation.
Drying is interrupted .
F4 The selected humidity end level wasn’t reached:
- error on the humidity sensor
- faulty connection between the electronic control and
the humidity sensor.
The error appears if the dryer stops automatically after 3 hours, even if
the selected humidity level wasn’t reached .
mabe CONFIDENTIAL AND PROPRIETARY INFORMATION-NOT FOR PUBLIC DISCLOSURE.. JANUARY 2007
Page 19

19
Error codes (cont.)
- F0: All LEDs flashing. The flashing period is 1 second (it is on for 0,25 second and off for 0,25 second).
- F1: LED 1, LED 6 and LED 7 are flashing. The flashing period is 1 second (it is on for 0,25 second and off for 0,25 second).
- F2: LED 2, LED 6 and LED 7 are flashing. The flashing period is 1 second (it is on for 0,25 second and off for 0,25 second).
- F3: LED 3, LED 6 and LED 7 are flashing. The flashing period is 1 second (it is on for 0,25 second and off for 0,25 second).
- F4: LED 4, LED 6 and LED 7 are flashing. The flashing period is 1 second (it is on for 0,25 second and off for 0,25 second).
The error is cleared on the LEDs when the selector is moved to the zero position. If there is a power failure during error
detection, error is on again after power on.
0,25 0,25 0,25 0,25
0,25 0,25 0,25 0,25
0,25 0,25 0,25 0,25
0,25 0,25 0,25 0,25
0,25 0,25 0,25 0,25
mabe CONFIDENTIAL AND PROPRIETARY INFORMATION-NOT FOR PUBLIC DISCLOSURE.. JANUARY 2007
Page 20

20
Noise
When the dryer is noisy, there are a few possible causes.
Check the drum rollers, the blower, the motor installation and check to make sure
the dryer is level and the leveling legs are resting on the floor.
Abnormal noise
Normal noise
Press on the green button. Press on the green button.
mabe CONFIDENTIAL AND PROPRIETARY INFORMATION-NOT FOR PUBLIC DISCLOSURE.. JANUARY 2007
Page 21

21
WIRING DIAGRAM
240 volts
Drum lamp
mabe CONFIDENTIAL AND PROPRIETARY INFORMATION-NOT FOR PUBLIC DISCLOSURE.. JANUARY 2007
 Loading...