

Bluetooth wireless sound system
Instrucon Manual
English ..................... E1-E10
Thank you for purchasing iDance Audio System.
PLEASE READ THIS USER MANUAL COMPLETELY BEFORE OPERATING THIS UNIT AND RETAIN THIS BOOKLET FOR FUTURE REFERENCE.
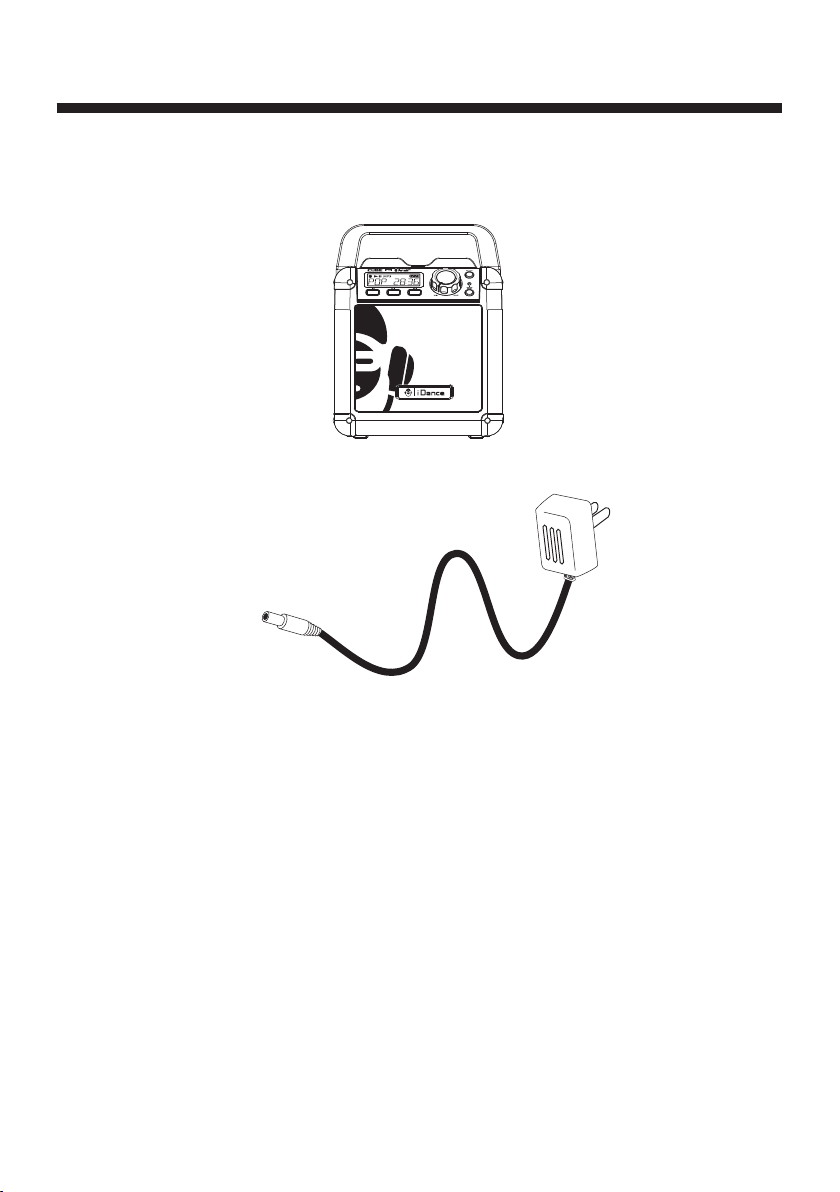
WHAT’S IN THE BOX
Contents
1.
2.
3.
iDance BC1 main unit
Power Adaptor (12V DC / 2.5A)
Instrucon Manual
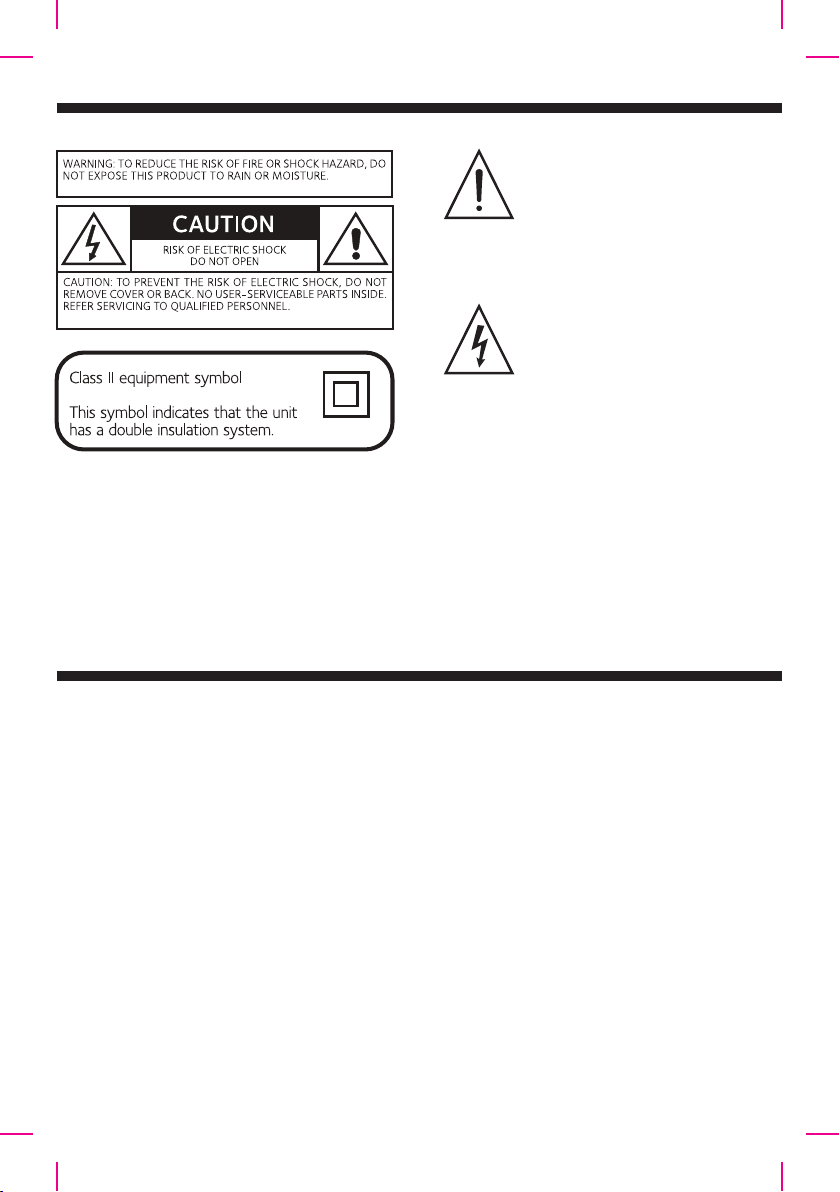
WARNINGS
The exclamaon mark inside an
equilateral triangle is intended to
alert user of the presence of
important operang and maintenance (servicing) instrucons in
the literature accompanying the
product.
The lightning flash with arrowhead symbol inside an equilateral
triangle is intended to alert User
of the presence of un-insulated "
hazardous voltage" within the
product’s enclosure, which may
be of sufficient magnitude to
induce a risk of electric shock to
persons.
WARNING
Please do not aempt to open the back cover or power adapter as opening or removing the covers
may expose you to dangerous voltage or other hazards, and it will also cause the restricted
servicing to be disabled. There are no user servicing components inside.
FCC AND CANADIAN ICES
Warning: Changes or modifications to this unit not expressly approved by the party responsible for compliance
could void the user's authority to operate the equipment.
Note: This equipment has been tested and found to comply with the limits for a Class B digital device,
pursuant to Part 15 of the FCC Rules.These limits are designed to provide reasonable protection against
harmful interference in a residential installation. This equipment generates, uses and can radiate radio
frequency energy and, if not installed and used in accordance with the instructions, may cause harmful
interference to radio communications. However, there is no guarantee that interference will not occur in
a particular installation. If this equipment does cause harmful interference to radio or television reception,
which can be determined by turning the equipment off and on, the user is encouraged to try to correct the
interference by one or more of the following measures:
Reorient or relocate the receiving antenna.
Increase the separation between the equipment and receiver.
Connect the equipment into an outlet on a circuit different from that to which the receiver is connected.
Consult the dealer or an experienced radio/TV technician for help.
This equipment complies with FCC RF radiation exposure limits set forth for an uncontrolled
environment.
This equipment should be installed and operated with a minimum distance of 20 centimeters
between the radiator and your body.

IMPORTANT SAFETY INSTRUCTIONS
Read these instrucons.
1.
Keep these instrucons.
2.
Heed all warnings.
3.
Follow all instrucons.
4.
Do not use this apparatus near water.
5.
Clean only with dry cloth.
6.
Do not block any venlaon openings. Install in accordance with the manufacturer’s
7.
instrucons.
Do not install near any heat sources such as radiators, heat registers, stoves, or other
8.
apparatus (including amplifiers) that produce heat.
Do not defeat the safety purpose of the polarized or grounding-type plug. A polarized plug
9.
has two blades with one wider than the other. A grounding type plug has two blades and a
third grounding prong. The wide blade or the third prong are provided for your safety. If the
provided plug does not fit into your outlet, consult an electrician for replacement of the
obsolete outlet.
Protect the power cord from being walked on or pinched parcularly at plugs, convenience
10.
receptacles, and the point where they exit from the apparatus.
Only use aachments/accessories specified by the manufacturer.
11.
Use only with the cart, stand, tripod, bracket, or table specified by the manufacturer, or sold
12.
with the apparatus. When a cart is used, use cauon when moving the cart/apparatus
combinaon to avoid injury from p-over. Portable Cart Warning
Unplug this apparatus during lightning storms or when unused for long periods of me.
13.
Refer all servicing to qualified service personnel. Servicing is required when the apparatus
14.
has been damaged in any way, such as power-supply cord or plug is damaged, liquid has been
spilled or objects have fallen into the apparatus, the apparatus has been exposed to rain or
moisture, does not operate normally, or has been dropped.
The apparatus shall not be exposed to dripping or splashing and no objects filled with liquids,
15.
such as vases, shall be placed on the apparatus.
The baery shall not be exposed to excessive heat such as sunshine, fire or the like.
16.
The MAINS plug is used as the disconnect device, which shall remain readily operable.
17.

FEATURES
Supports Bluetooth wireless audio streaming
Supports A2DP profile(Advanced Audio Distribuon Profile)
Supports automac device pairing
Wireless range: 33 feet
Built-in USB Player
USB charger for smart phone/tablet
3.5mm Aux input
6.3mm Microphones & Guitar input
Easy access knob for volume control
Audio output for external amplifier
LCD display for song iD3 info
ON/OFF main power switch
Build-in rechargeable baery
Build-in speaker
15W RMS Power Output

CONTENTS
CONTROL LOCATION
GENERAL OPERATION
BLUETOOTH OPERATION / USB PLAYER OPERATION
AUX-IN OPERATION
CHARGING YOUR PORTABLE DEVICE / ENERGY SAVING
TROUBLESHOOTING
SPECIFICATIONS
..................................................................
..................................................................
........................
.......................................................................
.......................................................................
.......................................................................
...................
E1-E2
E3-E5
E6
E7
E8
E9
E10

CONTROL LOCATION (1.1)
FRONT Panel
1
5
2
3
4
Handle
1.
LCD Display
2.
SKIP +/- Buon
3.
Press to skip the previous or next song to a device. (For USB Player only)
PLAY/PAUSE Buon
4.
Press to play or pause the current tracks (For USB Player only)
VOLUME Control
5.
Turn to adjust the volume up or down
STANDBY
6.
Press to Power the unit on or off
Pairing Indicator
7.
PAIRING
8.
Press and hold to begin pairing a bluetooth device
Main Speaker
9.
6
7
8
9
E1

CONTROL LOCATION (1.2)
REAR Input & Control
1
2
3
4
5
6
7
8
9
MIC Input 1, 2
1.
GUITAR Input
2.
AUDIO Output
3.
Connect to external amplifier
MIC Volume
4.
Turn to adjust the MIC sound level up or down
POWER Switch
5.
Switch to power on or off the unit
AUX Input
6.
DC Input
7.
USB CHARGER
8.
Connect to other portable device you wish to charge
USB Player
9.
E2

GENERAL OPERATIONS
Power Connecon
Before using your Bluetooth wireless sound system, you should connect a power adaptor with a
rated output of DC 12V/2.5A and up to AC (mains) power.
1.
Firmly and securely insert the DC plug of the adaptor to the DC IN jack on the rear of the unit.
2.
Plug the adaptor’s AC plugs into an AC outlet.
3.
Power on the unit by switching the POWER switch on the rear of the unit. The Pairing indicator
will light up in RED to indicate the unit is in standby mode.
When the unit is not operated by the AC power or unused for long
periods of the me, please remove the power adaptor from the wall
outlet and unplug from the main unit.
Charging instrucons
This unit operates on a built-in Li-ion baery that can be recharged from a power adaptor
(included) with a rated output of DC 12V/2.5A and up.
CHARGING THE BATTERY FOR FIRST TIME
1.
Charge the built-in Li-ion baery a minimum of 3 hours prior to first use.
Connect a power adaptor (see “Power connecon”) into the main unit and auto to
charging the internal Li-ion baery.
2.
Observe the internal baery charging level by the BATTERY INDICATOR on LCD display
when the unit will power on.
E3
Battery Indicator

GENERAL OPERATIONS
RECHARGING THE INTERNAL BATTERY
Aer prolonged use, the internal baery will become weak and the operaon may become
intermient. When the internal baery charge is low, the BATTERY INDICATOR will show low level
alerng you to recharge the internal baery as soon as possible.
NOTE: 1.
Charging me will vary if you are listening to music while charging the internal baery.
We recommend you switch off the unit power during the charging process.
To prolong the life of a rechargeable baery, it is recommended to completely
2.
discharge it before fully charging it again.
Rechargeable baeries need to be cycled for maximum performance and longer baery
3.
life. If you don’t use the player that oen, be sure to recharge the baery at least once
a month in order to keep the internal baery working properly.
Baery Note and Care
Do not burn or bury baeries.
Do not puncture or crush.
Do not disassemble.
Do not dispose of baeries in fire, baeries may explode or leak
Li-ion baeries must be recycled. Do not dispose of in the trash.
Use only chargers rated for Li-ion cells. Be sure the charger’s voltage and current sengs are correct for the
baery pack being charged.
Charge baeries on a fireproof surface and away from flammable items or liquids.
Baeries should NEVER be le unaended while charging. Only adults should charge the baeries.
Mic Connecon
1.
Plug the microphone into the MIC1 or MIC2 jack on the rear side of your unit. Their output is
mixed with playback from BLUETOOTH, USB PLAYER or AUX IN.
2.
On the microphone, there is an ON/OFF switch. Ensure that you set the switch to ON posion
during the usage.
3.
The volume of microphone can be adjusted by the MIC VOLUME knob on the rear side of the
unit together with the speaker volume at the same me. (There is no independent micro-
phone volume control)
4.
You can start to sing-along with the music playback.
E4

GENERAL OPERATIONS
Guitar Connecon
Plug the 6.3mm Guitar plug (or other Hi-Z instrument) into the GUITAR IN jack on the rear side of
your unit. Their output is mixed with playback from BLUETOOTH, USB PLAYER or AUX IN.
AUDIO OUTPUT Connecon
Please follow the steps below to connect audio signal from the unit to your home audio system.
1.
Locate the RCA cables (not included).
2.
Connect audio cable’s white and red plugs to the white and red AUDIO OUT jacks of the back
panel of your unit.
3.
Connect the other ends of the audio cable’s white and red plugs to the external unit’s audio
input white and red jacks.
E5

BLUETOOTH OPERATIONS
Pairing a Bluetooth Device for the First Time
1.
Power on the unit by press the STANDBY buon, LCD display will appear “PAIRING” and
Pairing indicator will light BLUE and flash, press and hold the PAIRING buon for about 5
seconds. When pairing, remain within 3 feet of the unit.
2.
Using the nave controls on your Bluetooth device, select the BC1 in your Bluetooth sengs
to pair. If your device requests a password, enter the default password “0000”.
Refer to the user’s manual for your specific device for instrucons on pairing and connecng
Bluetooth devices.
When successfully paired and connected, a sound “ Connected ” will issue from the unit, LCD
3.
display will shown “ BT PLAYING” and the Pairing indicator will remain lit.
Aer inial pairing, the unit will stay paired unless unpaired manually by the user or erased
due to a reset of the device. If your device should become unpaired or you find it is unable to
connect, repeat the above steps.
Playing Audio Wirelessly
1.
Aer pairing to a Bluetooth device, use the nave controls on the connected Bluetooth Device
to select a track.
2.
Play, pause or skip a selected track using the nave controls on the connected Bluetooth Device.
3.
Audio played through the connected Bluetooth Device will now be heard through the speakers.
4.
Adjust the VOLUME control to obtain the desired volume level.
5.
Press STANDBY buon again to turn off the unit.
USB PLAYER OPERATIONS
1.
Press the STANDBY buon to power the unit on and Pairing indicator will light BLUE and flash.
2.
Plug the USB flashdrive into the USB PLAYER socket on the rear side of the unit. Total number
of tracks will then show on the LCD display.
3.
Press PLAY/PAUSE buon to play the track on the USB and the song tle will scroll on the LCD
display.
4.
Press SKIP + or SKIP – buons to jump to next or previous track.
5.
Press and hold SKIP + or SKIP – buons to search rapidly within a track to locate a specific
passage.
6.
During USB playback, press the PLAY/PAUSE buon to pause USB play and press again to
resume.
E6

AUX-in OPERATIONS
You can play other music sources (iPod, MP3 or other digital audio players) through the speakers of this
unit by connecng the AUX IN JACK to your external player’s audio out jack or headphone jack
1.
Plug one end of a 3.5mm audio input cable (not included) into the AUX IN input on the rear of
the unit, and plug the other end of the cable into the audio output on the external music
player or other source.
Note: Make sure your external music player is turn ON.
2.
Press the STANDBY buon to power the unit on and Pairing indicator will light BLUE and
flash..
3.
Start playing the device you plugged into AUX IN input. Their output is mixed with playback
from BLUETOOTH, USB PLAYER or MIC IN.
4.
Slowly adjust both the volume controls of the unit and the external device unl you reach a
comfortable listening level.
5.
Press STANDBY buon again to turn off the unit. Remember to shut down the external player
power.
NOTE:
If you are connected to the Line Out Jack of your external device then you only need to adjust
the volume control on the unit. If you’re connected to the Headphone Jack of your external
device, then you may need to adjust both the volume control of your external device and the
BC1 to obtain the most desirable volume seng.
If you use AUX IN funcon when playing Bluetooth audio, AUX IN audio will be mixed when
the audio cable is plugged in. Unplugging the audio cable will resume Bluetooth audio. We
suggest you to stopped playback or disconnected the Bluetooth device when playing music
via Line In mode.
E7

CHARGING YOUR PORTABLE DEVICE
This unit features a USB “CHARGER” port for charging your portable device (iPod, iPhone, Android phone,
etc.) when used with the USB charging cord that came with your device.
1.
Connecng a power adaptor (see “Power connecon”) into the main unit.
USB “CHARGER” port can’t control to off by main power switch of the unit.
2.
Plug one end of the USB cable (not included) into the USB ”CHARGER” Port located on the
back of the unit. Plug the other end of the cord into the device you wish to charge.
3.
Observe the baery charge indicator on your device and the charging will start immediately.
4.
Unplug the cable when your device is charged.
CAUTION:
Before charging, please refer to the user manual of the device you wish to charge to make sure the
charging current requested does not exceed 1A (1000mA) of charging current. Overloading the charge
circuit may damage the unit and void the warranty.
The USB “CHARGER” port of this unit supplies a DC 5V output at 1000mA maximum current to
1.
charge your portable device baery and it cannot support any other voltage range.
Make sure the device you want to charge has a baery charge rang of DC 5V only.
2.
The USB “CHARGER” port of this unit is designed for smart phone or portable device baery
3.
charging only and it cannot support data transfer or connect to computer.
Do not connect the USB port of this unit to other external power charger USB ports, it may
4.
damage both units and void the warranty.
NOTE:
Some smart phones and portable devices use proprietary USB connecons and circuitry, so
1.
they may not charge when plugged into the USB port. Please refer to your device user manual
before you aempt to charge them.
It is normal for the unit to be warm while the USB port is in use and charging your smart
2.
phone or portable device.
Do not charge your smart phone over 12 hours connuously.
3.
Energy Saving (APS: Auto Power off System)
The unit will automacally switch to Standby mode aer 15 minutes following situaons described as below:
1.
In Bluetooth mode: if there is no connect or Bluetooth Device playback stops.
2.
In MIC 1, 2 input: if microphones are switch to OFF.
3.
In AUX input: external player playback stops.
Press STANDBY buon once again to turn on the unit. APS funcon is for energy saving
purpose
E8

TROUBLESHOOTING
PROBLEM POSSIBLE CAUSE AND SOLUTION REMEDY
No Charging
No Sound
No sound when playing
audio via Bluetooth
No sound from Mic.
Portable device is not installed properly.
Portable device is locked up or frozen.
Portable device baery has problem.
Power Adaptor disconnected or loose.
The AC outlet has not power.
Volume set too low.
Your Bluetooth device has been paired properly.
The unit placement out of range.
The volume control of your Bluetooth device is
set at too low.
The volume control of the unit is set at too low.
Mic. Level control set at too low.
Mic Is off.
The Mic is not connected to the Mic jack
securely.
Remove your portable device from the charging cord
and check for obstrucon on the connectors.
Please make sure your portable device is working
properly before plugging into the unit.
Please refer to your portable device manual for details.
Check the connecon or the Power Adaptor.
Try the unit on another outlet.
Turn the volume control to increase the sound level.
Pairing your Bluetooth device according to the
“Pairing a Bluetooth Device for the First Time”
secon.
Relocate the unit within Bluetooth operang range
(30 feet).
Increase the volume of your Bluetooth device.
Increase the volume of the unit to turn to your wish..
Adjust Mic Level control to max, and then re-adjust to
a comfortable level.
Switch Mic to the ON posion.
Securely connect the Mic to the Mic jack.
No sound in AUX mode
No sound in USB mode
Volume at minimum.
External device not connected properly.
Volume at minimum.
External device not connected properly.
E9
Adjust the volume knob.
Clear contacts pins and connect again.
Adjust the volume knob.
Clear contacts pins and connect again.

SPECIFICATIONS
Power Requirement:
AC/DC Adaptor
AC Input 100-240V ~50/60Hz
DC Output DC 12V 2.5A
Bluetooth: Bluetooth Specificaon version 2.1
Support profile A2DP
USB Player: Support USB flash drive up to 16GB
DC5V 200mA
USB Charging DC 5V 1A
Microphone 600 Ohm Impedance w/6.3mm Dynamic microphone
Audio Power output: 15 W (RMS)
Speaker:
4 Ohms.
10.2 cm. x1
4.1 cm. x1
Dimensions: 25.5 cm(H) x 20.2 cm(W) x 20.2 cm(D)
Weight: 1.82 Kg
All features and specificaons are subject to change without noce.
Disposal of Old Electrical & Electronic Equipment (Applicable in the European Union and other European
countries with separate collecon systems).
This symbol on the product or on its packaging indicates that this product shall not be treated as household
waste. Instead it shall be handed over to the applicable collecon point for the recycling of electrical and
electronic equipment. By ensuring this product is disposed of correctly, you will help prevent potenal negave
consequences for the environment and human health, which could otherwise be caused by inappropriate waste
handling of this product. The recycling of materials will help to conserve natural resources. For more detailed
informaon about recycling of this product, please contact your local Civic Office, your household waste disposal
service or the shop where you purchased the product.
E10
 Loading...