

Instruction Manual
Portable Stereo Media Player
Never-Ending Learning Innovation
80 Little Falls Road, Fairfield, NJ 07004 • 1-800-631-0868 • www.HamiltonBuhl.com

AudioMVP™ Portable Stereo Media Player
Contents
Warnings and Precautions ...............................................................................3
Important Safety and Instructions ....................................................................5
Warnings ..........................................................................................................6
Features ...........................................................................................................7
In the Box .........................................................................................................7
Feature Controls ..............................................................................................8
Indicator Messages ........................................................................................10
Setup Power...................................................................................................10
Connect Battery Power ..................................................................................11
Connect Headphone or Earphone .................................................................12
Using Radio ...................................................................................................12
Using CDs ......................................................................................................13
Pairing to Bluetooth®......................................................................................14
Specications ................................................................................................14
Warranty ........................................................................................................15
2

AudioMVP™ Portable Stereo Media Player
Warnings and Precautions
Caution:
• TO PREVENT ELECTRIC SHOCK, FULLY INSERT THE PLUG INTO THE
OUTLET, ENSURING THE WIDE PRONG IS IN THE CORRECT SLOT.
• Use of any controls or adjustments or performance of procedures other
than those herein specified may result in hazardous radiation exposure.
• There is a danger of explosion if batteries are placed incorrectly.
Warning:
• To reduce the risk of fire or electric shock, do not expose this apparatus to
rain or moisture.
• Changes or modifications to this unit not expressly approved by the party
responsible for compliance c ould void the user’s authority to operate the
equipment.
• Do not place the unit on t op o f any soft, porous, or sensitive surfaces to
avoid damaging the surface. Use a protective barrier between t he unit and
surface to protect the surface.
• Use of this unit near fluorescent lighting may cause interference.
• There is a danger of explosion if you a ttempt to charge standard alkaline
batteries in the unit. Only use rechargeable NiMH batteries.
• Shock hazard - Do Not Open.
• Mains plug is used as disconnect device and it should remain readily
operable during intended use. In order to disconnect the apparatus from
the main completel
mains socket outlet completely.
Do not mix old and new batteries. Do not mix alkaline, standard
•
(carbon-zinc), or rechargeable (ni-cad, ni-mh, etc.) batteries.
y, the mains plug should be disconnected form the
3
AudioMVP™ Portable Stereo Media Player
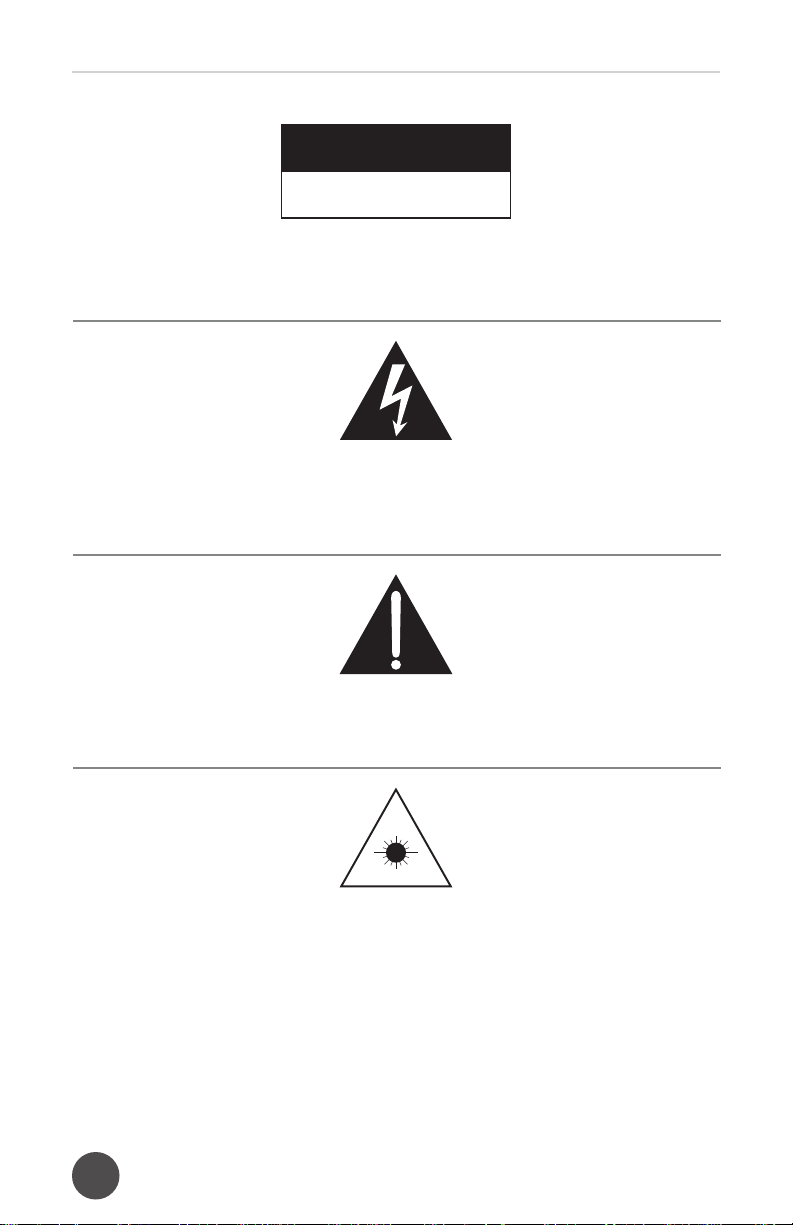
CAUTION
RISK OF ELECTRICAL SHOCK
DO NOT OPEN
WARNING: TO REDUCE THE RISK OF ELECTRIC SHOCK, DO NOT
REMOVE COVER (OR BACK). NO USER-SERVICEABLE PARTS INSIDE.
THIS UNIT MUST BE SERVICED BY QUALIFIED SERVICE PERSONNEL.
The lighting flash with arrowhead symbol, within an equilateral triangle,
is intended to alert the user to the presence of uninsulated “dangerous
voltage” within the product’s enclosure that may be of sufficient magnitude
to constitute a risk of electric shock.
The exclamation point within an equilateral triangle is intended to alert the
user to the presence of important operating and maintenance (servicing)
instructions in the literature accompanying the appliance.
This product utilizes a Class 1 laser to read Compact Discs. The laser
Compact Disc Player is equipped with safety switches to avoid exposure
when the CD door is open and the safety interlocks are defeated.
Invisible laser radiation is present when the CD Player’s lid is open and
the system’s interlock has failed or been defeated. It is very important that
you avoid direct exposure to the laser beam at all times. Please do not
attempt to defeat or bypass the safety switches.
4

AudioMVP™ Portable Stereo Media Player
Important Safety Instructions
1. Please read, follow and keep these instructions and comply with all
recommended cautions.
2. Do not use this unit near water.
3. Clean with a dry cloth only.
4. Do not block ventilation openings.
5. Do not place the unit near any heat sources such as radiators,
heat registers, stoves, or other apparatus (including amplifiers)
that produce heat.
6. Follow safety precautions and use a polarized or grounded-type plug.
A polarized plug has two blades with one prong wider than the other.
A grounded-type plug has two prongs and a third grounding prong.
The wide blade or the third prongs are provided for your safety.
If the provided plug does not fit your outlet, consult an electrician for
replacement of the obsolete outlet.
7. Protect the power cord from being walked on or pinched, particularly
at plugs, or where they exit the unit.
8. Only use attachments and accessories specified by the manufacturer.
9. Unplug the unit during lightning storms or when unused for long periods
of time.
10.Refer all service needs to qualified service personnel. Servicing is
required if the unit has been damaged in any way, such as power
cord (or plug damage), if liquid has been spilled or objects have
fallen into the unit, if exposed to rain or moisture, or if dropped and
not working properly.
5

AudioMVP™ Portable Stereo Media Player
FCC Warnings
NOTE: This equipment has been tested and found to comply with the
limits for a Class B digital device, pursuant to Part 15 of the FCC Rules.
These limits are designed to provide reasonable protection against harmful
interference in a residential installation. This equipment generates, uses,
and can radiate radio frequency energy and, if not installed and used in
accordance with the instructions, may cause harmful interference to radio
communications. However, there is no guarantee that interference will
not occur in a particular installation. If this equipment does cause harmful
interference to radio or television reception, which can be determined by
turning the equipment off and on, the user is encouraged to try to correct
the interference by one or more of the following measures:
• Reorient or relocate the receiving antenna.
• Increase the separation between the equipment and receiver.
• Connect the equipment into an outlet on a circuit different from that to
which the receiver is connected.
• Consult the dealer or an experienced radio / TV technician for help.
Additional Warnings
•
Changes or modifications to this unit not expressly approved by the party
responsible for compliance could void the user’s authority to operate the
equipment.
The device has been evaluated to meet general RF exposure requirement.
•
The device can be used in portable exposure condition without restriction.
• The apparatus shall not be exposed to dripping or splashing and that no
objects filled with liquids, such as vases, shall be placed on apparatus.
• Battery shall not be exposed to excessive heat such as sunshine,
fire or the like.
• Caution marking is located at the rear or back of the apparatus.
• The marking information is located at the rear or back of apparatus.
This symbol indicates that this product incorporates double insulation
between hazardous mains voltage and user accessible parts.
6

AudioMVP™ Portable Stereo Media Player
Features
• CD Player: Supports CD-R/RW
• FM Radio
• Bluetooth
• LED Display
• Headphones Jack
• Built-in Speakers
• DC Power: Requires DC batteries for DC power (not included)
• AC Power: Requires AC/DC Adapter (included)
®
2.1
In the Box
• AudioMVP™
• Power Supply
• Instruction Manual
7

AudioMVP™ Portable Stereo Media Player
Feature Controls
5
10
15
11
12
13
1
2
3
4
6
7
8
9
15
16
12
17
14
18
8

AudioMVP™ Portable Stereo Media Player
Feature Controls
1. Carry Handle: Pull up the handle to carry unit.
2. Headphone Jack: Connect to earbuds or headphones.
3. Volume Dial: Rotate to adjust volume level.
4. CD Door: Open the door to insert disc.
5. ROD Antenna: Extend the antenna for better FM reception.
6. DC Input Jack: Connect power adapter for power.
7. Source Selector: Switch the selector between FM/CD/BT (Bluetooth®).
8. Tuning Knob: Rotate knob to search for radio frequency.
9. Open CD Door Tab: Press tab to open CD door.
10. Power Button: Press to power On/Off.
11. Stop Button: Press to stop playing CD.
12. Speakers: Built-in speakers.
13. Prog (Program): Press to program tracks in desired order.
14. Batteries Compartment: Insert DC batteries for DC power.
15. Skip/Search: Press to skip between CD tracks. Press and hold to
fast-forward or fast-rewind the current track on CD.
16. Play/Pause/Pair Button: Press to play or pause CD. Hold the button
to start Bluetooth® pairing.
17. Repeat: Press to repeat playback of single track or all tracks on CD.
18. Display and Indicator: Show CD track and status.
9

AudioMVP™ Portable Stereo Media Player
Indicator Messages
Power Indicator
Solid light - unit is on
Repeat Indicator
Flashing light - repeat single track
Solid light - repeat all tracks
Prog Indicator
Flashing light - program setting
Solid light - program play
Bluetooth® Indicator
Flashing light - Bluetooth
Solid light - Bluetooth
Play/Pause Indicator
Solid light - CD is playing
Flashing light - CD is paused
LED Display
Displays CD track number
®
ready to pair
®
is paired
Setup Power
Connect Power Adapter:
Plug t he included AC adapter into the standard AC power outlet to power
the AudioMVP™ (HB100BT2). Connect small end t o DC Input jack on the
unit. After connecting the adapter, press the Power button to turn unit on.
Press same Power button to turn off.
10

AudioMVP™ Portable Stereo Media Player
Connecting Batteries:
Remove the battery compartment cover on the bottom o f the unit by lifting
up the t wo t abs on the battery cover and lifting away. Insert eight (8) “C”
batteries (not included) according to the polarity markings and replace
cover. Press the Power button to turn unit on.
• F or battery operation, unplug t he adapter first and remove the DC plug
from t he DC jack of the unit.
• B atteries should not be exposed to excessive heat such as sunlight
or fire.
• B e sure the batteries are installed in the c orrect polarity.
• Do not mix old and new batteries.
• O nly same or equivalent type batteries are recommended.
• If unit is not used for an e xtended period of time, remove batteries.
• Do not dispose bof atteries in f ire, as they may explode or leak. Do not
try to recharge batteries.
Install Batteries
11

AudioMVP™ Portable Stereo Media Player
Connecting Headphones or Ear Buds
If you would like t o listen to your music privately with a headphone, simply
plug your headphone into the Headphone jack, located on t he left side
of the unit. Compatible headphones have a 3.5mm diameter stereo plug
and an impedance of 8-32 O hms. When y our headphone is connected, the
stereo speakers are automatically disconnected.
*Headphone not included
Using the Radio
Built-in Radio Receiver f or F M band.
1. Connect power (follow S etup P ower page 10.)
2. Slide Source selector t o FM position.
3. Rotate the Tuning knob to search the desired station.
4. Rotate the Master Volume dial to s elect the s ound level.
Note: To obtain the best FM reception, fully extend the FM antenna.
12

AudioMVP™ Portable Stereo Media Player
Using CDs
Loading CDs:
1. Connect power (Follow S etup P ower page 10.)
2. Press the CD Door Open Tab to open t he CD Door.
3. Place a CD into the CD c ompartment. Close the CD Door.
Note: T his unit can play CD Disc f ormats only.
4. Switch Source selector t o CD position, in a few seconds total number
of tracks will appear on t he display.
Playing CDs:
1. Follow t he instructions for Loading a Disc.
2. Press the Play/Pause button to begin playing the loaded disc.
The Play/Pause indicator will light up.
3. Rotate the Master Volume dial to s elect the s ound level.
4. To temporarily stop playing, press the Play/Pause button once.
To resume play, press the Play/Pause button again.
5. Press Skip/Search buttons to skip between tracks.
6. Hold the Skip/Search buttons to fast search t hrough t he t rack.
7. Press the Stop button to stop playing.
Track Programming (Up to 20 Tracks):
1. Load a CD.
2. Press the Prog button, the Prog indicator will turn on and a f lashing
programmable number will s how on display.
3. Press the CD Skip buttons to select the track.
4. Press the Prog button to confirm.
5. Repeat steps 3 and 4 t o program to play in a s pecific order.
Repeat Source:
1. Follow t he instructions for Loading CDs and Playing CDs.
2. Press the Repeat button, the Repeat indicator will turn on and flash.
The unit will play the current track repeatedly.
3. Press the Repeat button until t he Repeat indicator is a solid light,
unit will play the entire disc repeatedly.
4. To cancel t he repeat function, press repeatedly the Repeat button
until t he Repeat indicator light turns off or press the Stop button
twice t o stop.
13

AudioMVP™ Portable Stereo Media Player
Pairing to Bluetooth® Enabled Device
1. Enable B luetooth® scanning feature on your device.
2. Press the Power button to turn AudioMVP™ on, switch the Source
selector t o BT position - Bluetooth
approximately 15 seconds. If no B luetooth
into sleep mode.
3. Once y our device detects HB100BT2 on the Bluetooth
®
indicator will f lash f o r
®
device is detected, it will go
®
scan, select it.
Note: If you c annot connect, press and hold Pairing button on
AudioMVP™ to reconnect again.
4. When s uccessfully paired ( Bluetooth
will stay solid), you are now ready to play music wirelessly from your
Bluetooth
®
enabled device.
5. Press the Play button of your AudioMVP™ or external B luetooth
®
indicator light
®
device to start music playback. Press again t o pause.
6. Press the Skip/Search button on AudioMVP™ or e xternal B luetooth
device to switch between music tracks.
Specifications
®
AC/DC Power Adapter
Battery
AC input 120/60 Hz
DC output 9V 0.8A
DC 12V, LR14, “C” size or
UM2 Batteries x 8 pcs
CD Player Supports 4.75, 3.25 inch CDs
Bluetooth
®
Supports v2.1+EDR
FM Frequency 88-108MHz
Power O utput 1.2W x2 (RMS)
Loud Speakers Spec 3 inch, 2 watt, 8 Ohm
*Specifications are subject to improvements without notice.
14

AudioMVP™ Portable Stereo Media Player
Product Registration Instructions
Visit: www.HamiltonBuhl.com
1. Click on Customer Care
W
A
N
R
A
R
Warranty:
Warranty begins the date item ships from our warehouse. All products,
except for metal carts, have a one year warranty from original date of
shipment, unless otherwise noted. Metal carts have a limited lifetime
warranty on all housing components; however, carts have a one year
warranty on any electrical / mechanical components.
Our Mission:
Since our founding in 1933, HamiltonBuhl continues to evolve as a leader
in technology products for education and industry. Our products are embraced by educators, corporate trainers, presenters, government agencies,
and hospitals for their daily presentation, from the classroom to the boardroom, HamiltonBuhl has the presentation product for you.
2. Click on Product Registration Icon
Y
T
3. Please fill out all fields marked with * to register
15

Never-Ending Learning Innovation
80 Little F alls Road
Fairfield, NJ 07004
1-800-631-0868
www.HamiltonBuhl.com
AudioMVP™ — 09/2016
v.1
 Loading...