

UNDER CABINET UNIVESAL BLUETOOTH MUSIC SYSTEM
SKCR2810BT
USER MANUAL
CAUTION:
Please use care when plugging into AC outlet.
Electrically Operated Product –
WARNING
TO PREVENT FIRE OR SHOCK HAZARD, DO NOT USE THIS PLUG WITH AN
EXTENSION CORD, RECEPTACLE OR OTHER OUTLET UNLESS THE BLADES
CAN BE FULLY INSERTED TO PREVENT BLADE EXPOSURE. TO PREVENT
FIRE OR SHOCK HAZARD, DO NOT EXPOSE THIS APPLIANCE TO RAIN OR
MOISTURE.
CAUTION
Use of controls or adjustments or performance other than those
specified may result in hazardous radiation exposure.
WARNING
To reduce the risk of fire or electric shock, do not expose this apparatus
to rain or moisture.
IMPORTANT SAFETY INSTRUCTIONS
1. Read these instructions.
2. Keep these instructions.
3. Heed all warnings.
4. Follow all instructions.
5. Do not use this apparatus near water.
1

6. Cleaning – Unplug this product from the wall outlet before cleaning. Do not use
liquid cleaners or aerosol cleaners. Clean only with a dry cloth.
7. Do not block any ventilation openings. Install in accordance with the
manufacturer’s instructions.
8. Do not install near any heat sources such as radiators, heat registers, stoves, or
other apparatus (including amplifiers) that produce heat.
9. Do not defeat the safety purpose of the polarized or grounding-type plug. A
polarized plug has two blades with one wider than the other. A grounding type
plug has two blades and a third grounding prong. The wider or the third prong is
provided for your safety. If the provided plug does not fit into your outlet, consult
an electrician for replacement of the obsolete outlet.
10. Protect the power cord from being walked on or pinched particularly at plugs,
convenience receptacles, and the point where they exit from the apparatus.
11. Only use attachments/accessories specified by the manufacturer.
12. Use only with a cart, stand, tripod, bracket, or table specified by
the manufacturer, or sold with the apparatus. When a cart is used,
use caution when moving the cart/ apparatus combination to avoid
injury from tip-over.
13. Unplug this apparatus dur ing lightning storms or when unused for
long periods of time.
14. Refer all servicing to qualified service personnel. Servicing is required when the
apparatus has been damaged in any way, such as power-supply cord or plug is
damaged, liquid has been spilled or objects have fallen into the apparatus, the
apparatus has been exposed to rain or moisture, does not operate normally, or
has been dropped.
15. This apparatus shall not be exposed to dripping or splashing water and that no
object filled with liquids such as vases shall be placed on the apparatus.
16. Main plug is used as disconnect device and it should remain readily operable
during intended use. In order to disconnect the apparatus completely, the main
plug should be disconnected from the main socket outlet completely.
17. Battery shall not be exposed to excessive heat such as sunshine, fire or the like.
18. The marking information is located at the bottom of the apparatus.
19. The Caution Marking is located at the bottom of the apparatus.
20. Danger of explosion if battery is incorrectly replaced. Replace only with the
same or equivalent type.
WARNING
This is an alarm clock-not a toy! To avoid risk of fire, burns, personal
injury and electric shock it should not be played with or placed where
small children can reach it.
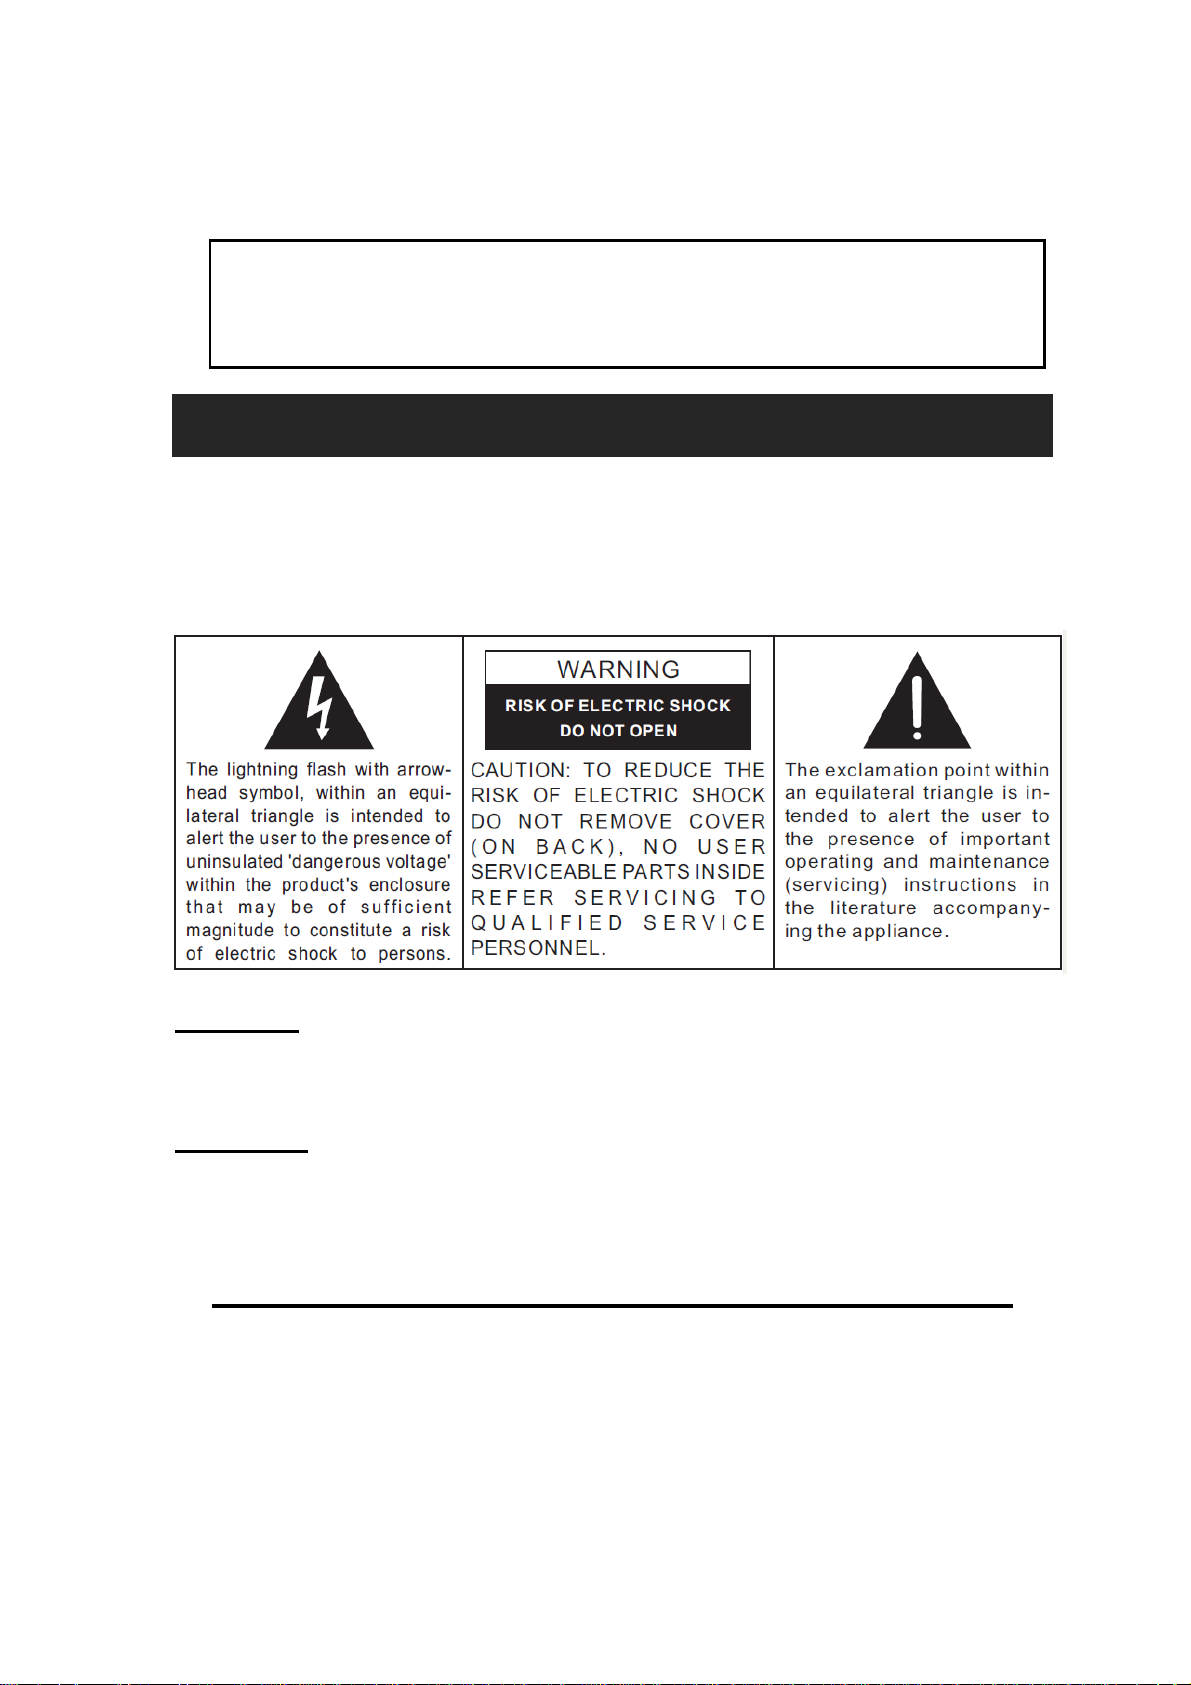
This symbol indicates that this product
incorporates double insulation between hazardous
mains voltage and user accessible parts
2

CAUTION: TO PREVENT ELECTRIC SHOCK, MATCH WIDE BLADE
OF AC ADAPTOR TO WIDE SLOT. FULLY INSERT.
COMPLIANCE WITH FCC REGULATION
This device complies with Part 15 of the FCC Rules. Operation is subject to
the following two conditions:
(1) this device may not cause harmful interference, and
(2) this device must accept any interference received, including interference
that may cause undesired operation.
NOTE:
This equipment has been tested and found to comply with the limits
for a Class B digital device, pursuant to Part 15 of the FCC Rules. These
limits are designed to provide reasonable protection against harmful
interference in a residential installation. This equipment generates, uses and
can radiate radio frequency energy and, if not installed and used in
accordance with the instructions, may cause harmful interference to radio
communications. However, there is no guarantee that interference will not
occur in a particular installation. If this equipment does cause harmful
interference to radio or television reception, which can be determined by
turning the equipment off and on, the user is encouraged to try to correct the
interference by one or more of the following measures:
- Reorient or relocate the receiving antenna.
- Increase the s epar ation between the equipme nt and receiver.
- Connect the equipment into an outlet on a circuit different from that to which
the receiver is connected.
- Consult the dealer or an experienced radio/TV technician for help.
"This equipment complies with FCC RF radiation exposure limits set forth for
an uncontrolled environment. This equipment should be installed and operated
with a minimum distance of 20 centimeters between the radiator and your body."
WARNING
Changes or modifications not expressly approved by the party responsible for
compliance could void the user’s au
thority to operate the equipment.
3

PROTECT YOUR FURNITURE!!
This system is equipped with non-skid rubber ‘feet’ to prevent the product
from moving when you operate the controls. These ‘feet’ are made from nonmigrating rubber material specially formulated to avoid leaving any marks or
stains on your furniture. However certain types of oil based furniture polishes,
wood preservatives, or cleaning sprays may cause the rubber ‘feet’ to soften,
and leave marks or a rubber residue on the furniture.
To prevent any damage to your furniture we strongly recommend that you
purchase small self-adhesive felt pads, available at hardware stores and
home improvement centers everywhere, and apply these pads to the bottom
of the rubber ‘feet’ before you place the product on fine wooden furniture.
FUNCTIONS AND CONTROLS
4

1
2
STANDBY button 13 FM icon
button
14 LINE IN icon
3 SOURCE button 15 PM icon
4 TIMER button 16 TIMER icon
5 MEMORY / CLOCK button 17 MEMORY icon
6 SKIP + / TUNE + button 18 LINE IN Jack
7 SKIP - / TUNE - button 19 DC IN Jack
8 VOLUME + button 20 BATTERY COMPARTMENT
9 VOLUME - button 21 SPEAKER (L)
10 USB CHARGER 22 SPEAKER (R)
11 SPACERS
12
BLUETOOTH
icon
5

OPERATING INSTRUCTIONS
POWER CONNECTION
This product operates on 120V~ 60Hz power supply. Plug the AC Adaptor into a
household outlet AC source.
CONNECTING THE AC ADAPTER
1. Insert the DC plug of the AC adapter (included) into the DC Jack of the unit.
2. Fully insert the blades of the AC adapter (included) into the slots of a working
wall socket as shown.
3. The LCD DISPLAY of the unit will show a flashing time of “12:00” prompting you
that the time is not valid and needs to be adjusted to the right time as soon as
possible.
4. After correctly setting up the time (as described in the next section), your unit is
now in standby mode.
BATTERY BACKUP
This unit is equipped with a battery back-up system, requiring two DC 1.5V UM-4
type batteries (not included). Insert the battery in the BATTERY COMPARTMENT,
making certain that the positive and negative (+ and -) sides are properly aligned. If
power failure occurs, the clock automatically switches to the battery power supply,
the clock continue running internally and the radio presets are preserved. When
power returns, the unit switches back to AC adaptor again.
NOTE: The display will not exhibit time during power failure but the clock will keep
correct time inte rn a l l y .
BATTERY CARE
Use only the size and type of batteries specified.
If the unit is not to be used for an extended period of time, remove the battery.
Old or leaking batteries can cause damage to the unit and may void the warranty.
Do not try to recharge batteries not intended to be recharged; they can overheat
and rupture (Follow battery manufacturer’s directions).
Do not dispose of batteries in fire, batteries may leak or explode.
6

SETTING THE DIGITAL CLOCK
1. In standby mode, press and hold the MEM / CLK button. The “12H” will blink.
2. Press the MEM / CLK button. The hour time digits will blink.
3. Press the TUN+ / SKIP+
or TUN- / SKIP- button to set the current hour.
Press and hold the button for fast to setting. Press the MEM / CLK button again
to confirm and the minute time digits will blink.
4. Press the TUN+ / SKIP+
or TUN- / SKIP- button to set the current minute.
Press and hold the button for fast to setting.
5. Press the MEM / CLK button again and confirm the current time is set.
NOTE: The PM icon will light when the hour is set in the PM
SETTING TIMER
In any mode, press the TIMER button, the TIMER icon with time “180” will displayed
and flash.
1. Press the TIMER button again, the timer time will count down 10 minute. Repeat
to press this button to adjust the timer in decrements of 10 minute.
2. Press the TUN+ / SKIP+
or TUN- / SKIP- to adjust the timer in increments
/ decrements of 1 minute. Press and hold the button for fast to setting.
3. After the set time is reached, the SKCR2810BT alarm will sound.
4. To cancel the alarm after it has sounded, press the
button.
BLUETOOTH OPERATION
ABOUT PAIRING
Pairing is the term used when two Bluetooth devices are connected wirelessly for
the first time. This allows the devices to see each other and sets up a one to one
communication channel between both devices.
To begin pairing with a Bluetooth device
1. Press the
2. Press the SOURCE button to select Bluetooth function and the icon
button to turn on the unit.
will
displayed and flash on LCD, you will hear the melody and start pairing process to
connect to your Bluetooth device.
3. Turn on Bluetooth function of your device and enable the search or scan function
to find SKCR2810BT (see your device’s instructions to add or setup a Bluetooth
device).
4. Select SKCR2810BT from the device list when it appears on you device screen.
If required, enter the pass code “0000” to pair (link) SKCR2810BT with your
device.
5. Once paired with a device, the icon
will light steadily and your will hear the
sound “DOM” to confirm that pairing is tone beep sound confirms that pairing is
7

completed.
6. If you want SKCR2810BT change to pair with another Bluetooth device. Press
and hold the
button for about 4~5 seconds. The icon will flash,
the melody will be heard to confirm the unit will go into Pairing/Discoverable
mode again. Repeat steps 3 and 4.
To connect previously paired Bluetooth device
SKCR2810BT can store one previously paired device for quick pairing during power
on. When the unit is powered on and the previously paired device is found within the
operating range, the unit will pair the device automatically.
NOTE:
Due to different operating system of Bluetooth devices, the time taken by pairing
process might be different. If the pairing cannot be successful in the first time,
please try to restart the pairing process by pressing and holding the
button again until the icon flash.
The pairing time might be longer for the first time pairing or pairing a new
Bluetooth device.
Make sure you have the latest firmware for your Bluetooth devices.
Make sure your device is working properly. Check your device’s manual for
details on Bluetooth pairing and linking.
Refer to manual of your cell phones, tablet PC, computer or other Bluetooth
enabled device for Bluetooth operation since it may vary from model to model.
PLAYING FROM A BLUETOOTH DEVICE
You can play music from your Bluetooth device wirelessly to SKCR2810BT after
pairing.
1. Selecting your favorite song, press the PLAY button on your Bluetooth device or
the
button on SKCR2810BT to play or pause the Bluetooth device
playback.
2. Adjust both the VOLUME +/- buttons of your SKCR2810BT and your Bluetooth
device until you reach a comfortable listening level.
Notes:
1. Your Bluetooth enabled device will not play the music through the speaker,
even if connected (linked), if the device does not support A2DP profile.
2. Remember to turn off the SKCR2810BT when you have finished listening, s
the
button
to the STANDBY mode.
et
3. Don't forget to switch off the power of your external audio device as well
LISTENING TO THE RADIO
1. Press the
button to turn the unit ON.
8

2. Press the SOURCE button to select FM band, the FM frequency will show on
LCD display.
3. Use the
TUNE+ / SKIP+
or
TUNE– / SKIP–
button to select the desired radio
station. If you press and hold the TUNE+ / SKIP+ or TUNE– / SKIP– button for 2
seconds, then release, the unit will automatically scan to the next broadcasting
station.
4. The broadcasting radio frequency will be displayed for about 5 seconds before
reverting to the clock time.
5. Press the
button to turn the radio OFF.
TO SET/RECALL RADIO STATION PRESETS
1. Press the
button to turn the unit ON.
2. Press the SOURCE button to select FM band, the FM frequency will show on
the LCD display.
3. Use the
TUNE+ / SKIP+
or
TUNE– / SKIP–
button to select the desired radio
station.
4. Press the MEM / CLK button to enable the program function and the preset
channel number “P01” indicator will show on the LCD display and flashing.
5. Press the TUNE+ / SKIP+ or TUNE– / SKIP– button to enter the desired
channel number of program.
6. Press the MEM / CLK button to confirm memory.
7. Repeat above steps #3 thru #6 to preset up to 20 stations for FM band.
8. To retrieve one of the preset stations already programmed, press
button until you reach the desired preset number/radio station.
LINE IN OPERATION
This unit provides an auxiliary audio signal input jack for connecting external audio
devices like MP3 players, CD players and listen to them through the speakers of this
unit.
1. Use an audio cable (not included) with one 3.5 mm stereo plug on each end of the
cable.
2. Plug one end into the LINE IN Jack on the main unit and the other end of the
cable into the Line-out Jack or Headphone Jack of your external audio device.
3. Turn on the unit and external audio device.
4. To select auxiliary audio input, tap the
SOURCE
button to select LINE IN mode.
“LINE IN” icon appears on display.
5. The volume level can now be controlled through the main unit. Operate all other
functions on the auxiliary device as usual.
NOTE:
If you connect this unit to the Line-Out Jack of your external device then you only
need to adjust the volume control of this unit. If you connected the Headphone Jack
9

of your external device then you may need to adjust both the volume control of your
external device and the volume control of this unit to find the most desirable volume
setting.
RESETTING YOUR CLOCK RADIO
If the system does not respond or exhibits erratic or intermittent operation, you may
have experienced an electrostatic discharge (ESD) or a power surge that triggered
the internal microcontroller to shut down automatically. If this occurs, simply
disconnect the AC Adaptor and remove the system back-up battery, wait for at least
3 minutes and then setup the unit again as if you were using it for the very first time.
CHARGING YOUR PORTABLE DEVICE
This unit features a USB port for charging your portable device (iPod, iPhone,
Android phone, etc.) when used with the USB charging cord that came with your
device.
1. Plug one end of the USB cable (not included) into the USB Charging Port
located on the front of the unit. Plug the other end of the cord into the device
you wish to charge.
2. Observe the battery charge indicator on your device and the charging will start
immediately.
3. Unplug the cable when your device is charged.
CAUTION:
Before charging, please refer to the user manual of the device you wish to charge
to make sure the charging current requested does not exceed 2.1A of charging
current. Overloading the charge circuit may damage the unit and void the warranty.
1. The USB charging port of this unit supplies a DC 5V output at 2.1A maximum
current to charge your portable device battery and it cannot support any other
voltage range.
2. Make sure the device you want to charge has a battery charge rating of DC
5V only.
3. The USB port of this unit is designed for portable device battery charging only
and
this data connection is only for use at the factory.
Do not connect the USB port of this unit to other external power charger USB ports,
it may damage both units and void the warranty.
CARE AND MAINTENANCE
1. Clean the unit with a soft, damp (never wet) cloth. Solvent or detergent should
never be used.
2. Avoid operating your unit under direct sunlight or in hot, humid or dusty places to
reduce the risk of fire or electric shock.
3. Keep your unit away from heating appliances and sources of electrical noise
such as fluorescent lamps or motors.
10

4. For bett er Clock Display clarity, avoid operating the unit under direct sunlight or
in strong room illumination.
5. Unplug the unit from the electrical power outlet immediately in case of
malfunction.
SPECIFICATIONS
Power Adaptor: AC input 120V~ 60Hz
DC Output 5V
Battery Back-up: 2 x DC 1.5V UM-4 type batteries (not included)
Bluetooth: Bluetooth Specification version 3.0
Support profile A2DP
Frequency Range: FM 87.5 – 108 MHz
Audio Power output: 1.5W (RMS) x2
USB Charging: DC 5V 2.1A
Dimensions: 6.8 cm (H) x 23.2 cm (W) x 17.0 cm (D)
Weight: ?? Kg.
2.5A
11
 Loading...