


Bluetooth CD Radio Microsystem
Model: SRCD1081BT
Instruction Manual
PLEASE READ THIS INSTRUCTION MANUAL CAREFULLY BEFORE USE
AND KEEP IT FOR FUTURE REFERENCE.

CONTENT
Important Safety Instructions ................................................................................. 1
Buttons and Controls ............................................................................................... 3
Remote Control ........................................................................................................ 4
Getting Started ......................................................................................................... 5
Connecting External Speakers .......................................................................... 5
Preliminary........................................................................................................... 5
Listening to the Radio.............................................................................................. 5
Adjusting the Volume ............................................................................................... 6
Listening to a CD ...................................................................................................... 7
Disc Maintenance..................................................................................................... 8
Aux-In Operation ...................................................................................................... 9
Bluetooth Operation................................................................................................. 9
Using the Remote Control ....................................................................................... 9
Troubleshooting Guide........................................................................................... 11
Specifications ......................................................................................................... 12

IMPORTANT SAFETY INSTRUCTIONS
1. Read these instructions – All the safety and operating instructions should be
read before this product is operated.
2. Keep these instructions – The safety and operating instructions should be
retained for future reference.
3. Heed all warnings – All warnings on the appliance and in the operating
instructions should be adhered to.
4. Follow all instructions – All operating and use instructions should be followed.
5. Do not use this apparatus near water – The appliance should not be used near
water or moisture – for example, in a wet basement or near a swimming pool,
and the like.
6. Clean only with a dry cloth.
7. Do not block any ventilation openings. Install in accordance with the
manufacturer’s instructions.
8. Do not install near any heat sources such as radiators, heat registers, stoves, or
other apparatus (including amplifiers) that produce heat.
9. Do not defeat the safety purpose of the polarized or grounding plug. A polarized
plug has two blades with one wider than the other. A grounding plug has two
blades and a third grounding prong. The wide blade or the third prong is
provided for your safety. If the provided plug does not fit into your outlet, consult
an electrician for replacement of the obsolete outlet.
10. Protect the power cord from being walked on or pinched particularly at the
plugs, convenience receptacles, and at the point where they exit from the
apparatus.
11. Only use attachments/accessories specified by the manufacturer.
12. Use only with the cart, stand, tripod, bracket, or table specified by
the manufacturer, or sold with the apparatus. When a cart or rack is
used, use caution when moving the cart/apparatus combination to
avoid injury from tip-over.
13. Unplug the apparatus during lightning storms or when unused for long periods
of time.
14. Refer all servicing to qualified personnel. Servicing is required when the
apparatus has been damaged in any way, such as power supply cord or plug is
damaged, liquid has been spilled or objects have fallen into the apparatus, the
apparatus has been exposed to rain or moisture, does not operate normally, or
has been dropped.
15. Please keep the unit in a well ventilated environment.
16. Only use attachments/accessories specified or provided by the manufacturer
17. To reduce the risk of fire or electric shock, do not expose this apparatus to rain
or moisture. The apparatus shall not be exposed to dripping or splashing and no
objects filled with liquids, such as vases, shall not be placed on apparatus.
18. CAUTION: Danger of explosion if battery is incorrectly replaced. Replace only
with the same or equivalent type. Danger d'explosion si la batterie est
remplacée de façon incorrecte. Remplacez-la uniquement avec le même type ou
équivalent
1
19. The battery (battery or batteries or battery pack) shall not be exposed to
excessive heat such as sunshine, fire or the like.
20. The mains plug is used as disconnect device, the disconnect device shall
remain readily operable.
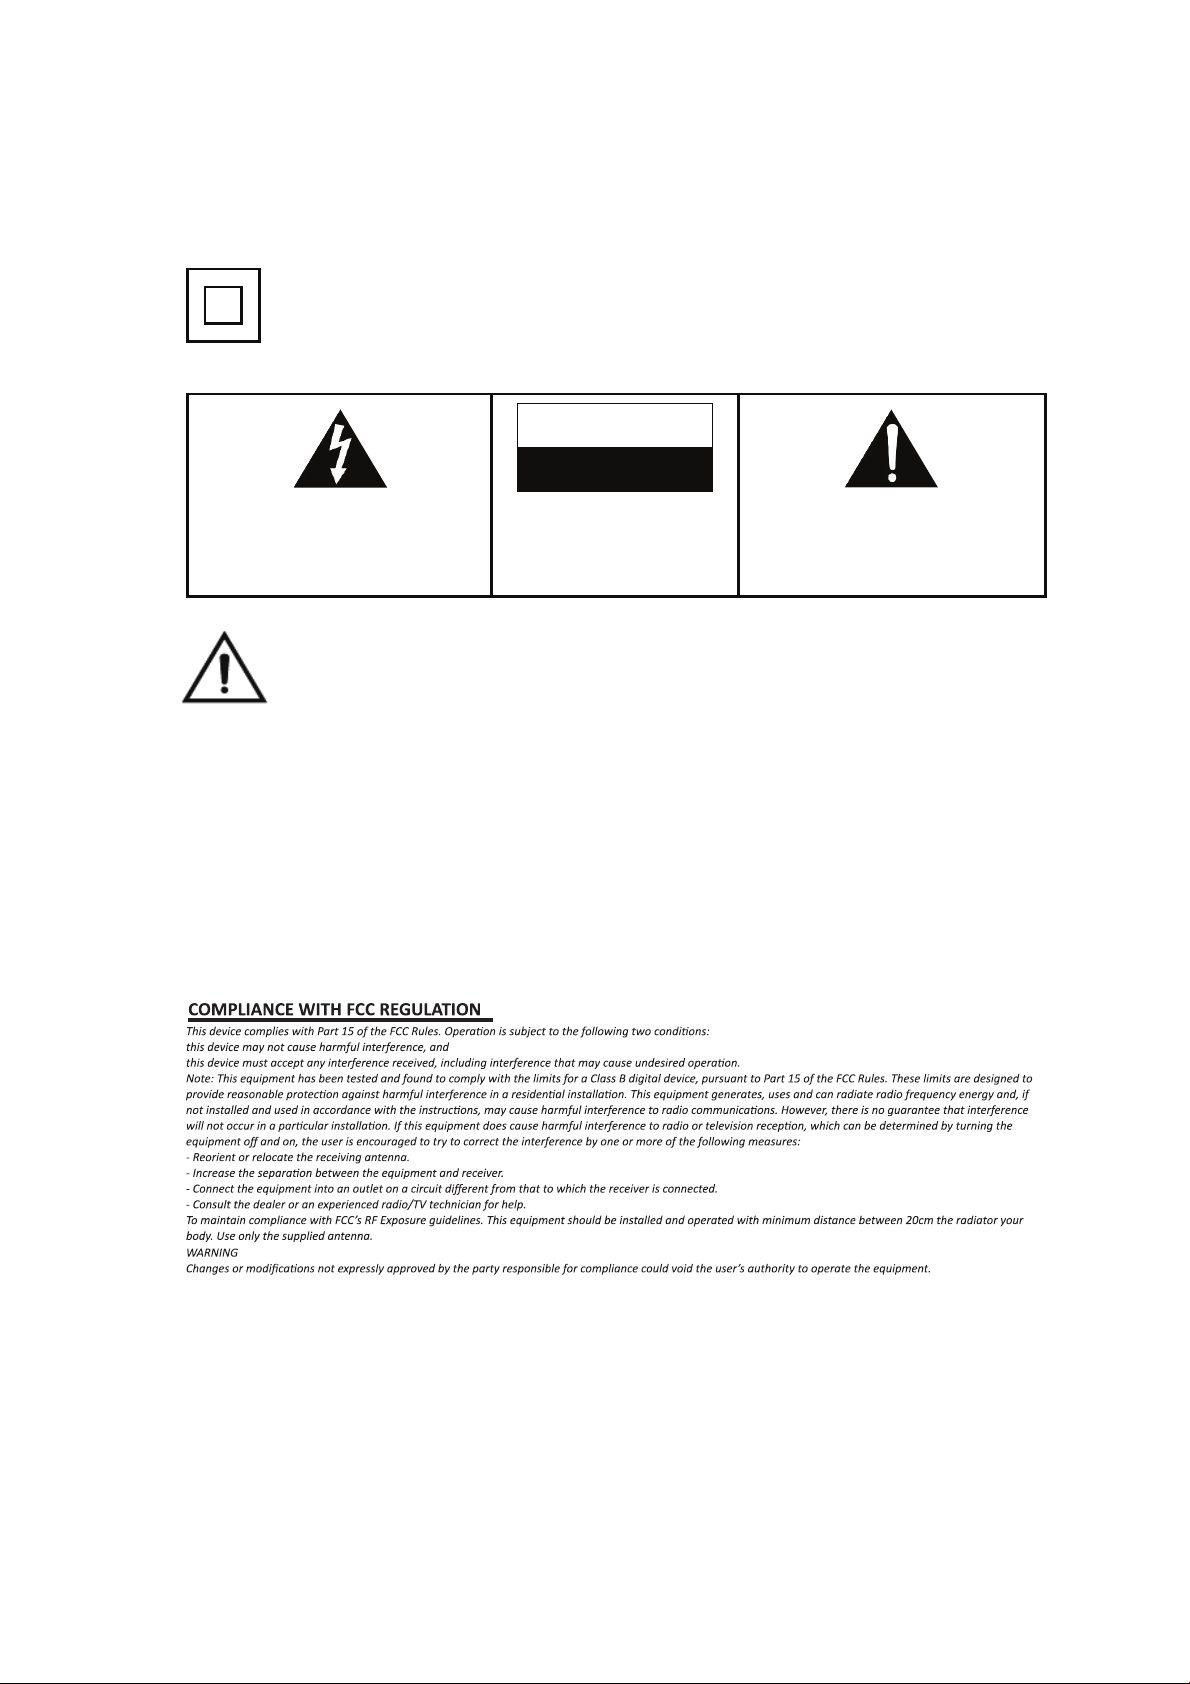
21. This equipment is a Class II or double insulated electrical appliance.
It has been designed in such a way that it does not require a safety
connection to electrical earth.
22.
CAUTION
RISK OF ELECTRIC SHOCK
DO NOT OPEN
The lightning flash with arrowhead within an
equilateral triangle is intended to alert the
user to the presence of uninsulated
“dangerous voltage” within the product’s
enclosure that may be of sufficient magnitude
to constitute a risk of electric shock.
CAUTION: TO PREVENT
RISK OF ELECTRIC SHOCK,
DO NOT REMOVE COVER (OR BACK).
NO USER-SERVICEABLE PARTS INSIDE.
REFER SERVICING TO QUALIFIED
SERVICE PROFESSIONAL.
23.
WARNING
DO NOT INGEST BATTERY, CHEMICAL BURN HAZARD
This product contains a coin/button cell battery. If the coin/button cell battery is
swallowed, it can cause severe internal burns in just 2 hours and can lead to
death.
Keep new and used batteries away from children. If the battery compartment
does not close securely, stop using the product and keep it away from children.
If you think batteries might have been swallowed or placed inside any part
of the body, seek immediate medical attention.
The exclamation point within an equilateral
triangle is intended to alert the user to the
presence of important operating and
maintenance (servicing) instructions in the
literature accompanying the appliance.
2
MAIN UNIT
BUTTONS AND CONTROLS
1. IR
2. STANDBY
3. PHONES JACK
3. PHONES JACK
4. AUX IN JACK
5. SOURCE BUTTON
6. BALANCE KNOB
7. STOP
8. / TUN- BUTTON
9. TREBLE KNOB
10 / PAIR BUTTON
11. / TUN
BUTTON
BUTTON
+
12. BASS KNOB
1
3. CLK SET, MEM/PROG BUTTON
14. REPEAT / M- BUTTON
5
1
. VOLUME KNOB
1
6. M+ BU
7. LCD DISPLAY
1
18. EJECT/ENTER BUTTON
19
. CD COMPARTMENT
20 & 21. VOLUME (VU) METER
22.
23. SPEAKER SOCKET
24. DC JACK
3
FM ANTENNA
TTON

REMOTE CONTROL
1.
2
3.
4 & 9.
5 & 10.
6.
7.
8.
11.
12 & 13.
CLOCK SET, MEM/PROGRAM:
STANDBY BUTTON: Set the unit to ON / STANDBY.
.
SOURCE: Se lect BLUETOOTH, CD, FM or AUX function.
EJECT/ENTER: In CD mode, eject and close CD tray.
REPEAT: Set playback to repeat.
Set clock timer, CD program playback
and radio memory.
/ TUN- , / TUN+:
MEM-/+: Choose the preset location for the corresponding station.
/ PAIRING : Pause and resume playback or pairing Bluetooth device.
STOP BUTTON: Stop playback.
VOLUME +/- : Adjust the volume level.
Skip tracks backward or forward in CD mode.
Adjusts the frequency in FM mode.
4

GETTING STARTED
CONNECTING THE EXTERNAL SPEAKERS
The speaker input sockets are located at the back of the main unit.
1. Unwrap the speaker wire from the left speaker and plug it into the left (L)
speaker socket on the main unit.
2. Unwrap the speaker wire from the right speaker and plug it into the right (R)
speaker socket on the main unit.
3. Make sure the speaker cables are not run in areas where they could cause
danger.
Connecting to a Power Source
Check that the mains voltage on the rating plate on the back of the main unit is
1.
the same as the voltage in your area.
Plug the electric plug into the wall socket. The Bluetooth CD Radio Microsystem
2.
is now ready for use.
Standby Control
Press the STANDBY button to turn the unit ON. Press again to turn the unit OFF.
NOTE: When leaving the unit unattended for long periods (such as vacations),
please disconnect the power plug from the mains supply.
PRELIMINARY
Before using your audio system, the protective packing should be removed from the
CD compartment. To remove the protective packing:
1. Press the EJECT/ENTER button to the right of the CD door to open the CD door.
2. Remove the protective packing from the CD compartment.
3. Close the CD door by pressing the EJECT/ENTER button again.
FM Antenna
Unwrap the FM antenna and extend it fully. You may need to adjust the position of
the antenna to get optimum reception.
5

LISTENING TO THE RADIO
1.
Press the SOURCE button to switch to the FM RADIO. The display will show a
radio station:
2. Tune to a desired radio station. The frequency is indicated on the display.
• MANUAL TUNING: Press the TUN+ or TUN- button briefly and the frequency
will tune up or down.
• AUTO SEARCHING: Press the TUN+ or TUN- button for more than 2
seconds, the radio frequency will start to change on the display. Once a
station is found, the radio will stop searching and start to broadcast
immediately.
3. Re-position the antenna if necessary.
“87.5”
SETTING FM RADIO PRESETS
The Bluetooth CD Radio Microsystem can store up to 20 radio station
presets. To Manually Set Presets
1. Find the radio station you would like to save.
Press the MEM/PROG button on the main unit or PROG button on the remote control.
2.
3.
Press / TUN- or / TUN+ buttons to select the preferred Preset Number,
The display will show "P01, P02, etc..."
.
Press the MEM/PROG button on the main unit or remote control again to save the station.
4.
5. Repeat steps 1-4 until you have finished saving your presets.
To navigate through the stored presets, press the
6.
MEM+ or MEM- buttons.
ADJUSTING THE VOLUME
VOLUME ADJUSTMENT
Twist the VOLUME KNOB to adjust the volume. The volume level will be shown
in the LCD Display in the top right corner of the unit.
NOTE: Depending on the type of music/audio output from the Bluetooth CD Radio
Microsystem, the 2 Volume (VU) Meters might not move at lower volumes. In some
cases, the volume must be around “#20 or higher” to see very active movement.
BALANCE
Twist the BALANCE KNOB to adjust the volume between the left speaker and the
right speaker. The volume of the left speaker and right speaker is equal when the
BALANCE knob clip in middle.
TREBLE AND BASS
Twist the TREBLE KNOB and BASS KNOB to adjust the treble and bass
levels.
6

LISTENING TO A CD
1.
Press SOURCE button until the display reads “CD”.
2. Press the EJECT/ENTER button to open the CD door, put a CD onto the CD
tray with the printed label facing up (towards you). To close the CD door, press
EJECT/ENTER button again.
Note: Remember to remove the CD when you are finished listening.
To Play a CD When Stopped: Press the /PAIR button. The disc will play
from track 1 and play indicator appears on the display.
To Pause a CD While Playing: Press the /PAIR button. The disc will pause and
play indicator blink on the display. Press the /PAIR button again to resume
playback.
To Stop a CD While Playing: Press the STOP button.
To Change Tracks: Press / TUN- button or / TUN+ button.
To Search During Playblack: Press and hold the / TUN- button or / TUN+
button until the desired section is located. While searching, sound will be played at
a distorted speed. Playback returns to normal when the button is released.
REPEATING PLAYBACK OF A TRACK OR A CD Press the REPEAT button
on the main unit or remote control to circle the play mode:
•
Repeat 1---Press the REPEAT button on the main unit or remote control
once and the current track will be played continuously
• Repeat All---Press the REPEAT button again and ALL tracks on the current disc
will be played continuously.
•
Normal playback --- Press REPEAT button again to resume normal playback.
Note: Pressing the STOP button will stop playback and the play mode will
be cleared.
PROGRAM PLAY
Program play must be set when the CD is stopped. You can program up to 20
tracks in any order.
1.
Press STOP button and then press MEM / PROG button on the main unit or
remote control.
2.
Press / TUN- button or / TUN+ button to select a track. The display
shows the selected track.
3.
Press the MEM / PROG button on the main unit or remote control to add
the track into the program list.
4. Repeat steps 2 and 3 until you complete the programming. You can program up
to 20 tracks.
To Start the Program Play: Press /PAIR button.
To Pause or Stop a Program Play: Press /PAIR or STOP button.
To Replay a Program: Press /PAIR button.
To Review the Content of a Program: Press STOP button then keep pressing
the MEM / PROG button to review the programmed tracks.
To Clear the Program: Press STOP button twice or open and close the CD
door.
7
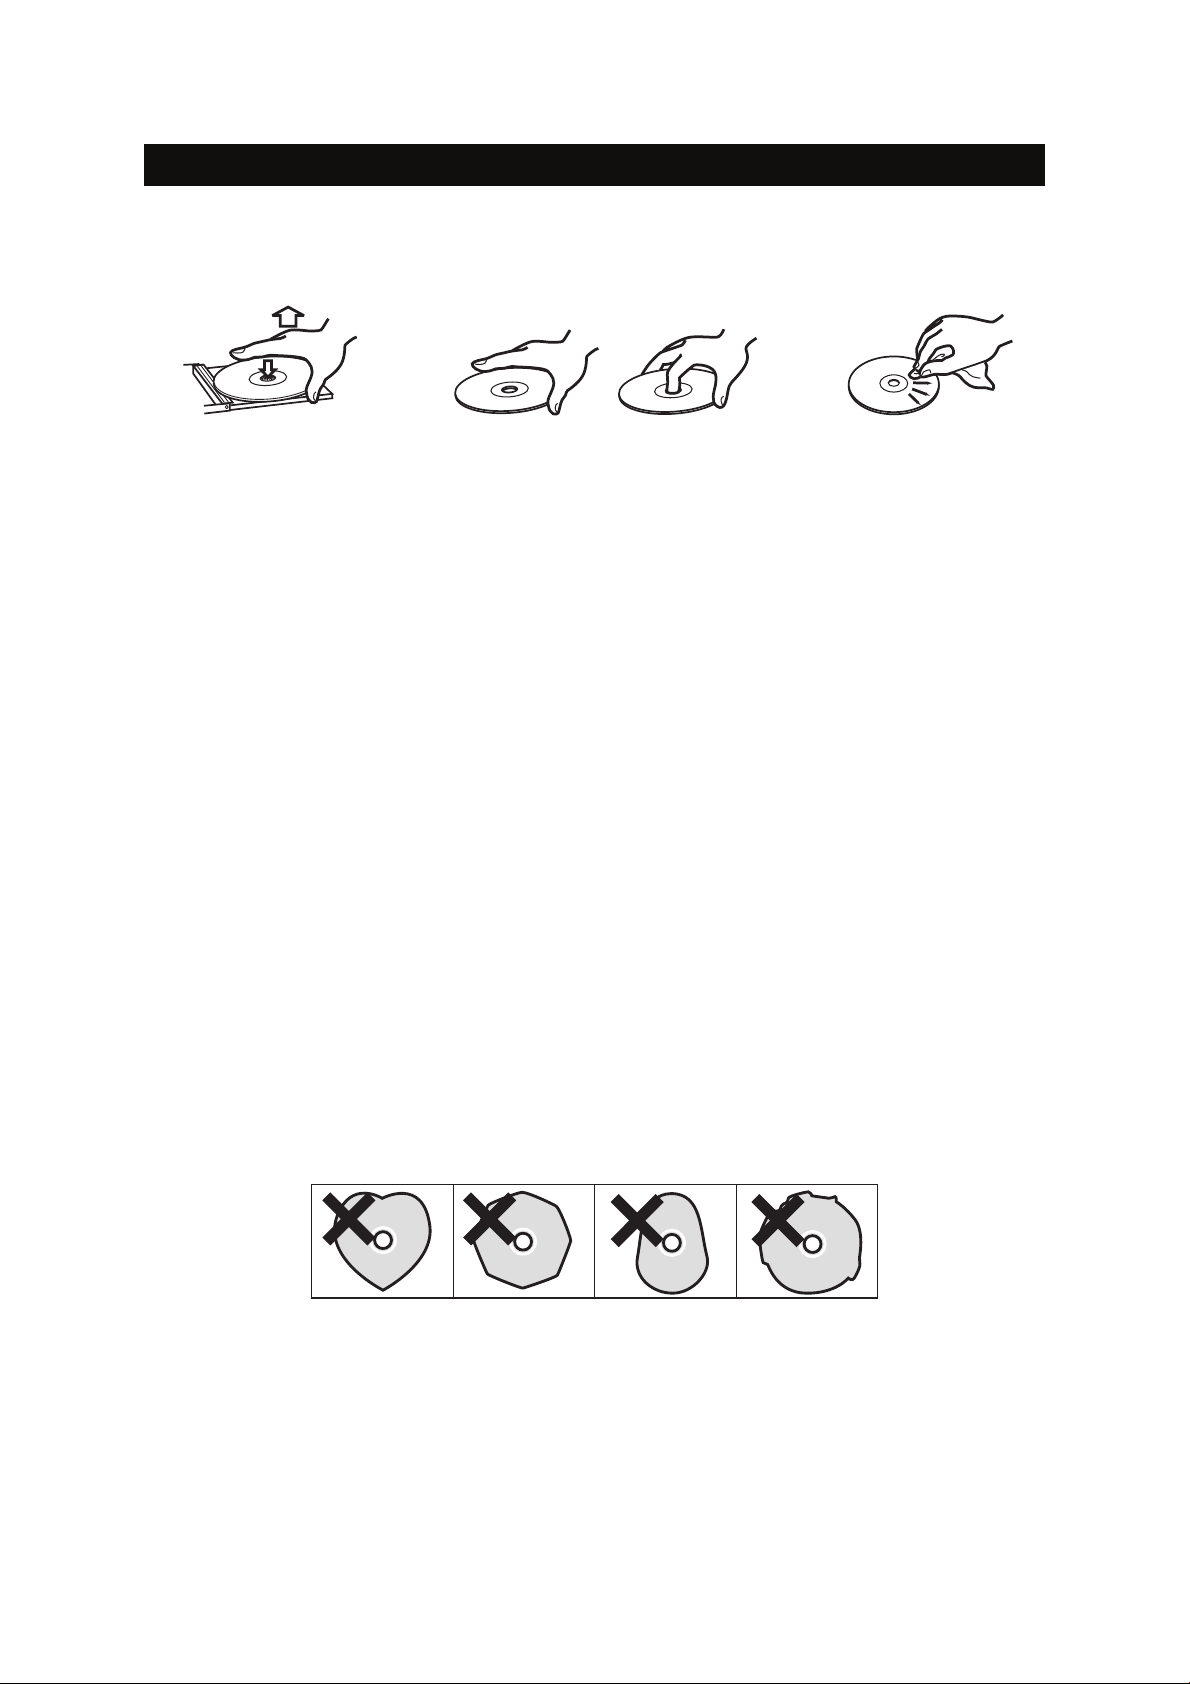
DISC MAINTENANCE
Depending on the quality of the disc, and the condition of the recording, some
CD-R/CD-RW discs may not be playable.
How to remove the disc How to hold the disc How to clean the disc
1. Always place the compact disc in the disc tray with the label facing upward.
(Compact discs can be played only on one side).
2. To move a disc from its storage case, press down on the center of the case and
lift the disc out, holding it carefully by the edges.
3. If the disc becomes dirty, wipe the surface from the center hole outward towards
the outer edge with a soft, dry cloth.
4. Never use such chemicals as record spray, antistatic sprays or fluid, benzine or
thinner to clean the discs. Such chemicals will do irreparable damage to the
disc's plastic surface.
5. Discs should be returned to their cases after use to avoid serious scratches that
could cause the laser pick up to skip.
6. Do not expose discs to direct sunlight or high humidity and temperature for
extended periods. Long exposure to high temperatures will warp the discs.
7. Printable CD-R and CD-RW discs are not recommended, as the label side might
be sticky and damage the unit.
8. Use a soft oil-based felt-tipped pen to write the information on the label side.
Never use a ball-point or hard-tipped pen, as this may cause damage to the
recorded side.
9. Do not use CDs with an irregular shape (octagonal, heart-shaped, business card
size, etc). CDs of this sort can damage the unit.
10. If you have any doubts of using CD-R/CD-RW disc, read the precautions
supplied with the disc, or contact the disc manufacturer directly.
8

AUX-IN OPERATION
External (auxiliary) audio sources such as tablets, smartphones or MP3 players, can
connect to the Bluetooth CD Radio Microsystem via aux-in.
1.
Press STANDBY button to turn the unit ON and then press SOURCE button to
select “AUX”.
2. Set the volume to the minimum level with the VOLUME KNOB.
3. Plug in an AUX-IN cable (not included) into the AUX-IN jack on the front of the
unit.
4. Plug the other end of the cable into the headphone or Line-Out jack of the
external source.
5.
Turn on the external audio device and set it to play. Turn the external audio
device’s volume up to 2/3. If necessary, adjust the volume on the main unit
by turning the VOLUME KNOB.
BLUETOOTH OPERATION
External devices that have a built-in Bluetooth feature can connect wirelessly to
the Bluetooth CD Radio Microsystem.
GETTING CONNECTED
1.
Press the SOURCE button until the Bluetooth indicator shows on LCD Display with blink.
2. Set the Bluetooth function of your external device to ON and begin searching for
devices.
NOTE: The effective distance between your external device and this apparatus
is 10 meters (33 feet).
3.
Once “SRCD1081BT” appears on the paired devices list of your external
device, select it.
4.
If you are asked for a password, enter “0000”.
5.
A beep will be heard and Bluetooth indicator light steadily that indicates a
connection has been established.
6. A few seconds later your Bluetooth connection should be ready to use.
PLAYING MUSIC FROM AN EXTERNAL BLUETOOTH DEVICE
1. Follow the “GETTING CONNECTED” steps above to pair your external device.
2.
Turn on the music player program on your external device and set it to play.
Normally, you can control music playback with the /PAIR, / TUN-
button and / TUN+ button on the Bluetooth CD Radio Microsystem.
Note: Some function buttons may not work with all devices.
USING THE REMOTE CONTROL
The Remote Control Unit can operate the unit from a distance. When operating the
remote control unit, point it towards the front panel of the unit.
• Even if the remote control unit is operated within the effective range, remote
control operation may be impossible if there are any obstacles between the unit
and the remote control.
9

• If the remote control unit is operated near other appliances which generate
infrared rays, or if other remote control devices using infrared rays are used near
the unit, it may operate incorrectly. Conversely, the other appliances may
operate incorrectly.
TO ACTIVATE THE REMOTE CONRTOL
The remote control comes with a cell battery already
installed. To activate the battery, remove the transparent
tab at the bottom of the remote control. The remote
control is now ready to use.
BATTERY REPLACEMENT
If the distance required between the remote control unit and main unit decreases,
the battery is exhausted. In this case, please replace the battery with a new one.
To Replace With a New Battery
1. Remove the battery compartment cover as per the
illustration on the right.
2. Observe the correct polarity and install a 3Vdc lithium
battery (CR2025).
3. Close the cover.
BATTERY PRECAUTIONS
• Be sure to insert the battery with correct positive + and negative - polarities.
• Refer to the precautions on the battery labels.
• When the remote control unit is not to be used for long periods of time (more
than a month), remove the battery from the remote control unit to prevent it from
leaking. If it leaks, carefully wipe away the liquid inside the battery compartment
and replace the battery with a new one.
• Do not heat or disassemble batteries and never dispose of old batteries by
throwing them into a fire.
10

TROUBLESHOOTING GUIDE
In case of trouble with the unit, please look through the problems below and see if
you can solve them yourself before calling your dealer.
PROBLEM CAUSE SOLUTION
Unit does not turn
ON when STANDBY
is pressed.
No sound comes
out of the
speakers.
The sound is
noisy.
The unit does not
act as expected,
or respond.
Cannot listen to
any station, or
signal appears
weak.
• Unit is unplugged • Connect unit to AC power
supply
• The external speakers are
disconnected.
• The volume is turned down
(to MIN).
• The input selector does not
match the playback source.
• The unit is too close to a TV
set or another similar
appliance.
• External factors such as
ESD (Electro-static
discharge) affect the unit.
• The station is not tuned-in
properly.
• A TV set is being used
nearby and is interfering
with the radio reception.
• Connect the external
speakers.
• Adjust the volume.
• Re-select the desired input
source.
• Turn off the TV or other
appliance, and relocate the
unit.
• Remove the power cord and
all power supply devices.
Then re-plug the unit after
one minute.
• Properly tune-in the desired
station.
• Turn-off the interfering TV
set.
The sound is
distorted.
CD stops
immediately after
starting, or unit
pauses or stops
during play.
No sound. • The CD player is paused. • Press the PLAY/PAUSE
• The antenna is not
positioned properly.
• The CD is inserted upside
down.
• The CD is dusty or dirty or
there is condensation on
the CD.
• Re-position the antenna
until reception improves.
• Insert the CD with the
printed side right-side up.
• Carefully clean and dry the
CD.
button.
CD PLAYER RADIO UNIT WHOLE UNIT
Specific CD is
noisy, or playback
stops or skips.
• The CD is scratched,
damaged or warped.
• The disc is very dirty.
• The CD should be changed.
• Carefully clean the CD.
11

SPECIFICATIONS
AMPLIFIER Section
Output Power.................................................... 25W + 25W
Frequency Response ........................................ 60 to 20,000 Hz
TUNER Section
FM Section
Frequency Range .............................................. 87.5 to 108 MHz
CD PLAYER Section
Frequency Response ........................................ 60 to 20,000 Hz
Signal-to-Noise Ratio ........................................ 55 dB (IEC-A)
SPEAKER SYSTEM Section
Impedance......................................................... 4 ohms
Input Power....................................................... 25W (woofer)
5W / Max 10W (tweeter)
GENERAL
Power Requirements......................................... AC 120V ~ 60Hz
Power Consumption.......................................... 60W
Dimensions (L x D x H) ......................................330mm x 222mm x 110mm (approx.)
Loudspeakers Dimensions (L x D x H) ..............140mm x 155mm x 240mm (approx.)
Weight ...............................................................5.75kgs (approx.)
Standard Accessories ....................................... Operating Instruction Booklet;
Remote control with battery;
A pair of external speakers;
Made in China.
NOTE: As a result of continual improvements, the design and specifications of
this product are subject to change without notice.
Bluetooth is a registered trademark of Bluetooth SIG, Inc. Other trademarks and
trade names are those of their respective owners.
12

FCC STATEMENT
Warning: Changes or modifications to this unit not expressly approved by the party
responsible for compliance could void the user authority to operate the equipment.
NOTE: This equipment has been tested and found to comply with the limits for
Class B digital device, pursuant to part 15 of the FCC Rules. These limits are
designed to provide reasonable protection against harmful interference in a
residential installation. This equipment generates, uses and can radiate radio
frequency energy and, if not installed and used in accordance with the instructions,
may cause harmful interference to radio or television reception, which can be
determined by turning the equipment off and on, the user is encouraged to try to
correct the interference by one or more of the following measures:
- Reorient or relocate the receiving antenna.
- Increase the separation between the equipment and the receiver.
- Connect the equipment into an outlet on a circuit different from that to which the
receiver is connected.
- Consult the dealer or an experienced radio/TV technician for help.
CALIFORNIA PROP 65 WARNING
"WARNING" This product contains a chemical known to the State of California to
cause birth defects or other reproductive harm. For more information on these
regulations and a list of chemicals, log on the following website address:
http://www.oehha.ca.gov/prop65.html
13

5000130700E
 Loading...