

AMAZON ALEXA-ENABLED BLUETOOTH/WI-FI
UNDER CABINET SMART MUSIC SYSTEM
MODEL: JAS-725
USER MANUAL
PLEASE READ THIS USER MANUAL COMPLETELY BEFORE OPERATING THIS UNIT AND
RETAIN THIS BOOKLET FOR FUTURE REFERENCE.

IMPORTANT SAFETY INSTRUCTIONS
When used in the directed manner, this unit has been designed and manufactured to ensure
your personal safety. However, improper use can result in potential electrical shock or fire
hazards. Please read all safety and operating instructions carefully before installation and use,
and keep these instructions handy for future reference. Take special note of all warnings listed
in these instructions and on the unit.
1. Read these instructions – All the safety and operating instructions should be read
before the appliance is operated.
2. Keep these instructions – The safety and operating instructions should be kept for future
reference.
3. Heed all warnings – All warnings on the appliance and in the operating instructions
should be adhered to.
4. Follow all instructions – All operation and use instructions should be followed.
5. Do not use this apparatus near water – The appliance should not be used near water; for
example, near a bath tub, washbowl, kitchen sink, laundry tub, in a wet basement, or
near a swimming pool.
6. Clean only with dry cloth – The appliance should be cleaned only as recommended by
the manufacturer.
7. Do not block any ventilation openings. Install in accordance with the manufacturer’s
instructions. The appliance should be situated so that its location or position does not
interfere with its proper ventilation. For example, the appliance should not be situated on
a bed, sofa, rug, or similar surface that may block the ventilation openings; or placed in a
built-in installation, such as a bookcase or cabinet that may impede the flow of air through
the ventilation openings.
8. Do not install near any heat sources such as radiators, heat registers, stoves, or other
apparatus (including amplifiers) that produce heat.
9. AC adaptor is used as disconnect device and it should remain readily operable during
intended use. In order to disconnect the apparatus from the mains completely, the AC
adaptor should be disconnected form the mains socket outlet completely.
10. Only use attachments / accessories specified by the manufacturer.
11. Use only with a cart, stand, tripod, bracket, or table specified by the
manufacturer, or sold with the apparatus. When a cart is used, use
caution when moving the cart/apparatus combination to avoid injury
from tip-over.
12. Unplug this apparatus during lightning storms or when unused for long periods of time.
13. Refer all servicing to qualified service personnel. Servicing is required when the
apparatus has been damaged in any way, such as power-supply cord or plug is damaged,
liquid has been spilled or objects have fallen into the apparatus, the apparatus has been
exposed to rain or moisture, does not operate normally, or has been dropped.
14. This appliance shall not be exposed to dripping or splashing water and that no object
filled with liquids such as vases shall be placed on the apparatus.
15. Power Sources – The appliance should be connected to a power supply only of the type
described in the operating instructions or as marked on the appliance. Do not overload
wall outlet.
16. Do not attempt to dismantle, open or repair this product yourself. If a fault occurs, seek
advice from your local qualified service technician or contact the distributor via the
telephone number at the back of this instruction manual.
17. Nameplate is located on the top of product.
E1

CAUTION
Follow the advice below for safe operations.
To reduce the risk of fire, do not place any heating or cooking appliance beneath this unit.
Stop operation immediately if any liquid or solid object should fall into the cabinet.
If the unit is not to be used for a long period of time, make sure that all power sources are
disconnected
practice to remove the AC-DC adaptor by grasping the plug and not by pulling the cord.
ON PLACEMENT
from the unit. Unplug the AC-DC adaptor from the wall outlet. Make it a
Do not use the unit in places, which are extremely hot, cold, dusty or humid.
Install the JAS-725 as far as possible from a source of noise. (for example, refrigerator,
microwave oven, fluorescent lamp, etc.)
Do not restrict the airflow of the unit by placing it in a place with poor ventilation, by
covering it with a
Should any trouble occur, remove the power source and refer servicing to qualified personnel.
cloth or by placing it on a carpet.
COMPLIANCE WITH FCC REGULATIONS
FCC ID : 2ANH7-393MET8025
This device complies with Part 15 of the FCC Rules. Operation is subject to the following two
conditions:
(1) this device may not cause harmful interference, and
(2) this device must accept any interference received, including interference that may
cause undesired operation.
NOTE: This equipment has been tested and found to comply with the limits for a Class B
digital device, pursuant to Part 15 of the FCC Rules. These limits are designed to provide
reasonable protection against harmful interference in a residential installation. This equipment
generates, uses and can radiate radio frequency energy and, if not installed and used in
accordance with the instructions, may cause harmful interference to radio communications.
However, there is no guarantee that interference will not occur in a particular installation. If
this equipment does cause harmful interference to radio or television reception, which can be
determined by turning the equipment off and on, the user is encouraged to try to correct the
interference by one or more of the following measures:
- Reorient or relocate the receiving antenna.
- Increase the separation between the equipment and receiver.
- Connect the equipment into an outlet on a circuit different from that to which the receiver is
connected.
- Consult the dealer or an experienced radio/TV technician for help.
CAUTION: Changes or modifications not expressly approved by the party
responsible for compliance could void the user’s authority to operate the
equipment.
This equipment complies with FCC radiation exposure limits set forth for an uncontrolled
environment. This equipment should be installed and operated with minimum distance 20cm
between the radiator & your body
E2

DEAR JENSEN® CUSTOMER
Selecting fine audio equipment such as the unit you've just purchased is only the start of
your musical enjoyment. Now it's time to consider how you can maximize the fun and
excitement your equipment offers. This manufacturer and the Electronic Industries
Association's Consumer Electronics Group want you to get the most out of your equipment
by playing it at a safe level. One that lets the sound come through loud and clear without
annoying blaring or distortion and, most importantly, without affecting your sensitive
hearing.
Sound can be deceiving. Over time your hearing "comfort level" adapts to higher volumes of
sound. So what sounds "normal" can actually be loud and harmful to your hearing. Guard
against this by setting your equipment at a safe level BEFORE your hearing adapts.
To establish a safe level:
% Start your volume control at a low setting.
% Slowly increase the sound until you can hear it comfortably and clearly, and without
distortion.
Once you have established a comfortable sound level:
% Set the dial and leave it there.
Taking a minute to do this now will help to prevent hearing damage or loss in the future.
After all, we want you listening for a lifetime.
We Want You Listening For a Lifetime
Used wisely, your new sound equipment will provide a lifetime of fun and enjoyment. Since
hearing damage from loud noise is often undetectable until it is too late, this manufacturer
and the Electronic Industries Association's Consumer
avoid prolonged exposure to excessive noise.
Customer's Record:
The serial number of this product is found on its top cover. You should note the serial
number of this unit in the space provided as a permanent record of your purchase to aid in
identification in the event of theft of loss.
Model Number: JAS-725 Serial Number: ____________________
Electronics Group recommend you
E3
PREPARATION FOR USE
Installing the JAS-725 under a cabinet
1. Make the position of the 3 holes by using the supplied template. Use a drill to make the
holes.
2. When the cabinet door overhangs the shelf and obstructs the unit, you can adjust the
unit/shelf height.
3. Install the unit with the supplied mounting kit.
Unpack the unit carefully to remove all the accessories from the packing. Verify that the
following accessories are present before setting up the unit.
Main Unit X 1
AC adaptor X 1
User Manual X 1
Mounting kit X 1
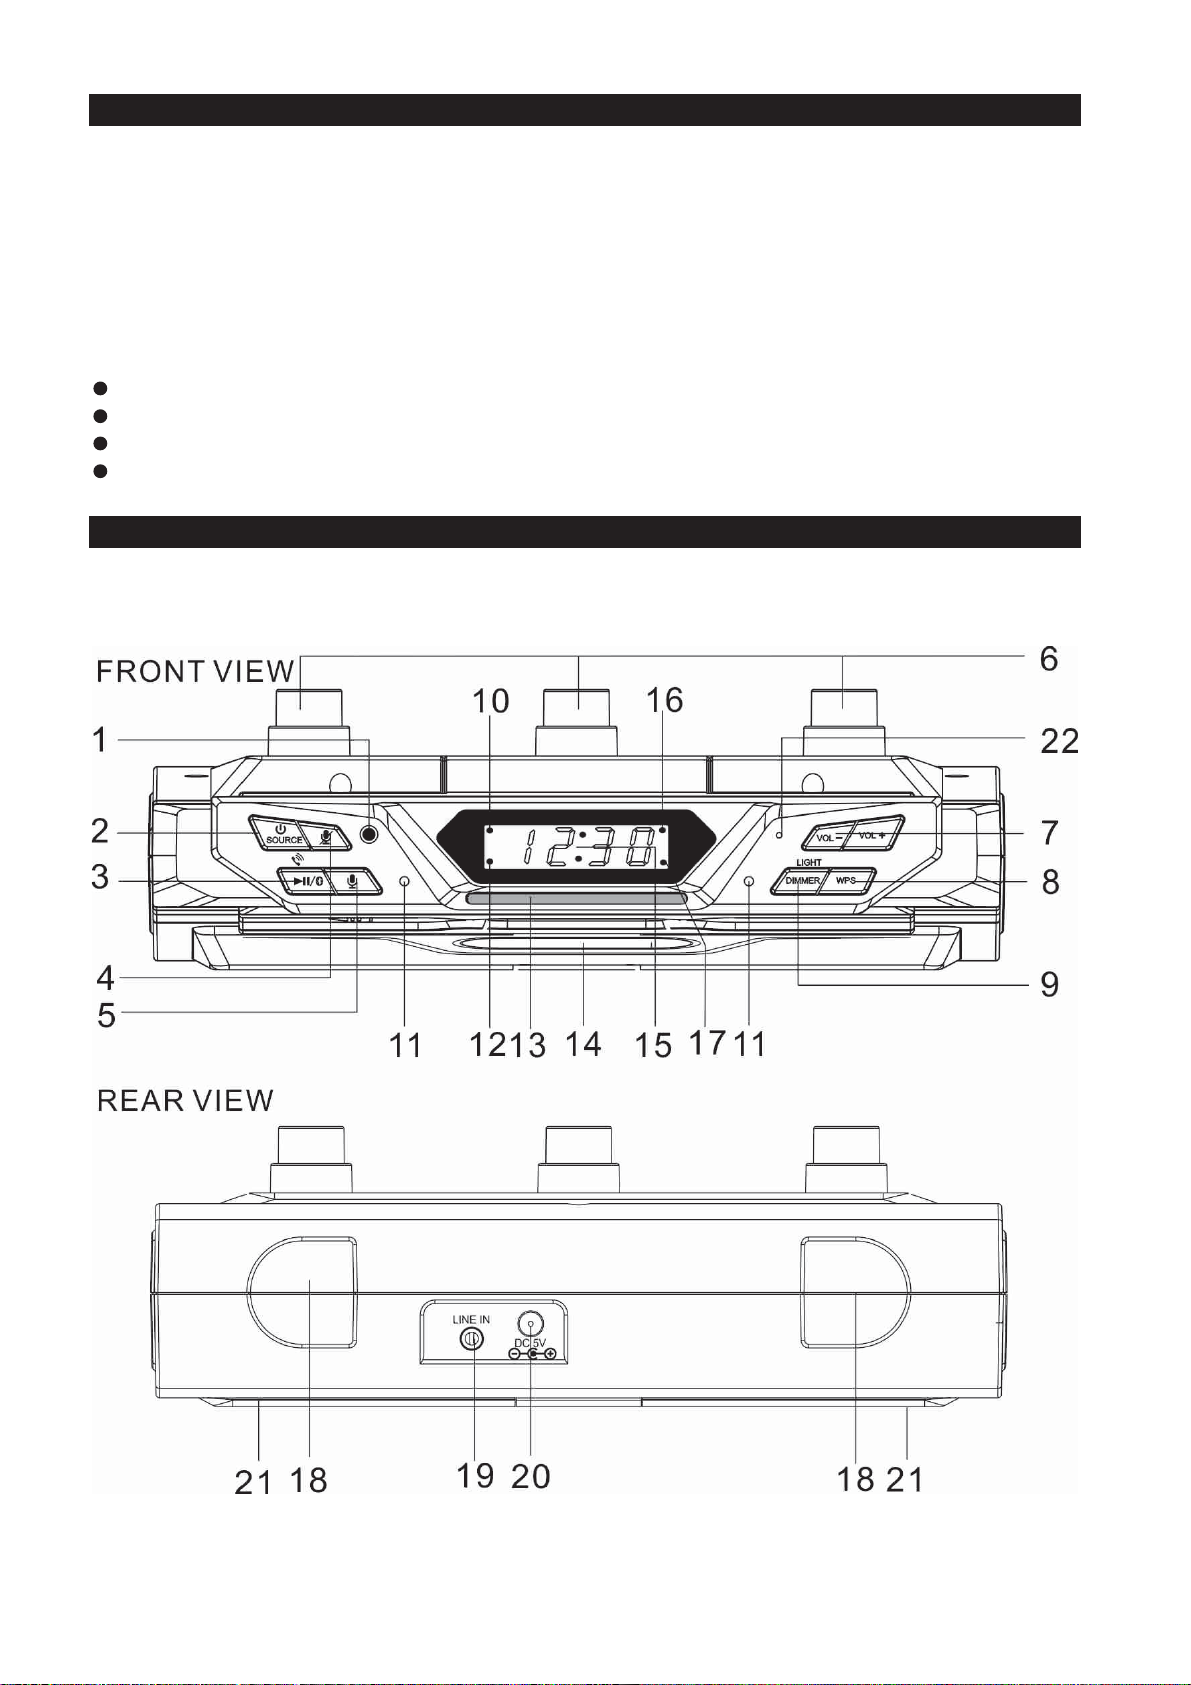
LOCATION OF CONTROLS
MAIN UNIT
E4
CONTROLS
1. ALEXA MIC OFF Indicator
2. POWER ON / OFF / SOURCE Button
3. PLAY/PAUSE; BLUETOOTH PAIR; ANSWER CALL / END CALL BUTTON
4. MIC ON/OFF/FACTORY DATA RESET BUTTON
5. TAP TO TALK BUTTON
6. CABINET MOUNTING POINT
7. VOLUME+(UP) and VOLUME- (DOWN) BUTTONS
8. WPS BUTTON (Wi-Fi Protected Setup)
9. LIGHT ON/OFF; DISPLAY DIMMER BUTTON
10. LINE-IN MODE INDICATOR
11. MICROPHONES FOR ALEXA
12. PM TIME INDICATOR
13. ALEXA MODE / CONNECTION INDICATOR
14. LIGHT
15. LED DISPLAY
16. Wi-Fi MODE INDICATOR
17. BLUETOOTH MODE INDICATOR
18. CORD WRAP POINT
19. LINE-IN JACK
20. DC-IN JACK
21. SPEAKER
22. MICROPHONE FOR BLUETOOTH HANDFREE
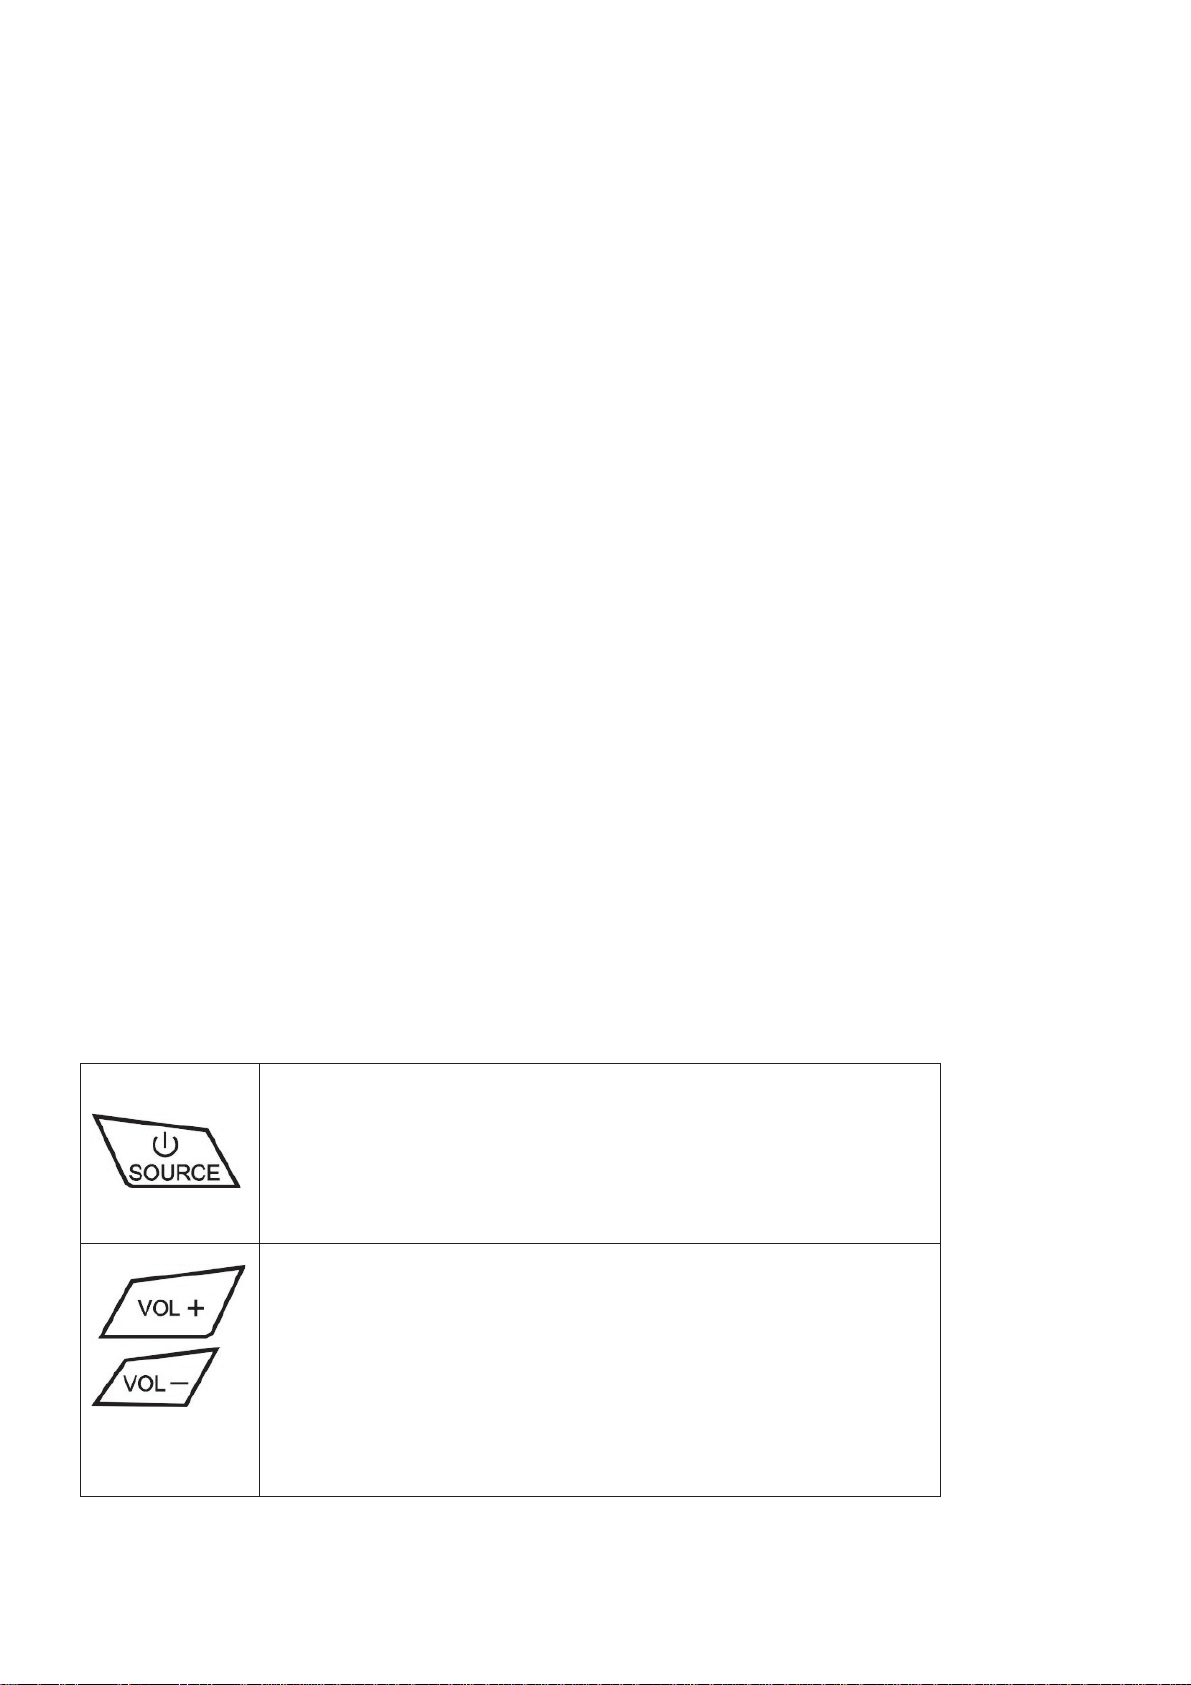
BUTTON FUNCTIONS
Power
Tap to power ON, press and hold to power OFF.
Source
Tap to change the speaker modes - Wi-Fi / Bluetooth / Line-In
Volume
Press to adjust the volume up or down. You can also ask
Alexa to set the volume level by saying, “Alexa, set volume
to...” and insert the volume level you wat the speaker set to.
Example: If you say “Alexa, set the volume to 5” Alexa will
increase or decrease the volume level to 50% of maximum
volume.
E5
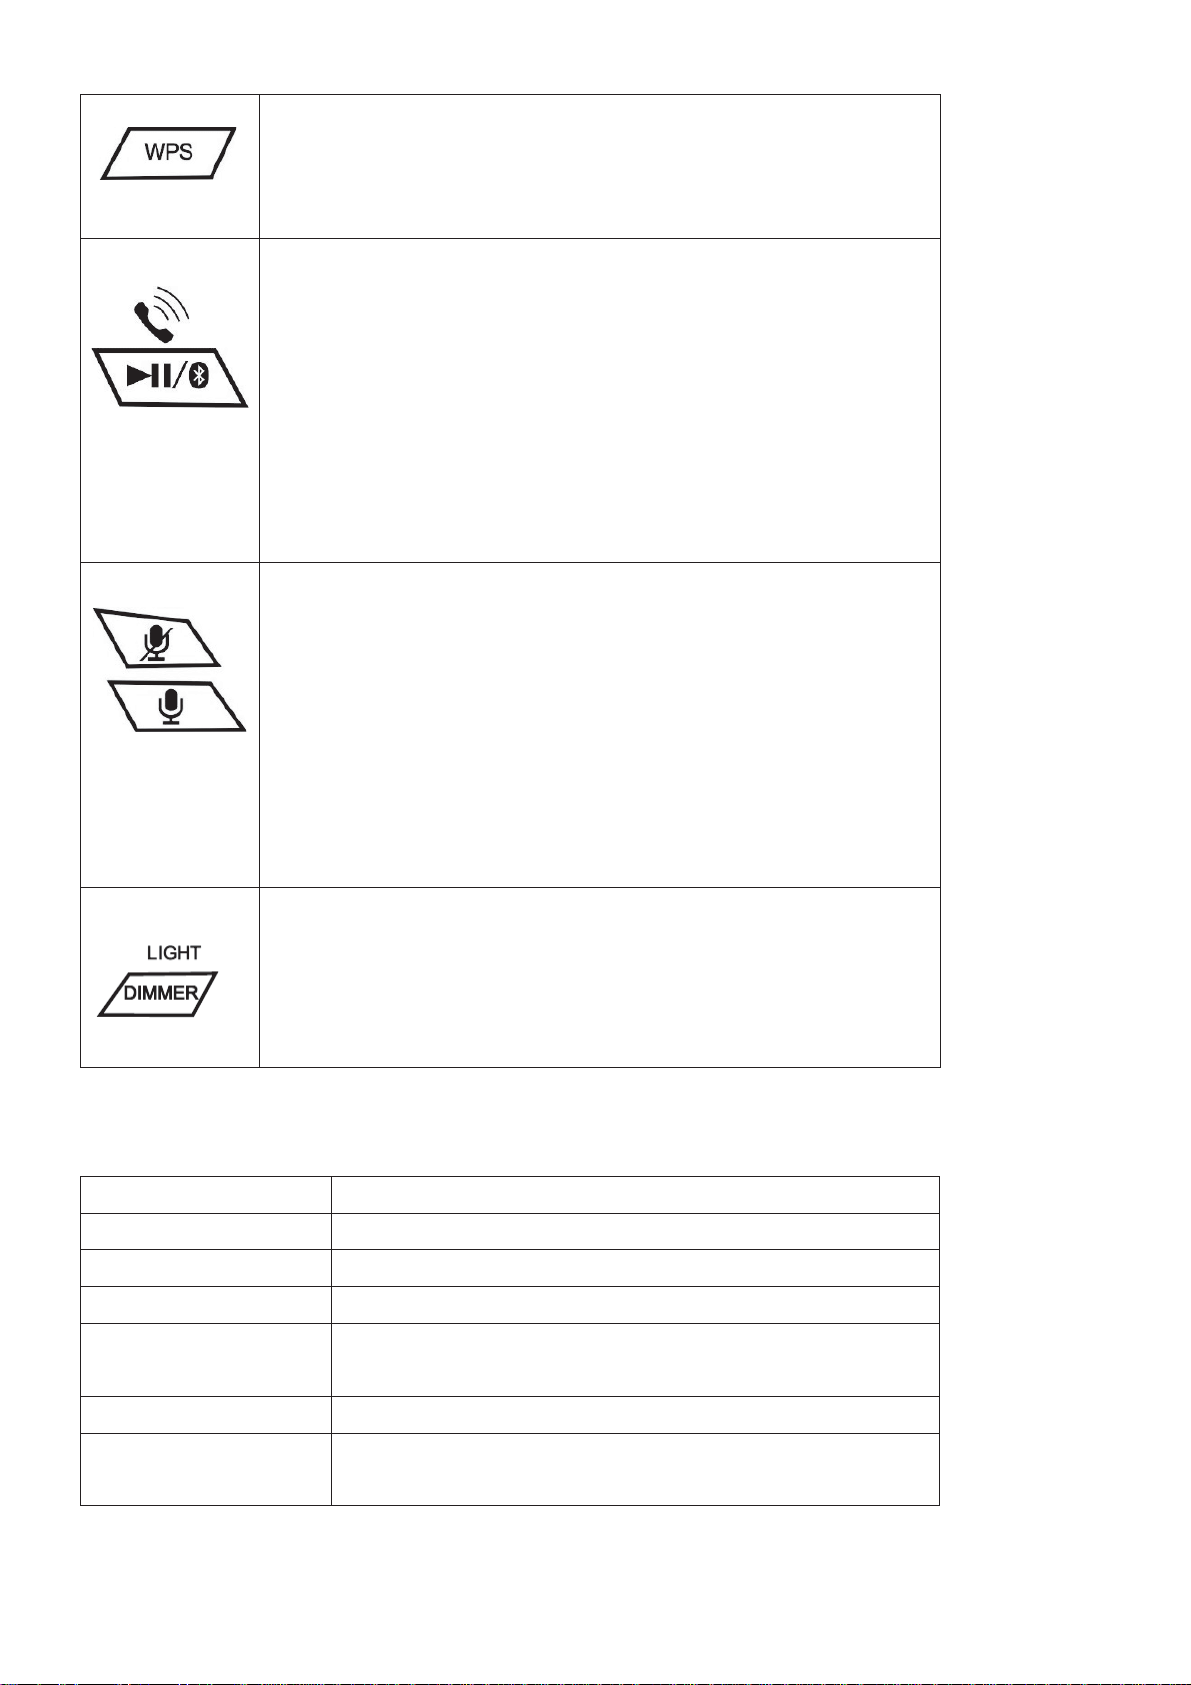
Connect the JAS-725 to Wi-Fi Network link up again.
In Wi-Fi Mode, press and hold this button once to link up the
JAS-725 with your Wi-Fi network. Follow the instructions on
the Jensen Wi-Fi Audio App.
Alexa Mic ON/OFF AND TAP TO TALK
Play/Pause
Tap to play or pause audio playing from the JENSEN Wi-Fi
Audio app or from a Bluetooth connected device.
Bluetooth Pair
Press and hold to connect to a new Bluetooth device.
Answer / End Call
Tap the button to answer an incoming call.
Tap the button again to end the call.
Tap the Tap to Talk button to activate Amazon Alexa and say a
command. You can also just say, “Alexa..”, within range of the
speaker’s microphones. Tap the Mic On/Off button to mute the
microphones and disable Amazon Alexa.
In Wi-Fi mode, press and hold this button for 10 seconds until
display changed to 12:00 then release it, unit will reset Wi-Fi to
factory setting then restart for set up.
Light
Tap the button to turn on light ON / OFF
Dimmer
Press and hold the button to change display dimmer settings low and high.
ALEXA MODE INDICATION
Flashing White Wi-Fi is disconnected
Light Off Wi-Fi is Connected
Solid Turquoise Alexa is listening
Solid Blue Alexa is thinking
Turquoise and Blue
changing
Solid Red The microphones are muted
Alexa is talking
Flashing Amber The JAS-725 is not logged into your Alexa account
(follow the voice instructions for connecting)
E6
 Loading...