

Page 1

MBC-2000A/S
Page 2
Batterie-Ladegerät
2
BATTERY
CHARGER
a
n
d
JUMP
STA
RTER
1
2
/2
4
V
o
lt
1
B
A
T
T
E
R
Y
C
H
A
R
G
E
R
a
n
d
J
U
M
P
S
T
A
R
T
E
R
12/24 V
olt
2
B
A
TT
E
R
Y
C
H
A
R
G
E
R
a
n
d
J
U
M
P
S
T
A
R
T
E
R
1
2
/2
4
V
o
lt
3
B
A
T
T
E
R
Y
C
H
A
R
G
E
R
a
n
d
J
U
M
P
S
T
A
R
T
E
R
1
2
/2
4
V
o
lt
4
B
A
T
T
E
R
Y
C
H
A
R
G
E
R
a
n
d
J
U
M
P
S
T
A
R
T
E
R
1
2
/2
4
V
o
lt
5
B
A
TT
E
R
Y
C
H
A
R
G
E
R
and
JU
M
P
S
T
A
R
T
E
R
12/24 Volt
6
Page 3
Batterie-Ladegerät
3
B
A
T
T
E
R
Y
C
H
A
R
G
E
R
a
n
d
J
U
M
P
S
T
A
R
T
E
R
12/24 Volt
7
BATTERY
CHARGER
and
JUMP
STARTER
12/24 Volt
F
E
D
A
B
C
8
Page 4

battery charger
4
Please read this manual carefully before starting the system. Keep the
manual in a safe place for future reference. If the system is resold, this
manual must be handed over to the purchaser along with the system.
Contents
1 Notes on using the instruction manual. . . . . . . . . . . . . . . . . . . . . . . 5
2 General safety instructions . . . . . . . . . . . . . . . . . . . . . . . . . . . . . . . 6
3 Proper use . . . . . . . . . . . . . . . . . . . . . . . . . . . . . . . . . . . . . . . . . . . . 7
4 Description. . . . . . . . . . . . . . . . . . . . . . . . . . . . . . . . . . . . . . . . . . . . 8
5 Using the battery charger. . . . . . . . . . . . . . . . . . . . . . . . . . . . . . . . . 9
6 Maintaining and cleaning the battery charger . . . . . . . . . . . . . . . . .13
7 Troubleshooting . . . . . . . . . . . . . . . . . . . . . . . . . . . . . . . . . . . . . . . .13
8 Disposal . . . . . . . . . . . . . . . . . . . . . . . . . . . . . . . . . . . . . . . . . . . . . .15
9 Technical data . . . . . . . . . . . . . . . . . . . . . . . . . . . . . . . . . . . . . . . . .16
Page 5
battery charger Notes on using the instruction manual
5
1 Notes on using the instruction manual
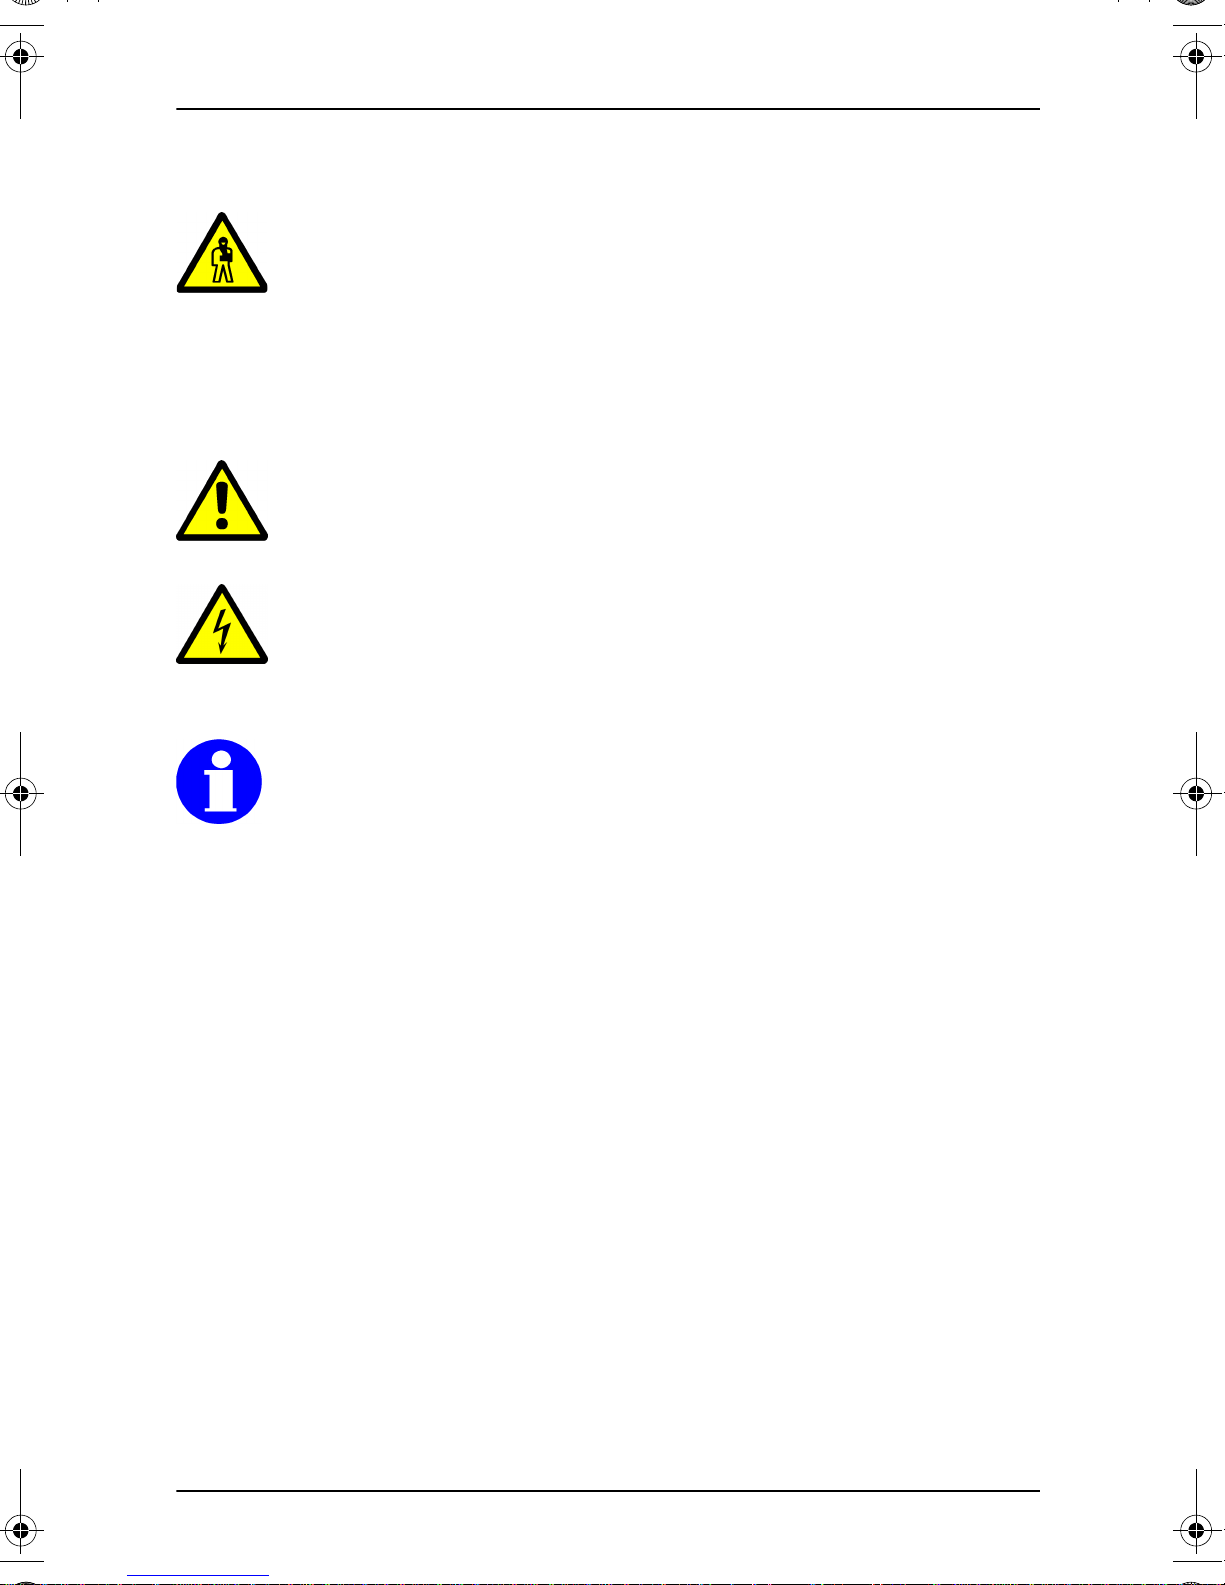
Warning!
Safety note: failure to observe this instruction can lead to per-
sonal injury or damage to the machine.
Caution!
Safety note: failure to observe this instruction can lead to material
damage and impair device function.
Caution!
Safety instruction: relating to a hazard from electrical current or
voltage. Failure to observe this instruction can lead to material
damage and impair device function.
Note
Supplementary information for operating the device.
Action: this symbol indicates that you need to do something.
The required action is described step-by-step.
This symbol indicates the result of an action.
Please observe the following safety instructions.
- The appliance is not intended for use by young children or infirm
persons without supervision.
- Young children should be supervised to ensure that they do
not play with the appliance.
Page 6
General safety instructions battery charger
6
2 General safety instructions
2.1 General safety
The battery charger may only be used as described in this manual.
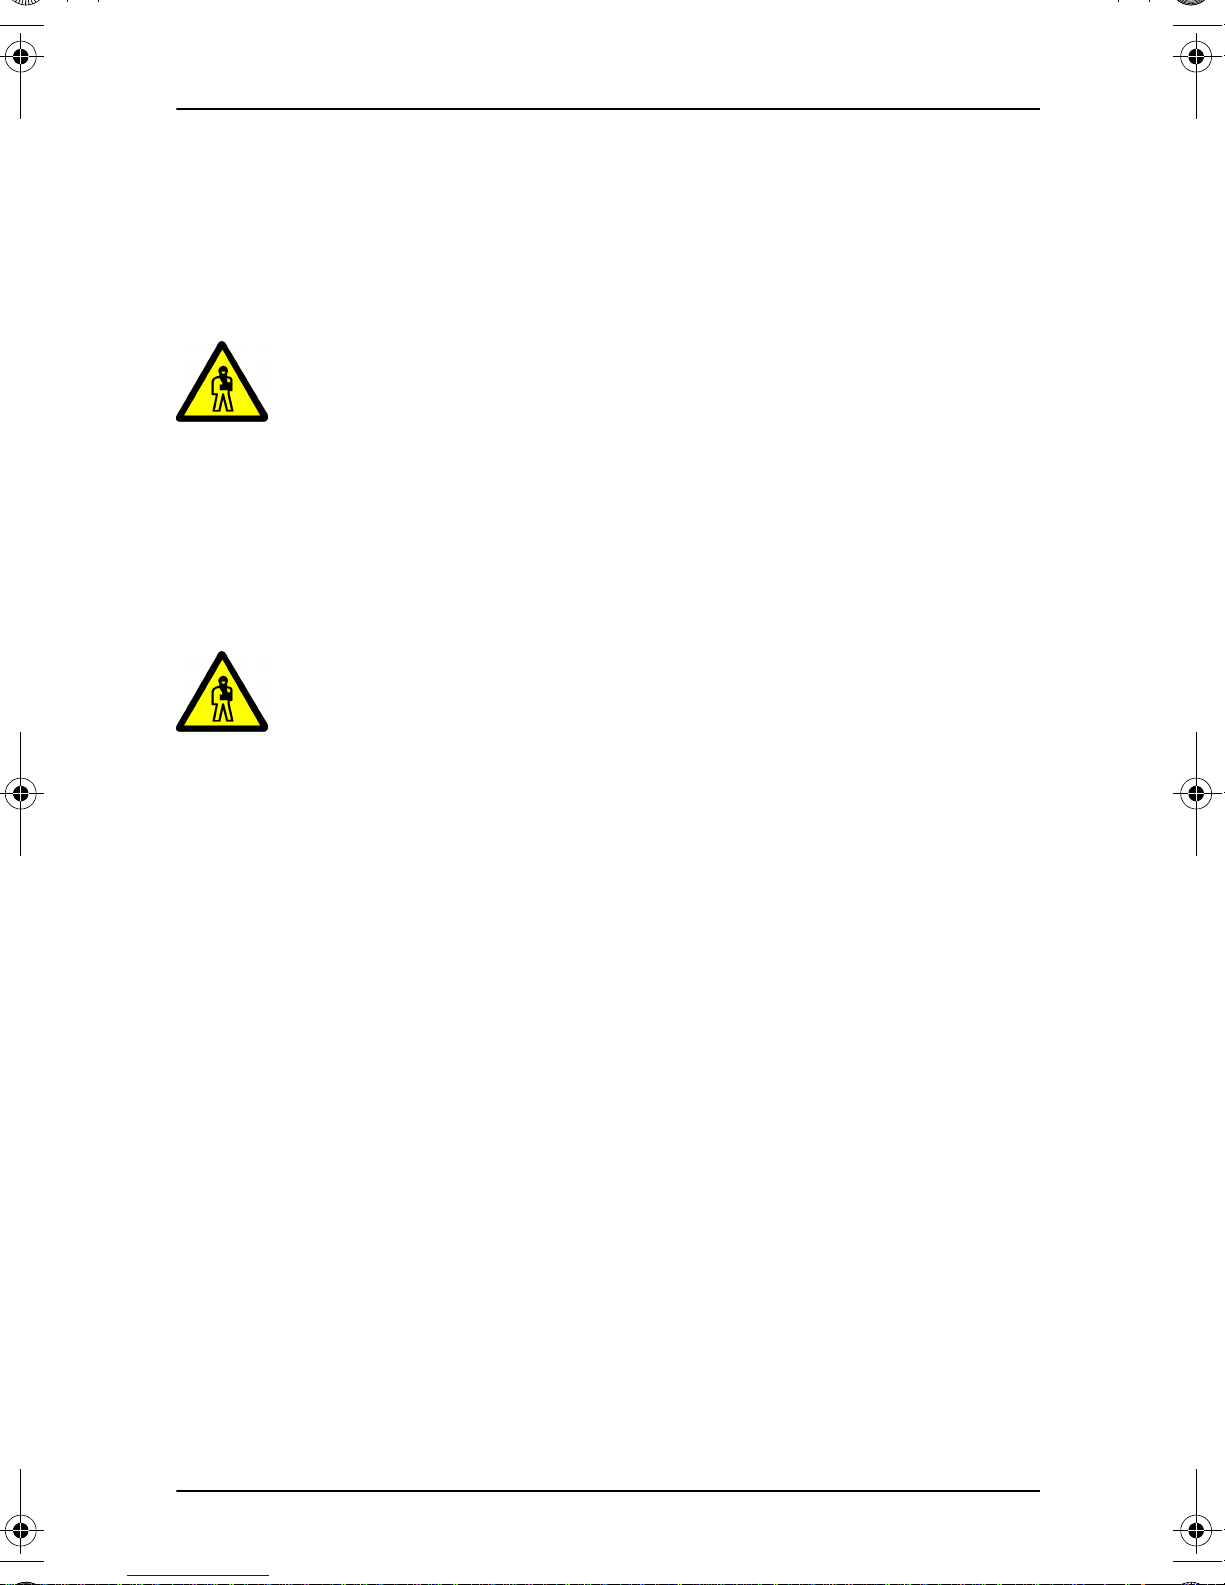
Warning!
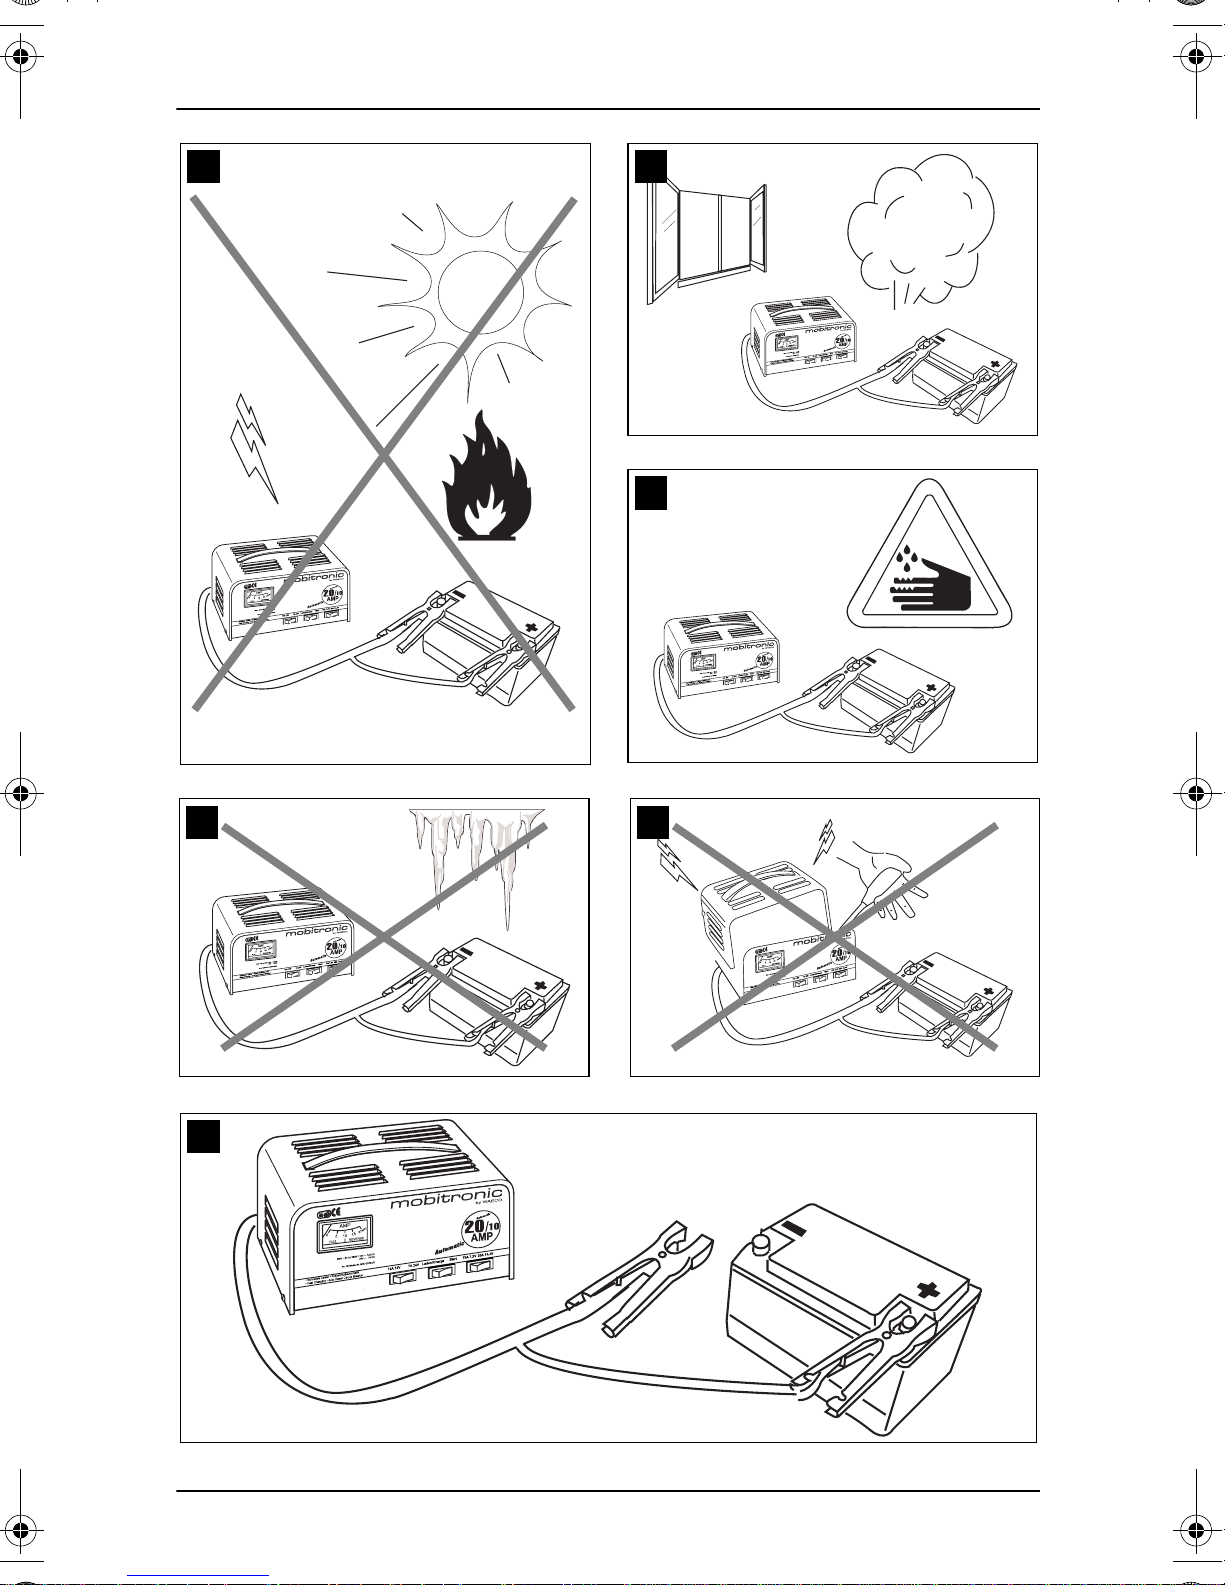
Explosive gases can be produced during the charging procedure.
Always avoid open flames, sparks or naked light when operating the
battery charger (see Fig. 1, page 2).
Use the battery charger only in well-ventilated spaces to prevent the accumulation of explosive gases (see Fig. 2, page 2).
Warning!
Batteries contain aggressive acids.
Avoid all contact with the battery fluid (see Fig. 3, page 2).
Protect your eyes with protective goggles and wear protective clothin g to
guard against any acid spray.
If you should still come into contact with the battery fluid, rinse the body
parts or clothing in question thoroughly with a great deal of running
water.
If you sustain any injuries from contact with acid, consult a physician
immediately.
Never attempt to charge a frozen battery.
Risk of explosion!
In this case, place the battery in a frost-free place and wait until it has
reached the ambient temperature. Only then ma y you begin the charging
procedure (see Fig. 4, page 2).
Operate the battery charger only indoors and not in damp or wet
environments.
Store the battery charger in a cool and dry place.
Avoid recharging non-rechargeable batteries.
Page 7

battery charger Proper use
7
z Maintenance and repair may only be performed by trained technicians
familiar with the hazards and the governing norms (see Fig. 5, page 2).
2.2 Operating the device safely
z Only operate the battery charger if the housing and lines are undamaged.
z Ensure that all items are securely situated.
The battery charger and the battery to be charged must be securely situated in such a way that they cannot tip over or fall down.
z Make sure that children have no access to the battery charger.
There may be hazards that children cannot detect!
3 Proper use
The MBC-2000A/S battery charger may be used to charge batteries of the
following types:
z Lead starter batteries
z Lead-gel batteries
z Maintenance-free batteries
It may only be used with the capacitances and voltages specified in the chapter “Technical data” on page 30.
The battery chargers may never be used to charge batteries of other types
(such as NiCd, NiMH etc.)!
You can also use the battery charger to jump-start vehicles with dead
batteries.
Page 8

Description battery charger
8
4 Description
4.1 Function
The battery charger charges 12-V or 24-V vehicle batteries. It automatically
detects a full battery and switches to idle mode. This prevents batteries from
being overcharged.
The device is protected against incorrect polarity. A LED illuminates when
you connect the battery clamps to the wrong poles.
The device also has a jump-start function that can be used to assist in starting the engines of vehicles with dead batteries.
4.2 Indicators
The battery charger has the following indicators:
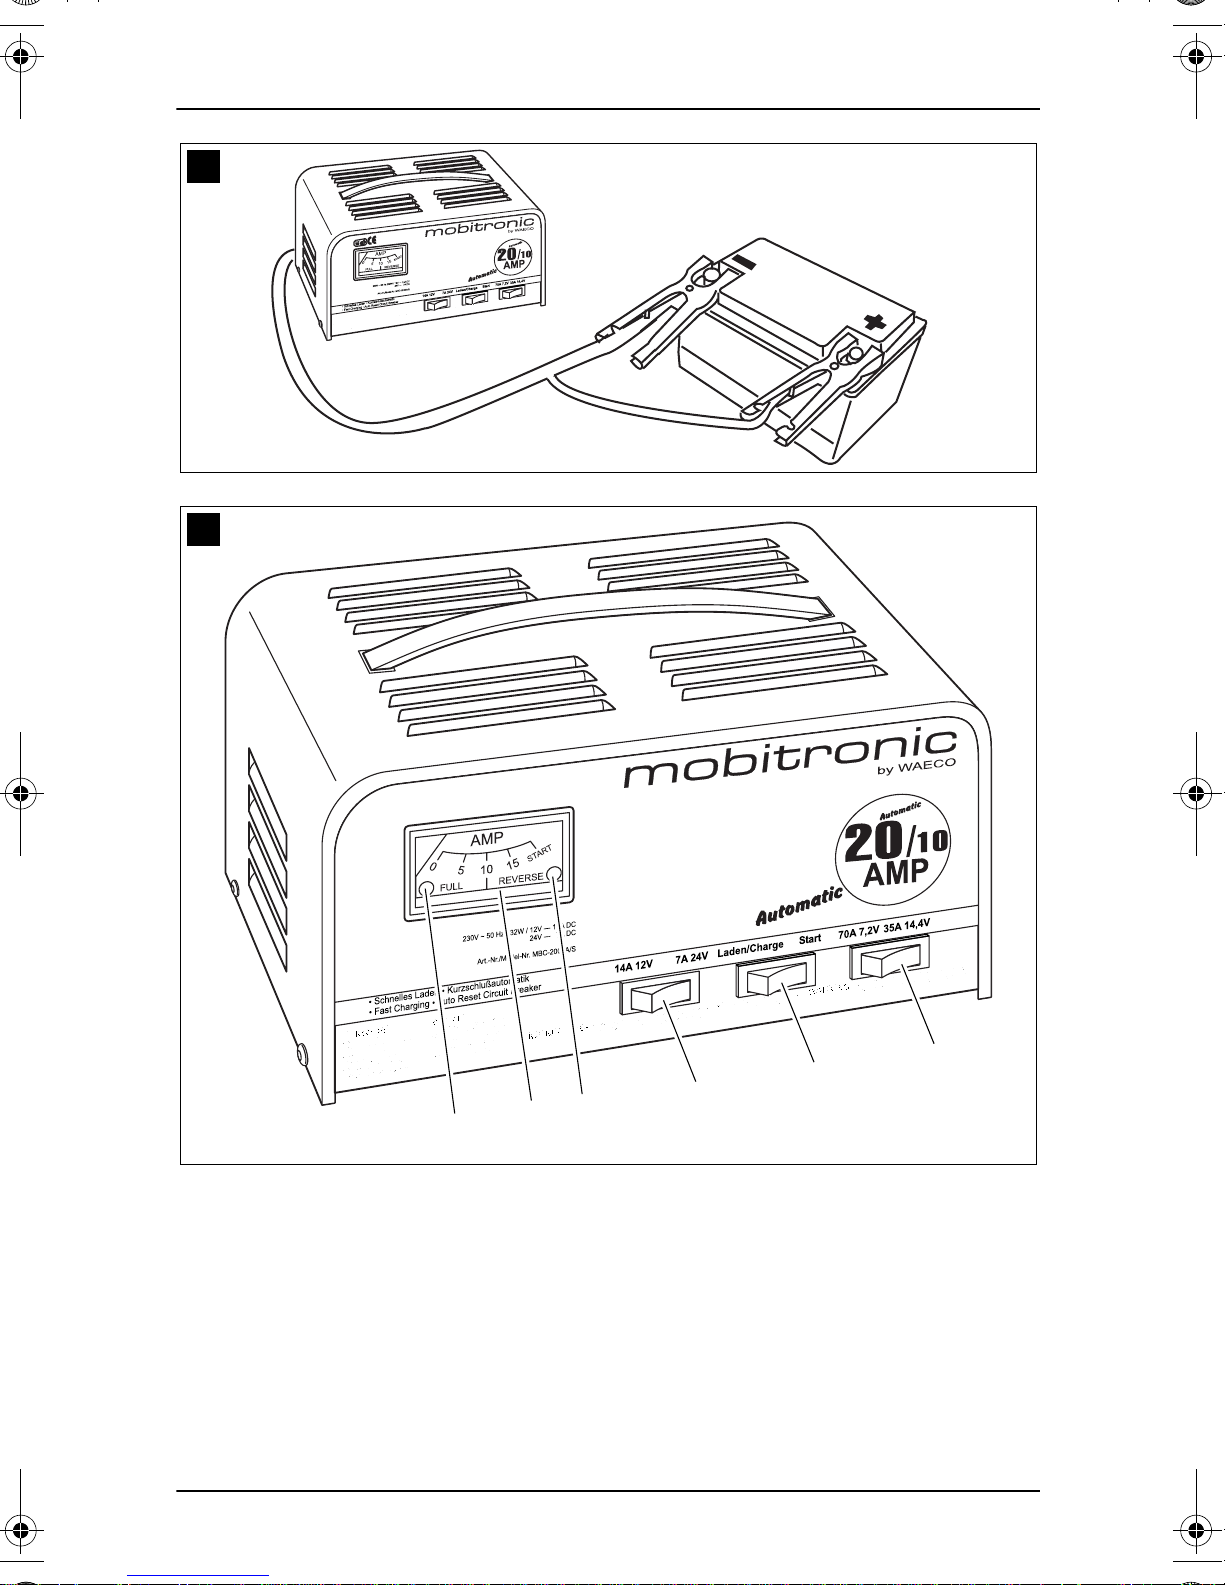
z Ammeter (Fig. 8 E, Page 3):
When charging, the ammeter indicates the actual charging current. When
jump-starting, the indicator points to “Start”.
z Green “Full” LED (Fig. 8 F, Page 3):
This LED is integrated in the ammeter and illuminates when the battery is
completely charged. This is the case when the final charge voltage has
been reached.
z Red “Reverse” LED (Fig. 8 D, Page 3):
This LED is integrated in the ammeter and illuminates when you connect
the battery clamps to the incorrect poles.
In that case, correct the connections.
Page 9
battery charger Using the battery charger
9
5 Using the battery charger
You can use the battery charger either to charge dead batteries or to jumpstart vehicles with dead batteries.
5.1 Charging batteries
➤ Before charging, isolate the vehicle battery from the vehicle’s electrical
system so that the system cannot be damaged.
➤ First unclamp the negative pole, then the positive pole.
Please note that when you unclamp the battery, all temporary
memories of the vehicle’s electronic systems lose their saved
data.
The following data needs to be re-entered when you re-clamp the charged
battery.
z Radio code
z Vehicle clock
z Timer
z On-board computer
z Seat positions, etc.
You can find information on re-entering this data in your vehicle’s user manual.
When situating the battery charger, make sure it is secure and
cannot tip over. Never subject the mains lines and connection
lines to the battery to physical strain, creasing or sharp edges.
Prepare the battery as follows for lead starter batteries:
➤ Unscrew the sealing caps of each battery cell as far as possible.
Warning!
Make sure to avoid contact with the battery fluid!
Page 10
Using the battery charger battery charger
10
➤ Check the level of the battery fluid.
If the fluid is below the minimum level in one or more cells, add distilled
water until the fill mark is reached.
Never use normal tap water.
➤ During the entire charging procedure, leave the cells open so that any
gases produced can dissipate.
Clamping the battery charger
➤ Make sure that the device is not connected to the 240-V mains connec-
tion.
➤ Set the B switch (Fig. 8, page 3) to “Laden/Charge”.
➤ Determine whether you are charging a 12-V or 24-V battery.
➤ Set the C switch (Fig. 8, page 3)
– to “14 A/12 V” for a 12-V battery
– to “8 A/24 V” for a 24-V battery
➤ Connect the red plus clamp of the battery charger to the positive pole (+)
of the battery (see Fig. 6, page 2).
When connected as normal, the positive pole is not connected
with the vehicle body.
➤ Connect the black minus clamp of the battery charger to the negative pole
(-) of the battery (see Fig. 7, page 3).
When connected as normal, the negative pole is connected with
the vehicle body.
➤ Now plug the mains plug into an earthed and properly fuse-protected
240-V mains socket.
If you are uncertain, consult a specialist.
✓ The battery is then charged.
Depending on the charge level and battery type, it can take up to 20 hours
to completely charge the battery.
✓ The ammeter displays the actual charging current.
Page 11
battery charger Using the battery charger
11
✓ The green LED illuminates when the charging procedure is completed
and the battery is recharged (Fig. 8 F, Page 3).
The device switches to idle mode.
Unclamping the battery charger
Caution!
When unclamping the battery charger, make sure not to cause a
short-circuit.
➤ When the charging procedure is finished, pull the 240-V mains plug from
the socket.
➤ Unclamp the black minus clamp of the battery charger.
➤ Unclamp the red plus clamp of the battery charger.
Warning!
Make sure to avoid contact with the battery fluid!
➤ Check the fluid level of the battery cells.
If the fluid is below the minimum level in one or more cells, add distilled
water until the fill mark is reached.
Never use normal tap water.
➤ Close any opened sealing caps of the battery cells.
➤ Re-clamp the battery to the vehicle system.
➤ Lubricate the battery poles with a bit of terminal grease to protect them
against corrosion.
5.2 Providing jump starts
Connect the battery as follows:
➤ Make sure that the device is not connected to the 240-V mains connec-
tion.
➤ Set the B switch (Fig. 8, page 3) to “Start”.
➤ Connect the red plus clamp of the battery charger to the positive pole (+)
of the battery (see Fig. 6, page 2).
Page 12
Using the battery charger battery charger
12
➤ Connect the black minus clamp of the battery charger to the negative pole
(-) of the battery (see Fig. 7, page 3).
➤ Now plug the mains plug into an earthed and properly fuse-protected
240-V mains socket.
If you are uncertain, consult a specialist.
✓ The ammeter (Fig. 8 E, Page 3) points to “Start”.
➤ Determine whether you are starting a vehicle with a 12-V or 24-V battery.
➤ Set the A switch (Fig. 8, page 3) to
– 12-V battery
– 24-V battery
✓ You can now start the vehicle.
Unclamping the battery charger
Caution!
When unclamping the battery charger, make sure not to cause a
short-circuit.
➤ When the starting procedure is finished, pull the 240-V mains plug from
the socket.
➤ Unclamp the black minus clamp of the battery charger.
➤ Unclamp the red plus clamp of the battery charger.
Page 13
battery charger Maintaining and cleaning the battery charger
13
6 Maintaining and cleaning the battery
charger
Caution!
Do not use any hard or abrasive materials to clean the charger,
since they can damage the device.
➤ Clean the battery charger occasionally with a damp cloth.
7 Troubleshooting
If you have any detailed questions regarding the battery data,
please consult the battery manufacturer.
After you connect and start the battery charger, the battery voltage
does not rise
➤ Use a suitable multimeter during charging to determine whether the volt-
age is rising at the battery clamps.
➤ Check whether the clamps have unimpeded contact with the battery
poles.
➤ Clean the battery poles if necessary.
The battery is not completely charged after approximately 20 hours of
charging
➤ Isolate the battery charger from the power mains.
➤ Remove the charging clamps from the battery and wait a few minutes.
➤ Use a suitable multimeter to measure the voltage at the battery clamps.
12-V battery
If the multimeter displays a voltage of 10 V or less, it means that the battery
is defective and cannot be further charged.
➤ Have the battery checked by a specialist, or dispose of it if necessary.
Page 14

Troubleshooting battery charger
14
24-V battery
The multimeter displays a voltage of 20 V or less.
➤ Make sure that the C switch (Fig. 8, page 3) is set to “8 A/24 V”.
If the switch is properly set, it means that the battery is defective and cannot
be further charged.
➤ Have the battery checked by a specialist, or dispose of it if necessary.
The battery dies again after a short time without being used
➤ Use a suitable multimeter to measure the voltage at the battery clamps.
If the multimeter indicates a voltage below 12 V for a 12-V battery or below
24 V for a 24-V battery, the battery is too weak to hold the charge.
➤ Have the battery checked by a specialist, or dispose of it if necessary.
The jump-start attempt fails.
➤ First charge the battery for approximately ten minutes.
➤ Repeat the jump-start attempt.
Page 15

battery charger Disposal
15
8 Disposal
8.1 Disposing of packaging material
Do not simply throw the packaging material away. Please observe the following instructions:
z The cardboard packaging material should be disposed of with other waste
paper.
z Plastic packaging material should be added to other recyclable waste.
z Ask your local authority for the location of the recycling unit closest to you.
8.2 Disposing of the device
If you wish to ultimately dispose of the battery charger, take it to the nearest
recycling centre or return it to your specialist dealer who will be happy to take
it back for a small fee.
8.3 Disposing of the battery
Protect the environment!
Defective batteries do not belong with the household rubbish.
Please take your used or defective batteries to a dealer or suitable collection
centre.
Page 16

Technical data battery charger
16
9 Technical data
This device conforms to the following EC guidelines:
z “Low Voltage Electrical Equipment Directive” 73/23/EEC issued 19/2/
1973 including the modified guideline 93/68/EEC
z “Electromagnetic Compatibilty Directive” 89/336/EEC issued 3/5/1989
including the modified guideline 92/31/EEC
DIN ISO 9001 is applied at WAECO International.
The device carries the GS symbol for tested safety.
Input voltage 240 V AC
Rated battery voltage 12 V DC 24 V DC
Activation / deactivation voltage 12.7/14.4 V 25.8/28.8 V
Charging voltage 14.4 V 28.8 V
Maximum charging current 14 A 8 A
Maximum jump-starting current 70 A 35 A
Ammeter display range 20 A
Suitable for battery capacitance 40 – 120 Ah
Weight 6.97 kg
Dimensions (W x H x D) 265 mm x 145 mm x 200 mm
Testing/certification
Page 17

12/2003
Ausführungen, dem technischen Fortschritt dienende
Änderungen und Liefermöglichkeiten vorbehalten.
WAECO International GmbH · D-48282 Emsdetten
Hollefeldstraße 63 · phone +49-25 72/8 79-0 · fax +49 -25 72/8 79-3 00
E-mail: [email protected]
WAECO Queensland (Head Office)
21 Taree Street
WEST BURLEIGH QLD 4220
Ph: (07) 5507 6000 Fax: (07) 5522 1003
Internet: www.waeco.com
Headquarters
 Loading...