

MobilitySmart MS23055 Maintance Manual
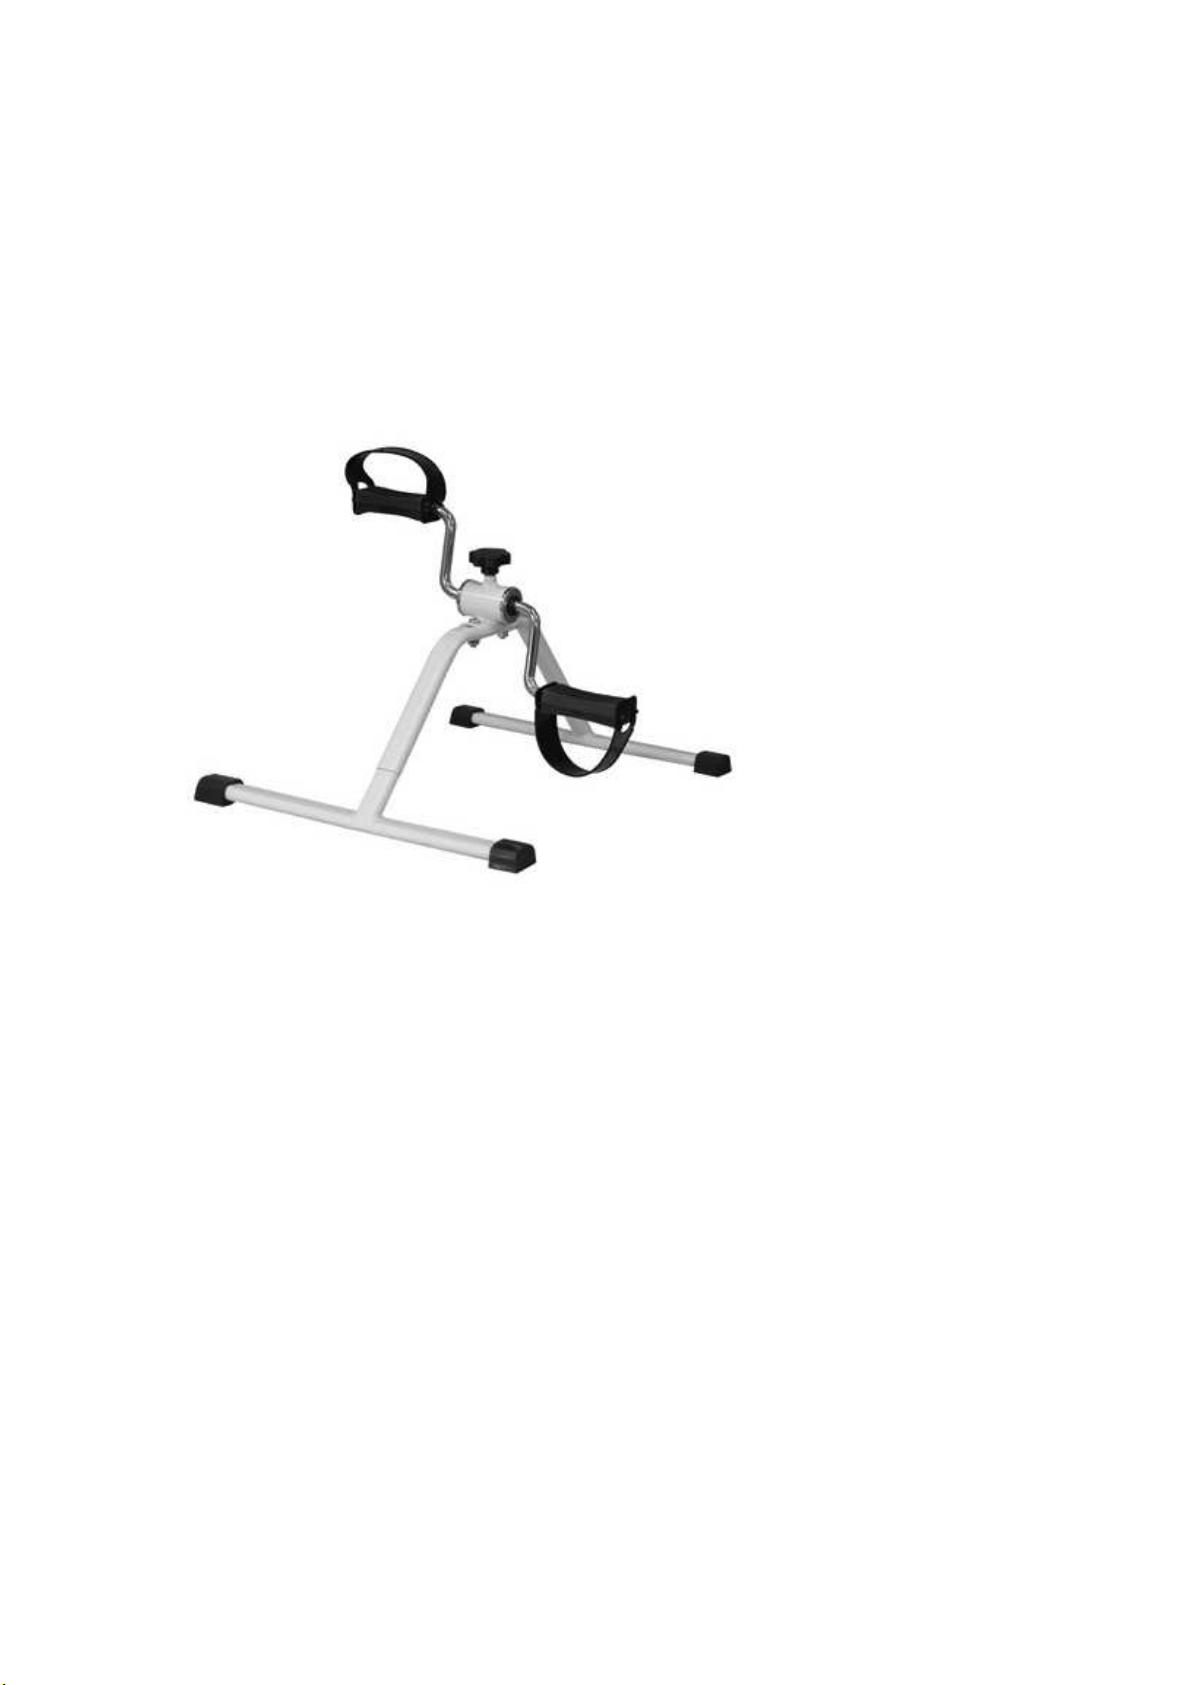
Pedal Exerciser
Usage and Maintenance Instructions

INTRODUCTION
Thank you for deciding to purchase the Pedal Exerciser. The Pedal
Exerciser is manufactured from the finest materials and components available,
when used correctly it is designed to give many years of reliable trouble-free
service.
BEFORE USE
Carefully remove all packaging. Avoid using any knives or other sharp
instruments as this may damage the surface of the product.
Check the product for any visible damage If you see any damage or
suspect a fault, do not use your product, but contact your supplier for
support.
INTENDED USE
The Pedal Exerciser enables both upper and lower body exercise from a seated
position, pedals can be moved forward or backwards and the resistance can be
adjusted with the top adjusting knob.
ASSEMBLY INSTRUCTIONS
1. Attach the feet to the main body as follows (Fig. 1):
a. Slide the narrow tube on the foot inside the tube of the main
body.
b. Attach with the screws provided, placing a washer under each
screw head.
c. Tighten with the Allen key provided.
2. Attach the pedal assembly to the main body as follows (Fig. 2):
a. Align the holes in the pedal assembly with the holes in the main
body.
b. Place the screw through the hole, and attach a nut to the screw.
c. Tighten the nut using the Allen key provided to hold the screw,
and the spanner provided to hold the nut.
d. Note that the nut is fitted with a nylon insert to prevent it from
coming loose, so some force will be required to tighten it.
 Loading...