

Mobi-click Compact IIP+A1 User Manual
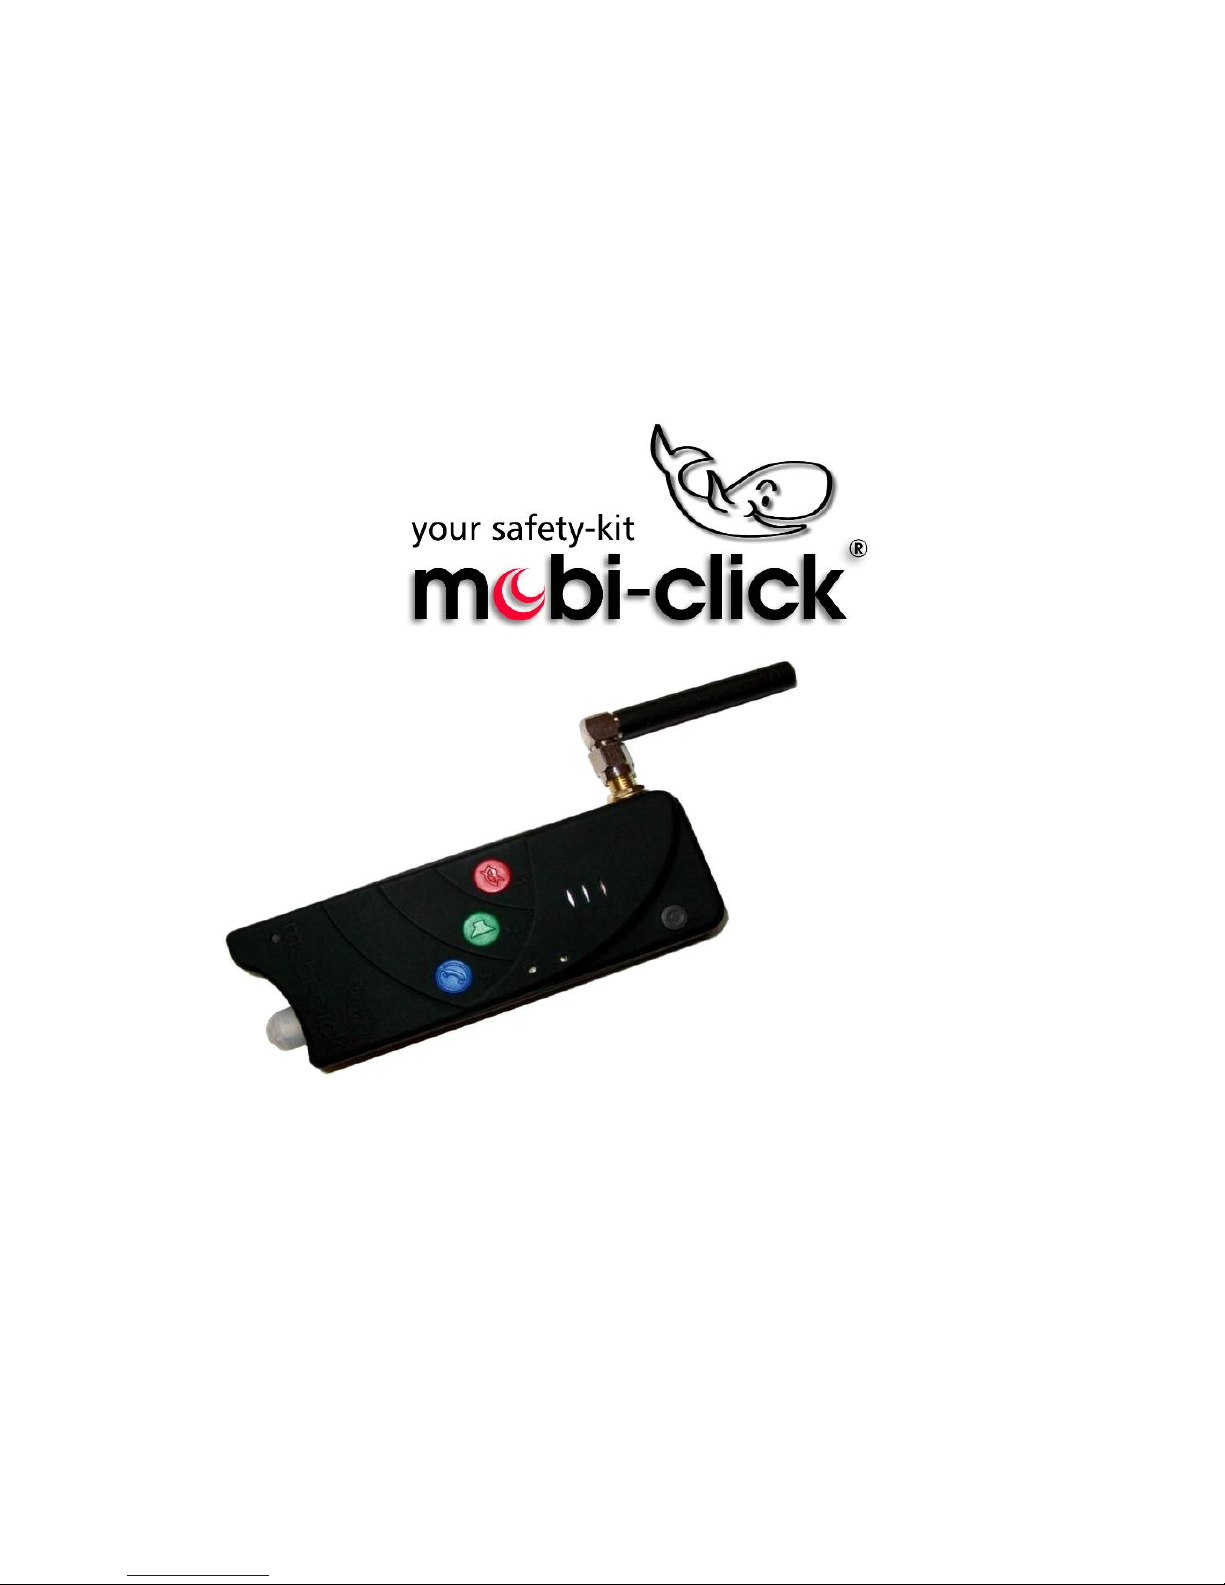
Compact IIP+A1
Ver. 1.9xP
User manual
www.mobi-click.com
20.03.2015

Contents
Product description:
General information about the Mobi-Click Compact IIP+A 4
Usage of the Compact IIP+A at home 6
First actions with the device:
Important information 7
Good to know! 9
Change the PIN-code 11
Switching on and off of the device 13
Mobile phone, emergency and alarm system at the same time! 15
Compact IIP+A as a mobile phone:
Saving of the three phone numbers 17
Volumes and ring tones 19
Keypad lock and unlock 20
My first phone call with Compact IIP+A 21
Sending SMS messages with Compact IIP+A 23
Compact IIP+A as an alarm system:
Usage of the Compact IIP+A as an alarm system 25
Saving of personal alarm messages 26
Usage of the Compact IIP+A as an alarm system in diagnose mode 27
Changing of time and date 28
How will I be informed in case of an alarm? 29
I am well! 32
Security zone and localization of people or objects 33
What should I do in case of an alarm? 35
2
Functions of different sensors:
Which sensors should I choose in alarm situations? 37
How do I set the sensitivity of sensors? 38
How can I detect the disappearing of vibrations? 39
Warning actions of the device in case of vibrations 40
How can I connect external sensors? 41
Additional features of the device:
PIN-code – how to protect against outside access? 42
How can I control external device? 43
How can I operate external device? 44
How can I monitor temperature variation? 45
How can I change the quantity of alarm notifications and time? 46
How can I change the duration of eavesdropping? 47
How can I activate the alarm at a definite time? 48
How can I programme the monitoring time, when the time starts 49
after midnight?
Return to factory settings 50
How can I test, if everything is set correctly? 51
Further product information:
Safety information 52
Technical Data 53
Declaration of Conformity 54
3

4
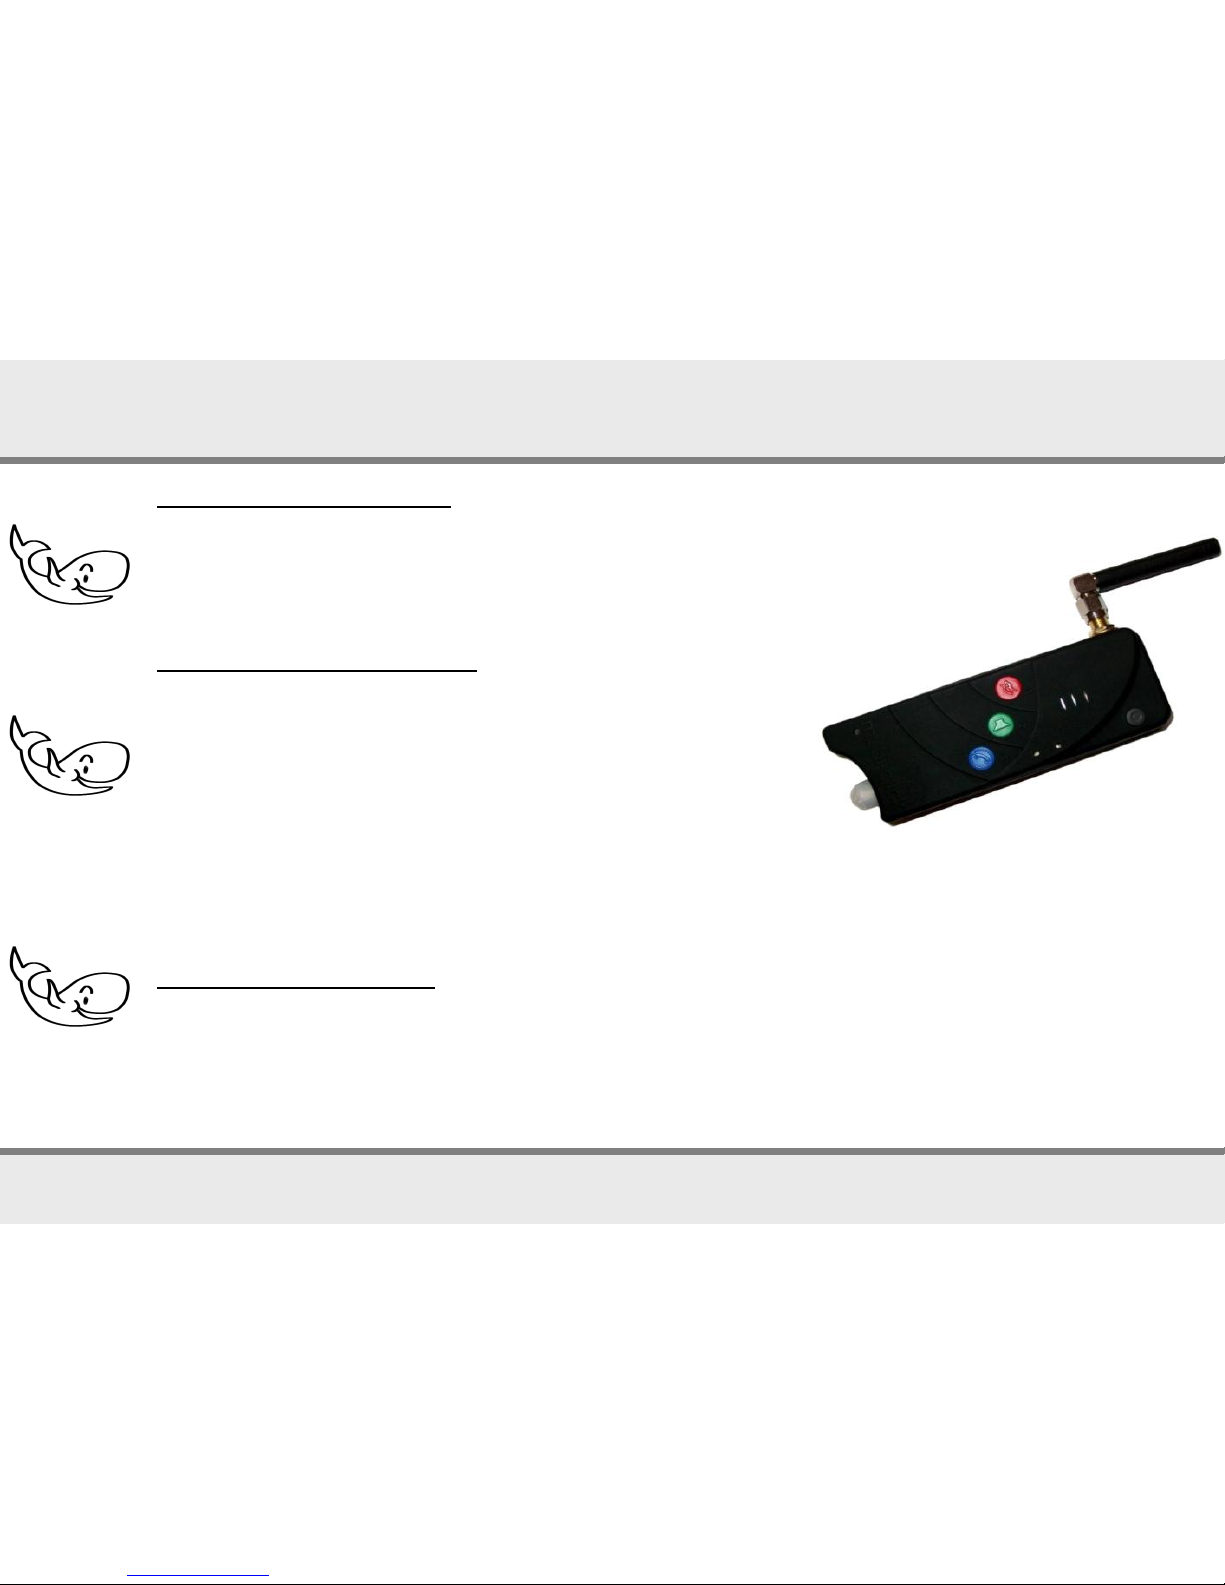
Compact IIP+A works nearly like a usual mobile phone, just much more easier!
You can receive any calls and call three pre-programmed phone numbers directly.
1. Alarm system
As an alarm system it protects you in various situations:
Burglary:
With Compact IIP+A you can protect your vehicle against theft or your apartment, your house or your office
against burglary. In case of alarm you are going to receive up to six SMS or phone calls on your preprogrammed numbers. You have the possibility to contact undetected Compact IIP+A from any phone and
so listen in the room quietly (see page 36, HEAR and page 46).
You can set many different, individual functions to protect better moving objects (as cars, motorbikes, etc.).
You can also protect your Compact IIP+A with a PIN-code, so that only you or any allowed person can
communicate with Compact IIP+A quietly.
2. Temperature monitoring
Compact IIP+A is suitable also for temperature monitoring in server rooms, computer rooms, weekend
cottage, data processing centre etc.. The temperature range of the sensor is from -40ºC to +100ºC. If the
minimum value or maximum value is exceeded, Compact IIP+A will send an alarm message to all the saved
phone numbers. After reception of an alarm message you can send an SMS command SET (space) RELAIS
and switch by use of our output relays cable (R-115) air condition or other systems on or off. It is also
possible to use our external cable (Z 101-12) as input in the external contact. You can switch a system off
also by sending an SMS command SET (space) EXTERN. Besides you can control and monitor by use of this
monitoring and control system following real estates or systems e.g. holidays cottage, boats, heating
systems, air conditions and solar systems.
Product description
General information about the Mobi-Click Compact IIP+A
55
Product description
General information about the Mobi-Click Compact IIP+A
3. Time switch
Compact IIP+A has a time switch. Thank to this time switch you can programme
alarm times for the whole week before (see page 47).
Compact IIP+A has an external contact. You can connect to this contact either the
Commander CO-116 or the external motion sensor PIR (Z 101-10) with a cable of 2
meters.
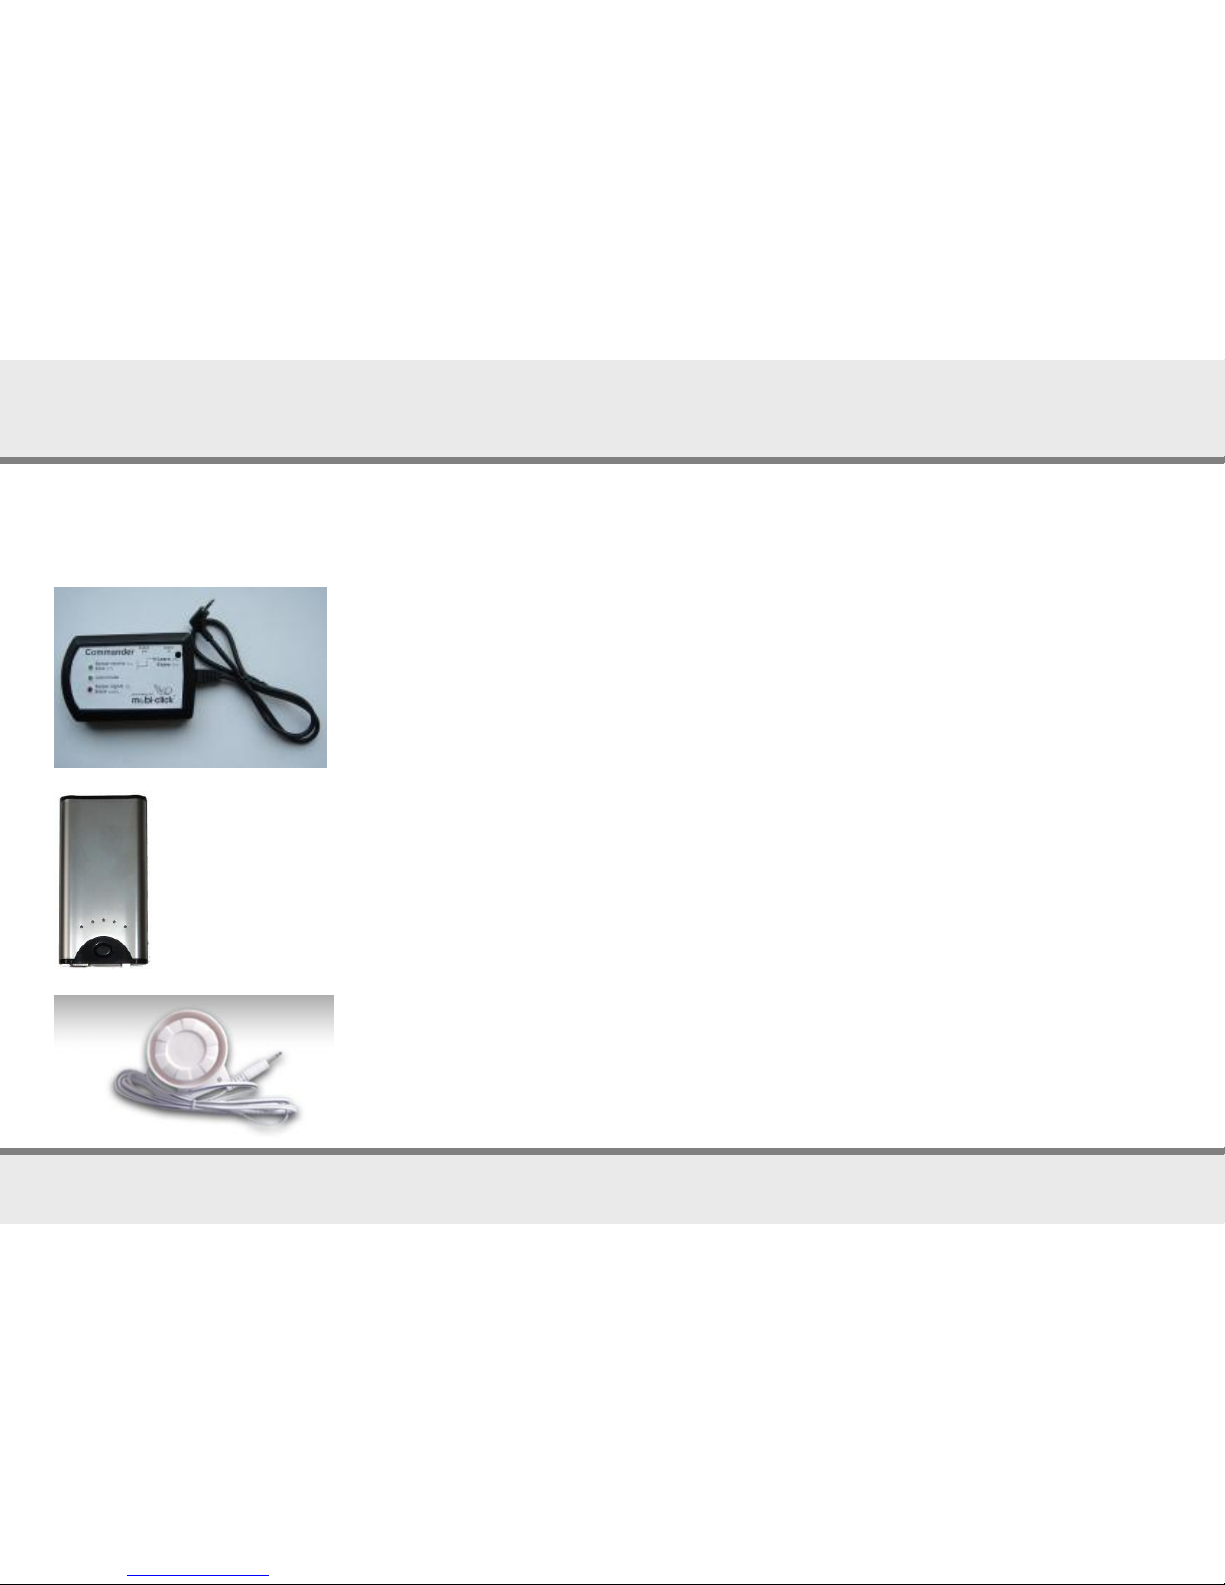
4. Commander (option)
By use of the Commander CO-116 you can connect further 10 radio sensors, e.g.
smoke detector, motion sensor, remote control, window or door contact, siren etc..
5. Battery Pack (option)
By use of our battery pack B-121 you can lengthen the standby time many times
over. Far from any socket you are always provided with electrical energy thanks to
our battery pack.
6. Siren (option)
Siren SI-126 is helpful, when it is necessary to discourage the burglar from his
intention or to force him to run away.

6
Product description
Usage of the Compact IIP+A at home
Burglary
With Compact IIP+A you can monitor your apartment, your house or office
Reliably. The motion sensor registers people, which move within a distance
of 5 meters. If a stranger enters the room, an alarm will be caused silently
immediately.
You choose, who will be informed per SMS or call in case of a burglary. Now
you can listen undetected in the room and make the necessary steps.
Range of application: apartment, house, holiday house/apartment, camper,
office, repair shop, atelier, shop, restaurant, garage, etc.
Right placement
The Compact IIP+A has a monitoring radius of approx. 5 meters with an
angle of approx. 80°. To ensure best coverage for monitoring, place the
Compact IIP+A in a corner, preferably facing a door. Do not face the
Compact IIP+A at a window, as movement outside the window can cause
a false alarm.
Attention! In order to ensure the most effective monitoring possible over
the greatest area, position the Compact IIP+A in a place that allows
common access to all rooms (e.g. hallway, stairway, etc.).
7
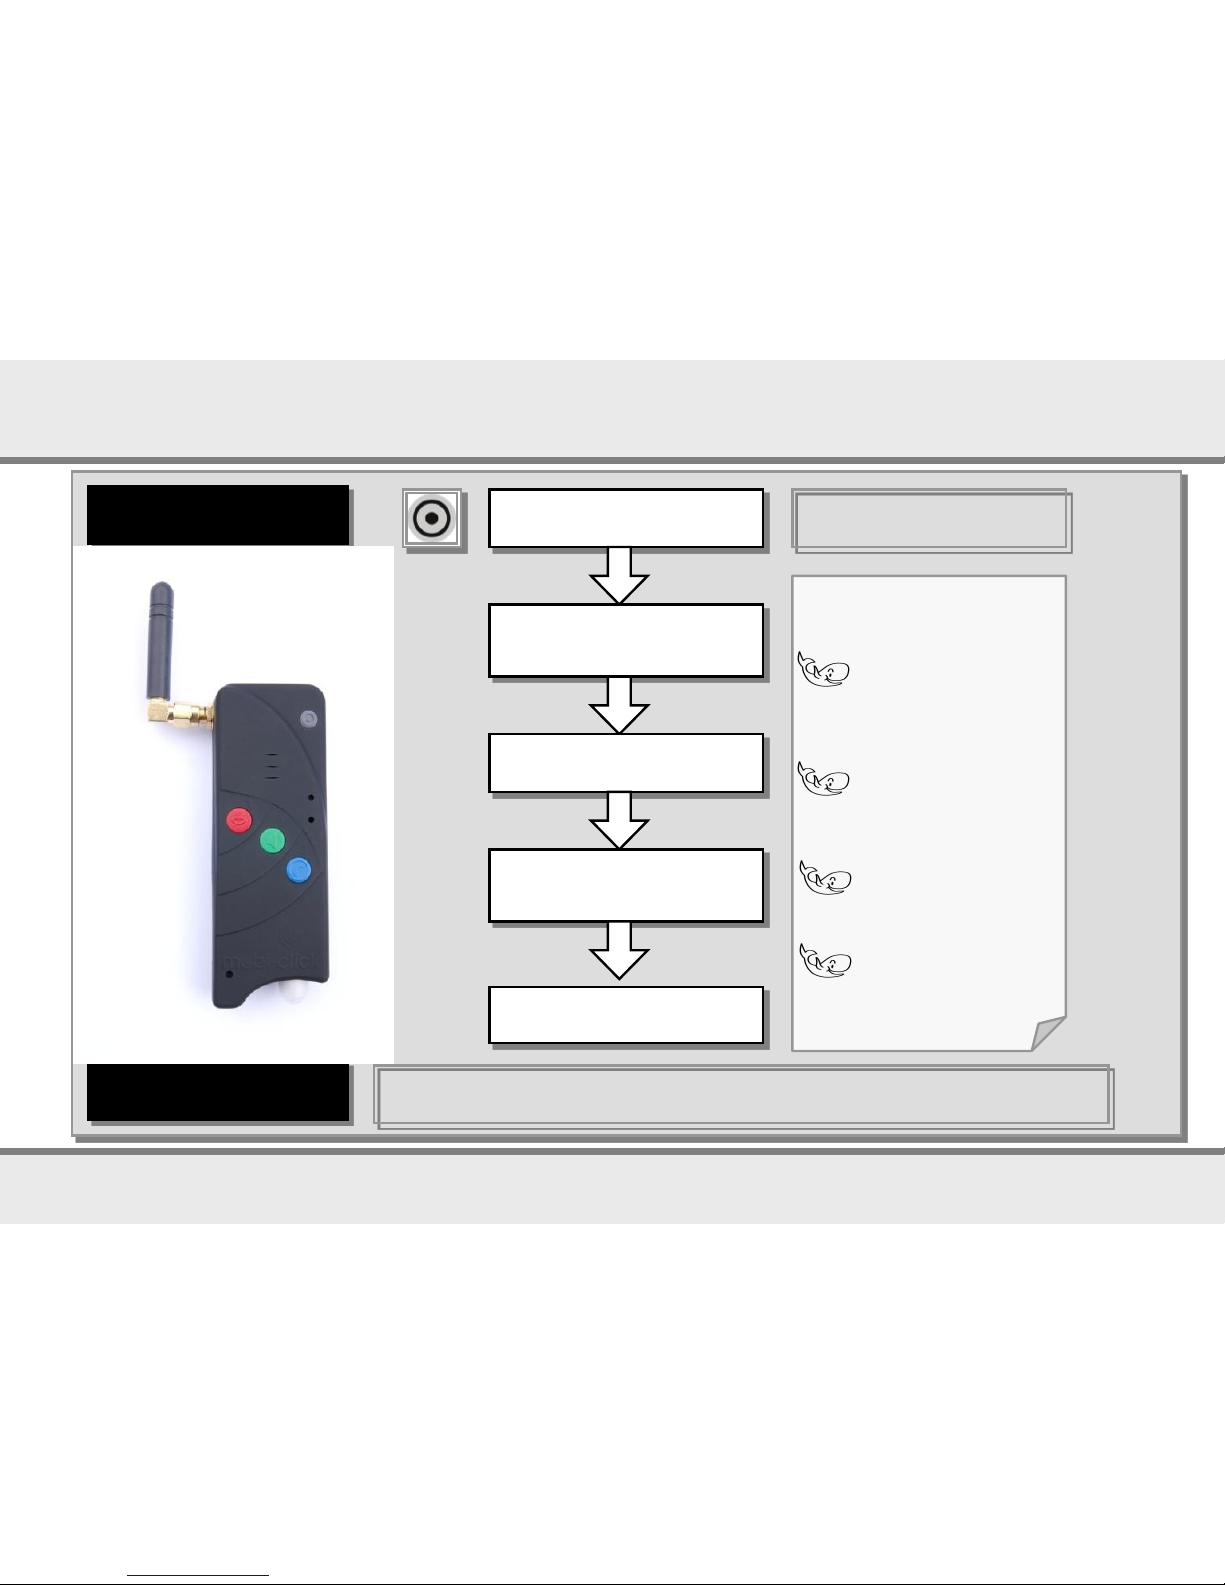
First actions with the device
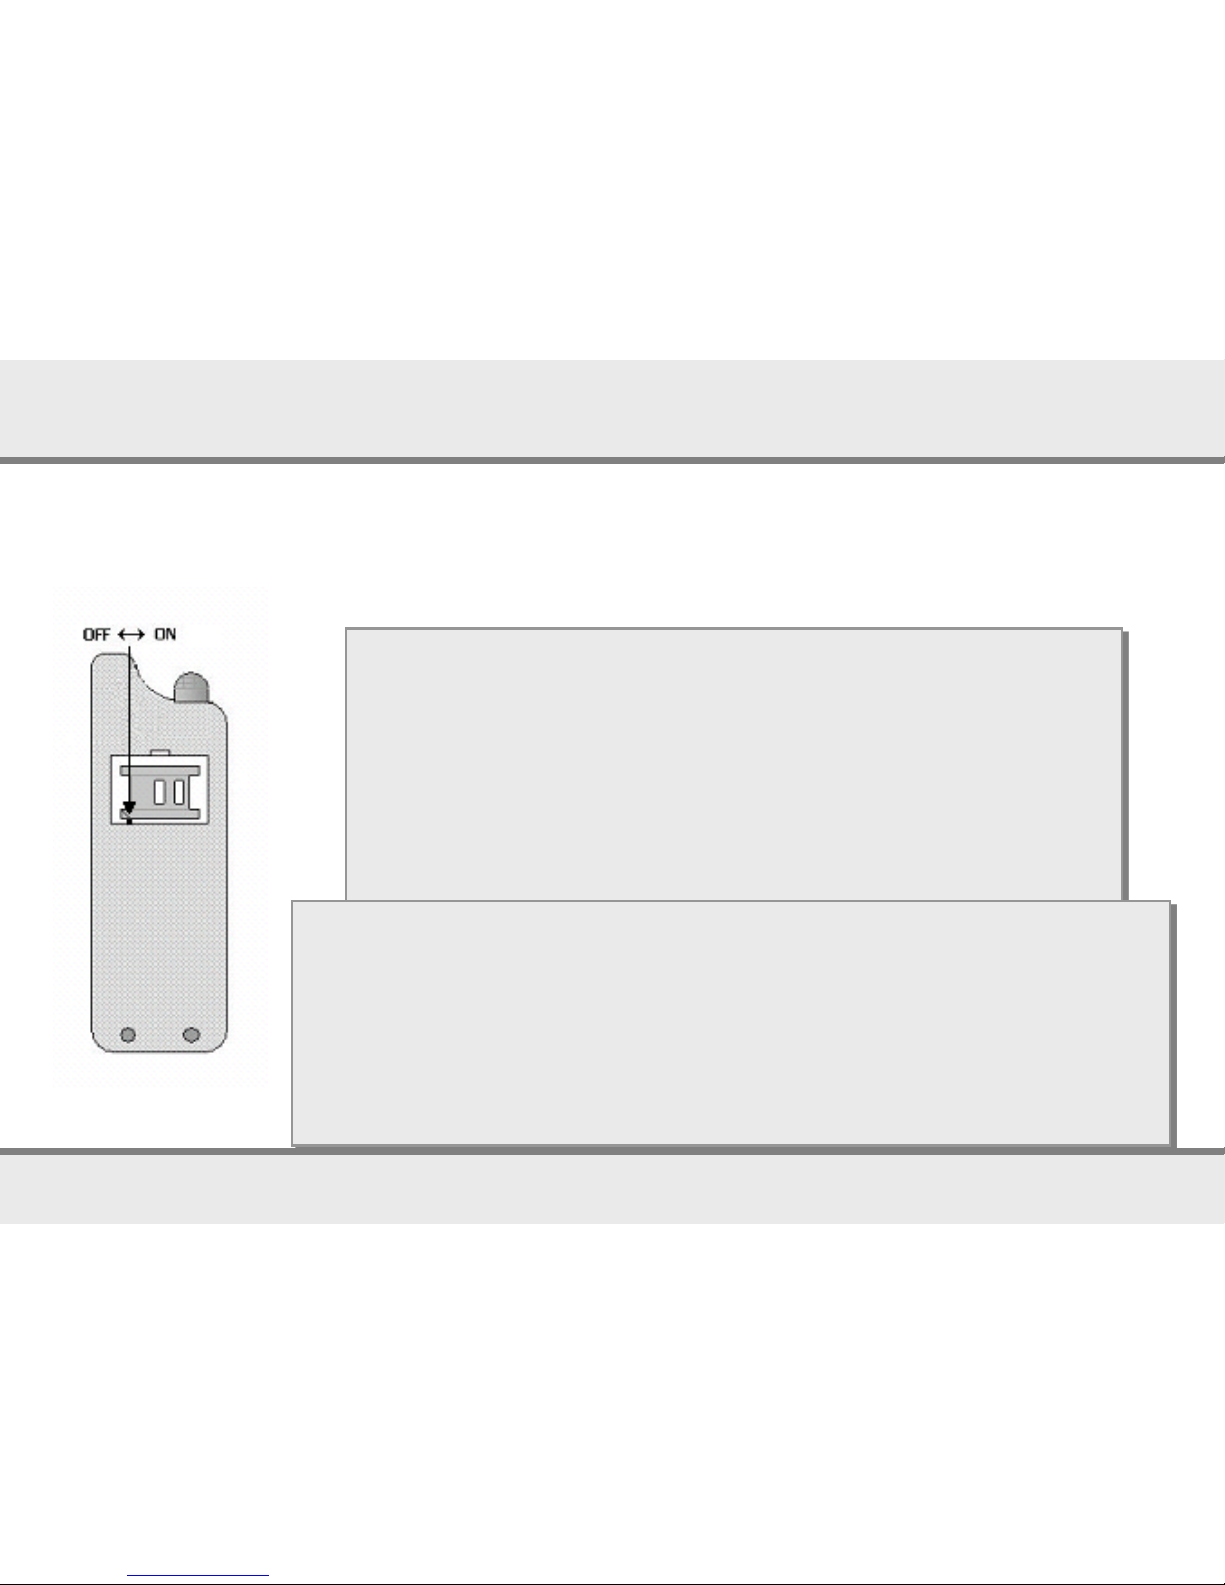
Important information
First steps before using the Compact IIP+A
Compact IIP+A possesses an integrated circuit for the protection of the battery from
over and under charging as well as from short-circuit. This protective circuit is activated
with a small slide switch (see design). Ensure that the small slide switch is in ON position.
The device is working only, when the slide switch is moved to ON.
View of the Compact IIP+A
from the rear:
To set the Compact II P in operation (if necessary):
Open the rear cover
Open the SIM-card caddy
Using a pointed tool, move the slide switch to the ON position
Insert the SIM-card
Close the SIM-card caddy
Close the rear cover
Connect the battery charger
A beep signal indicates that the device has successfully started
RESET:
Important information: How to RESET device with rear slide switch
Open the rear cover
Using a pointed tool, move the slide switch to the OFF position for min. 20 sec.
Move the slide switch back to the ON position
Connect operating charger to Compact IIP+A for about 20 sec. (green LED
should light and beep signal will be heard)
After charger disconnecting device is successfully RESET

8
Important information:
1. Leave the Compact IIP+A connected to the battery charger for a minimum of 40 minutes to ensure
that the battery is fully charged.
2. When switching on the Compact IIP+A (with the ON/OFF key) the battery charger can be
disconnected. Once Compact IIP+A is switched on, the battery charger can be connected or
disconnected as required, or be permanently connected. This way a temporally unlimited working time
of Compact IIP+A can be guaranteed (e.g. monitoring during a vacation).
3. The Compact IIP+A allows the user a variety of programming options and adjustments of the device
functions to suit individual requirements of the user. If during the programming you did something
wrong and it seems nothing is going on anymore, it is possible to RESET Compact IIP+A by moving
the RESET switch (located under the rear cover) to the OFF position for a minimum of 5 seconds, and
then to ON again. This does not erase previous settings, but sets the Compact IIP+A ready to
receive new commands. Restart the Compact IIP+A after resetting.
4. When charger is connected to Compact IIP+A, battery will be kept charged all the time.
5. When charger is not connected and battery level falls under 20%, Compact IIP+A will send
LOW BATTERY ALARM only by SMS (see pages 30-31).
6. When Compact IIP+A doesn’t respond to any action (i.e. when it was unused for a long time),
please RESET the device with rear slide switch (see previous page) and apply full charging process.
First actions with the device
Important information
9
First actions with the device
Good to know!
Do not forget to put the spaces between the
single words/digits by writing every kind of
message. On the left please find an example
for SET KEY (see pages 18/19).
Do not forget to put always international
prefixes (e.g. Switzerland: +41)
You can use capital or small letters.
Every new command deletes the old one!
for example:
SET KEY
+41791234567
+41781112345
+41762223344
10
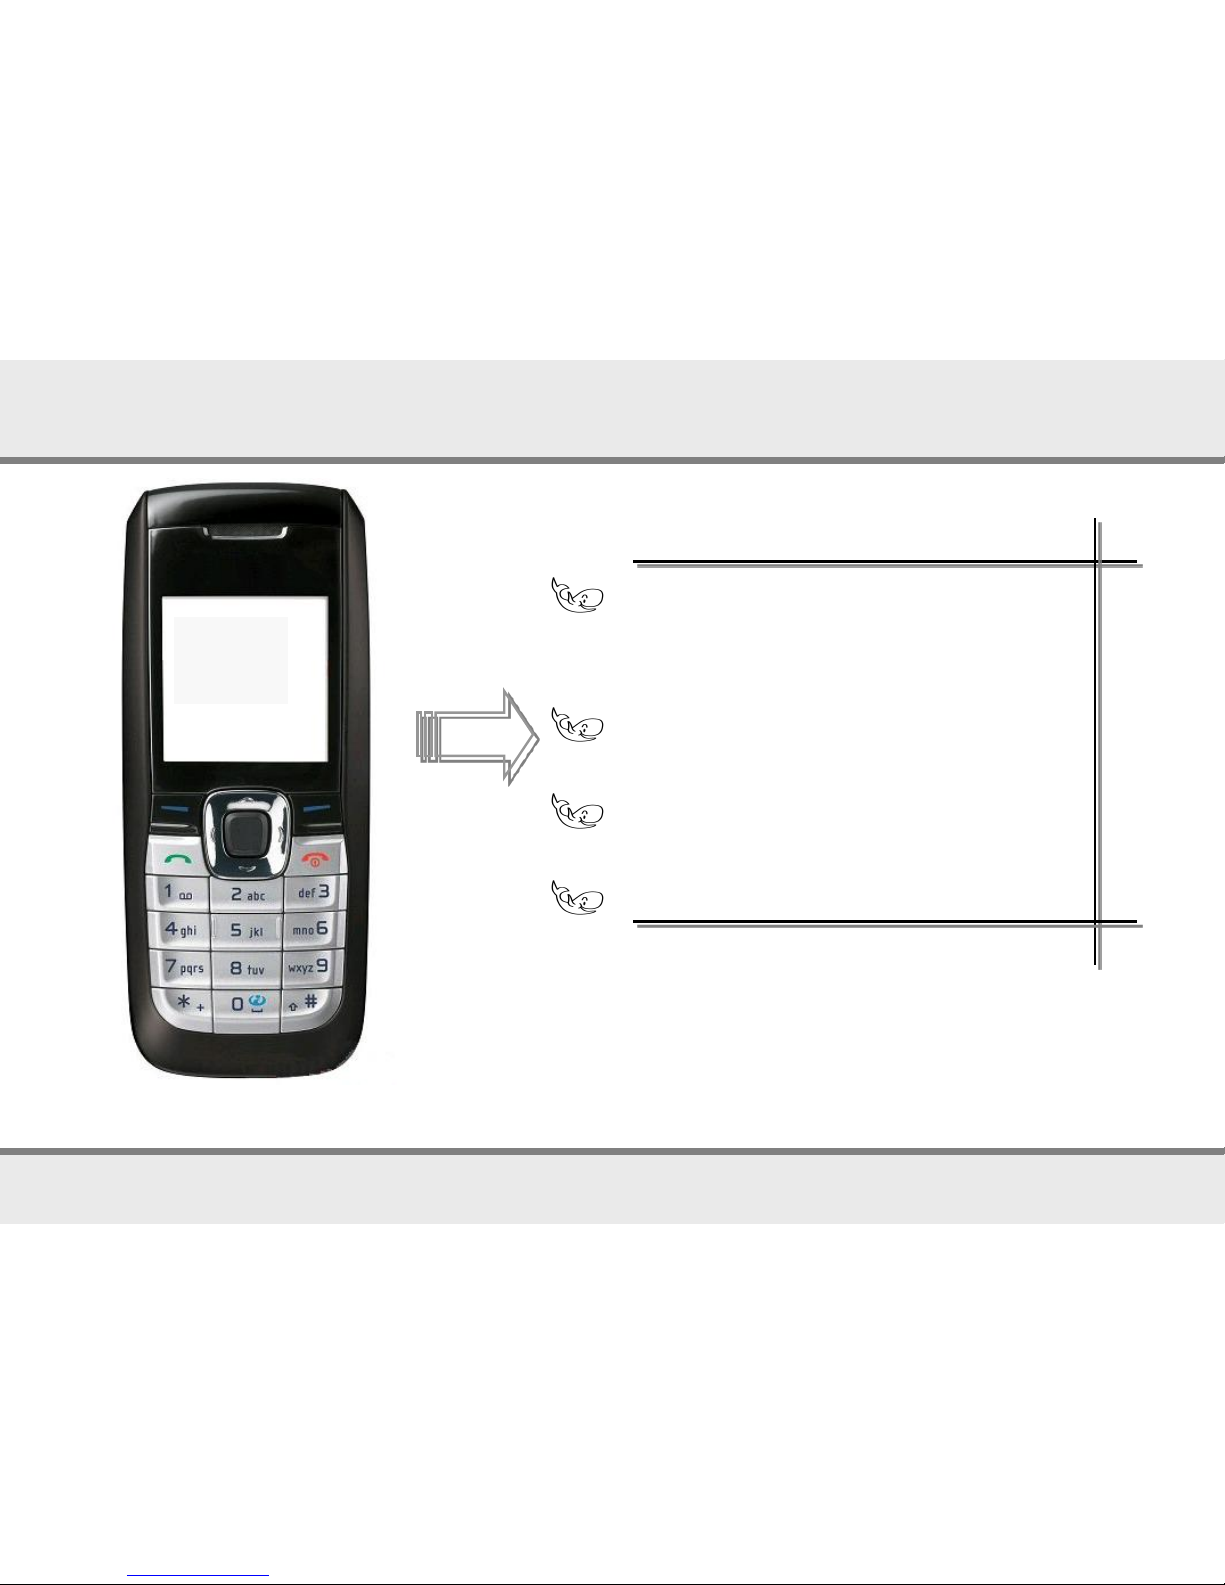
SMS commands consist of 2 words:
1. word: what do I want to do?
SET = switch on
RESET = switch off
TEST = test
2. word: determine situation or sensors
AUTO = vibration sensor - car monitoring
HOME = motion sensor - room monitoring
BABY = noise sensor - baby phone
We will explain further commands in detail gradually.
for example:
RESET AUTO
First actions with the device
Good to know!
11
First actions with the device
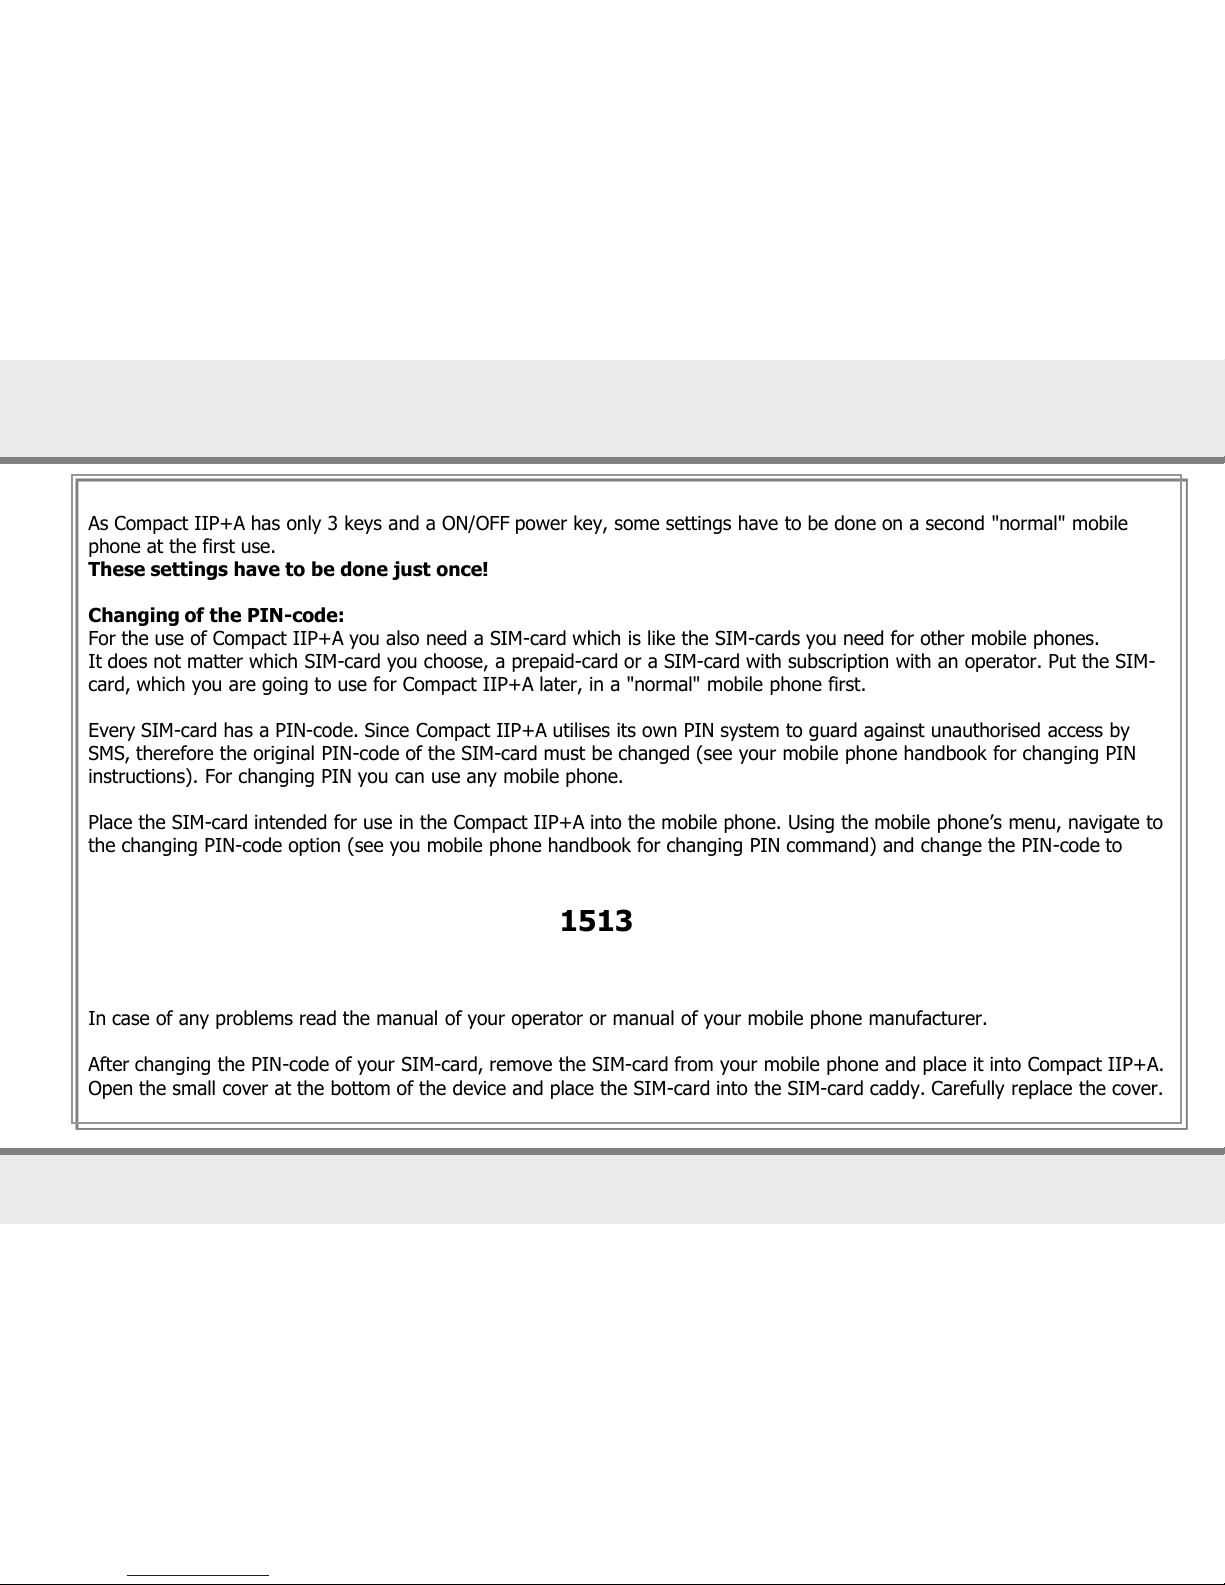
Change the PIN-code
As Compact IIP+A has only 3 keys and a ON/OFF power key, some settings have to be done on a second "normal" mobile
phone at the first use.
These settings have to be done just once!
Changing of the PIN-code:
For the use of Compact IIP+A you also need a SIM-card which is like the SIM-cards you need for other mobile phones.
It does not matter which SIM-card you choose, a prepaid-card or a SIM-card with subscription with an operator. Put the SIM-
card, which you are going to use for Compact IIP+A later, in a "normal" mobile phone first.
Every SIM-card has a PIN-code. Since Compact IIP+A utilises its own PIN system to guard against unauthorised access by
SMS, therefore the original PIN-code of the SIM-card must be changed (see your mobile phone handbook for changing PIN
instructions). For changing PIN you can use any mobile phone.
Place the SIM-card intended for use in the Compact IIP+A into the mobile phone. Using the mobile phone’s menu, navigate to
the changing PIN-code option (see you mobile phone handbook for changing PIN command) and change the PIN-code to
1513
In case of any problems read the manual of your operator or manual of your mobile phone manufacturer.
After changing the PIN-code of your SIM-card, remove the SIM-card from your mobile phone and place it into Compact IIP+A.
Open the small cover at the bottom of the device and place the SIM-card into the SIM-card caddy. Carefully replace the cover.
12
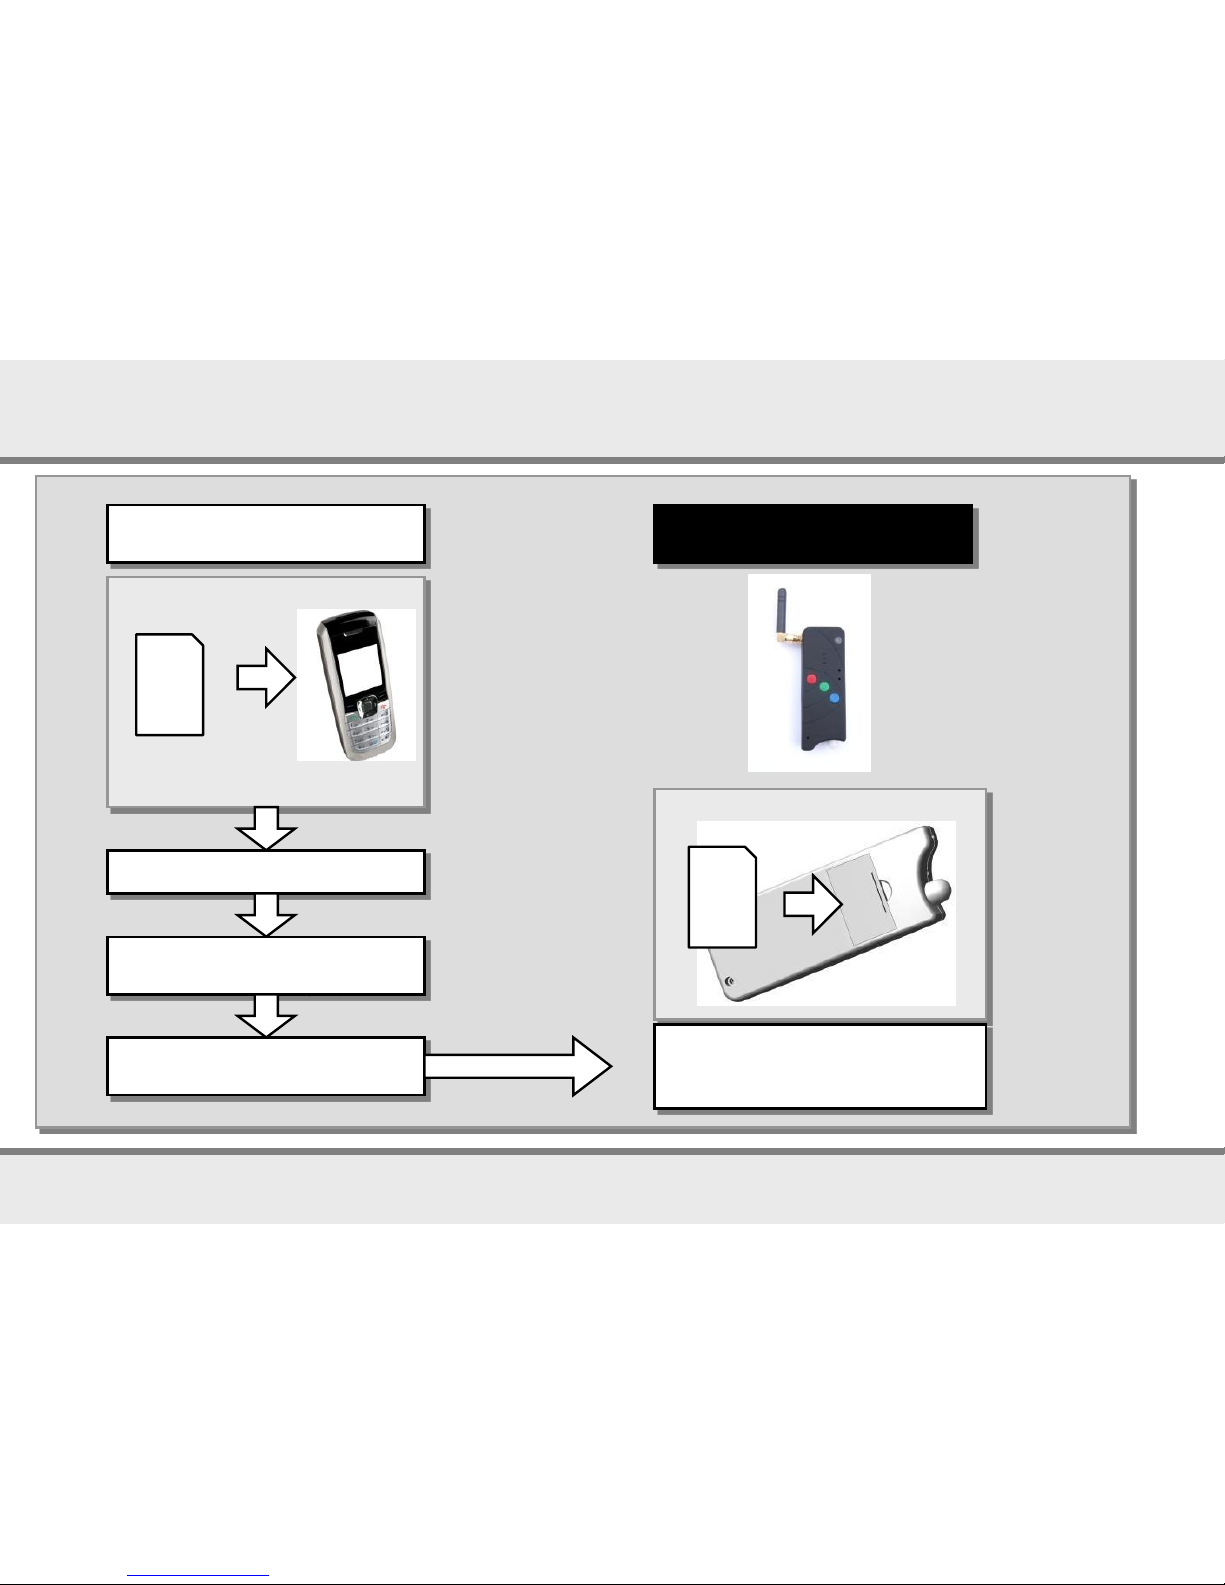
Put the new SIM-card into the
"normal" mobile phone.
SIM-
card
Enter the original PIN-code.
Change the PIN-code
(see previous page).
Take the SIM-card out
of the mobile phone again.
u
y
x
v
w
Ready to start!
Place SIM-card with the changed
PIN into Mobi-Click Compact
IIP+A.
SIM-
card
Bottom
Compact
IIP+A
13
First actions with the device
Switching on and off of the device
Ready for use!
Switch on
u
v
w
x
y
Press the ON/OFF key for
about 3 seconds.
Press the ON/OFF until beep.
Yellow LED blinks and green
LED is ON
(looking for network) .
When ready a single beep is
issued.
Status normal: only green LED
blinks.
The full initiation phone we
most wait (20 – 60 seconds).
Mobi-Click Compact IIP+A
works only if..
... it is switched on
and the battery
is loaded.
... the PIN-code of
the SIM-card has
been changed.
... the SIM-card is
put in correctly.
... a sufficient GSMreception is given.
Should the green LED not start to light, turn off the device using the ON/OFF key and check to ensure the
SIM-card has been inserted correctly. Also ensure that you are in good mobile phone network’s reception area.
14
1 Mobi-Click Compact IIP+A.
1 SIM-card.
1 mobile phone for changing the PIN-code of the SIM-card and
to program further functions.
Connect Compact IIP+A
Ensure the Compact IIP+A is turned OFF and connect the battery
charger to ensure that the battery is fully charged.You will hear a
short beep tone when the charging cycle begins.
Orange LED is blinking: the battery is not charged.
Switch on your device as described on the left page. An integrated
protection circuit is built into the Compact IIP+A to ensure that the
battery delivers optimal supply to the Compact IIP+A.
…there is no short beep and the green LED does not light?
Is the device switched on?
Does the battery have enough power?
Is the PIN-code changed and is the SIM-card inserted correctly?
Otherwise it is possible to RESET the Compact IIP+A (see page 8/9)
You need
What to do if…
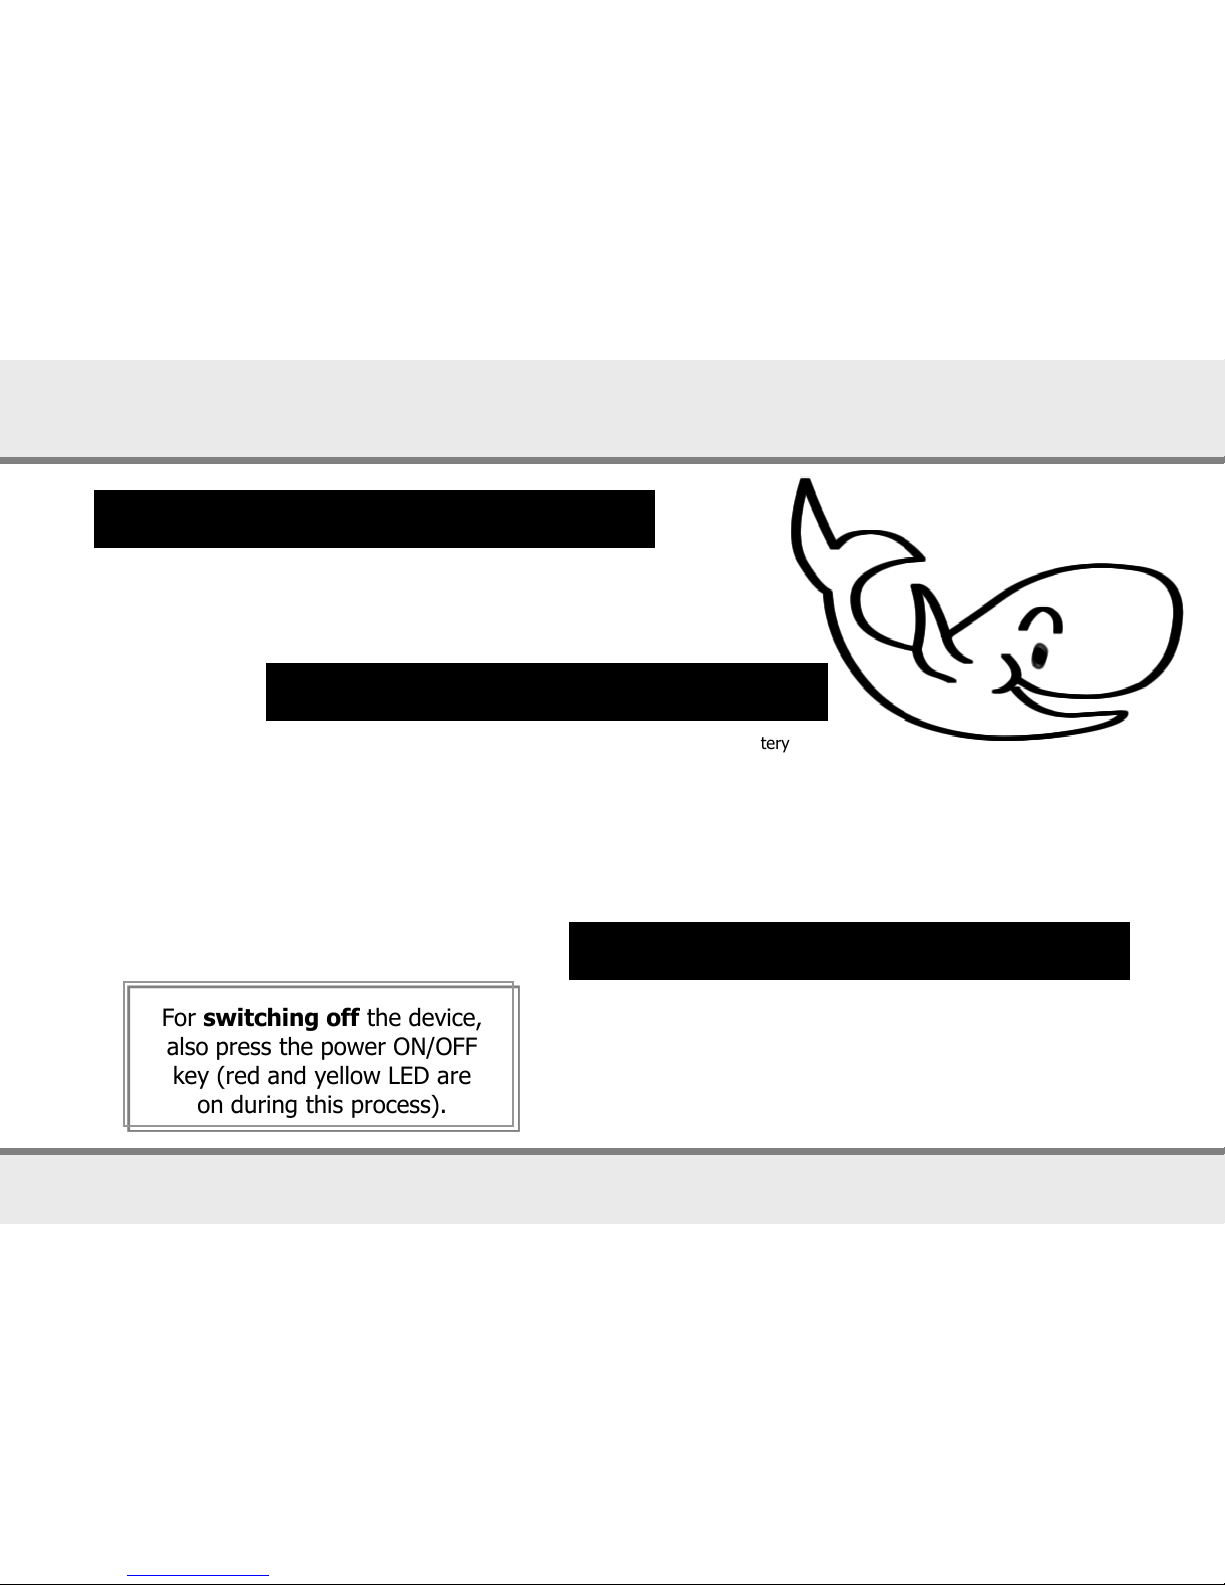
For switching off the device,
also press the power ON/OFF
key (red and yellow LED are
on during this process).
15
First actions with the device
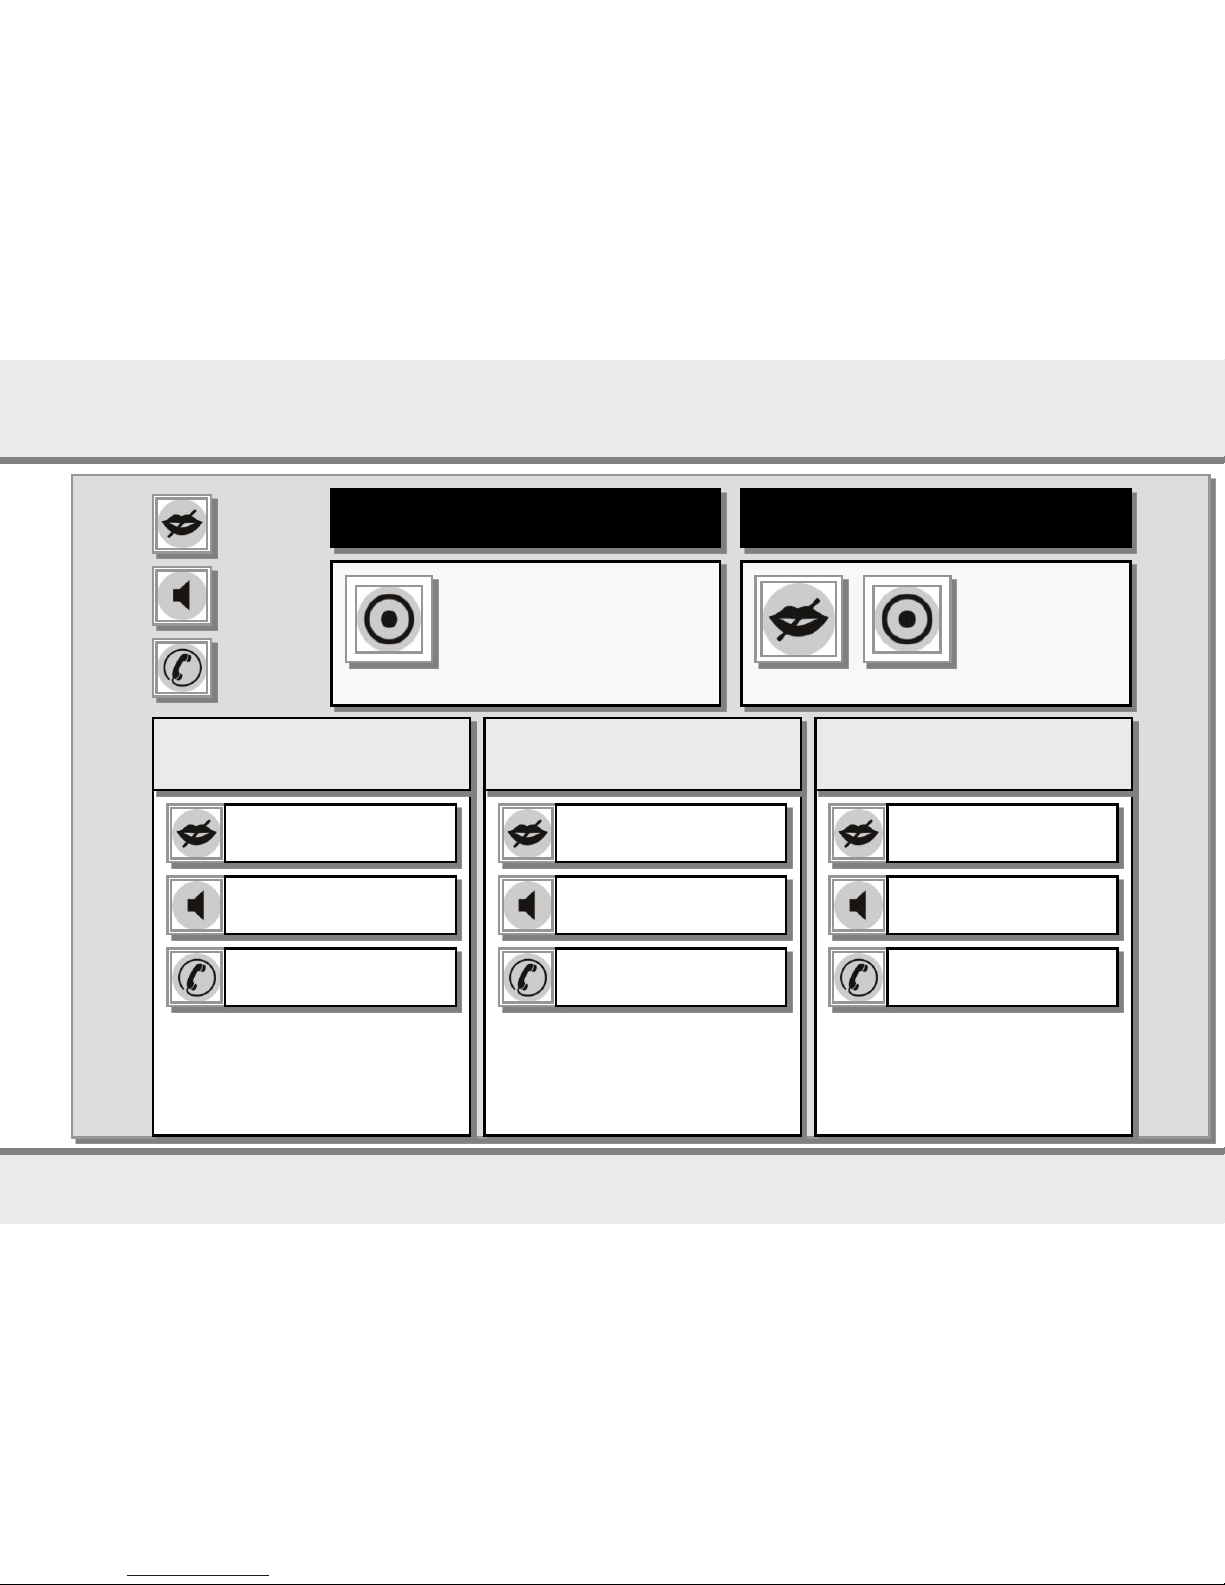
Mobile phone, emergency and alarm system at the same time!
Activate as mobile phone Activate as emergency system
Press when switching on
power ON/OFF key.
GREY
RED
Keep the two
keys pressed
when switching
on until you hear
a signal tone!
ON/OFF
SET up connection If it is ringing During phone call
Emergency mode:
The call will be answered
automatically after 1 ring – more
security for elderly people.
Emergency mode:
Hear the call automatically loudly
(free speaker).
Dial the 1st number
Dial the 2nd number
Dial the 3rd number
Reject call
Answer the call
loudly
Answer the call
normally
Switch to mute
Hear loudly
(Loudspeaker)
Hang up
(=GREEN)
(=RED)
(=BLUE)
16
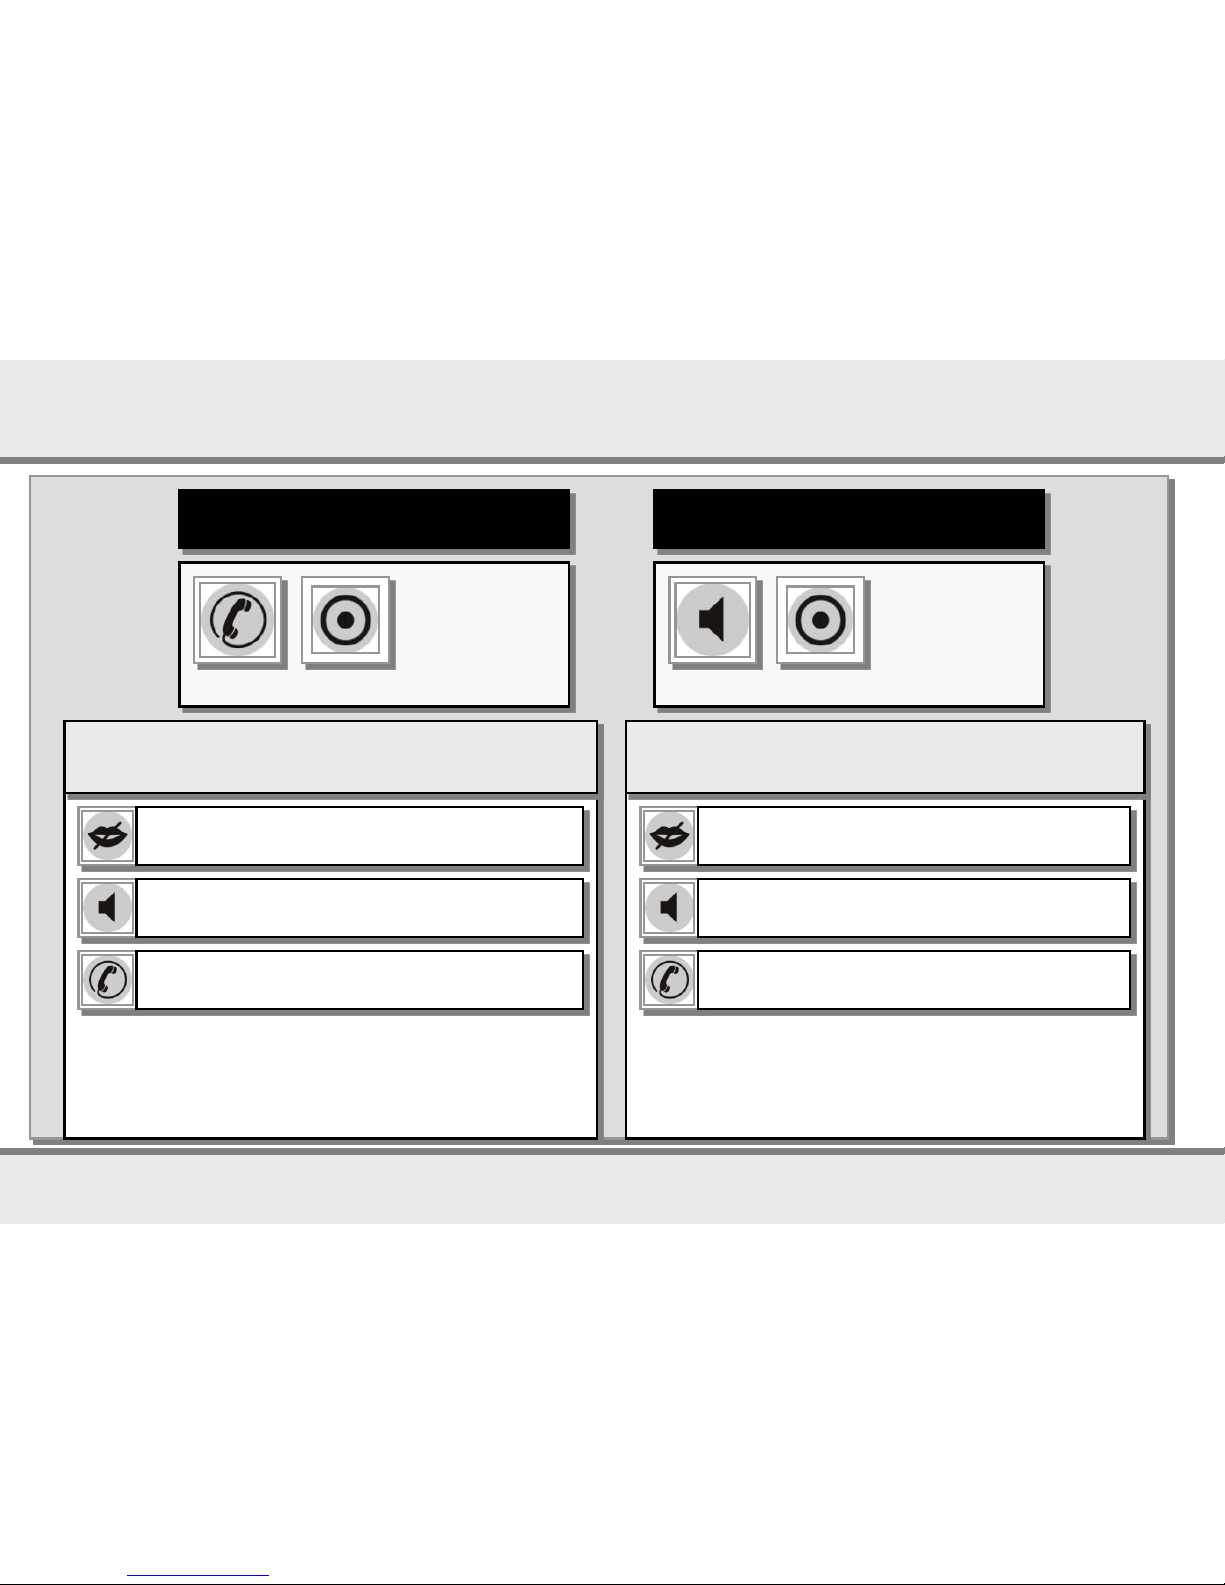
Activate as alarm system
BLUE
Keep the two
keys pressed
when switching
on until you hear
a signal tone!
ON/OFF
Activate test mode
GREEN
Keep the two keys
pressed Green and
ON/OFF (drawing
OK) when switching
on until you hear
a signal tone!
ON/OFF
Switch on alarm standby
AUTO Car monitoring
HOME Protection against burglary
BABY Baby phone
Alarm mode:
Press the key until the countdown starts (beep...beep...).
You now have 15 seconds to leave of the room.
To switch off: You have 15 sec. to turn off alarm by
pressing the key again before an alarm will be released
In the test mode
Test mode:
Switch on: press the chosen key for testing (see above).
With the test mode you can test the different sensors.
In case of an alarm you hear a siren. To switch off:
press the key again.
VIBRA Testing the vibration sensor
MOVE Testing the move sensor
VOICE Testing the acoustic sensor
17
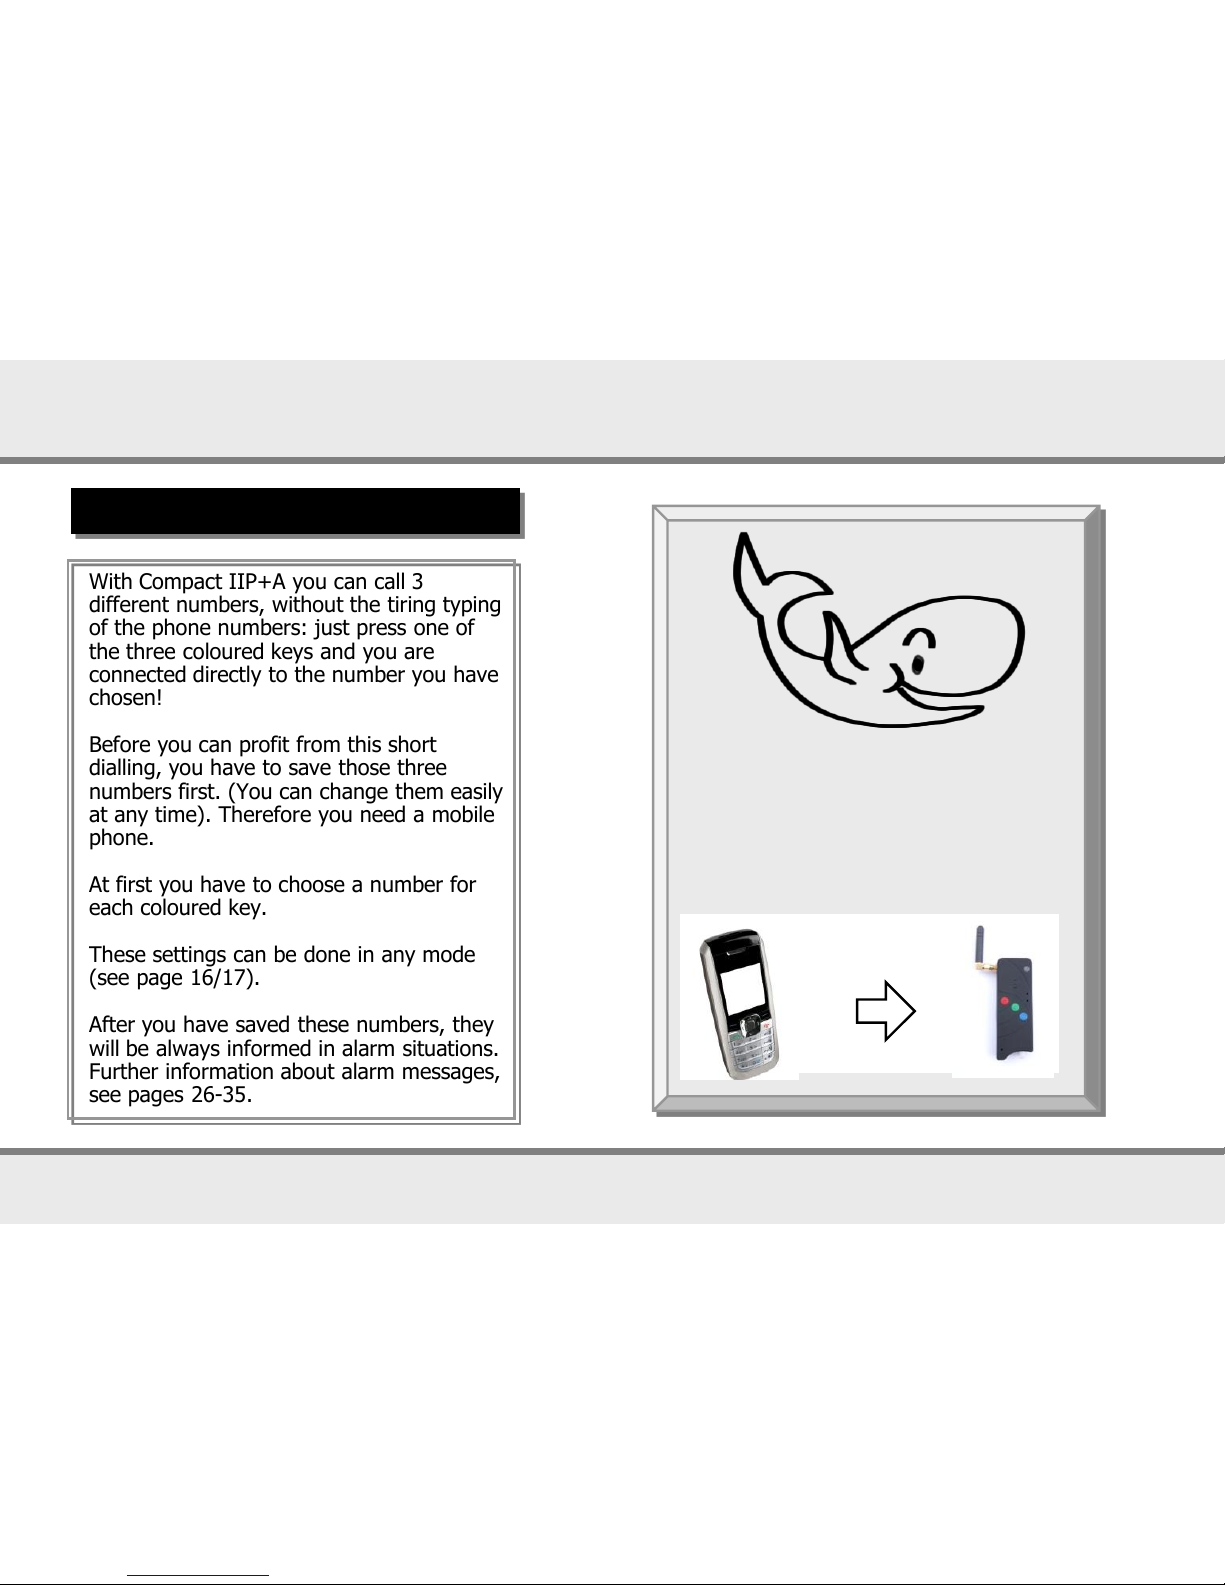
Compact IIP+A as a mobile phone
Saving of the three phone numbers
As easy as SMS...
With Compact IIP+A you can call 3
different numbers, without the tiring typing
of the phone numbers: just press one of
the three coloured keys and you are
connected directly to the number you have
chosen!
Before you can profit from this short
dialling, you have to save those three
numbers first. (You can change them easily
at any time). Therefore you need a mobile
phone.
At first you have to choose a number for
each coloured key.
These settings can be done in any mode
(see page 16/17).
After you have saved these numbers, they
will be always informed in alarm situations.
Further information about alarm messages,
see pages 26-35.
Write a SMS (message)
on your mobile phone
and send it to
Compact IIP+A!
message
(SMS)
 Loading...