

Page 1

Volume
1
E
E
E
N
N
N
G
G
G
L
L
L
I
I
I
S
S
S
H
H
H
MMF POS
Printer-Driven Interface
Instruction Manual
/User Guide
Page 2
T
Warning!
Make all electrical
connections to the cash
drawer with the
computer’s power
turned off.
Printer - Driven Interface - User Manual
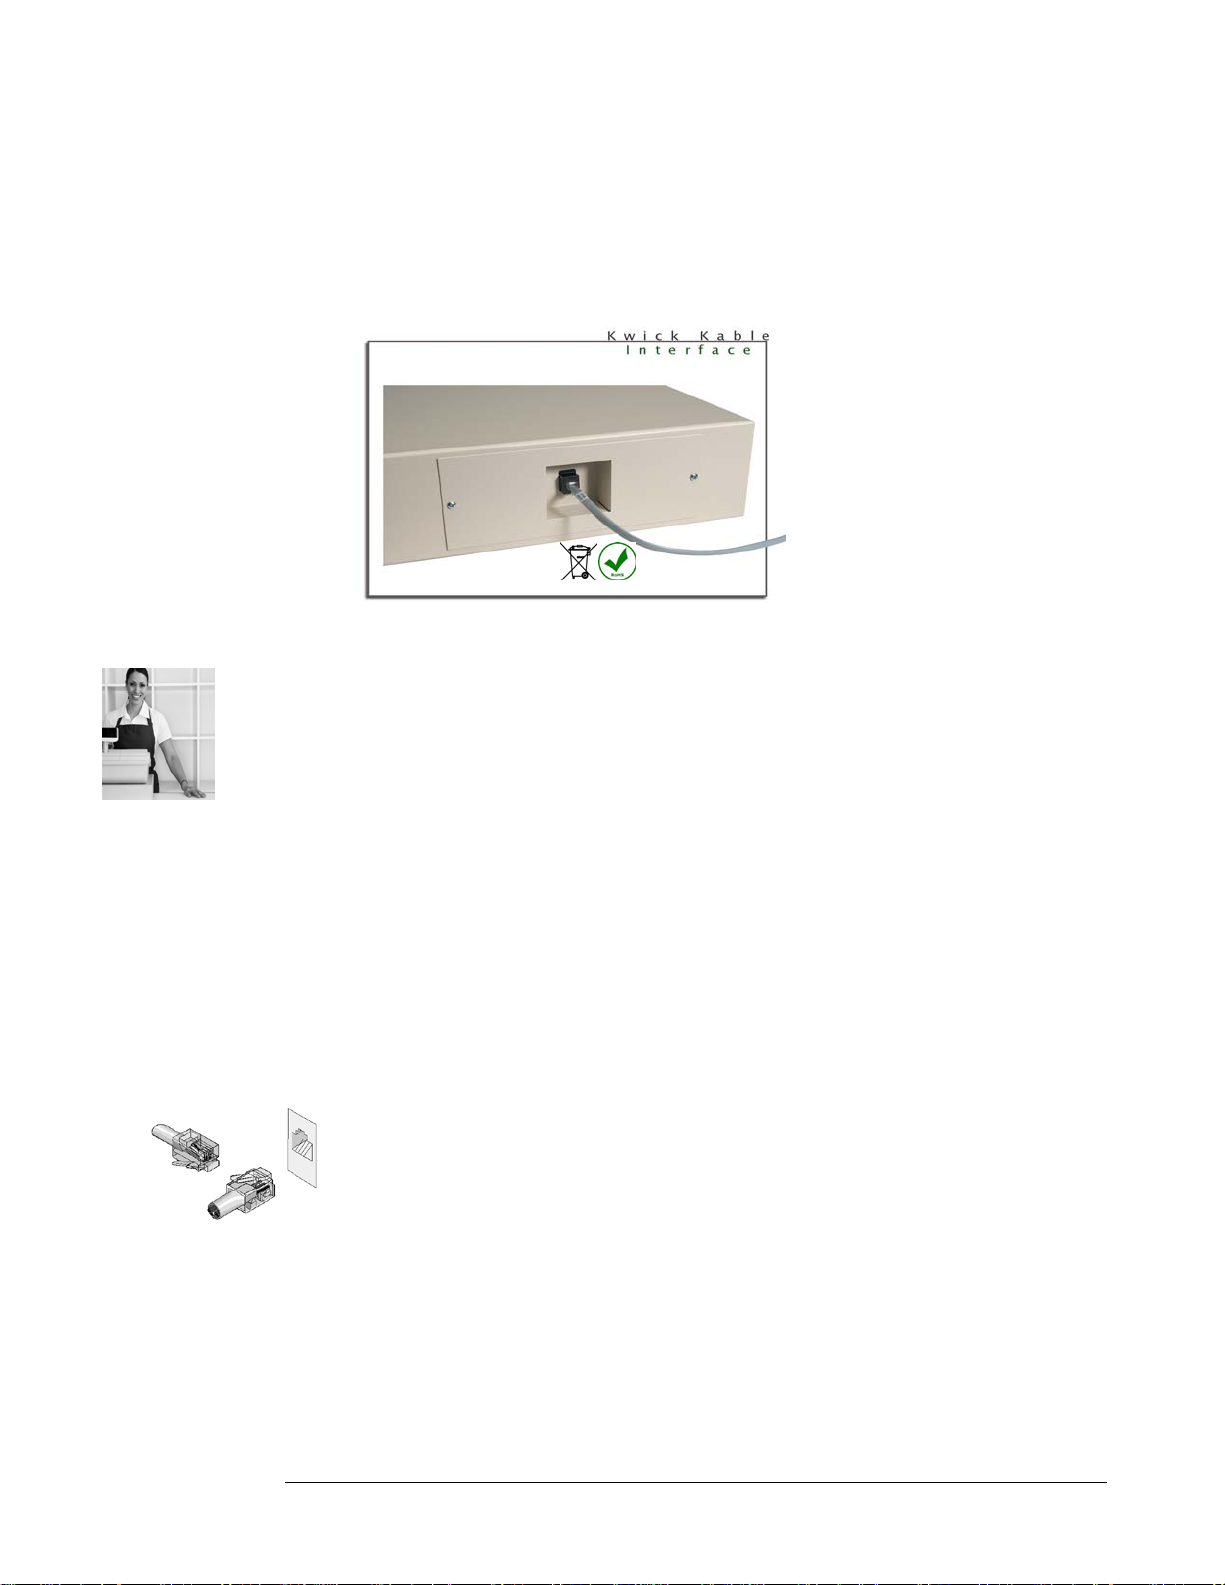
he MMF Printer-Driven Interface is part of the upgradeable interface series of electronic boards
located behind the cash drawer’s body which enables the unit to be controlled electronically by the
receipt printer.
.
G
e
t
t
i
n
g
S
t
a
r
t
e
d
G
G
e
e
t
t
i
n
g
S
t
a
t
t
i
n
g
r
S
t
a
t
e
d
r
t
e
d
Prepare a location for the cash drawer by selecting a secured, leveled surface that is no
Operating temperature should be controlled at 20° F to 100°F (-7° C to 37°C).
Position the cash drawer and remove any packing tape or guards from the tray.
Connections
smaller than the cash drawer.
The printer-driven Interface has been designed to be used with a variety of POS
printers by connecting printer specific cables.
Connect one side of the corresponding printer-specific MMF RJ-12 Cable to the
interface connection located under the cash drawer. The end of the cable that has a
label with the MMF cable part number will plug into the Cash Drawer and the end
that has a label that reads: “Connect to Printer” would plug into the receipt
printer.
Follow the set-up instructions and set proper open codes from the printer manufacturer
manual to properly connect the cash drawer to the receipt printer.
Printer-Driven Interface Manual Rev.4/30/2010 1
Page 3

For replacement parts and/or
NOTE: Molex connector end that
Replacement / Rem oval of Interface
The interfaces can be upgraded in the field to/from Printer-Driven, Standard Serial, Multi-Serial and/or USB connections to
meet the changing needs of your POS system.
Disconnect RJ-12 connector from receipt printer and interface.
accessories, contact your supplier
or visit our website at
http://www.mmfcashdrawer.com
should be carefully disconnected
Locate internal cable connected to the latch mechanism with an 8-position male Molex
connector and carefully disconnect the middle connection. Do not disconnect the end
of the cable that is connected to RJ-12 Plug.
Upgrade or replace interface by reconnecting the internal cable’s middle
connection with the Molex connector of new interface. If upgrading to Standard,
Multi-Serial, or USB, the circuit board must not be touched, please hold interface
by the mounting plate. Screw both sides of mounting plate back in place.
Cash Drawer Maintenan ce
Troubleshooting:
Cash Drawer does not open electronically
MMF Cash Drawer’s Printer-Driven Interface connects directly to a receipt printer.
This connection requires the POS application to send the proper opening codes
to the printer, which will then send the signal to open the Cash Drawer. Consult
the documentation or manuals for your particular printer for the proper open
codes.
Unscrew the two (2) side screws of the interface located on the back
of the cash drawer.
Support: Please visit MMF POS on-line at www.mmfpos.com for FREE Technical Support
or call 1-800-769-1954.
Verify the correct end of the RJ-12 printer cable is connected to the cash drawer as
well as the printer.
Verify correct position of the lock. If using a three position lock, the lock would
need to be in the 12 o’clock position for MediaPLUS Series cash drawers or 3
o’clock position for Heritage Series cash drawers to open electronically.
Verify Baud Rate, Parity, Data Bits, and Stop Bits are set correctly for your software.
Baud Rate should be set between 110-9600. If your computer is not set within this
specification, correct it in your printer software.
Cash Drawer does not open manually or electronically
Make sure all packing tapes were removed from the cash tray and that no foreign
objects are obstructing the cash tray from opening.
Printer-Driven Interface Manual Rev.4/30/2010 2
 Loading...