

M&K Sound X8, X12, X10 Operation Manual
2
3
TABLE OF CONTENTS
Page Chapter
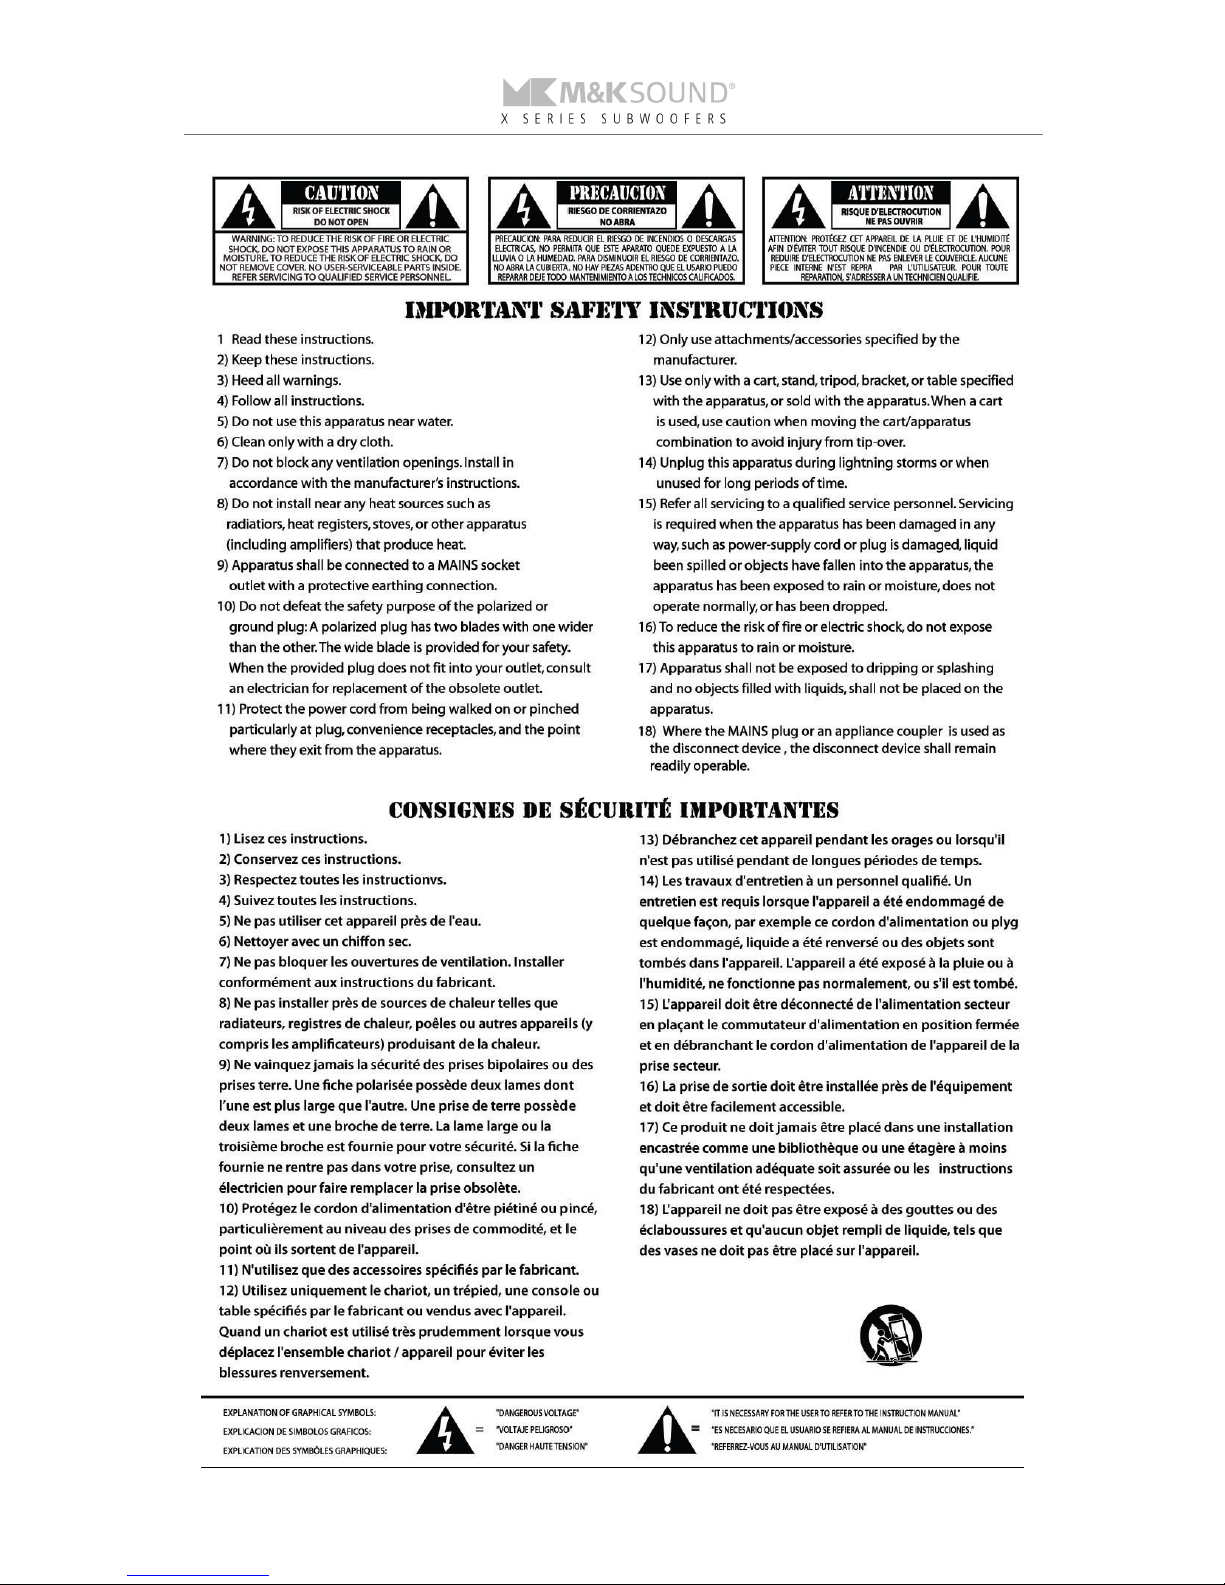
2. 1. SAFETY INSTRUCTIONS
4. 2. INTRODUCTION
4. 3. VOLTAGE INPUT & POWER CORD
5. 4. SUBWOOFER HOOK-UP
5. 4. WIRING WITH LINE-LEVEL RCA or XLR BALANCED INPUTS
6. 5. PLUGGING IN THE SUBWOOFER & START UP
7. 6. USE OF THE PHASE CONTROL
8. 7. LOW PASS FILTER SETTING
8. 7. NO LOW PASS THX MODE
8. 8. VARIABLE LOW PASS FILTER CONTROL
9. 9. 80Hz LOW PASS FILTER
9. 10. THX BASS EQ / ANECHOIC MK EQ
10. 11. BASS LEVEL REFERENCE
11. 12. MULTIPLE SUB CONNECTION
12. 13. TROUBLESHOOTING
13. 14. IF YOU NEED SERVICE
14. 15. SYSTEM SETUP GUIDE
15. 16. SPEAKER SETUP GUIDE
16. APPENDIX A: SPEAKER PLACEMENT DIAGRAMS
17. APPENDIX B: SPECIFICATIONS
19. THX
Please record the following information for your records:
Serial Number:
Date of Purchase:
Dealer Name:
Dealer Address:
City/State/Zip:
Country:
Invoice Number:
Manual V4 Sept 2015
4
2. INTRODUCTION
CONGRATULATIONS! You have just made perhaps the most exciting and dramatic addition that
you could possibly make to your audio system. The new dimension of deep, powerful bass
provided by your M&K Sound powered subwoofer will positively thrill and excite you.
We encourage you to read this owner’s manual, as there is a great deal of information provided
here to help you get the best possible performance from your new subwoofer. This manual will
give you basic set-up instructions and a system overview followed by more detailed information.
If you still have questions about your subwoofer or your system installation after you have read
this manual, please contact your M&K Sound dealer.
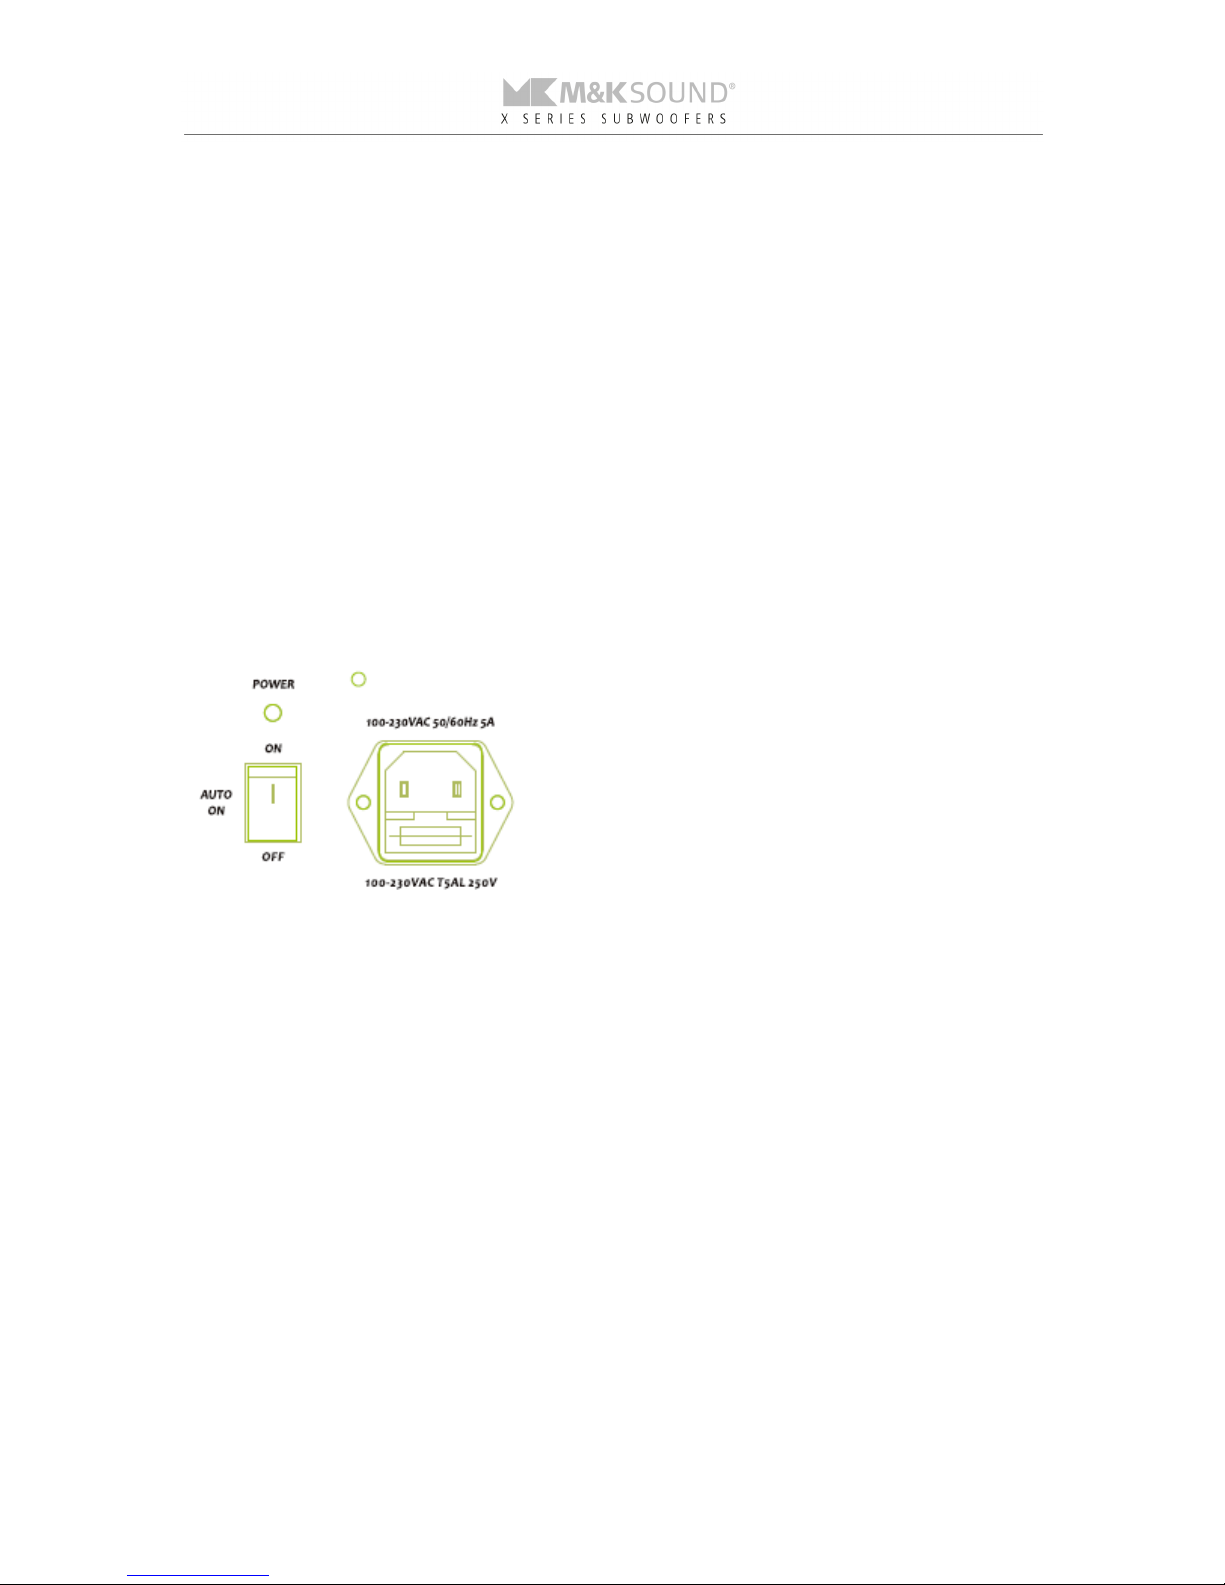
3. VOLTAGE INPUT & POWER CORD
M&K Sound X Series subwoofers employ an auto detecting universal power supply to handle
input voltage from 100-230VAC 50/60 Hz.
Europe, UK, Asia: 230VAC/50 Hz.
USA, Canada: 115VAC/60Hz.
Japan: 100V/60Hz
If you have questions about this, contact your M&K Sound dealer.
DETACHABLE POWER CORD
Your new subwoofer is provided with a detachable power cord.
ALWAYS attach the cord to the subwoofer first, BEFORE plugging it into the AC wall socket.
5
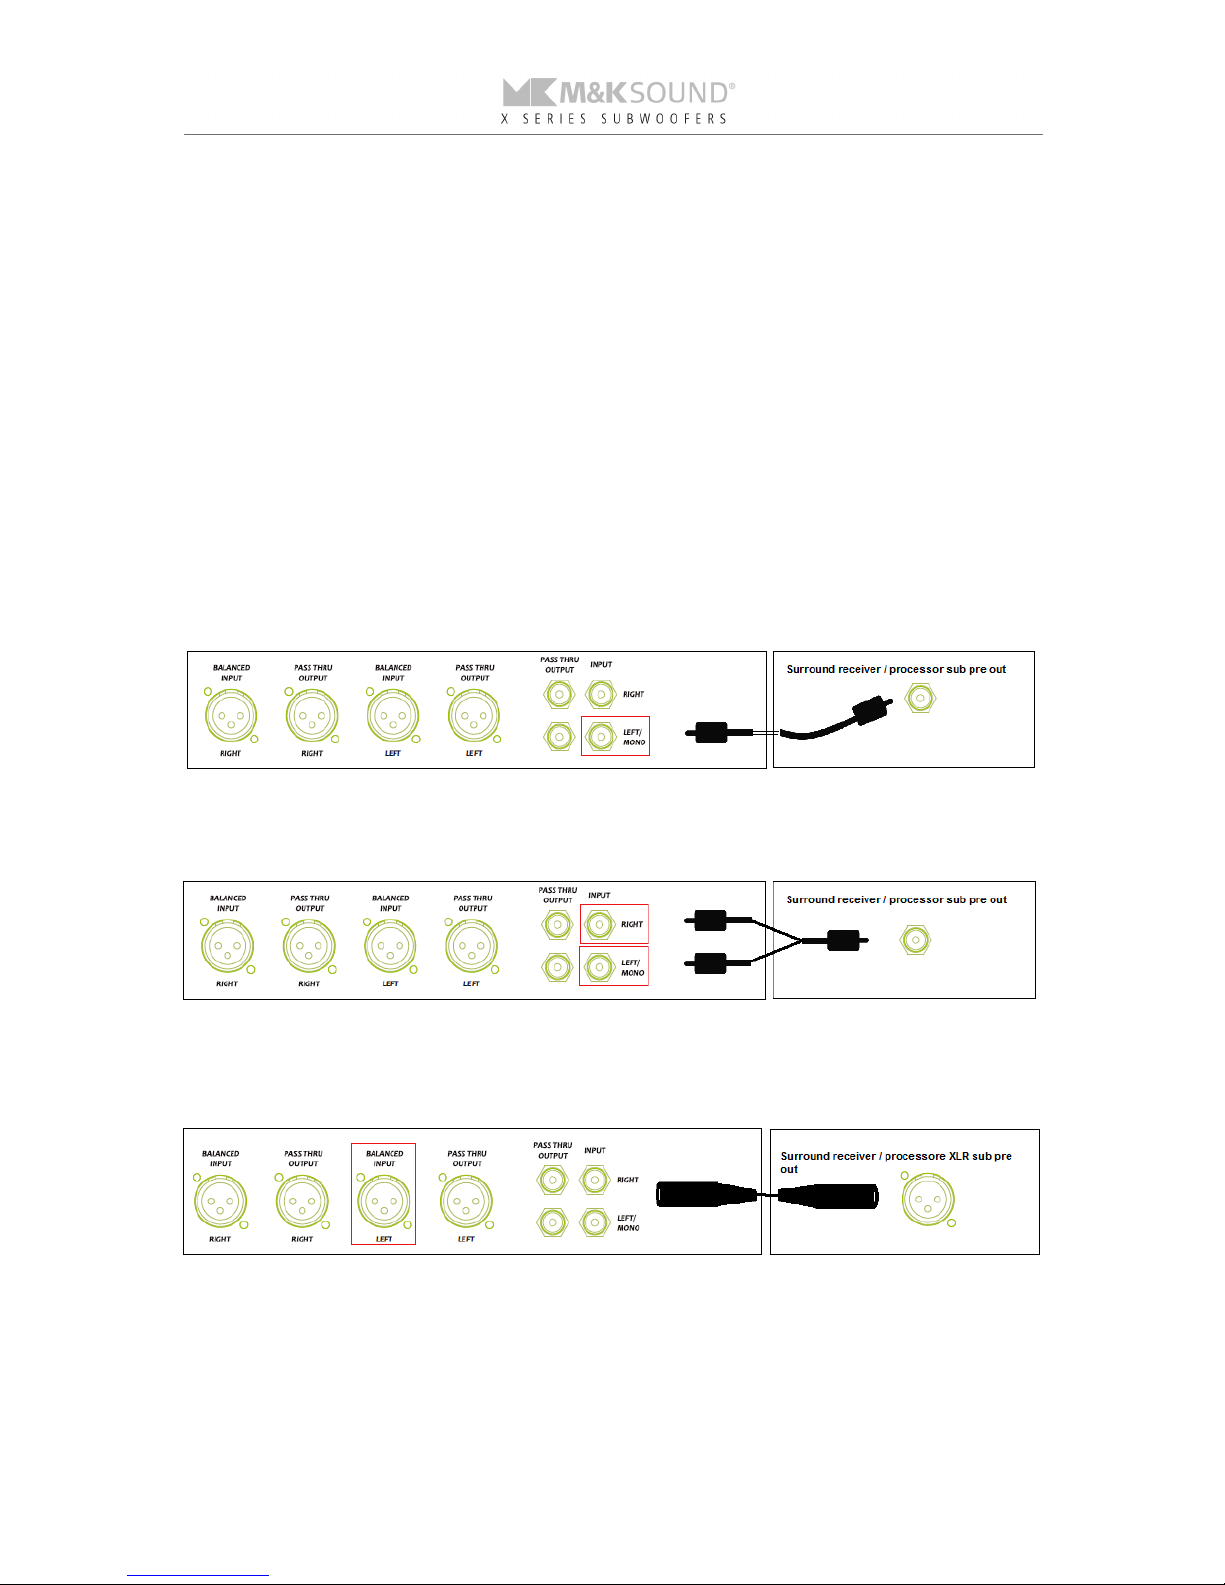
4. SUBWOOFER HOOK-UP -
WIRING WITH LINE LEVEL RCA or XLR BALANCED INPUTS
M&K Sound X Series subwoofers are fitted with line-level input RCA connectors and XLR
connectors.
The line-level RCA and XLR inputs allow you to directly connect your subwoofer to corresponding
preamp-level outputs on components such as surround sound receivers and processors that
have pre-amp outputs.
(Please note the receiver/processor line level output may be sometimes labeled “Sub”, “Sub Out”, “SW” or “LFE”)
Connect your receiver or processor line-level subwoofer output to the RCA input socket
Left/Mono for basic operation by simply running a shielded interconnect cable with phono plugs
at each end.
Alternatively run an RCA Y-spilt cable with phono plugs at each end.
For balanced input – simply run a shielded XLR interconnect cable from sub pre out to balanced
XLR input.
6
5. PLUGGING IN THE SUBWOOFER AND START UP
Once your audio connections are complete, you are ready to make the electrical connection.
Set the switch for “BASS LEVEL reference to variable and turn the volume control down to “Min”
Attach the power cord to the receptacle on the subwoofer’s back panel and plug the other end of
the power cord into an AC outlet.
Do NOT use the “switched” power outlet found on the back of some receivers, processors and amplifiers.
Set power switch on the back of your subwoofer to either the “AUTO” or “ON” position.
(If you hear a thump from the subwoofer, this is the normal sound of the power supply charging.)
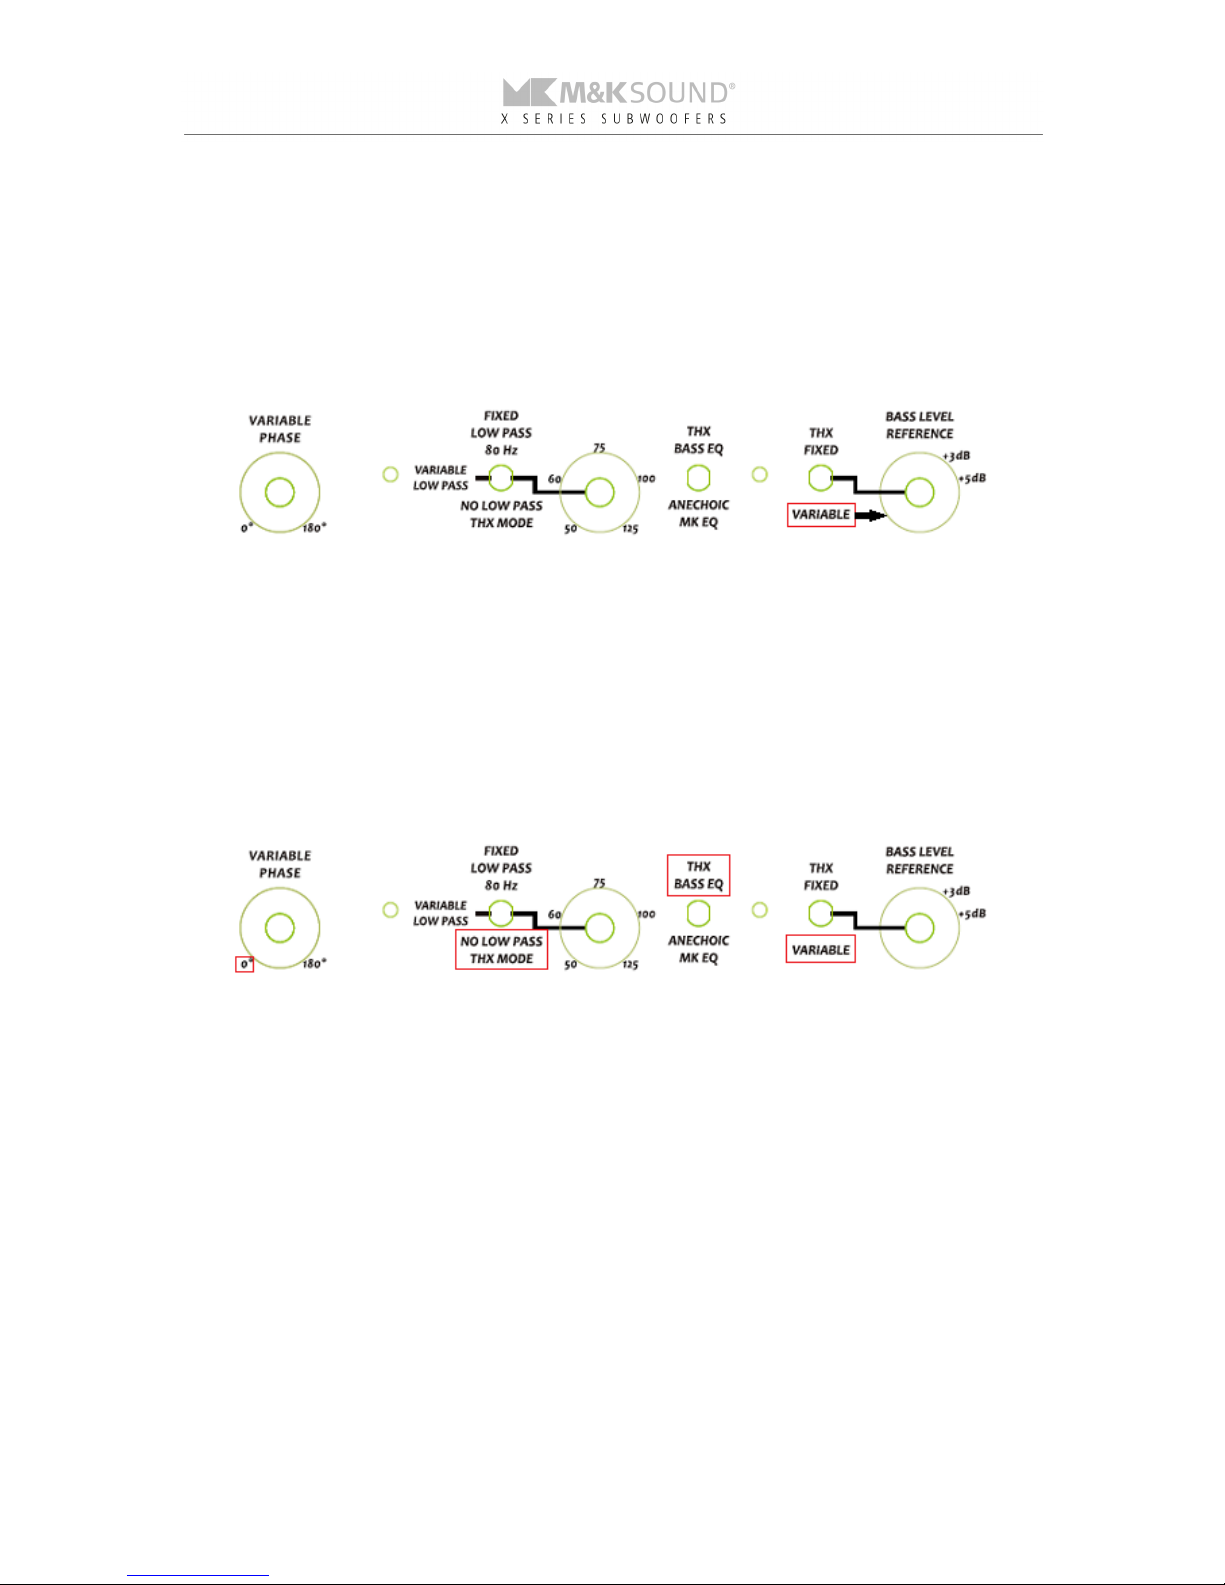
Set switches in position for X10 & X12 to THX Low Pass filter and THX Bass EQ.
For X8 the switch shall be set to “No Low Pass” & “Bass EQ positions”
Now, play some music through your system to make sure that the satellite (main) speakers are
working properly. Once you confirm that they are, slowly advance the “BASS LEVEL” control and
the subwoofer should begin to play.
Set the “BASS LEVEL” control to where the subwoofer sounds in balance with the satellite
speakers. If the system is not working properly, unplug the subwoofer and check all of your
connections. If you still have no success, contact your M&K Sound dealer.
M&K Sound subwoofers feature an “AUTO ON” function with the power switch. With “AUTO ON”, your
subwoofer is in Standby until it receives an audio signal. At that point, it automatically switches on and
continues operation as long as an audio signal is detected. After a few minutes without an audio signal, it will
power down to Standby.
NOTE: When your subwoofer is switched to the “AUTO ON” position, it will use a
slight amount of electricity when in Standby. If you are concerned about
power usage, you may want to switch the subwoofer off instead. Switching the unit
off is also a good idea if you know that you will not be using it for some time.
 Loading...