

MK Sound MX-100, MX-2000, MX-1000cc, MX-70, MX-80 Operation Manual
...
operation
manual
MX-SERIES: MX-2000, MX-1000, MX-1000cc,
MX-100, MX-90, MX-80, MX-70
V-SERIES: V-125, V-100, V-90, V-1B,
V-2B, V-3B, VX-4, VX-7
powered subwooferspowered subwoofers
powered subwooferspowered subwoofers
powered subwoofers
Miller & Kreisel Sound Corporation
10391 Jefferson Boulevard
Culver City, CA 90232 USA
(310) 204-2854 FAX (310) 202-8782
© 1994 MILLER & KREISEL SOUND CORP.

page 2powered subwoofers
TABLE OF CONTENTS
1. SAFETY INSTRUCTIONS.............................................................................3
2. INTRODUCTION..........................................................................................4
3. WHERE TO LOCATE YOUR SUBWOOFER.............................................4
4. SUBWOOFER HOOK-UP..............................................................................4
STANDARD AMPLIFIER/SPEAKER WIRE CONNECTIONS...................................5
SATELLITE SPEAKER WIRING OPTION 1..........................................................6
V-125 HIGH-LEVEL HIGH-PASS FILTER USAGE..........................................................6
SATELLITE SPEAKER WIRING OPTION 2...........................................................6
WIRING WITH A SEPARATE AMP AND PREAMP (RCA JACKS).............................8
WIRING WITH THE M&K LP-1S OR VF-100 ELECTRONIC HIGH-PASS FILTERS.........9
PLUGGING IN THE SUBWOOFER...................................................................10
5. SATELLITE/SUBWOOFER PHASING TEST...............................................10
6. USE OF THE "FILTER" CONTROL..............................................................11
7. USING TWO SUBWOOFERS....................................................................11
8. FINE-TUNING SUBWOOFER PLACEMENT..............................................12
9. HOME THEATRE USAGE.......................................................................12
CONNECTING TO A SURROUND SOUND RECEIVER OR PROCESSOR.............13
10. SPECIAL INSTALLATION NOTES..............................................................13
11. TROUBLESHOOTING..........................................................................14
REPLACEMENT FUSE VALUES.......................................................................16
12. IF YOU NEED SERVICE.............................................................................16
WIRING DIAGRAMS
FIGURE 1 TO AN AMPLIFIER USING SPEAKER WIRES..................................5
FIGURE 2 SATELLITE SPEAKER WIRING OPTION 1......................................7
FIGURE 3 SATELLITE SPEAKER WIRING OPTION 2......................................7
FIGURE 4 USING THE PREAMP INPUTS (RCA JACKS)..................................8
FIGURE 5 USING AN M&K ELECTRONIC HIGH-PASS FILTER.........................9
To reduce the risk of fire or electric
shock, never expose your M&K Powered
Subwoofer to rain or moisture.
WARNING:
page 3powered subwoofers
CAUTION
RISK OF ELECTRIC SHOCK
DO NOT OPEN
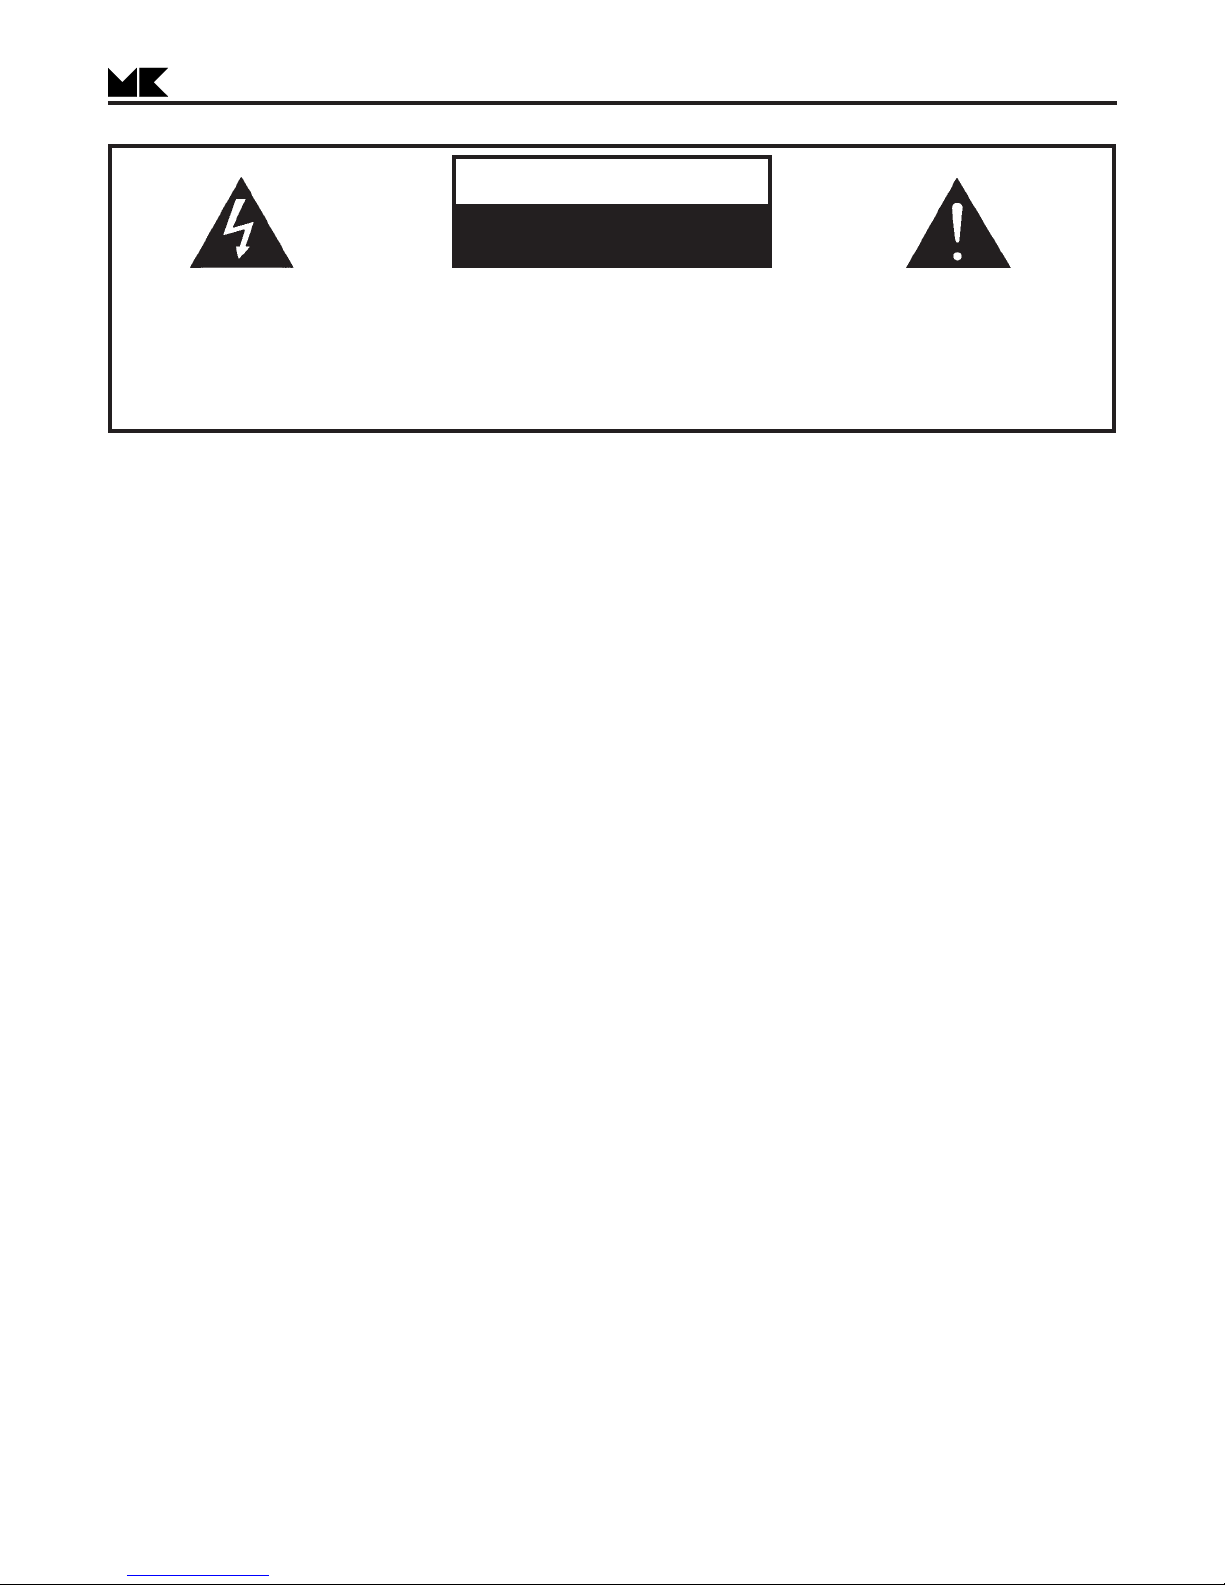
The lightning flash with arrowhead,
within an equilateral triangle, is intended
to alert the user of the presence of
uninsulated "dangerous voltage" within
the product's enclosure that may be of
sufficient magnitude to constitute a risk
of electric shock to persons.
TO PREVENT THE RISK OF ELECTRIC
CAUTION:
SHOCK, DO NOT REMOVE COVER (OR
BACK). NO USER-SERVICEABLE
PARTS INSIDE. REFER SERVICING TO
The exclamation point within an equilateral triangle is intended to alert the
user of the presence of important operating and maintenance (servicing) instructions in the literature accompanying the appliance.
QUALIFIED SERVICE PERSONNEL.
1. SAFETY INSTRUCTIONS
1. READ INSTRUCTIONS - All safety and operating instructions should be read before this product is operated.
2. RETAIN INSTRUCTIONS - The safety and operating instructions should be retained for future reference.
3. HEED WARNINGS - All warnings on this product and in the operating instructions should be adhered to.
4. FOLLOW INSTRUCTIONS - All operating and use instructions should be followed.
5. ATTACHMENTS - Do not use attachments not recommended by the product manufacturer as they may cause hazards.
6. WATER AND MOISTURE - Do not use this product near water - for example, near a bath tub, wash bowl, kitchen sink, or
laundry tub; in a wet basement; or near a swimming pool; and the like.
7. ACCESSORIES - Do not place this product on an unstable cart, stand, tripod, bracket, or table. The product may fall, causing
serious injury to a child or adult, and serious damage to the product. Use only with accessories recommended by the
manufacturer, or sold with the product. Any mounting of the product should follow the manufacturer's instructions and should
use a mounting accessory recommended by the manufacturer.
8. POWER SOURCE - This product should be operated only from the type of power source indicated on the marking label. If
you are unsure of the type of power supply to your home, consult your product dealer or local power company.
9. OVERLOADING - Do not overload wall outlets or extension cords as this can result in a risk of fire or electric shock.
10. LIQUID ENTRY - Never spill any liquid of any kind on the product.
11. SERVICING - Do not attempt to service this product yourself as opening or removing covers, including those over bottom or
side speaker drivers, may expose you to dangerous voltage or other hazards. Refer all service to qualified service personnel.
12. DAMAGE REQUIRING SERVICE - Unplug this product from the wall outlet and refer servicing to qualified personnel under
the following conditions:
a. When the power-supply cord or plug is damaged.
b. If liquid has been spilled, or objects have fallen into this product.
c. If the product does not operate normally by following the operating instructions. Adjust only controls that are covered
by the operating instructions as an improper adjustment of other controls may result in damage and will often require
extensive work by a qualified technician to restore the product to its normal operation.
d. If the product has been dropped or damaged in any way.
e. When the product exhibits a distinct change in performance - this indicates a need for service.
13. REPLACEMENT PARTS - When replacement parts are required, be sure the service technician has used replacement parts
specified by the manufacturer or have the same characteristics as the original part. Unauthorized substitutions may result
in risk of fire, electric shock, or other hazard.
14. SAFETY CHECK - Upon completion of any service or repairs to this product, ask the service technician to perform safety
checks to determine that the product is in proper operating condition.
15. HEAT - This product should be situated away from heat sources such as radiators, heat registers, stoves, or other products
(including amplifiers) that produce heat.

page 4powered subwoofers
2. INTRODUCTION
Congratulations! You have just made perhaps the most exciting and dramatic addition that you
could make to your audio or audio/video system. The new dimension of deep and powerful bass
provided by your M&K Subwoofer will thrill and excite you.
We encourage you to read this owner's manual, as there is a great deal of information provided
here to help you get the best possible performance.
If you have any questions about your Subwoofer, please contact your M&K dealer, or call us
directly at (310) 204-2854, from 8:30 AM to 5:00 PM Pacific Time. We will be more than happy to help
you with any question, no matter how simple or complex it may be.
This manual gives you basic hook-up instructions first, followed by more detailed technical,
installation, and service information.
3. WHERE TO LOCATE YOUR SUBWOOFER
M&K Subwoofers will perform well in just about any room location. In fact, unless your ear is within
a couple feet of the Subwoofer, the deep bass will seem to come exclusively from your Satellite
speakers. (By Satellite speakers, we mean the main speakers used with your Subwoofer). There is
no need to place your Subwoofer between the Satellite speakers or in any specific location in the room.
Except for the V-125, MX-1000 and MX-1000cc, M&K Subwoofers are not magnetically shielded.
Leave 2 - 3 feet of clearance around any television set. This shielding avoids magnetization of the
shadow mask of the television's picture tube, which will distort the television's picture. If this ever
happens to your set, turn it off and on a few times to use the set's built-in degaussing circuitry. If the
problem persists, contact a TV technician and ask him or her to use an external degaussing coil.
No matter where you put the Subwoofer, you must allow room for ventilation of its heatsink and
backplate. The Subwoofer's power amplifier is mounted on the backplate, and it generates heat.
1. Do not place the Subwoofer against a wall. Leave at least one foot clearance around the
heatsink.
2. Do not place the Subwoofer where it will be exposed to direct sunlight.
3. Do not place the Subwoofer near baseboard heaters or forced air heating outlets.
4. Do not use the Subwoofer outdoors or in a humid environment.
For more detailed placement information, please see Section 8, on page 12.
Do not plug the Subwoofer into an AC outlet until all system wiring is complete.
4. SUBWOOFER HOOK-UP
There are two different ways to connect the Subwoofer to your system. One uses speaker wire,
and the other uses interconnect cable with RCA-type jacks. Read this section before deciding
which is best for your system.

page 5powered subwoofers
Look at the back panel of the Subwoofer. You will see two RCA input jacks labelled "FROM
PREAMP," and two sets of speaker wire input terminals labelled "FROM AMPLIFIER" and "TO
SPEAKERS." You must choose to use either the speaker wire inputs or the RCA jack inputs.
STANDARD AMPLIFIER/SPEAKER WIRE CONNECTIONS
The most common way to hook up the Subwoofer is to connect it to your receiver or amplifier using
speaker wires. You make the same kind of connections that you would use for your Satellite (or main)
speakers, except that both the left and right channels go to the Subwoofer. (If you are using two
Subwoofers, connect one channel only to each Subwoofer).
1. Run speaker wire between the Amplifier's Left channel output terminals and the
Subwoofer's Left channel "FROM AMPLIFIER" terminals.
a. Connect the Amplifier's Left channel Positive (+) terminal and the Subwoofer's
Left RED (+) "FROM AMPLIFIER" terminal.
b. Connect the Amplifier's Left channel Negative ( — ) terminal and the Subwoofer's
Left BLACK ( — ) "FROM AMPLIFIER" terminal.
2. Make matching connections for the Right channel. See Figure 1.
FIGURE 1 - TO AN AMPLIFIER USING SPEAKER WIRES
IMPORTANT NOTE FOR SURROUND SOUND SYSTEMS:
When the Subwoofer is connected to the Left and Right amplifier outputs, and the controller is in
Pro-Logic mode, the Center channel WIDE/NORMAL switch MUST be set to the NORMAL mode. If
the switch is set to the WIDE mode, the bass content of the Center channel will not be fed to the
Subwoofer, and you will lose a significant amount of bass.
 Loading...