

Page 1
Installation and configuration of KM-PLOTCLIENT HDI/ADI
Installation
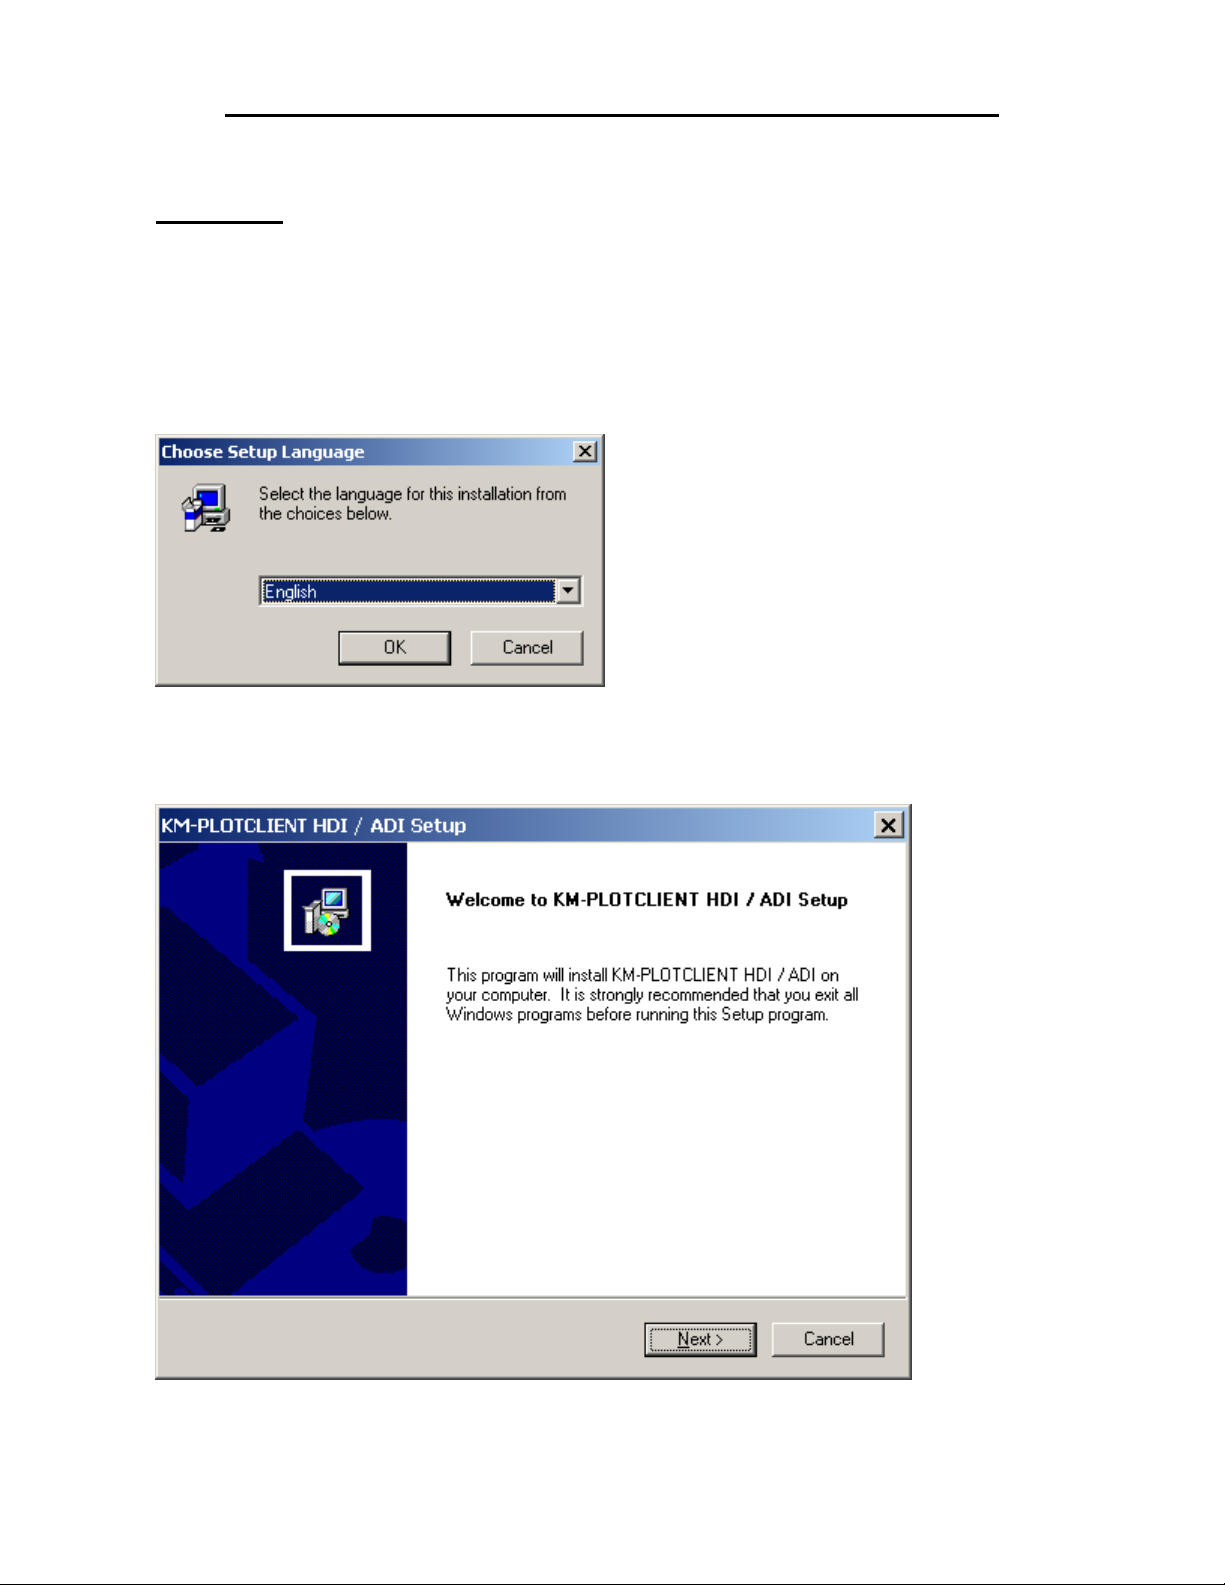
1. Run SETUP.EXE from installation folder
2. Select language
3. Click "Next"
Page 1 of 1 Installation and configuration of KM-PLOTCLIENT HDI-ADI.doc
Page 2
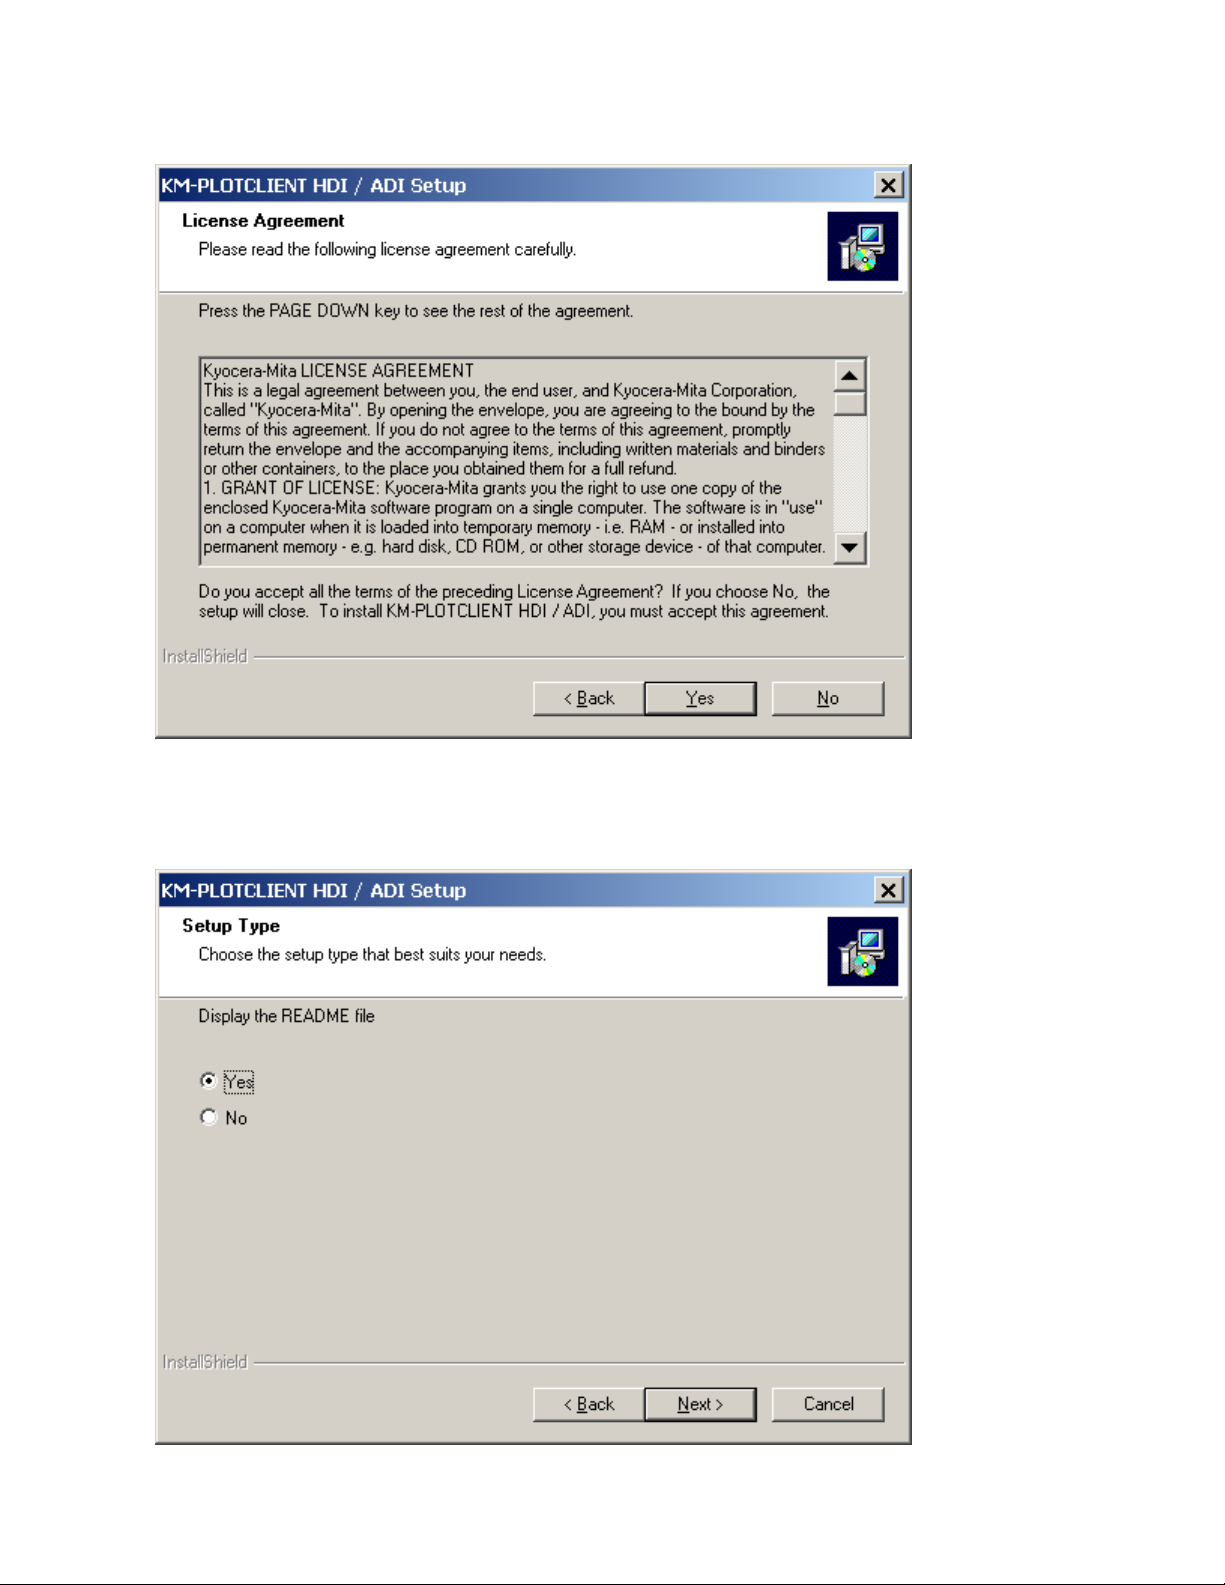
4. To go on with the installation you have to select "Yes"
Without accepting License Agreement the installtion procedure stops here!
5. Choose if you want to view README file or not
After reading and closing README, setup continues
Page 2 of 2 Installation and configuration of KM-PLOTCLIENT HDI-ADI.doc
Page 3
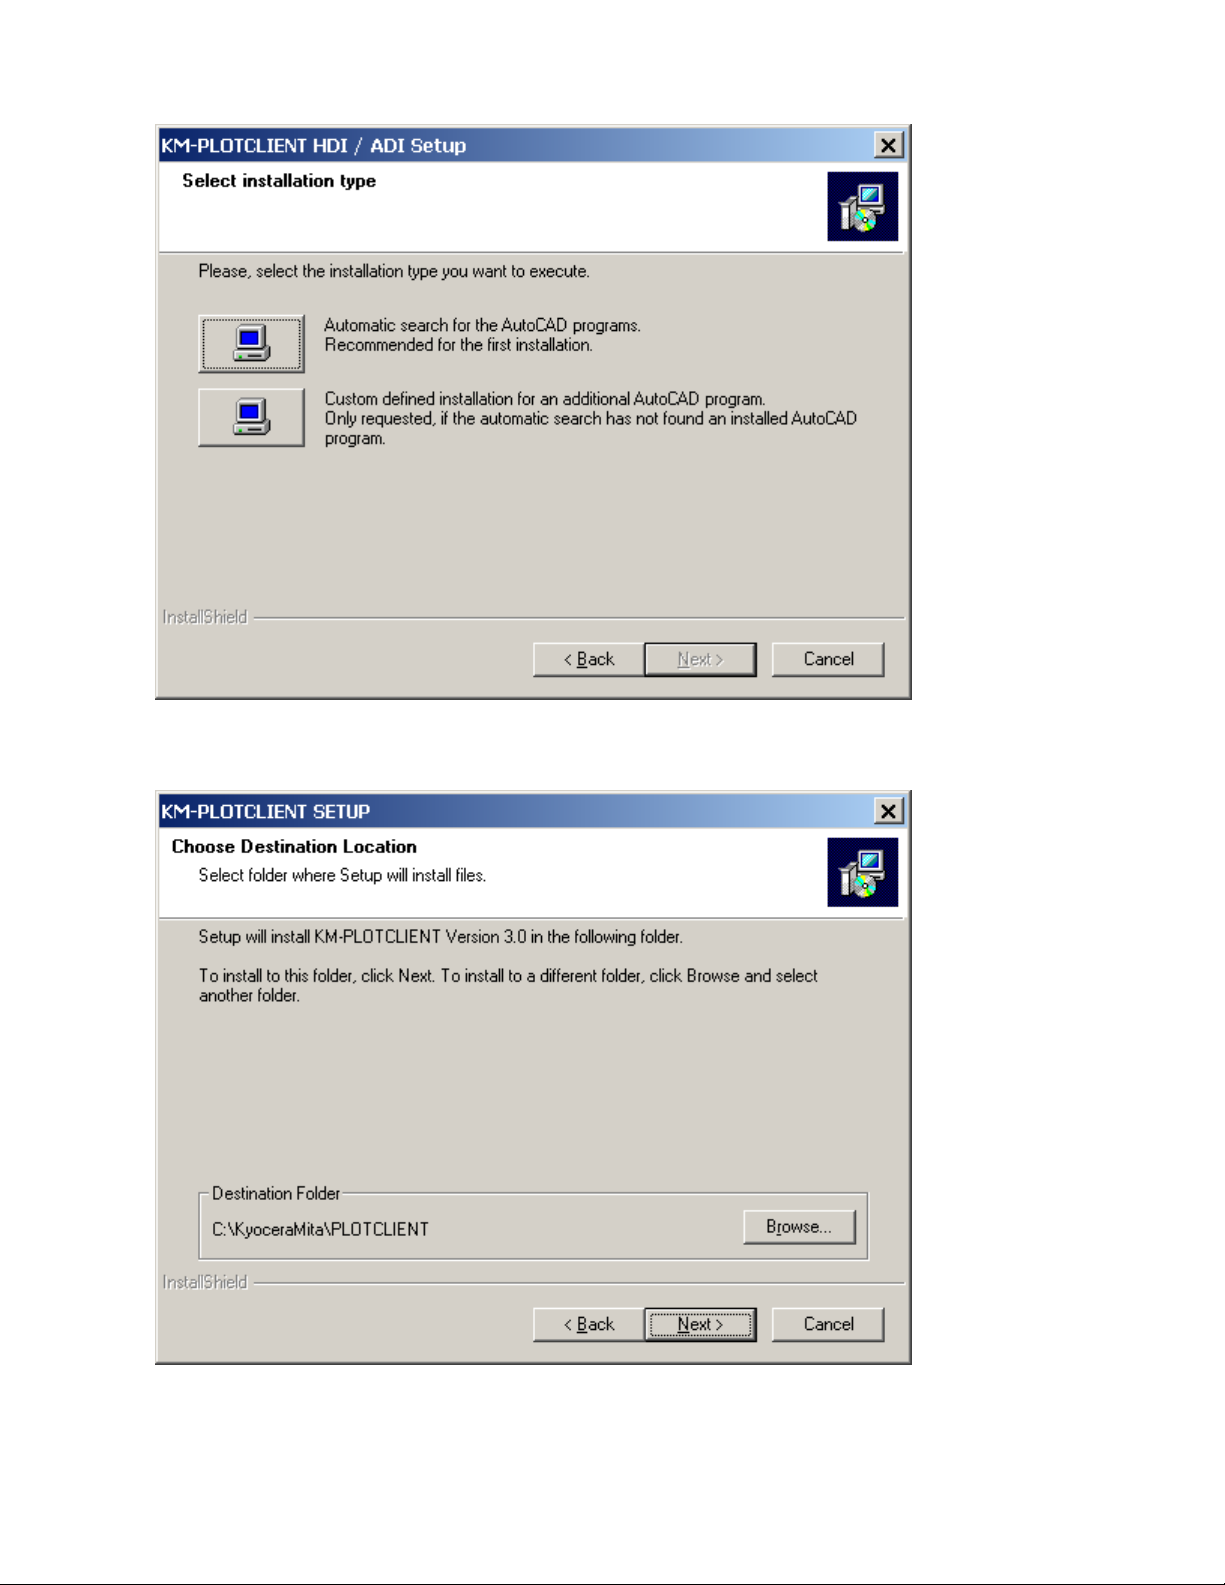
6. Select installation type
7. Choose Destination Folder
Page 3 of 3 Installation and configuration of KM-PLOTCLIENT HDI-ADI.doc
Page 4

8. Slecet Setup Type
9. Select Program Folder (Windows Start Menu)
Page 4 of 4 Installation and configuration of KM-PLOTCLIENT HDI-ADI.doc
Page 5
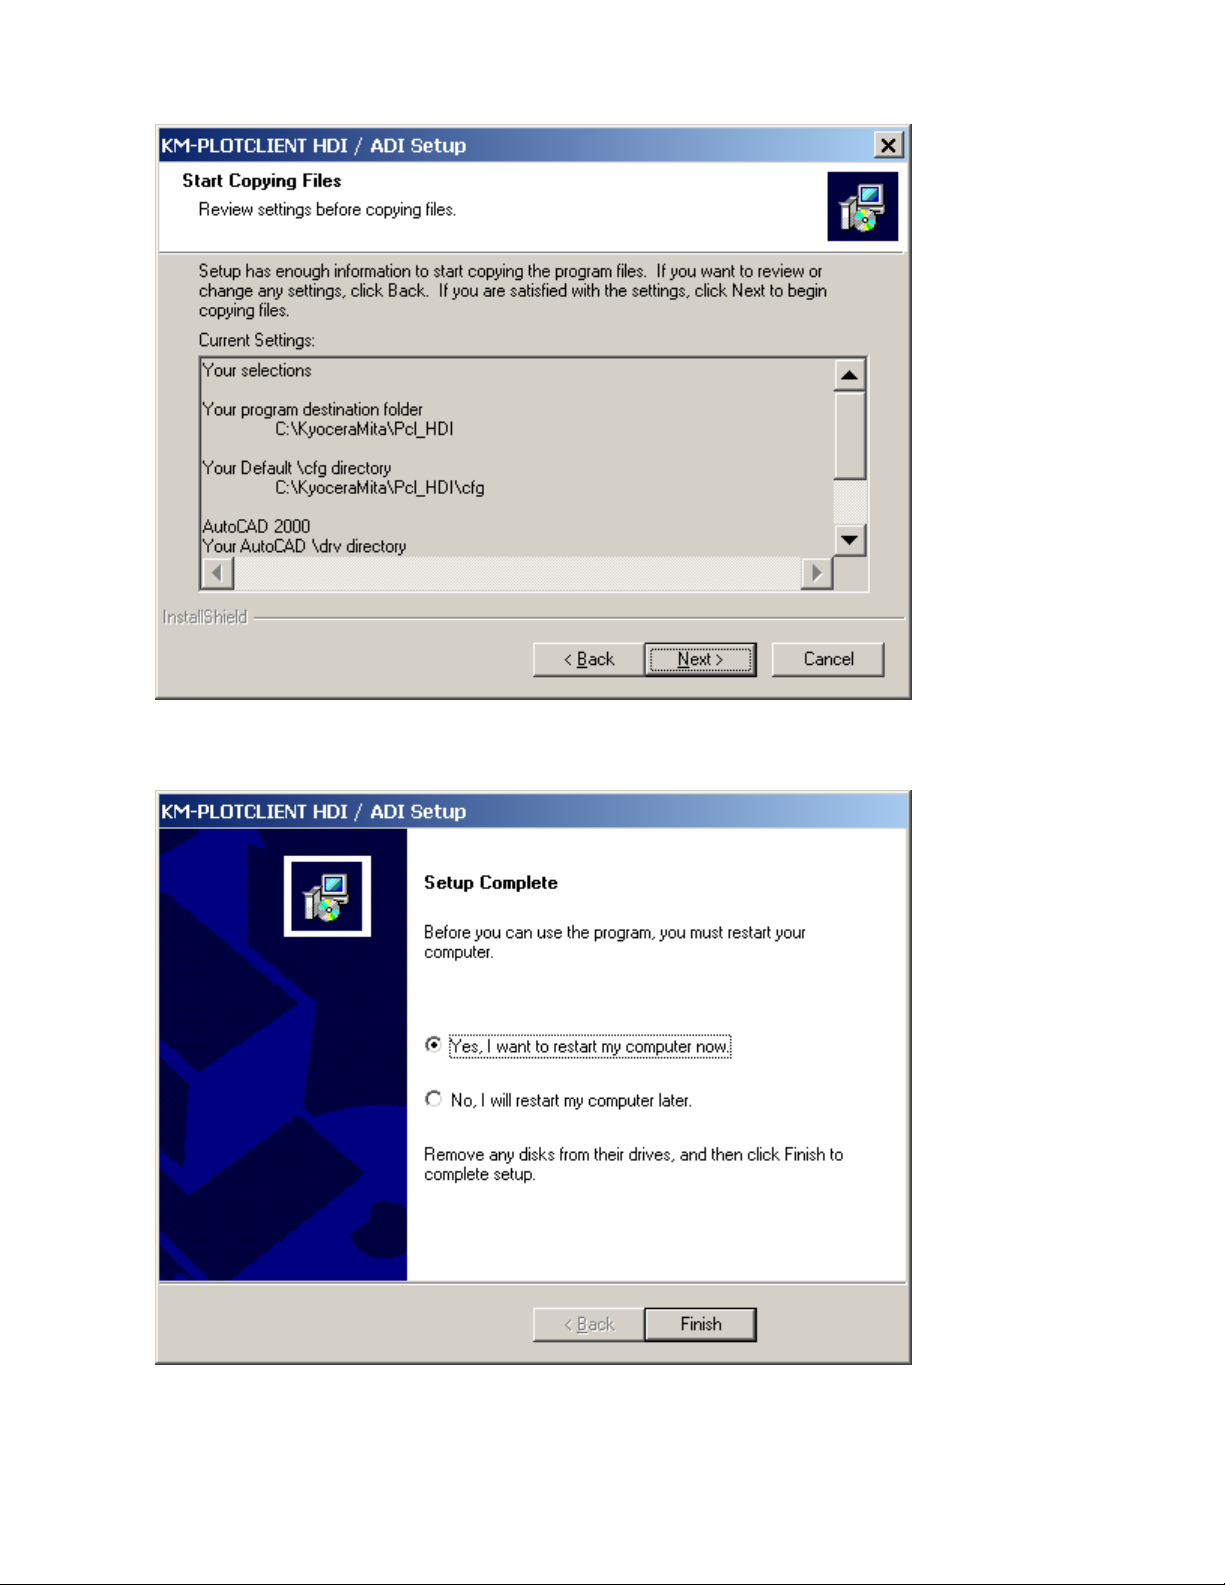
10. Click "Next"
11. Last step is restart computer
Page 5 of 5 Installation and configuration of KM-PLOTCLIENT HDI-ADI.doc
Page 6

Configuration for AutoCAD
1. Start PLOTCLIENT HDI/ADI Config and select the right AutoCAD version.
This step is only required for AutoCAD 13 and 14!
PLOTCLIENT WIN: KM-PLOTCLIENT HDI/ADI spools your printfiles into the KM-
PLOTCLIENT to create a SSL job. Afterwards print the whole job
from KM-PLOTCLIENT.
PLOTCLIENT ADI: KM-PLOTCLIENT HDI/ADI spools directly to the printserver.
Page 6 of 6 Installation and configuration of KM-PLOTCLIENT HDI-ADI.doc
Page 7

2. Start AutoCAD 13/14/2000/2002 or any
3. Open the Plotter Manager.
If AutoCAD 13/14 is in use, follow the steps in KM-PLOTCLIENT HDI/ADI README file
4. Select "Add-A-Plotter-Wizard" and click "Next"
Page 7 of 7 Installation and configuration of KM-PLOTCLIENT HDI-ADI.doc
Page 8

5. Add a plotter on "My Computer"
6. As manufacturer select Kyocera Mita and as model select your actual plotter
Page 8 of 8 Installation and configuration of KM-PLOTCLIENT HDI-ADI.doc
Page 9

7. Click "Next"
8. Do not change anything, must set to "Plot to File"
Page 9 of 9 Installation and configuration of KM-PLOTCLIENT HDI-ADI.doc
Page 10

9. It is possible to change the plottername, it is the name which is displayed in AutoCAD
10. On last step just click on "Finish"
Page 10 of 10 Installation and configuration of KM-PLOTCLIENT HDI-ADI.doc
Page 11

Printing from AutoCAD
1. Click "Print" select you new added printer and press "OK"
Page 11 of 11 Installation and configuration of KM-PLOTCLIENT HDI-ADI.doc
Page 12

2. This message occour only the first time after adding a new printer.
Type in your spoolpath (change of this path is possible in KM-PLOTCLIENT HDI/ADI dialog)
It is recommended to use UNC path names.
Note: name of Kyocera Mita Plotter above (or name of ICP Controller) must be the same as
“hostname” as you see below.
In this case the spool path above should appear like \\ICP\cfgspool
You can change the name of ICP (hostname) using Web browser as below.
(User name and password for administration site is
admin (user name), admin (password) case sensitive, all lower caps
Alternatively, you can use IP address of the ICP Controller. Then, spoolpath will look like
for example, \\192.168.100.232\sslspool
Page 12 of 12 Installation and configuration of KM-PLOTCLIENT HDI-ADI.doc
Page 13

3a. Make your settings inside, if necessary in all the 3 tabs.
3b.
Page 13 of 13 Installation and configuration of KM-PLOTCLIENT HDI-ADI.doc
Page 14

3c.
Page 14 of 14 Installation and configuration of KM-PLOTCLIENT HDI-ADI.doc
Page 15

4. After pressing "OK" the job will be submitted to your printserver or to KM-PLOTCLIENT
KM-PLOTCLIENT HDI/ADI is installed and configured successfully
Page 15 of 15 Installation and configuration of KM-PLOTCLIENT HDI-ADI.doc
 Loading...