


Getting Started on your GPS
Quick User Guide and FAQ
V151102
01
1.1 Startup screen: the Navigation menu
1.2. Using keyboards
1.3 Quick meun
Basic Setup and Operation Instructions
2.1 Settings menu
2.2 Display settings
2.3 Regional settings
2.4 Route settings
2.5 Sound and Warnings
Frequently Asked Questions
1 Why the GPS run out of battery 10-20 mins after I disconnected
from power supply?
2 If device cannot connect to Satellite or no Signal
3 Factory Reset
4 Map and Speedcam files update

02
1.1 Startup screen: the Navigation menu
The software starts with its main menu, the Navigation menu. From here you can reach all
parts of the software.
You have the following options:
• Tap
to select your destination by entering an address or selecting
a place of interest, a location on the map or one of your Favourite destinations. You
can also look up your recent destinations from the Smart History, enter a coordinate or
use the location saved in a photo.
• Tap
to display the route parameters and the route in its full length
on the map. You can also perform route-related actions such as editing or cancelling
your route, setting a start point for the route, picking route alternatives, avoiding parts
of the route, simulating navigation or adding the destination to your Favourites.
• Tap
to customise the way the navigation software works, watch
the Tutorial, simulate demo routes, or to run some additional applications.
• Tap
to start navigating on the map. The button itself is a
miniature live map that shows your current position, the recommended route and the
surrounding map area. Tap the button to enlarge the map to the full screen.
1.2. Using keyboards
You only need to enter letters or numbers when you cannot avoid it. You can type with your
fingertips on the full-screen keyboards and you can switch between various keyboard
layouts, for example English, Greek or numerical.
noitcurtsnI ksaT
Switching to another keyboard layout, for
example from an English keyboard to a
Greek keyboard
Tap the
button and select
the new keyboard layout from the list.

03
Correcting your entry on the keyboard
Tap
to remove the unneeded character(s).
Tap and hold the button to delete several
characters or the entire input string.
Entering a space, for example between a
first name and a family name or in multiword street names
Tap the
button at the bottom centre of the
screen.
Entering numbers and symbols
Tap
to switch to a keyboard offering
numeric and symbol characters.
Finalising the keyboard entry (accepting
the suggested search result)
Tap
.
Finalising the keyboard entry (opening
the list of search results)
Tap
.
Finalising the keyboard entry (saving
your input)
Tap
.
Cancelling the keyboard entry (returning
to the previous screen)
Tap
.
1.3 Quick menu
The Quick menu is a selection of controls and functions that are frequently needed during
navigation. It can be opened direct
screen
ly from the Map screen by tapping the bottom part of the
The menu will close after a few seconds of inactivity or if you tap .
The menu will also close if you initiate simple controls like muting the device. In other cases
tapping a button will open a new screen with options.
Most of these functions are shortcuts. They are accessible from the menu system.

04
2.1 Settings menu
You can configure the program settings, and modify the behaviour of the software. Tap the
following buttons:
, , .
The Settings menu has several options. Tap
or scroll with your finger to see the full list.
noitpircseD nottuB
Adjust the sound volume, mute your device or change the voice
guidance language. In addition, you can enable and set up different
warnings and alerts.
The recommended route is not always the same between two points.
Offline statistical traffic information (historical traffic data or traffic
patterns) can be taken into account in the route calculation based on
the time of day and the day of week whenever suitable data exists. In
addition, real-time traffic information (TMC) can help you avoid current
traffic events like temporary road closures or a traffic jam caused by an
accident.
Both functions are subject to data availability.
Tap the button to set up these functions.
These settings determine how routes will be calculated. Select the type
of vehicle you are driving, the road types used in route planning, and
the route planning method.
You can fine-tune the appearance of the Map screen. Adjust the map
view to your needs, choose suitable colour themes from the list for both
daytime and night use, change the blue arrow to a 3D car model, show
or suppress 3D buildings, turn track logging on or off, and manage you
Place visibility sets (which Places to show on the map).
Settings related to guidance on the map screen can be adjusted here.
Display related settings include menu animations, separate skins for
daytime and night use and the brightness of the display.
Sound and Warnings
Traffic
Route Settings
Map Settings
Visual Guidance
Display

05
These settings allow you to customise the application for your local
language, measurement units, time and date settings and formats, as
well as to choose the time zone.
Trip logs and track logs contain useful information about your trips. Trip
logs can be saved manually when you reach your destination or you
can turn on the automatic saving here.
Modify the basic software parameters set during the initial setup
process. For details, see page 6.
Delete all saved data and reset all settings to their factory defaults.
Regional
Trip Monitor
Start Configuration Wizard
Reset to Defaults
2.2 Display settings
Display related settings include menu animations, separate skins for daytime and night use
and the brightness of the display.
When animation is turned on, buttons on menus and keyboard
screens appear in an animated way. Screen transitions are also
animated.
Select the style and colours of the application used in daytime mode.
Select the style and colours of the application used in night mode.
Adjust the display backlight.
2.3 Regional settings
These settings allow you to customise the application for your local language, measurement
units, time and date settings and formats, as well as to choose the time zone.
noitpircseD nottuB
This button displays the current written language of the user interface.
By tapping the button, you can select a new language from the list of
available languages. The application will restart if you change this
setting; you are asked to confirm this.
You can set the distance units to be used by the program. Your
software may not support all the listed units in some voice guidance
languages.
Select between 12 and 24 hours time display and the various
international date display formats.
By default, time zone is taken from the map information and adjusted
by your current location. Here you can set time zone and daylight
saving manually.
06
2.4 Route settings
These settings determine how routes will be calculated.
noitpircseD nottuB
You can set the type of vehicle you will use to navigate the route.
Based upon this setting, some of the road types can be excluded
from the route, or some of the restrictions may not be taken into
account in route calculation.
The route calculation can be optimised for different situations and
vehicle types by changing the planning method. See below for
details.
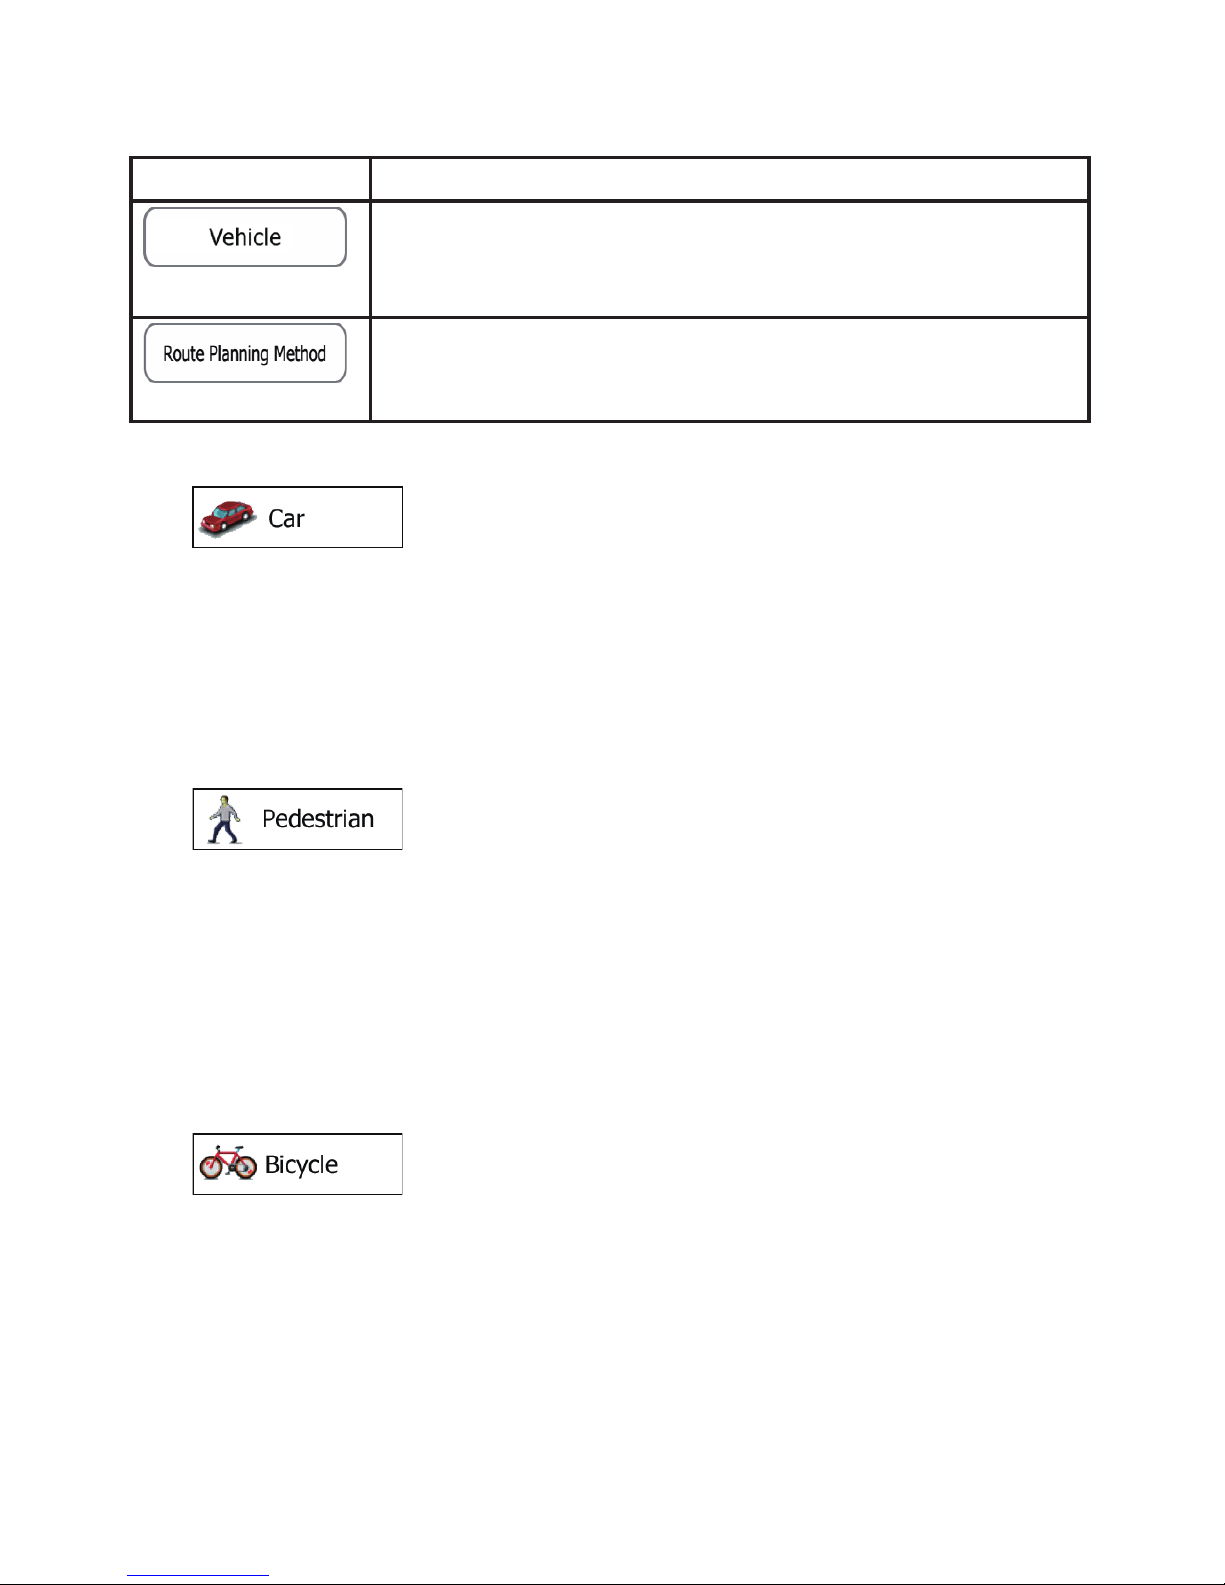
Vehicle types:
• :
• Manoeuvre restrictions and directional constraints are taken into account when
planning a route.
• Roads are used only if access for cars is allowed.
• Private roads and resident-only roads are used only they are inevitable to reach
the destination.
• Walkways are excluded from routes.
•
:
• Neither manoeuvre restrictions nor directional constraints are taken into
account when planning a route.
• Roads are used only if access for pedestrians is allowed.
• Controlled-access roads are excluded from routes.
• A private road is used only if the destination is there.
• Speed limits are not used in route calculation and an average walking speed is
used when calculating the estimated time of arrival.
•
:
• Manoeuvre restrictions and directional constraints (if they are applied to
bicycles in the map data) are taken into account when planning a route.
• Roads are used only if access for bicycles or pedestrians is allowed.
• Controlled-access roads are excluded from routes.
• A private road is used only if the destination is there.
• Speed limits are not used in route calculation and an average cycling speed is
used when calculating the estimated time of arrival.

07
•
:
• All manoeuvres are available in intersections.
• Directional constraints are taken into account the way that opposite direction is
allowed with a low speed.
• A private road is used only if the destination is there.
• Walkways are excluded from routes.
•
:
• Manoeuvre restrictions and directional constraints are taken into account when
planning a route.
• Roads are used only if access for buses is allowed.
• Private roads, resident-only roads and walkways are excluded from routes.
••
:
• Manoeuvre restrictions and directional constraints are taken into account when
planning a route.
• Roads are used only if access for taxis is allowed.
• Private roads, resident-only roads and walkways are excluded from routes.
Route Planning Method types:
noitpircseD nottuB
Gives a quick route if you can travel at or near the speed limit on all
roads. Usually the best selection for fast and normal cars.
Gives a short route to minimise the distance to travel. Usually
practical for pedestrians, cyclists or slow vehicles. Searching for a
short route regardless of the speed, this route type is rarely practical
for normal vehicles.
Combines the benefits of Fast and Short: The software calculates as
if it were calculating the Fast route, but it takes other roads as well to
save fuel.
Results in a route with fewer turns and no difficult manoeuvres. With
this option, you can make your software to take, for example, the
motorway instead of a series of smaller roads or streets.
Under "Setting">"Vehicle">Choose "Lorry" and beside it has a Tool icon and enter Lorry info
like "Length"/"Width" and "Height", the GPS itself can calculate appropriate Route for you.
* Important Note to Lorry Driver:
Lorry

08
2.5 Sound and Warnings
Adjust the sound volume, mute your device or change the voice guidance language. In
addition, you can enable and set up different warnings and alerts.
noitpircseD nottuB
Tap this button to adjust the volume of the different sounds in the
application. A new screen shows the different sound types and their
controls. See below for details.
The loudness of your software is independent of your device settings.
When you exit the program, the device default settings return.
This button shows the current voice guidance profile. By tapping the
button, you can select a new profile from the list of available languages
and speakers. Tap any of these to hear a sample voice prompt. Just
tap
when you have selected the new spoken
language.
Maps may contain information about the speed limits of the road
segments. The software is able to warn you if you exceed the current
limit. This information may not be available for your region (ask your
local dealer), or may not be fully correct for all roads in the map. This
setting lets you decide whether you wish to receive visible and/or
audible warnings.
Adjust the slider to set the relative speed above which the application
initiates the warning.
The following alert types are available:
• Audio warning: you receive a verbal warning when you exceed
the speed limit with the given percentage.
• Visual warning: the current speed limit is shown on the map
when you exceed it.
If you prefer to see the speed limit sign on the map all the time
(normally it is shown only if
your speed exceeds it), you can set it here.
This feature allows you to receive a warning when approaching a Road
Safety Camera. You must ensure on your own liability that using this
feature is legal in the country where you intend to use it.
This button is not displayed when GPS position is not available or if
you are in certain countries where road safety camera warning is
prohibited. Even if the button is available, you are responsible for
checking whether it is legal to use this feature at your location.
Maps may contain driver alert information. Tap this button to turn on or
off these warnings and to set the distance from the hazard to receive
the warning at. These can be set individually for the different warning
types.

09
Frequently Asked Questions
1.Why the GPS run out of battery 10-20 mins after I disconnected
from power supply?
Misuta GPS GO5500 has 650mAH Battery capacity. The battery level will
running outfast if you disconnected from power supply because the GPS
signal is always onand battery capacity will lose by itself from time to time.
So we suggest to use the GPS with Power supply while you are driving.
2. If device cannot connect to Satellite or no Signal
Please check the signal of the GPS in open area.
Application > GPS Viewer, if you see there is GPS signal which means
there is Reception for GPS
Then Try to reset the GPS >Navigation>More>Setting > Reset to Default
Sometime the time of receiving GPS signal may varies, it may take up to
2-3 mins.
3. Factory Reset
There is a reset hole at the back of the GPS. Please kindly hold it down
for about 10 seconds with a pin . After the reset you have to set
the navigation path:
Set the navigation path as following: Turn on the GPS->”Setting”>
“NaviConfig” > “ResidentFlash, choose “Primo File ”>“Primo.exe” .

10
4. Map and Speedcam files update
(Map Update)
Step 1: visit the URL below
http://www.clickyourshop.co.uk/car-gps-update/
Step 2: choose the Map you want to download
Step 3: connect the GPS to the computer
Step 4: open the GPS folder “Primo/content/map”
Step 4: click key “Control + F” and input the country name (eg United
Kingdom) to find out the map files, delete them
Step 5: put the new files to input it.
Step 6: reboot your GPS
(Speedcam files update)
Step 1: Visit the URL below,
http://www.clickyourshop.co.uk/car-gps-update/
to download all files in speedcam
Step 2: connect the GPS to the computer
Step 3: open the GPS folder “Primo/content/speedcam” in speedcam
Step 4: copy the all files to replace the existing files in GPS
Step 5: reboot your GPS
Download Full Navigation Menu
http://www.clickyourshop.co.uk/car-gps-update/

GO-5500
Getting Started on your GPS
Quick User Guide and FAQ
V151104
 Loading...