

MistAway Drum-Based Misting Unit Gen 1.3 Operation Manual

MistAway® Drum-Based Misting Unit – Gen 1.3
Operations Manual
Copyright © 2013 by MistAway® Systems, Inc.

MistAway® Drum-Based Misting Unit – Gen 1.3
Operations Manual
MistAway® Drum-Based Misting Unit – Gen 1.3
Operations Manual
Base Functionality
• MistAway’s Drum-Based Misting Unit, Gen 1.3, is designed to
atomize a dilute botanical insecticide (typically contained in a 55
gallon drum) through an installed nozzle circuit to control
mosquitoes and other annoying insects.
• The capacity of the unit is dependent on the configuration of the
nozzle circuit. A practical field maximum for one zone is about
75 nozzles (some in parallel) connected by 900 feet of tubing.
• The unit may be programmed to mist up to 24 times daily, with
each mist cycle having its own independent duration. A typical
program will consist of 2 to 3 mist cycles per day, each with a 45
– 60 second duration, for a daily total of 90 – 180 seconds.
• The unit will also mist in response to a signal from a handheld
remote transmitter for a duration programmed by the user.
Optional Equipment and Functionality
• Agitating Valve: Each mist (including remote mists) will be
preceded by an agitation cycle that will ensure thorough mixing
of the drum contents prior to misting. In addition, there is a
capability to program a once-daily agitation that is independent
of any programmed or remote mist. The agitating valve also
eliminates the possibility of a siphon emptying the drum
contents.
• Leak Detection: In the event of a leak in the misting nozzle
circuit, this option will shut-off the unit until the leak can be
repaired.
• Electronic Anti-Siphon Valve: For units without agitation,
addition of this valve eliminates the possibility of a siphon.
• Wind Sensor: Sensor input will inhibit a programmed mist if the
wind speed is higher than a user-defined limit for a 5 minute
period following the scheduled mist.
• Zone Kit: Kit will enable the unit to either independently
manage areas with two different application schedules or
effectively double the protected area that the unit would
otherwise support.
• iMistAway Module: Allows the unit to be remotely monitored
and controlled via an Internet connection.
Contents
Section 1 Important Safety Instructions
Section 2 Warranty
Section 3 Setting Up the Unit
Section 4 Using the Remote
Section 5 Managing the Insecticide
Section 6 Maintenance and Winterization
Section 7 Troubleshooting and Error Codes
Section 8 Frequently Asked Questions
Appendix A Unit Component Description
Appendix B Controller Menus
Appendix C Operating Displays
Appendix D Manual Operations
Section 1
Important Safety Instructions
Section 1
Important Safety Instructions
To Protect Against Accidental Exposure to Insecticide
Permitted Insecticides and Handling
• Use only insecticides that are labeled for use in automated
misting systems, and use only as described in the label.
• Insecticides that state “Not for use in outdoor residential misting
systems” may not be used under any circumstances.
• Once insecticide has been introduced, ensure 6” air gap
between hose and drum bung is maintained when filling.
• Insecticide label and dilution statement should be securely
attached to the unit reservoir in a weatherproof pouch.
• Strictly follow label instructions regarding storage and disposal
of insecticide and container.
Nozzle Circuit Installation:
• The nozzle circuit should be configured and installed so that
insecticide does not drift off the property.
• Nozzles should be directed to spray towards the target area and
away from swimming pools, water bodies, or eating and cooking
areas.
Using the Unit (continued)
• The unit is not to be used by persons with reduced physical,
sensory or mental capabilities, or lack of experience and
knowledge, unless they have been given supervision or
instruction.
• Children are not to use the appliance or play around it, even
when supervised.
• The unit is not to be installed at altitudes higher than 2000
meters.
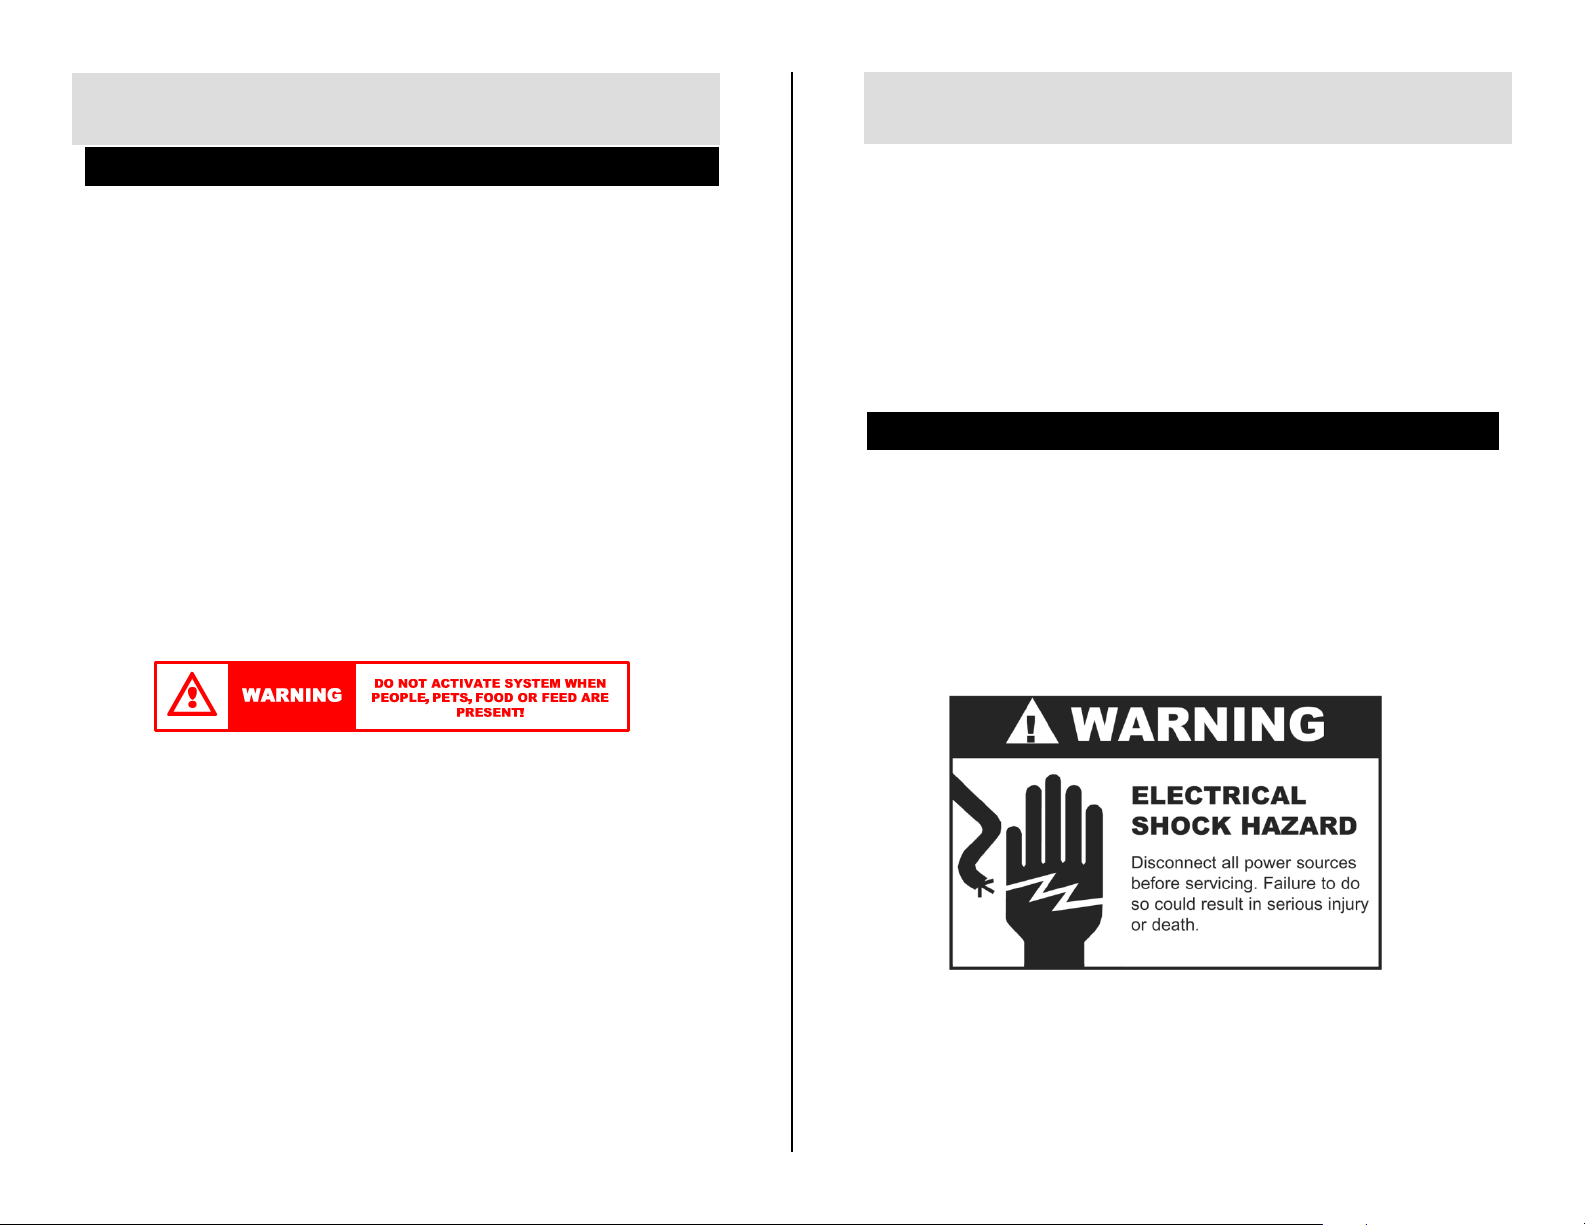
To Protect Against Fire or Electric Shock
• Ensure unit is positioned where it is free from flooding or
exposure to irrigation system spray.
• Unit must be plugged into electrical outlet with ground fault
interrupt protection. (GFI/GFCI)
• Extension cord must not be used.
• Disconnect unit from power source if replacing components.
• Replace fuses only with those of equivalent value.
Using the Unit
• Do not allow the unit to mist in the presence of people, pets or
food.
• Unit must be configured, installed and operated so that any
insecticide application complies with all label directions,
including application rate and prohibitions against offsite drift.
• The unit reservoir and controller should be locked.
• Unit and remote transmitter should be secured against access
by children.
• DIP Switches on remote transmitter should be repositioned
(from factory setting) to ensure that another transmitter will not
activate unit.
• If a leak or siphon in nozzle circuit is suspected, discontinue use
of unit until it is repaired.
• Unit must never be used for cooling.

Section 2
WARRANTY
Section 2
WARRANTY
MistAway Systems Inc. (MSI) warrants this Product, the MistAway Drum-Based
Misting Unit, Gen 1.3, to be free from defects in material and workmanship as
follows:
For a period of one (1) year from the date of original installation (whether or not
actual use begins on that date), MSI will repair or replace defective parts, with new
or refurbished parts, at its option, at no charge. This warranty does not include labor
or other costs incurred for diagnosing, removing, installing, shipping, servicing or
handling of either defective parts or replacement parts.
This warranty applies solely to equipment supplied by MSI and is in lieu of all other
warranties, expressed or implied. No person, agent, dealer, or distributor is
authorized or empowered to give any other warranty or to assume any other liability
on behalf of MSI
Warranty Conditions:
• This warranty is extended only to the original Purchaser and is not transferable.
• A purchase receipt or other proof of date of original purchase will be required
before warranty service is rendered.
• Installation, use, care and maintenance must be normal and in accordance with
instructions contained in the operating manual and MSI’s service information.
Failure to do so shall void this warranty.
• All claims for failure to conform to specifications or defects in material or
workmanship under this warranty must be made promptly after discovery and,
in any event, must be received by MSI not more than one year after the original
purchase date.
• MSI reserves the right to inspect the equipment prior to any decision involving a
warranty claim.
• MSI reserves the right to make warranted repairs at either the installed site or at
MSI’s location in Houston, TX. If MSI opts for repair at its own location, the
Purchaser is responsible for shipping the item to MSI’s Houston location at its
expense.
The foregoing is MSI’s only obligation and Purchaser’s exclusive remedy for breach
of warranty. Purchaser’s failure to submit a claim as provided above shall
specifically waive all claims for damages or other relief, including but not limited to
claims based on latent defects. In no event shall Purchaser be entitled to special,
direct, indirect, incidental, exemplary or consequential damages, expenses, injury,
lost profits, lost savings, business interruption, loss of business information, or any
other pecuniary loss arising out of the use of or inability to use the equipment. In
any case, MSI’s entire liability shall be limited to the amount Purchaser actually
paid for the item.
Except as modified in writing signed by both parties, this warranty is and shall
remain the complete and exclusive agreement between the parties with respect to
warranties, superseding all prior agreements, oral or written, and all other
communications between the parties relating to the subject matter of this
agreement.
Manufacturer’s obligation under the warranty shall not apply to:
• Any equipment, which has been damaged by negligence, misuse, abuse,
neglect and/or improper adjustment, accident, vandalism, acts of God, acts of
war, whether declared or undeclared, improper application, or any other
contingency beyond the control of MSI
• Cosmetic damage
• Damage in transit
• Failures caused by products not supplied by MSI
• Failures, which result from faulty installation, set-up adjustments, improper
operation, power line surge, improper voltage supply or damage from lightning
• Any equipment that has been repaired or altered without authorization from MSI
or in a manner inconsistent with such authorization
• Any unit that has not been maintained in accordance with the operator’s
manual
• Normal wear on any item or piece of equipment
• Lost items
Section 3
Setting Up the Unit
Section 3
Setting Up the Unit
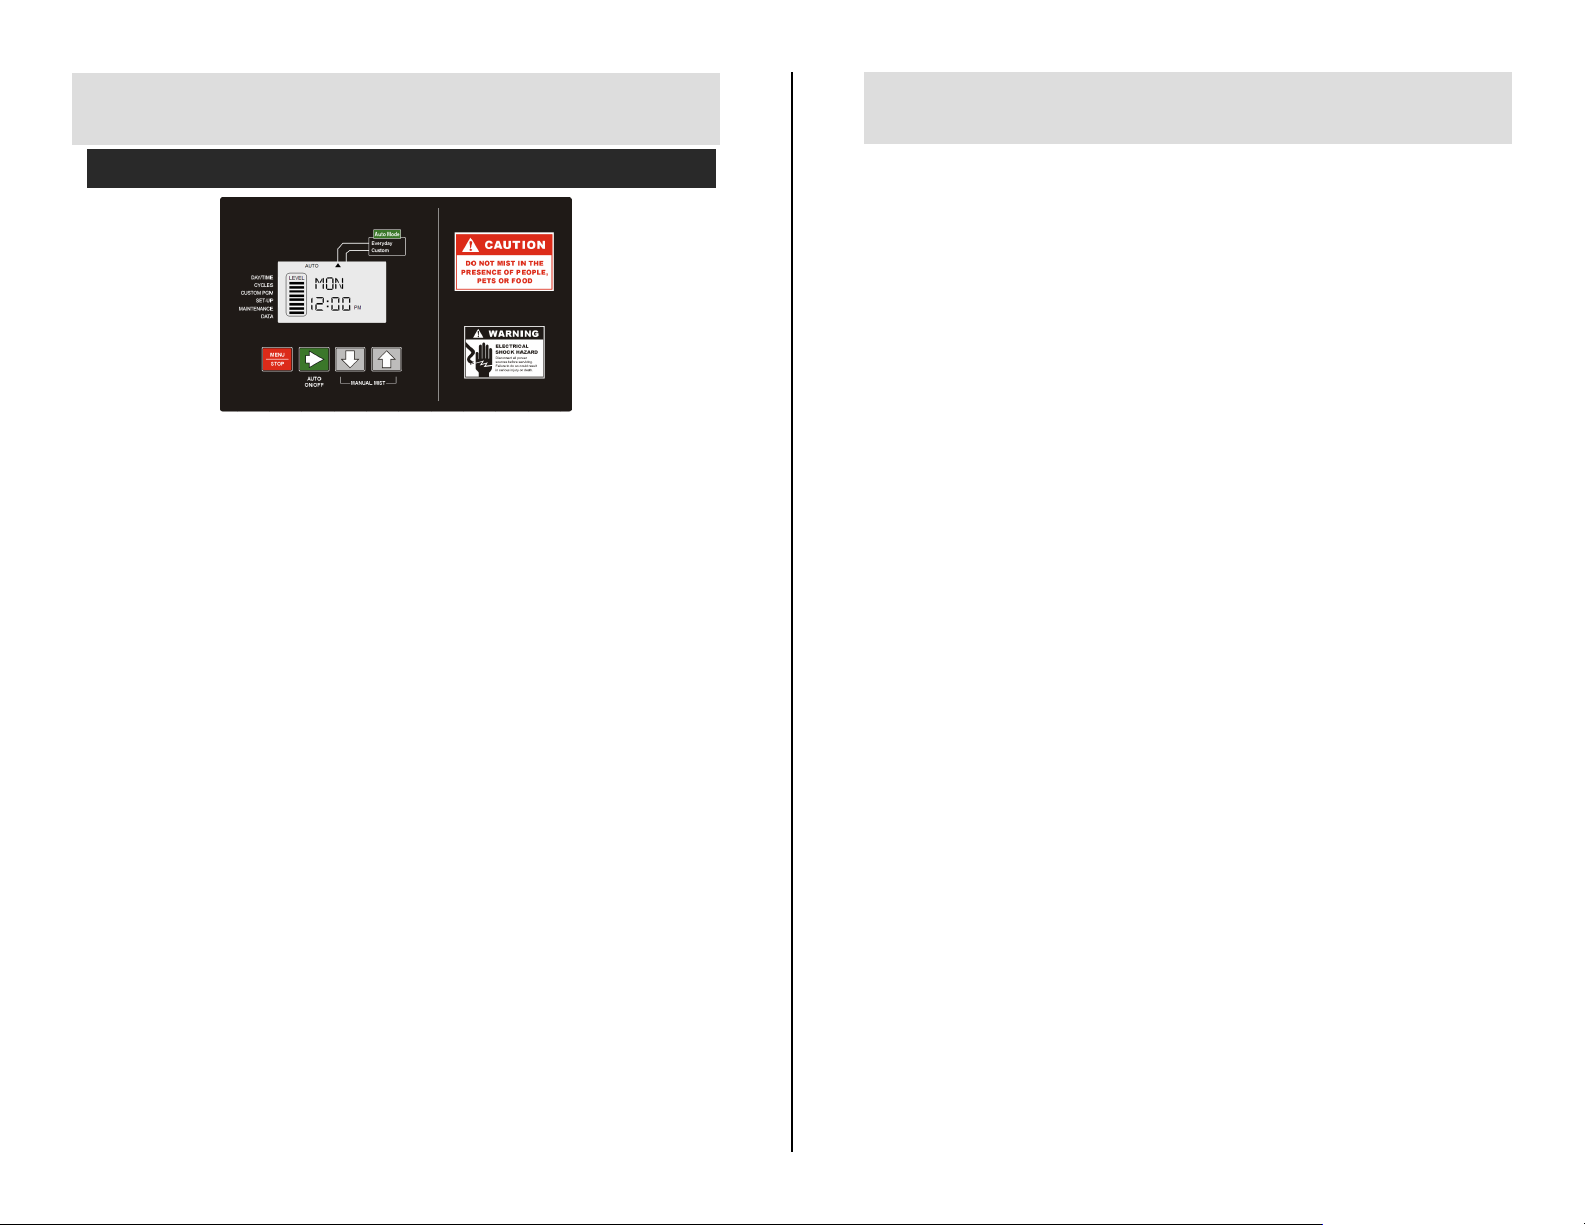
Using the Controller
• Pressing Green ► button will cycle through each of four System
Modes. The ▲ at the top of the display points to the active
System Mode.
1.OFF – If equipped with agitation, unit will perform a daily
agitation cycle. Otherwise it will sit idle.
2.REM – Unit will allow Remote and MANUAL MISTs, but no
AUTO MISTs. (For pre-2012 systems: displayed as ON)
3.AUTO-EVERYDAY – Misting program runs daily. This is the
most commonly used System Mode.
4.AUTO-CUSTOM – Misting program runs only on days set in
CUSTOM PGM menu.
• Pressing Red MENU/STOP button displays triangular cursor by
DAY/TIME position on left side of display. Use ▲ or ▼ buttons to
cycle through menu structure. Use Green ►button to select menu
item and view or change data element within that item.
• Within a menu item, the convention is that the flashing data
element can be changed with the ▲ or ▼ buttons. Move to the
next data element with the Green ► button.
• Exit the menu item by pressing the MENU button. The unit will
revert to previous System Mode in 3 minutes if the MENU button is
not pressed.
• Clear any error code by pressing the Red MENU/Stop button for 5
seconds. The System Mode will return to its previous state
(usually AUTO Everyday).
• To reset the controller to factory settings, unplug the unit, and hold
down MENU and the ▲ buttons while plugging the unit back in.
Mist Cycles, remote duration and number of nozzles must be
reentered.
1. Position Drum
• On firm level surface
• Free from flooding or sprinklers
• Near GFCI outlet
2. Remove Lid
Assembly and
verify components
• Lid Assembly in plastic enclosure
• Drum and pre-drilled lid
• Remote transmitter (remote receiver
and antenna inside enclosure)
• Soft drum lid cover
• Pump suction pipe and filter
• Auto-Drain valve assembly
• Agitator j-tube and eductor (if “with
Agitator”)
• 4 each - bolts, flat washers, lock
washers, nuts
3. Assemble Unit • Align chassis with four holes (large
bung in front of controller)
• Insert ½” pump suction line into pump
• Insert ¼” black tubing of Auto Drain
valve assembly into pump discharge
• If “with Agitator” unit, insert j-tube into
3/8” agitator valve fitting
• Secure chassis to lid using 7/16”
wrenches: sequence - bolt, chassis,
lid, flat washer, lock washer, nut
• Position lid assembly on drum
• Note: all holes oversized to ease
assembly
4. Connect Nozzle
Circuit
• To bulkhead fitting
• Install optional zone kit according to
instructions provided.
5. Connect Electric
Power
• GFCI Outlet
• 115 volts minimum. Confirm voltage
with multi-meter.
• 15 amp circuit required. Unit draws 9
amps when misting. Ensure total load
of unit plus all other devices on circuit
does not exceed breaker rating.
*Note: Instructions noted in italics are required for units supplied with
Agitating valves.
 Loading...