

Page 1
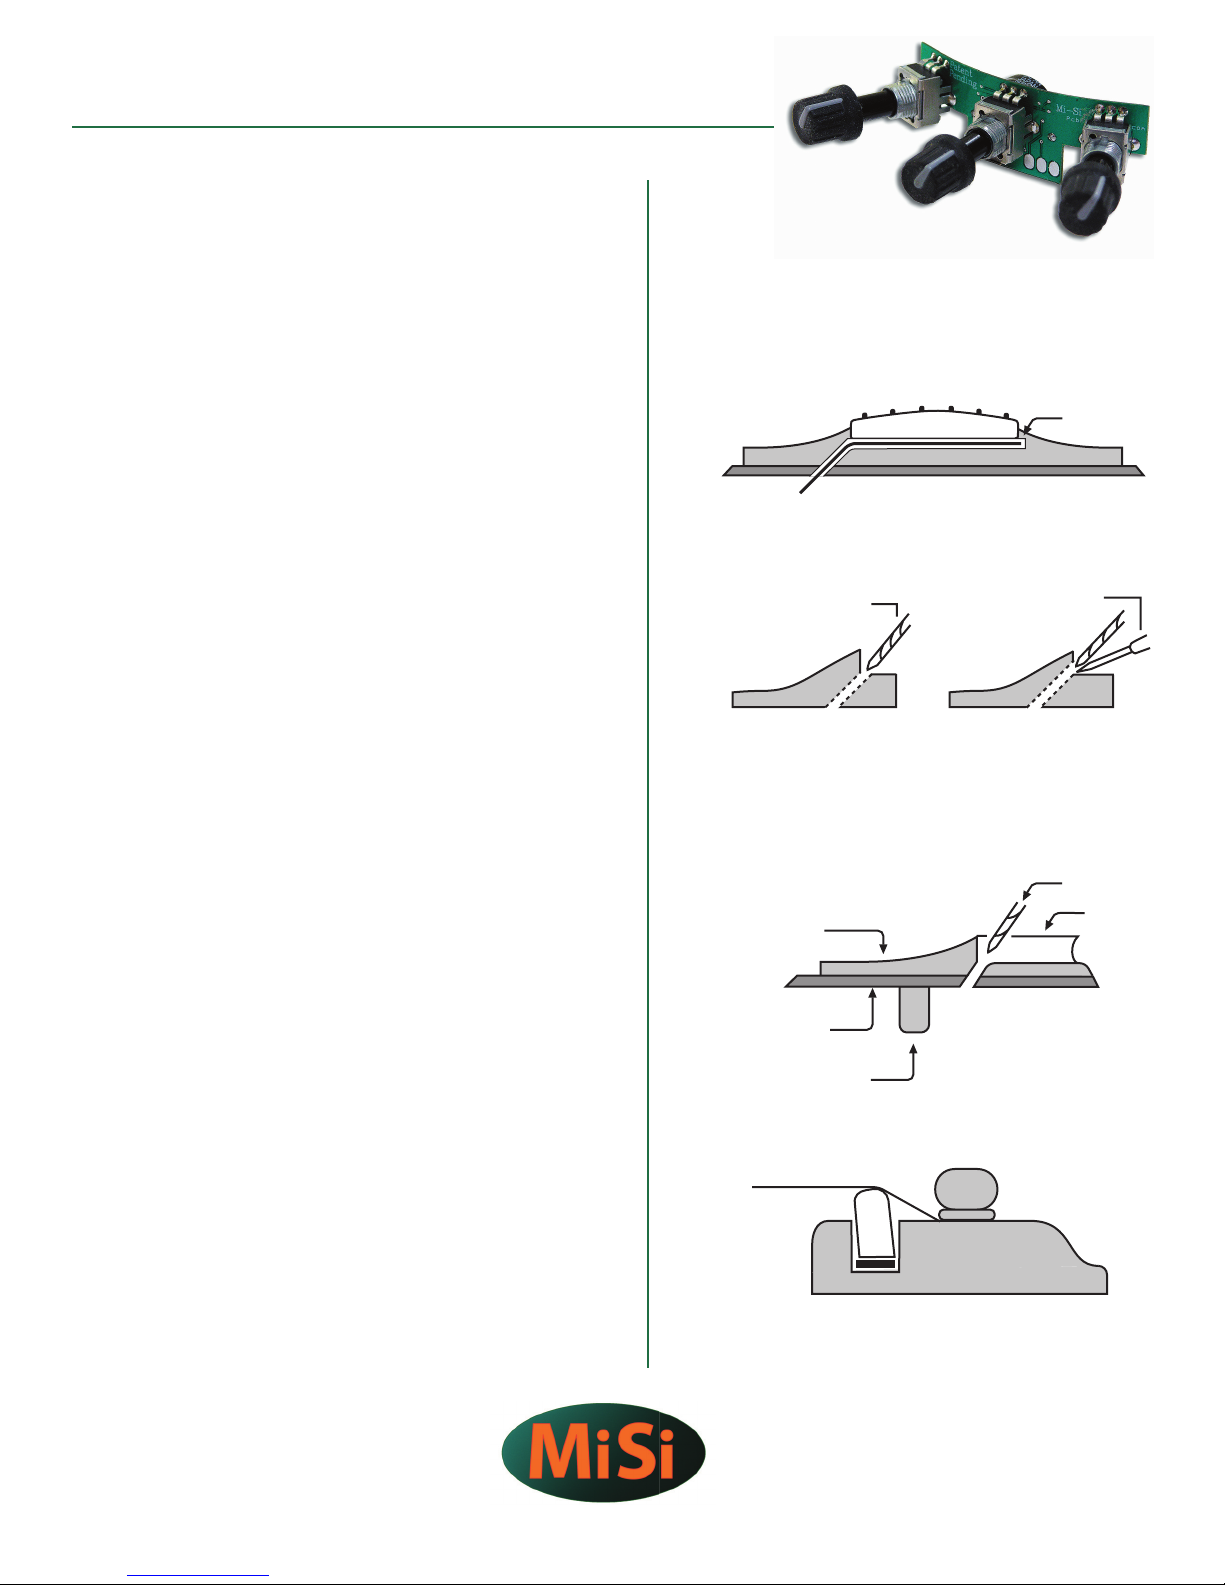
Mi-Si Align • Owner’s Manual
CONTENTS
• Align active battery-free preamplifi er
• L.R. Baggs undersaddle pickup
• Power Charger
OVERVIEW
The Mi-Si Align system features an active, battery-free preamp designed specifi cally to work with
the L.R. Baggs undersaddle acoustic guitar pickup. The preamp for this system uses Mi-Si’s custom
piezo linearization scheme - allowing for the most truthful and accurate sound from the pickup.
All you have to do is power up for 60 seconds using the Mi-Si Power Charger, providing you with
up to 8 hours of performance time.
The Align is the single most fl exible, compact and lightweight battery-free preamp currently
manufactured. The board is much thinner than more traditional circuit boards that are 62 mils
thick. It comes standard with active bass, treble and volume controls and can be installed virtually
anywhere within the instrument. For even greater fl exibility in installation the board could be cut
into three separate pieces, connected with wire jumpers. There are special pads provided on the
board to solder these jumpers.
fig. 1
fig. 2 fig. 3
drill bit
normal saddle:
drill floor
short saddle:
drill side wall
extension
jeweler's screwdriver
CAUTION
We recommend professional installation of this system. Installation instructions should be studied
carefully before proceeding. Mi-Si Electronics Design, Inc. will not be responsible for any damage
to the instrument or personal injury resulting from installation, improper installation or any
misuse of the product.
USE ONLY THE POWER CHARGER PROVIDED IN THIS PACKAGE TO POWER UP THIS
PRODUCT! UTILIZATION OF ANY OTHER POWER SUPPLY OR MODIFICATION TO EXISTING
ONE MAY CAUSE PERMANENT DAMAGE TO THE SYSTEM AND WILL NOT BE COVERED BY
WARRANTY!
PICKUP INSTALLATION
Installation notes: For optimum performance of the Element, the bridge slot must have a
clean, fl at surface free of any debris or over-spray from the fi nish. The slot must be a minimum of
.125” (1/8”) deep, but we suggest a depth of at least .187” (3/16”) to avoid excessive saddle tilt.
The commonly-known 50/50 rule applies: The amount of saddle visible above the bridge
surface (with pickup installed) should be no greater than the amount of saddle in the slot beneath
the bridge surface; otherwise the balance and output of the pickup may suff er.
Inspect the inside of the guitar and note the position of the braces and the pickup in relation to
the saddle slot. Drill at either end of the slot on the side that will enable you to avoid all braces
as you penetrate the top, as shown in fi gure 4. Blow out the slot with compressed air and check
for remaining debris.
Important: Round the inside of the hole where it meets the bottom of the slot with a small,
sharp knife or small fi le to avoid pinching the pickup as the saddle lies on it.
Feed the pickup into the slot from inside the guitar with either side up. Inserting a toothpick or
similar object through the hole from the outside is helpful in fi nding the location of the hole on
the inside of the guitar.
fig. 4
This view depicts the bridge at an angle that is level with the guitar
top and perpendicular to the saddle slot. Note the rounded edge
where the hole has been drilled.
drill bit
bridge
guitar top
brace
slot
fig. 5
proper saddle-pickup contact
(saddle lean exaggerated)
www.mi-si.com
Page 2
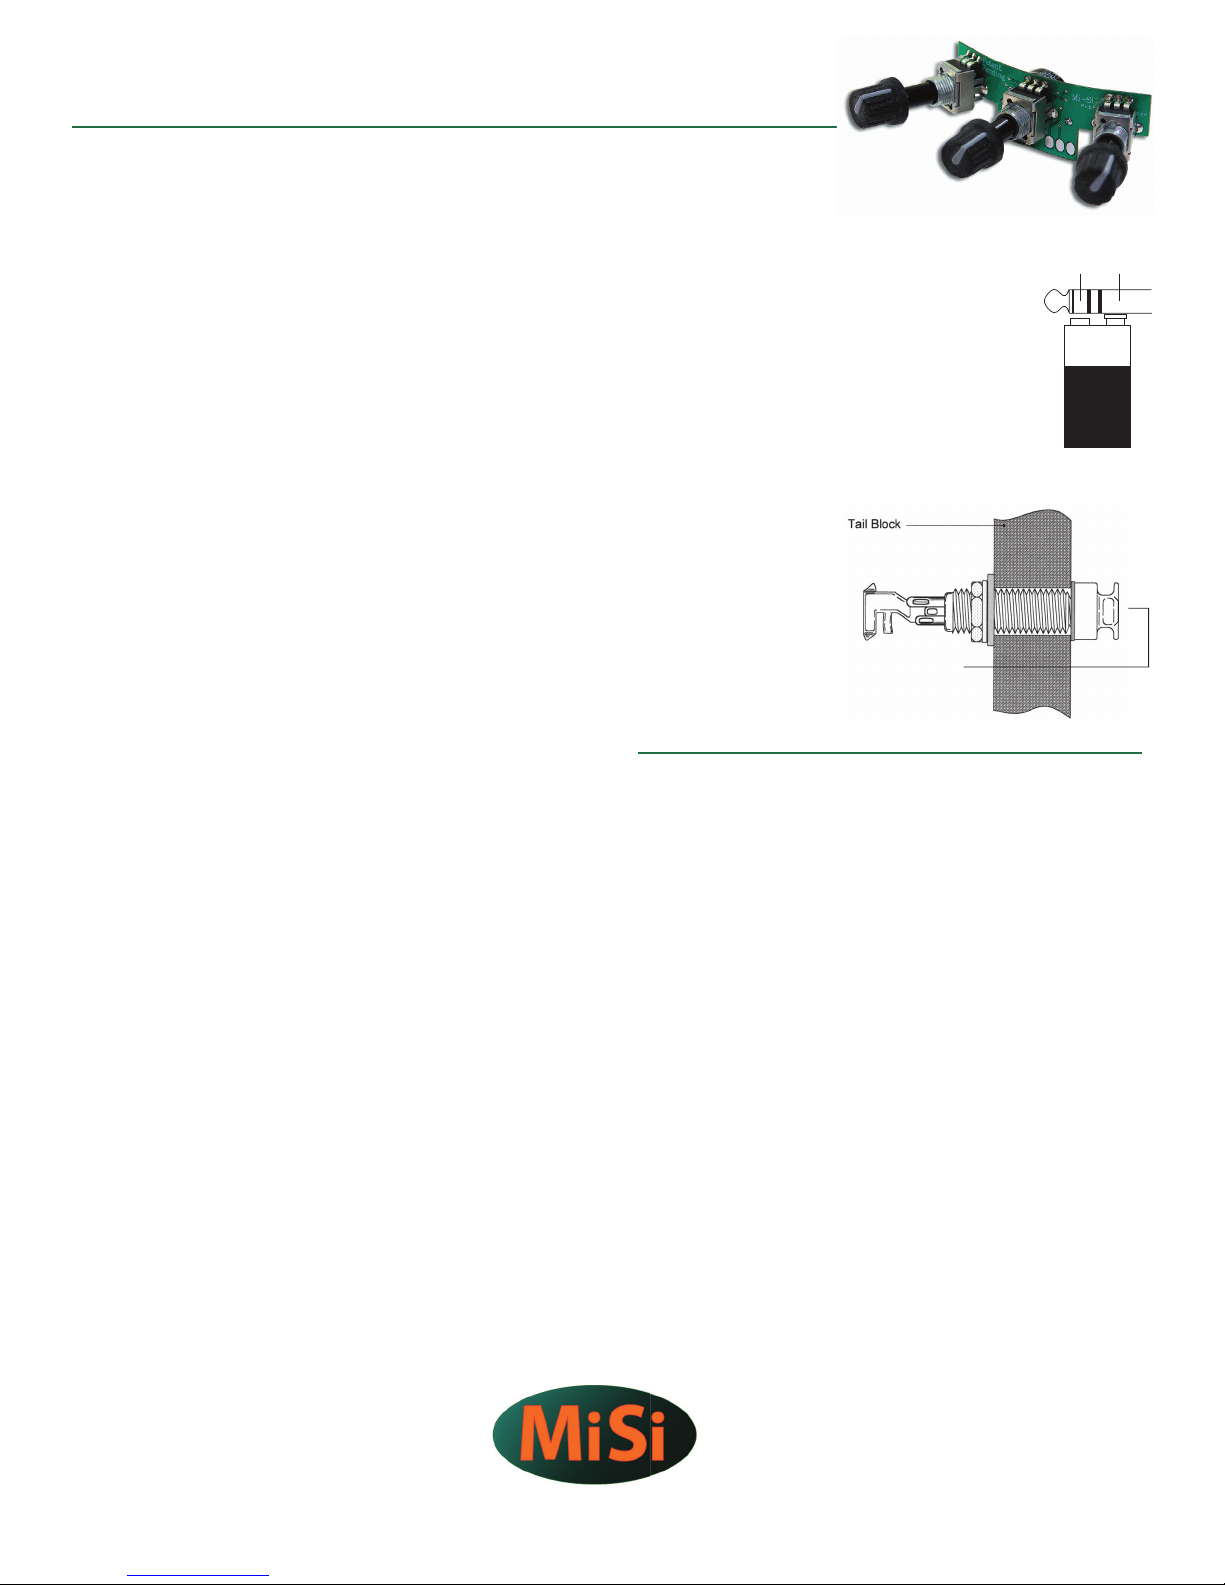
Mi-Si Align • Owner’s Manual Cont’d.
Important: The fi t of the saddle in the slot is the single most important factor in this
installation. It is crucial that the bottom of the slot and the lower surface of the saddle be
fl at to make even contact with the pickup. The saddle should fi t loosely enough in the slot
that it can be pulled out with your fi ngertips. It will then have a slight forward lean when
the strings are under tension. It is absolutely necessary to compensate for this slight lean by
sanding a tilt in the bottom of the saddle so it still sits fl at on the pickup when the strings
are at tension (see fi gure 5). If the saddle is too tight, binds at all or is too loose, this will
have a negative eff ect on the string balance and output. Set the saddle in the slot, noting
how much material must be removed to compensate for the thickness of the pickup. Sand
the bottom surface of the saddle on a belt sander until the scribe line is just above the
bridge top. Finish sanding the bottom by hand. It is best to do this against a machined fl at
surface with fi ne sandpaper. Use a straightedge with a strong light source to inspect the
fl atness of your saddle.
Insert the pickup all the way into the slot, place the saddle on top of it, and temporarily
secure it with a piece of tape. Secure the wire with a wire clip as close to the exit hole as is
practical, with a one- to two-inch service loop.
Failure to secure the wire may produce boominess and feedback. Now restring the guitar,
and plug into your amp or PA. Confi rm that the EQ controls are at their default positions
and test the Element, paying careful attention to string balance. If the sound is satisfactory,
proceed to the next section. If not, read on.
String balance problems are almost always the result of an uneven interface between
the bottom of the saddle and the saddle slot. If the string balance is uneven, check these
surfaces to ensure that they are both completely fl at.
Tip: A segmented packaging knife blade is a useful tool in determining the fl atness of the
saddle slot. Break off enough blade segments so as much of the blade fi ts into the slot as
possible. Briefl y use a back-and-forth scraping motion to see if the slot bottom scrapes
evenly. Any high or low spots will be readily apparent. A minor low spot in the slot may be
compensated for by shims under the pickup; however, for gaps over .005” or multiple gaps,
we recommend rerouting the slot.
CHARGING AND PLUGGING IN
To charge the Align preamp, plug the Power Charger into a 120/220 V AC outlet. Then plug
in the Power Charger 1/4” stereo plug into the pickup’s endpin jack and wait 60 seconds.
Now your pickup is ready for 8 hours of performance time (actual playing time may vary
depending on playing style). For best performance increase the charging time up to 120
seconds for the initial 2-3 charging cycles.
You can plug your instrument into ANY input of ANY system or amplifi er regardless of
input impedance. In the same manner, you can use ANY type of shielded MONO cable
- regardless of its capacitance. Your sound will not be altered. You can enjoy the benefi ts of
an active amplifi ed system without worrying about batteries.
USEFUL TIP
Using the Power Charger to power up your preamp is truly
remarkable. But what if you forgot or lost your Power Charger?
GroundRing
Don’t worry! Although we don’t promote the use of batteries, in this
case all you need to power up your system is any stereo cord and a
common 9V battery.
Plug the stereo cord into your instrument. Hold the 9V battery so
+
-
9V
that the positive terminal is touching the Ring of the stereo plug and
the negative terminal is touching the Ground. Hold it like this for
60 seconds and you are ready to play for 16 hours. The system will
not be damaged by accidentally connecting the battery in wrong
direction.
ENDPIN JACK INSTALLATION
The endpin jack can be
permanently mounted as shown.
Smaller
Threaded
Section
Protrudes
LIMITED WARRANTY
The warranty period is one (1) year from the date of purchase. During this time, Mi-Si
Electronics Design, Inc. will replace a faulty unit at their discretion. This warranty does not
cover any consequential damages or damage to the unit due to misuse, accident or neglect.
Mi-Si Electronics Design, Inc. retains the right to make such determination based on results
of inspection performed at the factory. Products returned to Mi-Si Electronics Design, Inc.
for repair or replacement must be shipped in accordance to Return Policy, as follows.
RETURN POLICY
Mi-Si Electronics Design, Inc. will accept returns for products purchased within 30 days
from receiving the goods.
To return products to Mi-Si Electronics Design, Inc. you must do the following:
1. Email Mi-Si at [email protected] describing the reason for the return.
2. Enclose a copy of the original Bill of Sale with the product in its original undamaged
packaging. The package must be returned in damage resistant packaging stuff ed
with appropriate amounts of cushion.
3. Warranty repairs or replacements will be sent automatically free of charge.
4. The customer will not be refunded shipping or insurance costs. Additionally, return
shipping charges, including insurance, are the responsibility of the customer unless
the return or replacement is the fault of Mi-Si Electronics Design, Inc.
www.mi-si.com
 Loading...