

Mirror Image Teleprompters LC-10HB User Manual
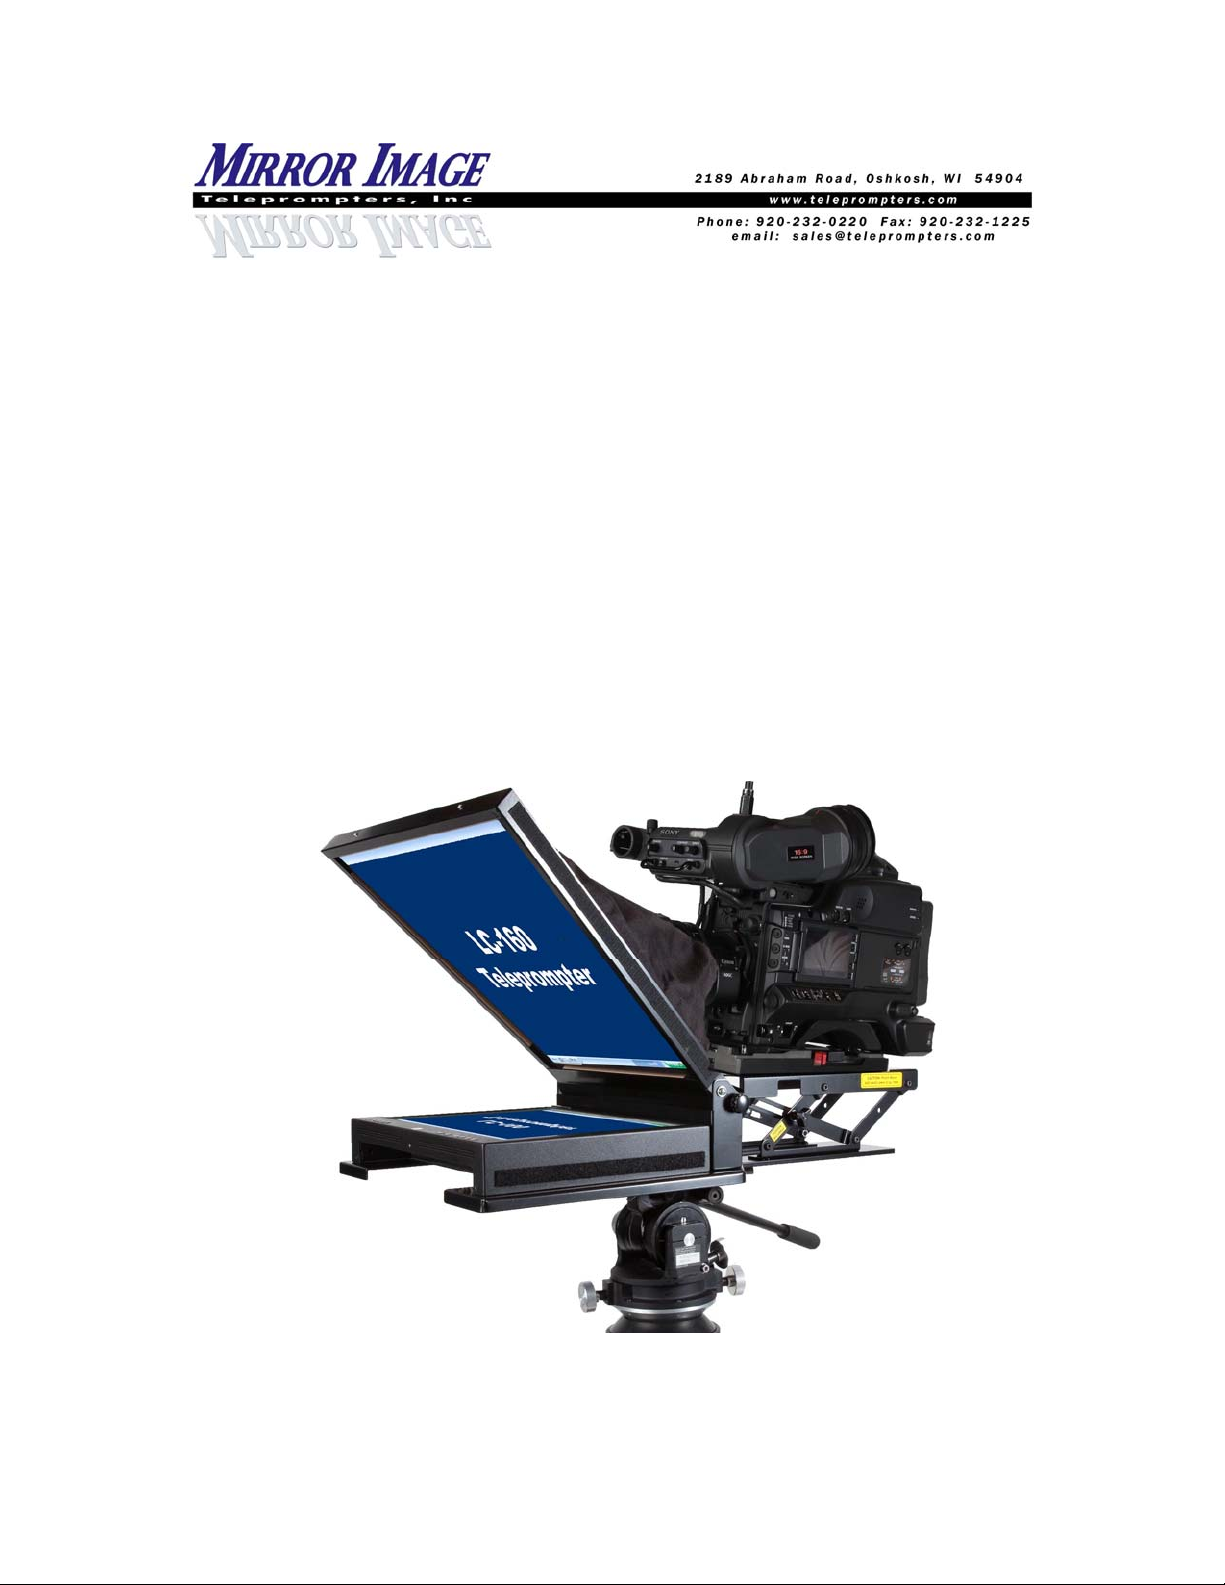
LCD Starter Series & LCD Pro Series
Set-Up Instructions
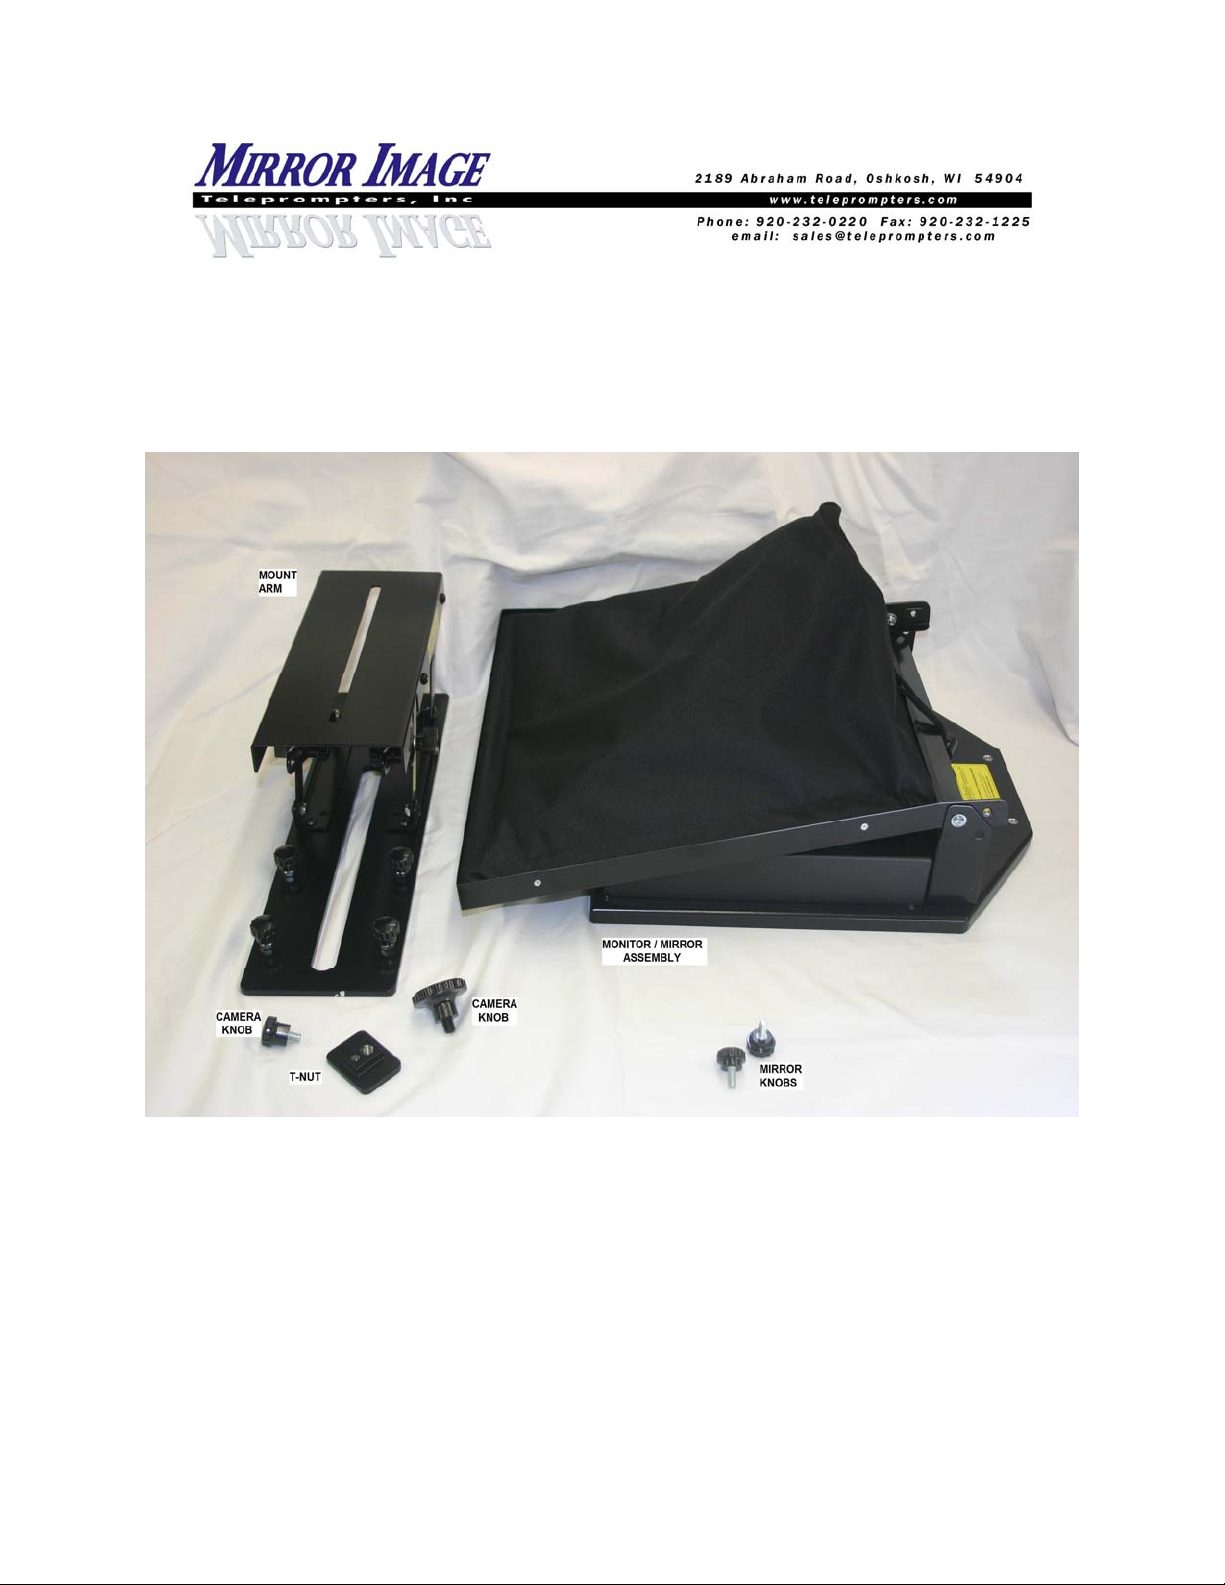
Teleprompter Parts
Parts List:
Mount Arm (1)
T-Nut (1)
Large Camera Knob (1)
Small Camera Knob (1)
Mirror Knob (2)
Monitor/Mirror Assembly (1)
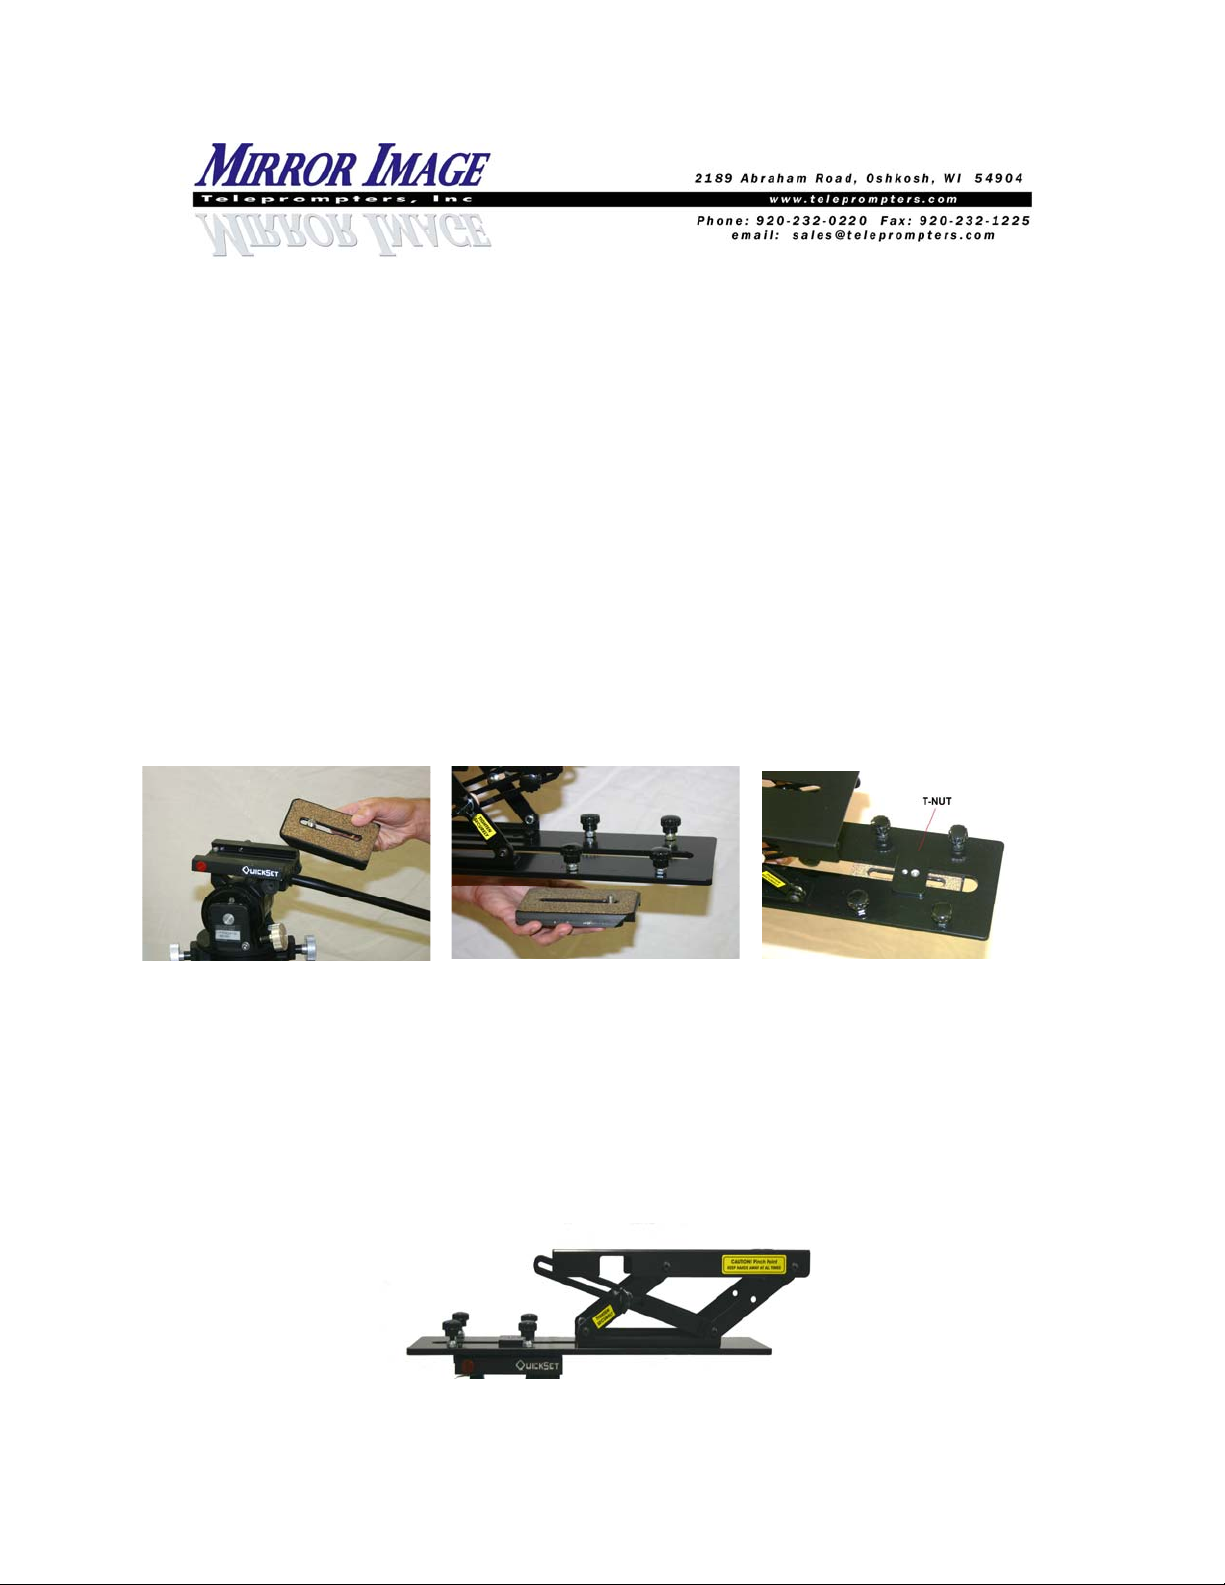
Step #1A
Remove & discard foam, washers, nuts & bolt from mount arm (these were used in shipping to
keep parts from being lost). Remove the quick-release plate from your tripod head. Set the plate
on a flat surface (table, desk, etc) with anti-skid pads on top & tripod’s bolts pointing up. Set
Mirror Image mount arm on top of the plate so that the camera bolts go thru the long slot in
mount arm. Place Mirror Image T-Nut into the long slot so that it sits over the top of the tripod’s
bolts (longer, flat surface of the T-Nut should be on top so that the protruding surface fits into the
slot on the mount arm). Thread the tripod’s bolt(s) into the tapped hole(s) in the t-nut
(sandwiching the mount arm between the t-nut & quick-release plate). Before tightening the
bolt(s) completely, position the t-nut & plate assembly near the front of mount arm (between the
4 bolts & knobs). Tighten securely.
tep #1B
S
Place mount a
rm & tripod plate assembly back on tripod’s head.
 Loading...