

Mira Leap Walk In Installation Manual
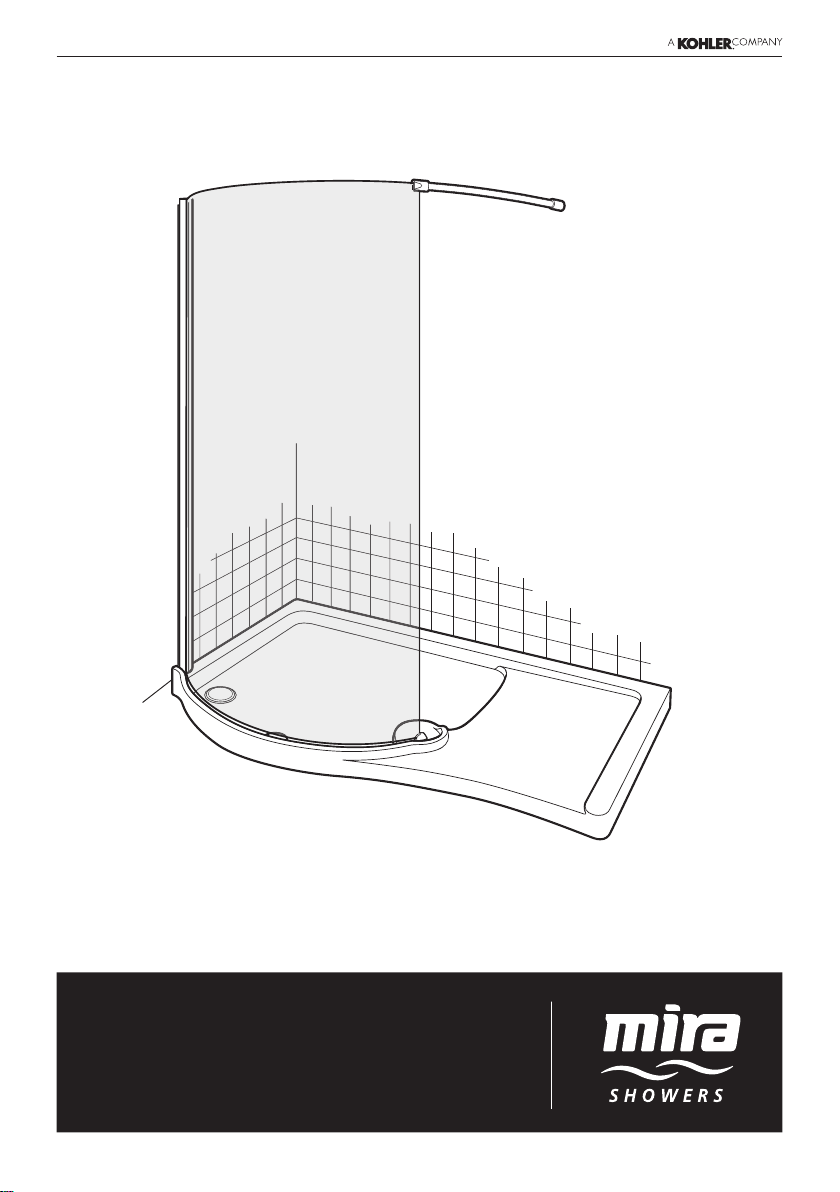
Leap Walk In
A ICOHLER.
COMPANY
These instructions must be left with the user
Installation Guide
1
1245548-W2-A

1245548-W2-A
2

INTRODUCTION
Thank you for purchasing a quality Mira product. To enjoy the full potential of your new
product, please take time to read this guide thoroughly, having done so, keep it handy for
future reference.
The following pages aim to provide comprehensive installation instructions, plus advice on
how to care and maintain your product.
We recommend that the unit is installed by a qualied plumber or engineer.
GENERAL INFORMATION
General
1. Read all of these instructions and retain this guide for later use.
2. Pass on this guide in the event of change of ownership of the installation site.
3. Follow all warnings, cautions and instructions contained in this guide.
4. Remove all protective tape from the enclosure before installation.
5. Excessive ow rates may lead to overowing and leaking.
6. Water Spray may extend beyond the entrance of walk-in enclosures and we recommend
tiling of the adjacent area.
7. We recommend a drainage test is carried out to ensure the waste is adequate for the
ow delivered.
8. Doors that open outwards may drip water onto oor, ensure the oor covering will not
be affected by water.
9. Walk ins and divider panels are designed to minimise water escaping outside the
enclosure but by their very nature are not fully water tight.
Safety Information
1. Care should be taken when drilling into walls and oors to avoid any hidden pipes or
wires.
2. We strongly recommend that all glass panels are moved by a minimum of two people
and that any protective packaging along the glass edges is kept in place for as long as
possible to prevent damage before installation.
3. During installation we recommend additional help in lifting heavy doors and side panels.
4. Wear protective footwear when lifting panels.
5. Wear safety glasses when drilling.
Before Fitting the Enclosure
1. Ensure the tray is level and walls are vertical and square.
2. Shower ttings should be positioned such that water discharges down the centre line
of a bath or across the opening of a shower cubicle door.
3. Ensure water is not directed at the shower door or side panels. This could result in water
spraying outside of the enclosure.
4. Ensure the door opening is positioned correctly and is adequate for all users.
5. Ensure there is a complete silicone seal between the tray and nished wall.
6. Ensure the door is undamaged and no parts are missing.
3
1245548-W2-A
A
ICOlf.ER.COMPANY
7. Ensure the size of door/panel is suitable for the installation. Tempered safety glass
cannot be cut.
8. Ensure nothing can impact the door or glass panels during operation.
When Fitting the Enclosure
1. The wall channels must be installed onto a tiled or waterproof nished at and even wall
surface. Failure to do so will result in an unsatisfactory seal, which may cause property
damage.
2. We recommend our enclosures are tted onto shower trays.
Warning! The use of grout/tile cleaners, scale removers, abrasive scourers, drain
unblockers and other powerful detergents may lead to damage of metallic, plated and
plastic surfaces, including the tray and shower waste.
Use of the Enclosure
1. High water pressure and ow may lead to excessive splashing causing water to escape
outside of the enclosure.
2. In certain circumstances such as cleaning, water sprayed directly at the seals may
escape outside of the enclosure.
GUARANTEE
For domestic installations, your enclosure has the benet of our lifetime guarantee which
starts from date of purchase.
For non-domestic installations, we guarantee the product against any defect in materials
or workmanship for a period of one year from the date of purchase.
For terms and conditions refer to the back cover of this guide.
1245548-W2-A
RECOMMENDED USAGE
Domestic
Light Commercial
Heavy Commercial
Healthcare
ü
ü
û
û
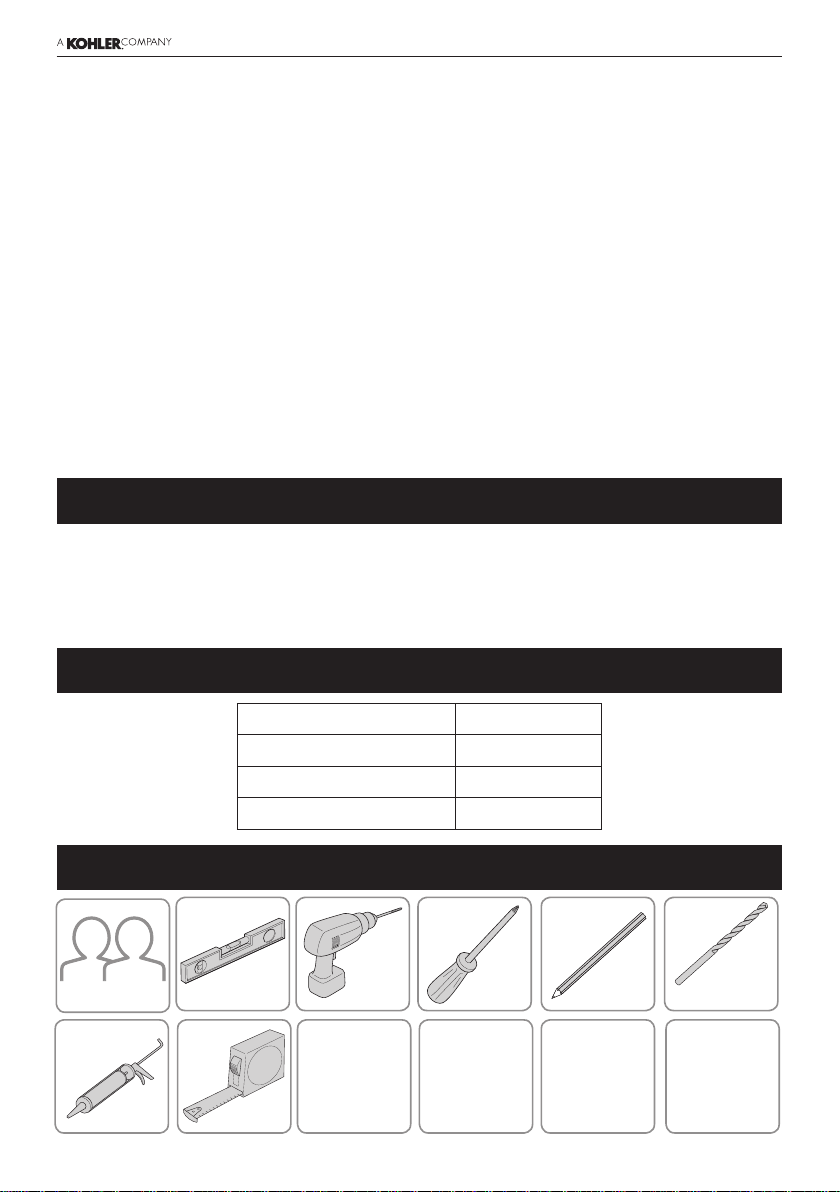
TOOLS REQUIRED
4
6.0 mm
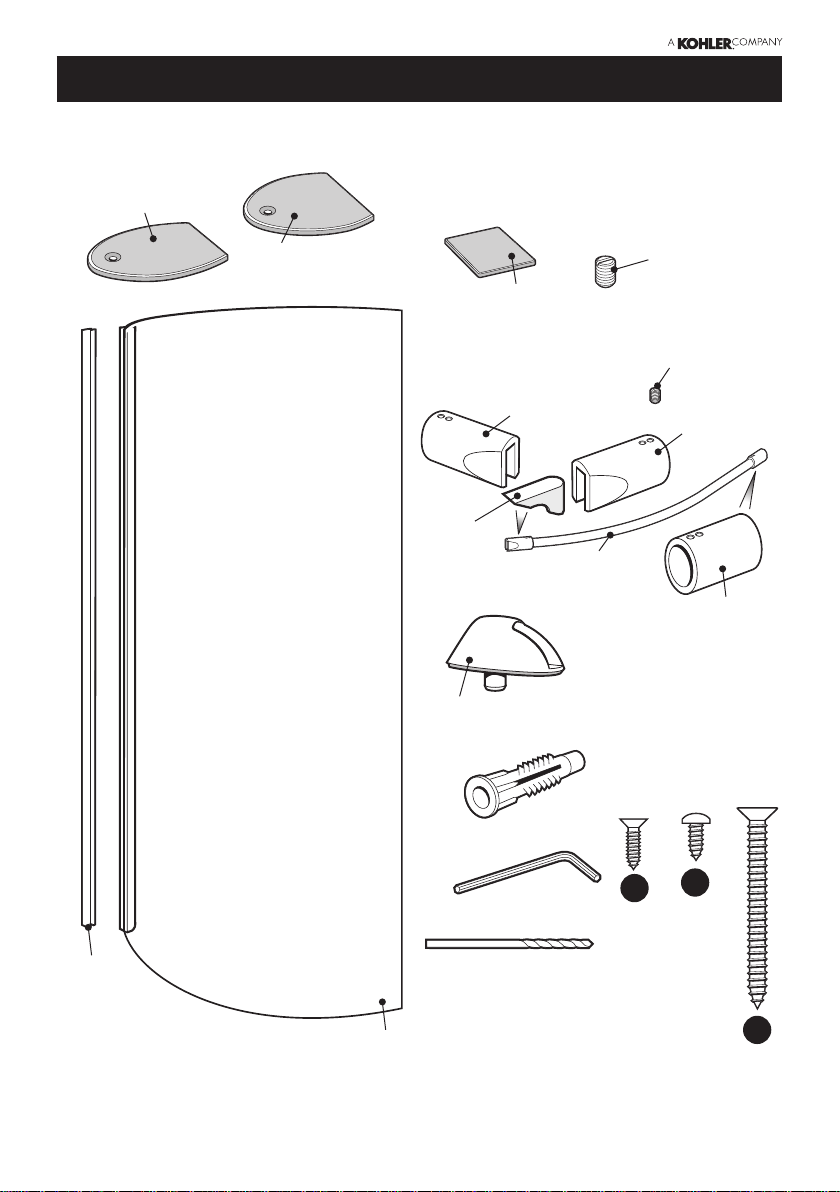
PACK CONTENTS
Tick the appropriate boxes to familiarise yourself with the part names and to conrm
that all of the parts are included.
1700 Top Cap
1400 Top Cap
Corner
Gasket
Mounting Block
Filler Cap
RH Lintel Glass
Mounting Block
x5
Lintel
Slotted
Grub Screw
Allen Grub Screws
x4
LH Lintel Glass
Mounting Block
x1
x3
Lintel Wall
Mount
x5
Wall Channel
Documentation
1 x Guarantee Registration Document
q
Curved Glass
Panel
5
3mm
2.5mm
C
B
A
1245548-W2-A
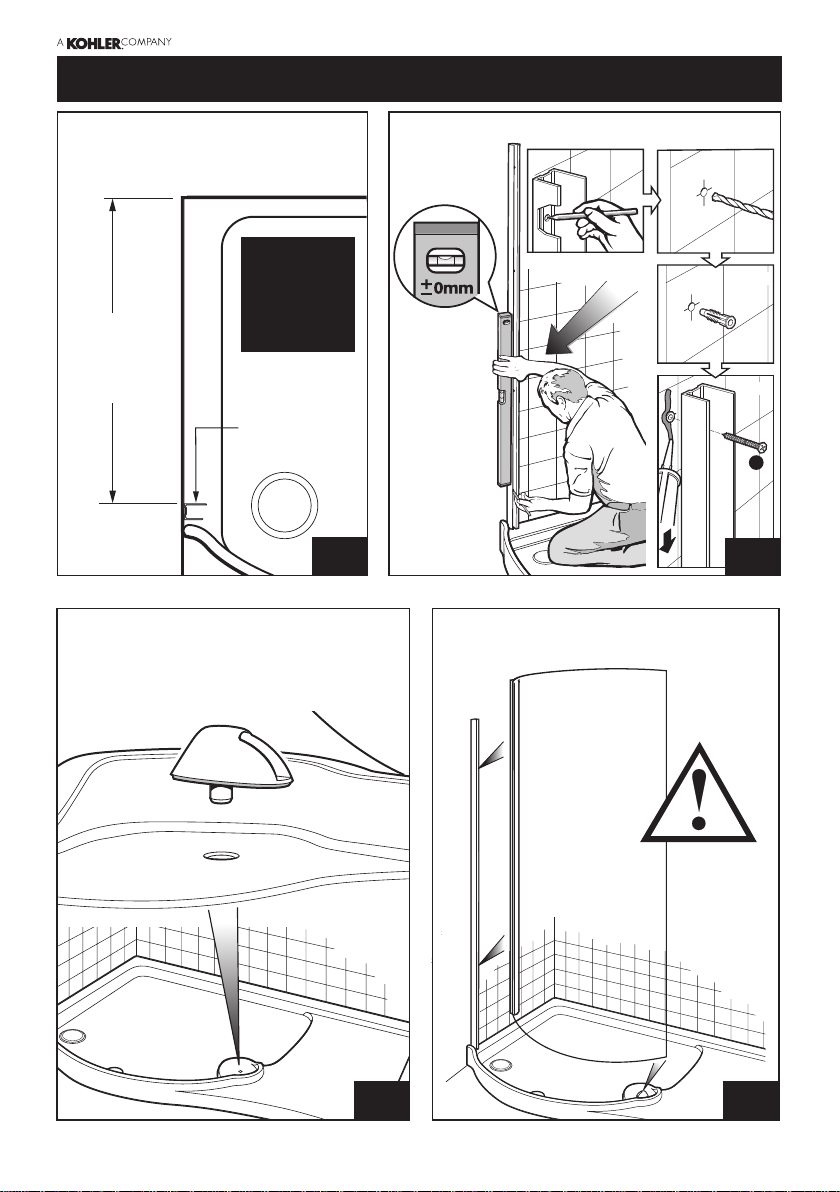
INSTALLATION
FITTING INSTRUCTIONS
The tray should be fitted and the walls tiled
before installation of the enclosure.
Mark the position of the wall channel
from the wall tiles on the back wall.
745mm (1400 tray)
640mm (1700 tray)
(adjust the dimension
if other than
10mm tile thickness)
Place the glass mounting block into the tray.
Do not remove the adhesive backing from the
underside of the mounting block at this stage.
NOTE:
LH VERSION
SHOWN.
RH FITTING
MIRRORS THE
INSTALLATION
SHOWN.
Back edge
of wall
channel
IMPORTANT
STEP
1
Fit the curved panel wall channel to the wall.
x3
Wall channel
MUST be
vertical on
the front face.
Carefully lift the glass into place. The jamb fits
onto the wall channel and the bottom corner of the
glass fits into the mounting block (see Step 5).
x3
6mm
x3
x3
A
STEP
2
1245548-W2-A
STEP
3
STEP
4
6
 Loading...